

This post may contain affiliate links. Please see my disclosure policy for details.
Dollar Tree Summer Wreaths That’ll Make Your Neighbors Wonder Where You Shopped
Contents
Dollar Tree summer wreaths transform your front door into a vacation vibe without the vacation budget, and I’m about to show you exactly how I pulled this off last June when my mother-in-law announced a surprise visit.
Listen, I get it.
You scroll through Pinterest seeing those gorgeous summer wreaths that apparently cost someone’s entire grocery budget, and you think there’s no way you can compete.
But here’s what nobody tells you: Dollar Tree has become my secret weapon for front door glory.
Why I Started Making Summer Wreaths at Dollar Tree
My neighbor Sharon spent $89 on a pre-made wreath last summer.
It looked nice, sure, but three weeks later it was faded and drooping like a sad houseplant.
Meanwhile, I was walking through Dollar Tree buying cleaning supplies when I spotted these ridiculously cute flip-flops in the seasonal aisle.
That’s when it hit me—I could make something better, cheaper, and way more fun.
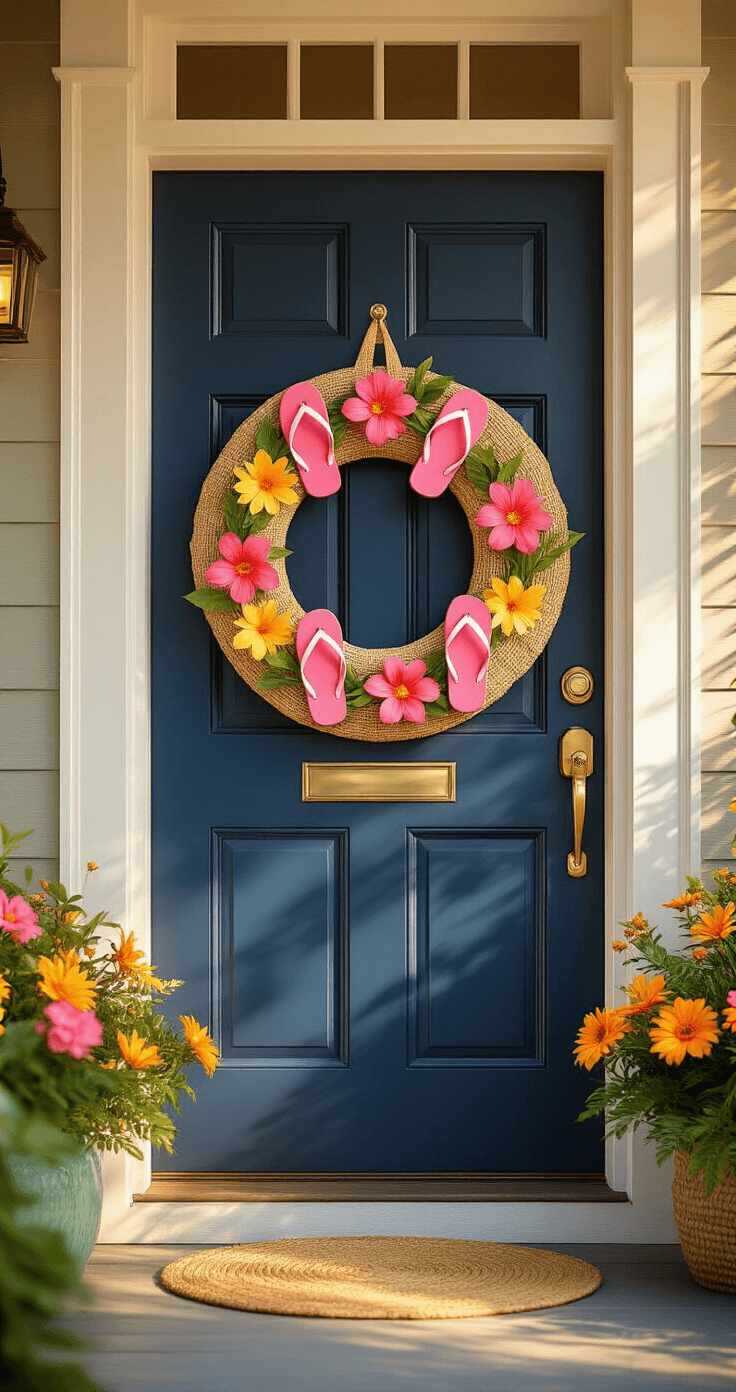
The Flip-Flop Wreath That Started It All
This wreath uses flip-flops as the star of the show, and honestly, it’s the one everyone asks about.
Here’s what you’ll need (everything from Dollar Tree):
- A 14-inch wired wreath frame
- 2.5-inch wired burlap ribbon
- Tropical lei (yes, they sell these)
- Floral headbands (usually near the hair accessories)
- Foam coasters in bright colors
- Pink polka dot flip-flops (or whatever color matches your door)
The construction process is stupidly simple:
Start by wrapping that burlap ribbon around your wreath frame.
Don’t stress about making it perfect—the messier texture actually looks better.
Next, grab your hot glue gun and get those flip-flops positioned around the frame.
I layered mine at different angles, overlapping them slightly so you get this cool dimensional effect.
The tropical lei gets cut up and glued between the flip-flops.
Those floral headbands? Break them apart and tuck the individual flowers into any gaps that look too empty.
The foam coasters add pops of solid color where you need them.
My biggest tip: Step back every few minutes and look at your wreath from across the room.
You’ll spot bare patches way easier from a distance.
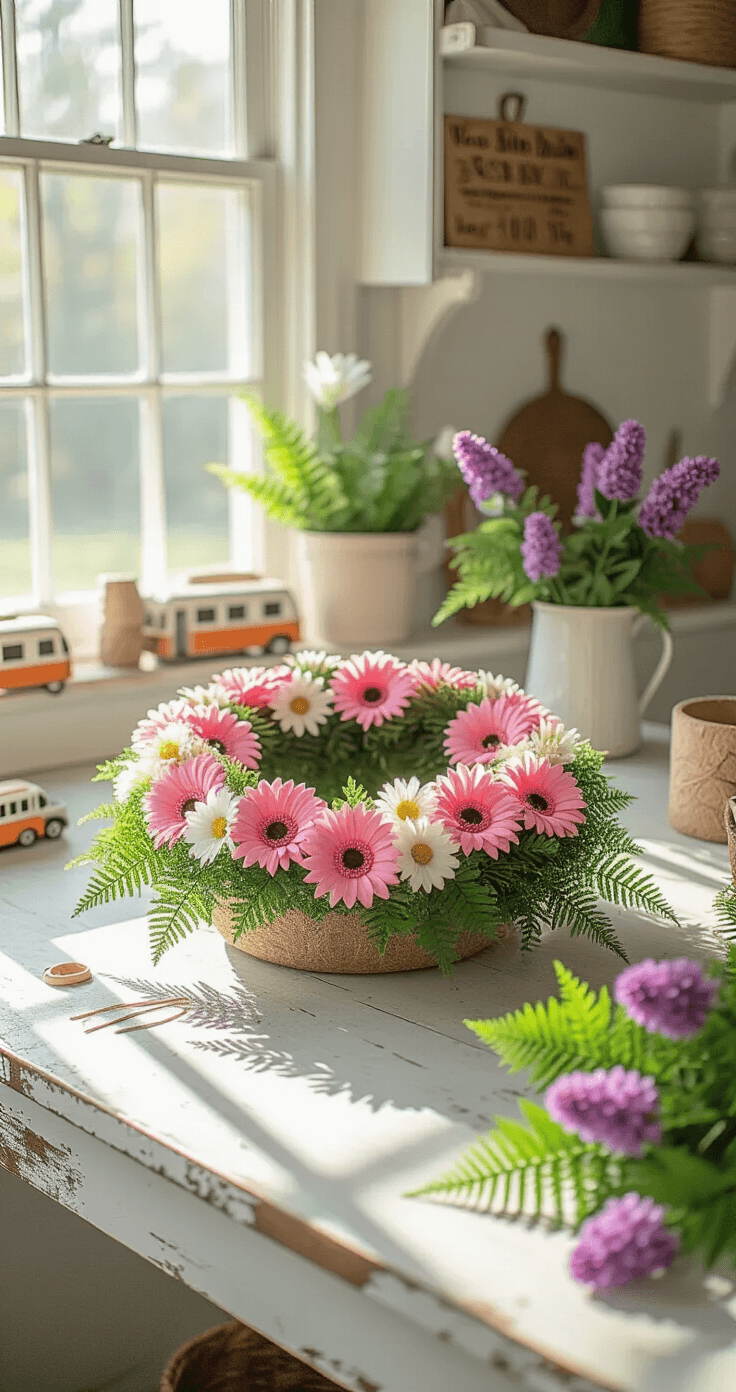
The Classic Floral Foam Wreath (But Make It Summer)
This one’s for people who like traditional wreaths but want that summer punch.
I made this version for my mom, and she literally cried.
(She cries at commercials too, but still.)
You’ll grab these items:
- 9.8-inch floral foam wreath base
- Floral picks in pink and white (Gerber daisies work great)
- Mums and lilacs from their floral section
- Fern picks for that lush greenery
- A small wooden sign or cute camper decoration
- Zip ties (trust me on this)
Here’s how I built it:
The foam base is your blank canvas.
Start by creating a pattern—I put my biggest flowers at the top and bottom, then worked my way around with smaller blooms.
Push those floral picks directly into the foam.
No glue needed here, which means you can adjust things if you hate how they look.
(I repositioned my daisies four times because I’m extra like that.)
Add your centerpiece sign using zip ties threaded through the foam.
Hot glue makes signs droop in summer heat, but zip ties stay put.
Fill in every single gap with those fern picks.
This is where magic happens.
The greenery makes everything look expensive and professionally done.
The secret nobody tells you: Fluff each flower and fern pick after you insert it.
They come flattened in packaging, and if you don’t shape them, your wreath looks like it got run over.
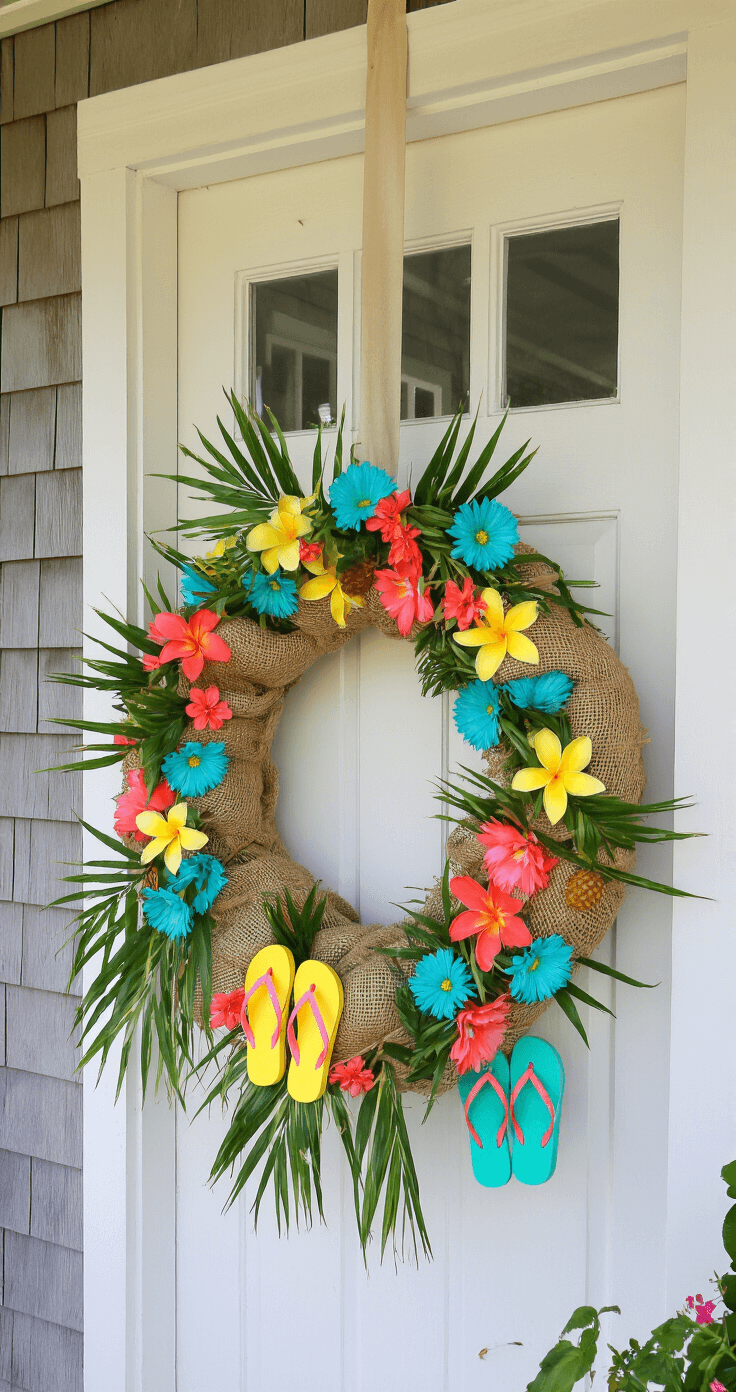
My Tropical Welcome Wreath Experiment
After the flip-flop wreath went viral with my book club (okay, five people isn’t viral, but they were impressed), I decided to go full tropical.
Materials for this beauty:
- Wired wreath frame
- Burlap ribbon in natural color
- Multiple tropical leis (I used three)
- Colorful floral headbands (the brighter the better)
- Pastel flip-flops in mint, coral, and yellow
- Those little wooden pineapples they sometimes have
This wreath is all about layering colors like you’re making a craft supply sandwich.
Wrap the ribbon loosely so you can see the wire frame peeking through.
Weave the leis around the frame, overlapping them for fullness.
Position your flip-flops at the four compass points (top, bottom, left, right).
Break apart those floral headbands and scatter the pieces throughout.
I hot-glued wooden pineapples at random spots because why not.
Construction Tips I Learned the Hard Way
Use quality hot glue, not the cheap stuff
I learned this when my first wreath literally fell apart on my door in 90-degree heat.
The Dollar Tree glue sticks are fine for indoor projects, but invest in better glue for anything going outside.
Symmetry matters more than you think
My first flip-flop wreath had all the decorations bunched on one side.
It looked like my wreath was having a stroke.
Place your major elements on opposite sides, then fill in the middle.
Fluff everything like your life depends on it
Seriously, take each flower, fern, and leaf and bend it, shape it, spread it out.
The difference between a $5 craft and a $50 look is usually just proper fluffing.
Layer your textures like you’re getting dressed
Think about it: ribbon first (like underwear), then larger elements (your outfit), then small details (accessories).
This creates depth that makes your wreath look way more complex than it actually is


")
")
")
