

This post may contain affiliate links. Please see my disclosure policy for details.
Why Your Baking Tools Matter More Than You Think
Contents
Look, I get it. You see those elaborate baking tool lists online and think, “Do I really need all that stuff?”
Here’s the truth: you don’t need everything, but you absolutely need the right things.
Bad tools don’t just make baking harder—they sabotage your results completely.
Wrong measuring cups? Your cake won’t rise. Cheap baking sheets? Burnt bottoms every single time. No proper mixer? Good luck with those stiff peaks.
Let me walk you through what actually matters, what’s just nice to have, and what you can skip entirely.
The Absolute Non-Negotiables (Start Here)
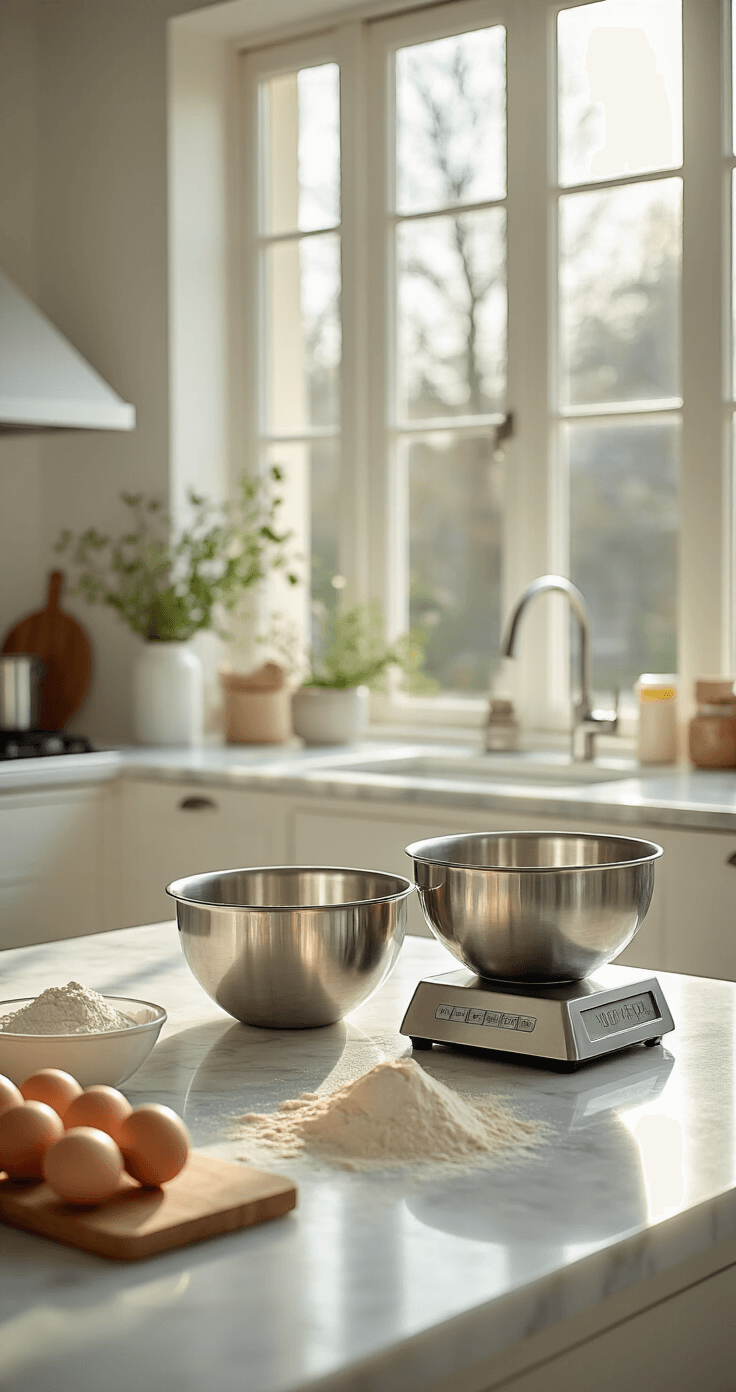
Measuring Tools That Actually Work
Here’s something that shocked me: eyeballing ingredients is a rookie mistake I made for way too long.
Baking isn’t like cooking—it’s chemistry, and chemistry demands precision.
What you need:
- Digital kitchen scale – This changed everything for me. Cups and spoons vary wildly depending on how you scoop. Weighing ingredients in grams? Game changer. Your cookies will actually turn out the same way twice.
- Measuring cups (dry ingredients) – Get a nested set with 1 cup, 1/2 cup, 1/3 cup, and 1/4 cup measurements.
- Liquid measuring cup – Glass or clear plastic with a spout. The 2-cup size handles most recipes.
- Measuring spoons – Metal ones last forever and don’t warp.
Pro tip I learned the hard way: level off your dry ingredients with a straight edge, don’t just scoop and hope.
Mixing Bowls (More Than You’d Think)
I started with one mixing bowl. Big mistake.
You need at least three different sizes because recipes constantly demand separating wet from dry ingredients, or making multiple components simultaneously.
My recommendations:
- One large bowl (for big batches and bread dough)
- One medium bowl (your everyday workhorse)
- One small bowl (for eggs, melted butter, small batches)
I prefer stainless steel mixing bowls because they’re:
- Lightweight but sturdy
- Non-reactive (won’t mess with acidic ingredients)
- Dishwasher-safe
- Nearly indestructible
Glass works great too, especially if you’re melting chocolate in the microwave.
The Mixer Situation (Hand vs. Stand)
This is where people get paralyzed by choice.
Starting out? Get a decent hand mixer.
It’ll handle:
- Cookie dough
- Cake batter
- Whipped cream
- Lighter frostings
Cost? Around $25-40 for a solid one.
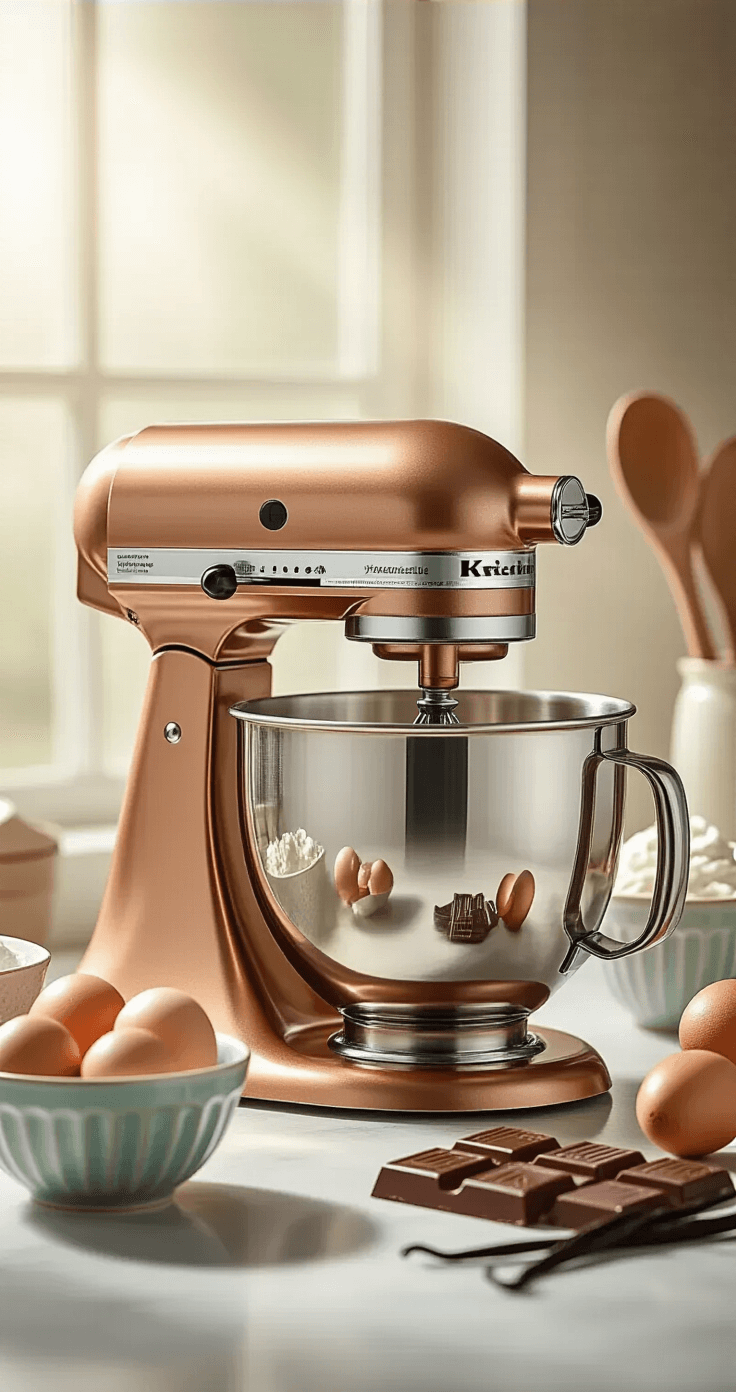
Baking frequently or making bread? Invest in a stand mixer.
Why I eventually upgraded:
- Kneading bread by hand gets exhausting fast
- Meringues need 10+ minutes of continuous whipping
- I can multitask while it mixes
- Heavy cookie doughs don’t burn out the motor
Yes, they’re expensive (expect $200-400 for quality brands), but mine has lasted eight years of regular abuse and still works like new.
Baking Sheets and Pans (The Foundation)
Remember my cookie disaster? Cheap, thin baking sheets were the culprit.
What you actually need:
Two half-sheet pans (18 x 13 inches):
- Heavy-gauge aluminum
- Light-colored (dark pans burn bottoms)
- Rimmed edges
I use mine constantly for cookies, roasting vegetables, sheet cakes, and even as a workspace for rolling dough.
One 9×13 inch pan: Perfect for brownies, bars, and simple cakes.
Two 9-inch round cake pans: If you’re into layer cakes, these are essential.
One loaf pan: Not just for bread—think banana bread, pound cake, meatloaf.
Pro move: skip non-stick coatings. They wear out. Instead, line everything with parchment paper.
The Tools That Made Me Feel Like I Actually Know What I’m Doing
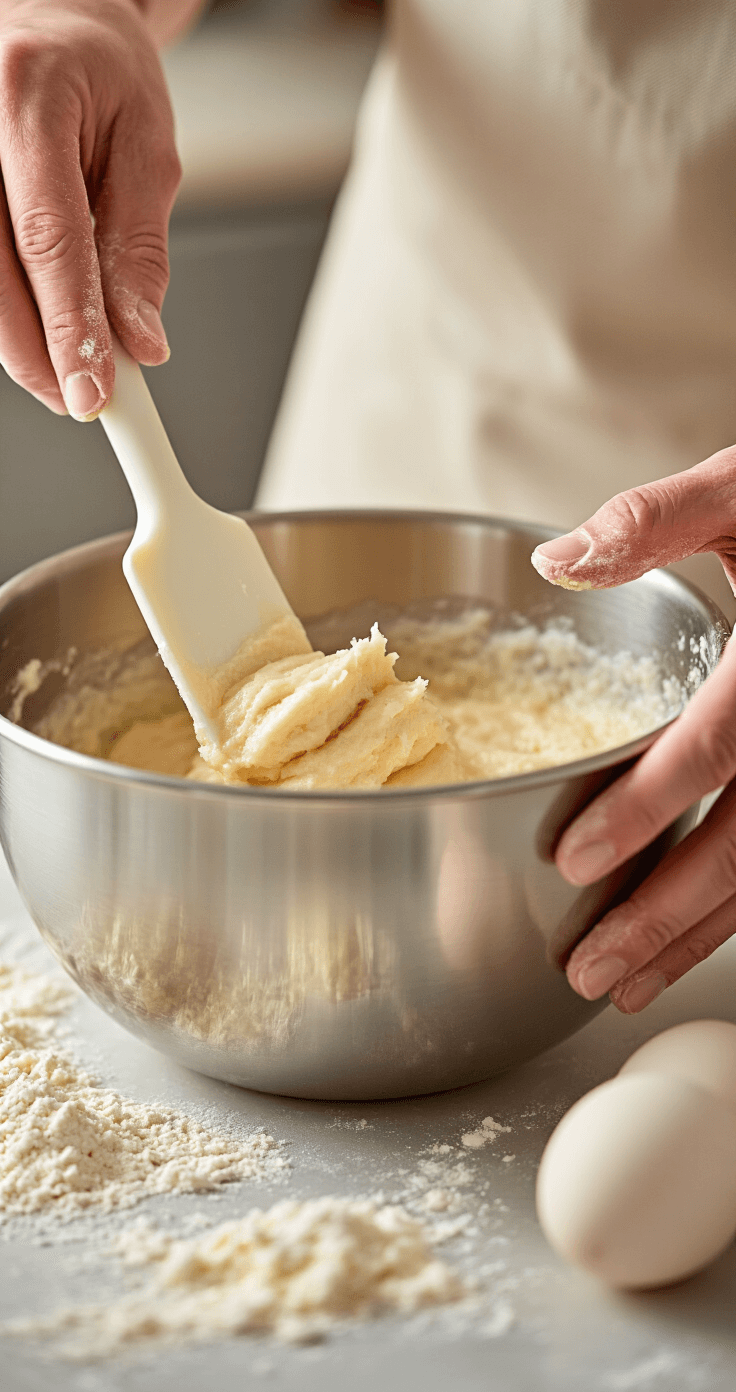
Silicone Spatulas (Get Multiple)
I have four of these, and they’re constantly dirty.
Why they’re brilliant:
- Scrape every last bit of batter from bowls (no waste!)
- Heat-resistant up to 500°F
- Flexible enough to fold gently, sturdy enough to mix
Get at least two—one large, one small.
Whisk (Not Just For Show)
A good balloon whisk does things a fork simply cannot.
I use mine for:
- Combining dry ingredients (better than a spoon)
- Whisking eggs
- Making smooth batters
- Incorporating air into mixtures
Metal with a comfortable handle. Simple as that.
Bench Scraper
This $5 tool doesn’t look like much, but it’s insanely useful.
I grab it for:
- Cutting dough into portions
- Scraping sticky dough off counters
- Transferring chopped ingredients
- Smoothing frosting on cakes
It’s one of those “didn’t know I needed it until I had it” situations.
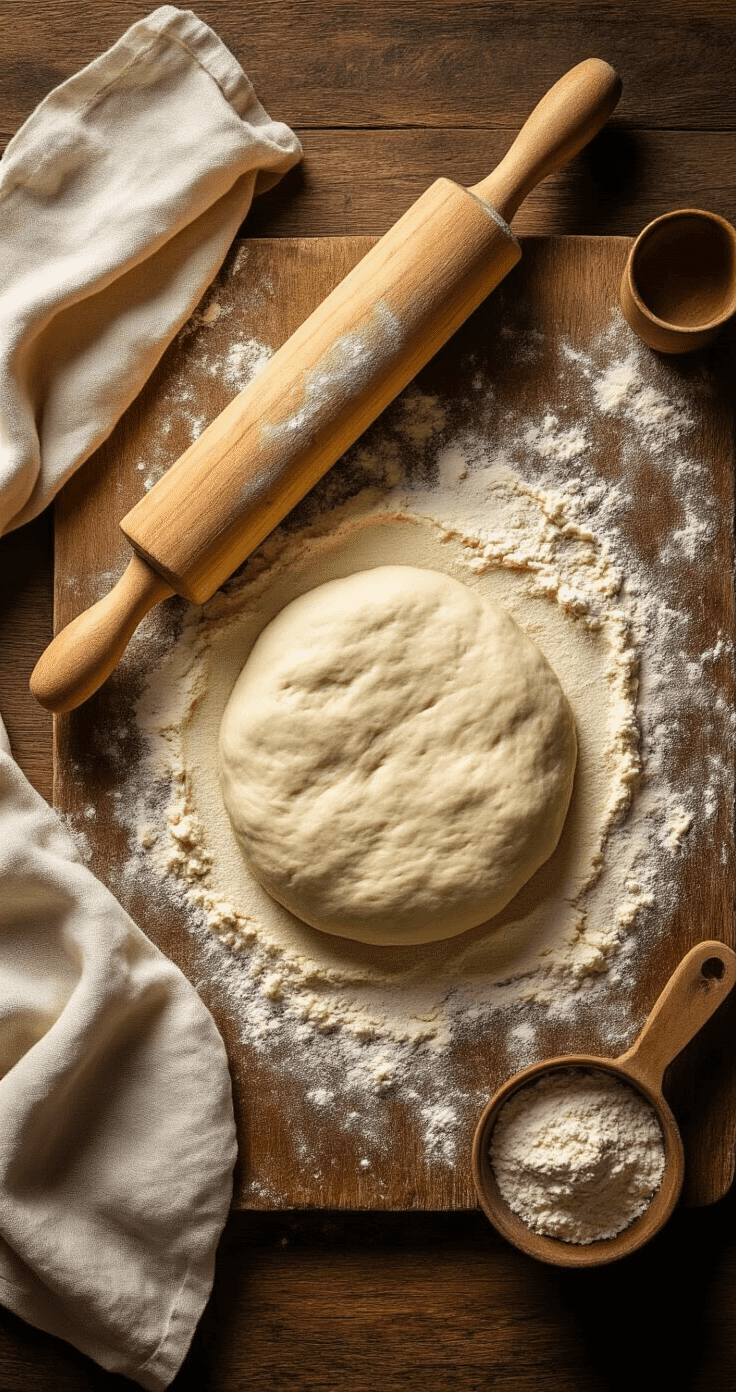
Rolling Pin
If you make pie crust, cookies, or anything requiring rolled dough, this is non-negotiable.
I prefer the classic wooden French-style pin (just a smooth cylinder, no handles). It gives me better control and feel for the dough thickness.
Some folks love marble rolling


")
")
")
