

This post may contain affiliate links. Please see my disclosure policy for details.
Red and Gold Christmas Trees: A Timeless Classic
Contents
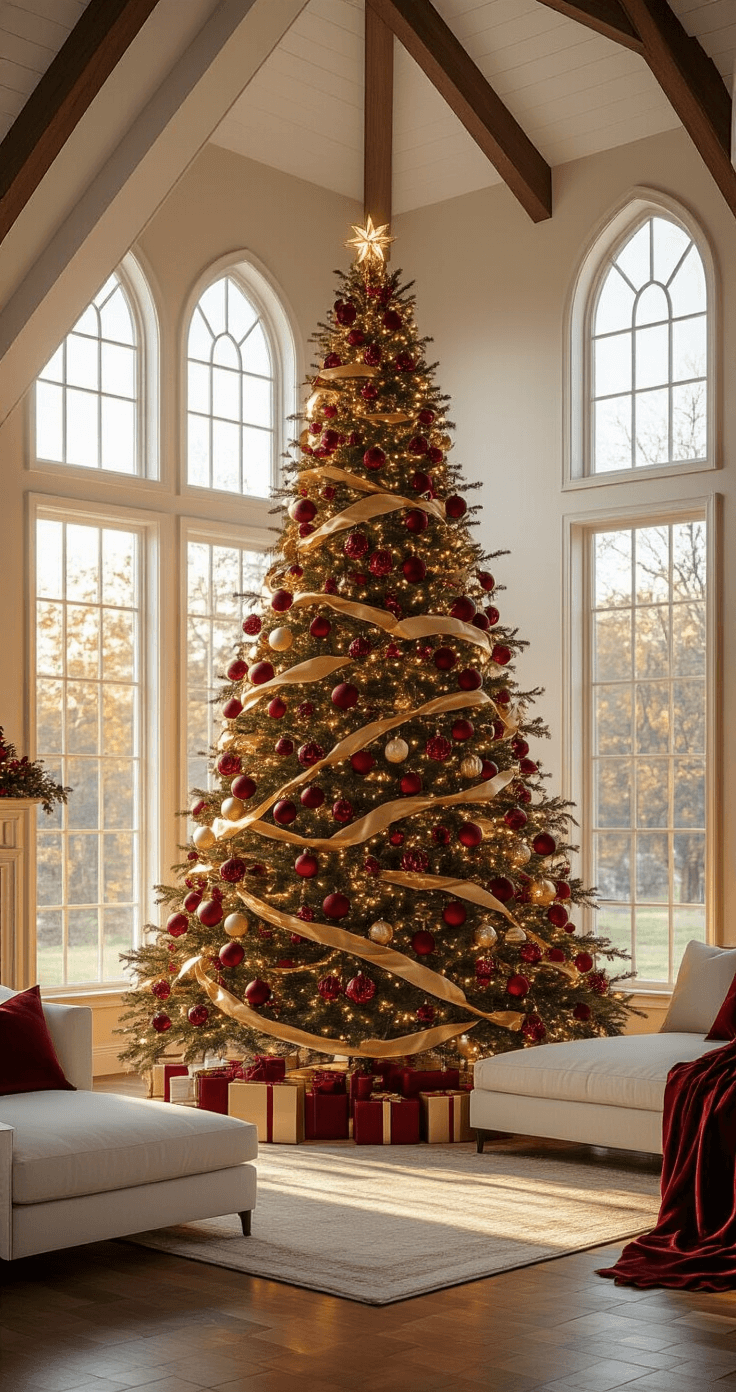
Red and gold Christmas trees have stolen my heart year after year, and I’m about to show you why this classic combo will transform your holiday season into pure magic.
Let me guess—you’re standing in front of your bare tree right now, boxes of ornaments scattered around your feet, wondering how the heck those Pinterest-perfect trees actually happen. Or maybe you’ve tried decorating before only to end up with what looks like a Christmas tornado hit your living room.
I’ve been there. Trust me on this one.
After decorating dozens of trees over the years (and making every mistake in the book), I’ve cracked the code on creating that show-stopping red and gold masterpiece that makes your neighbors slow down when they drive past your house.
Why Red and Gold Christmas Trees Never Go Out of Style
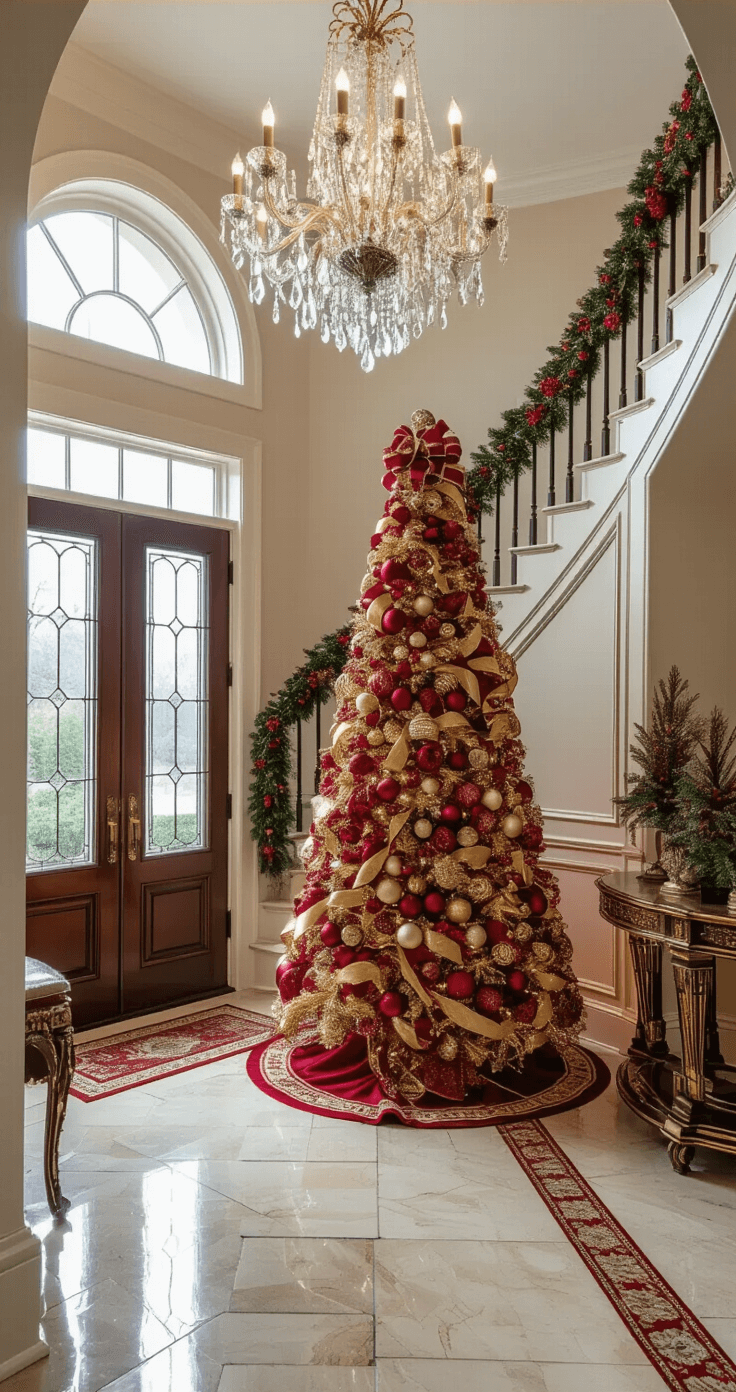
Here’s the thing about red and gold—it’s like the little black dress of Christmas decorating. Timeless. Elegant. Always appropriate.
This color combination works because:
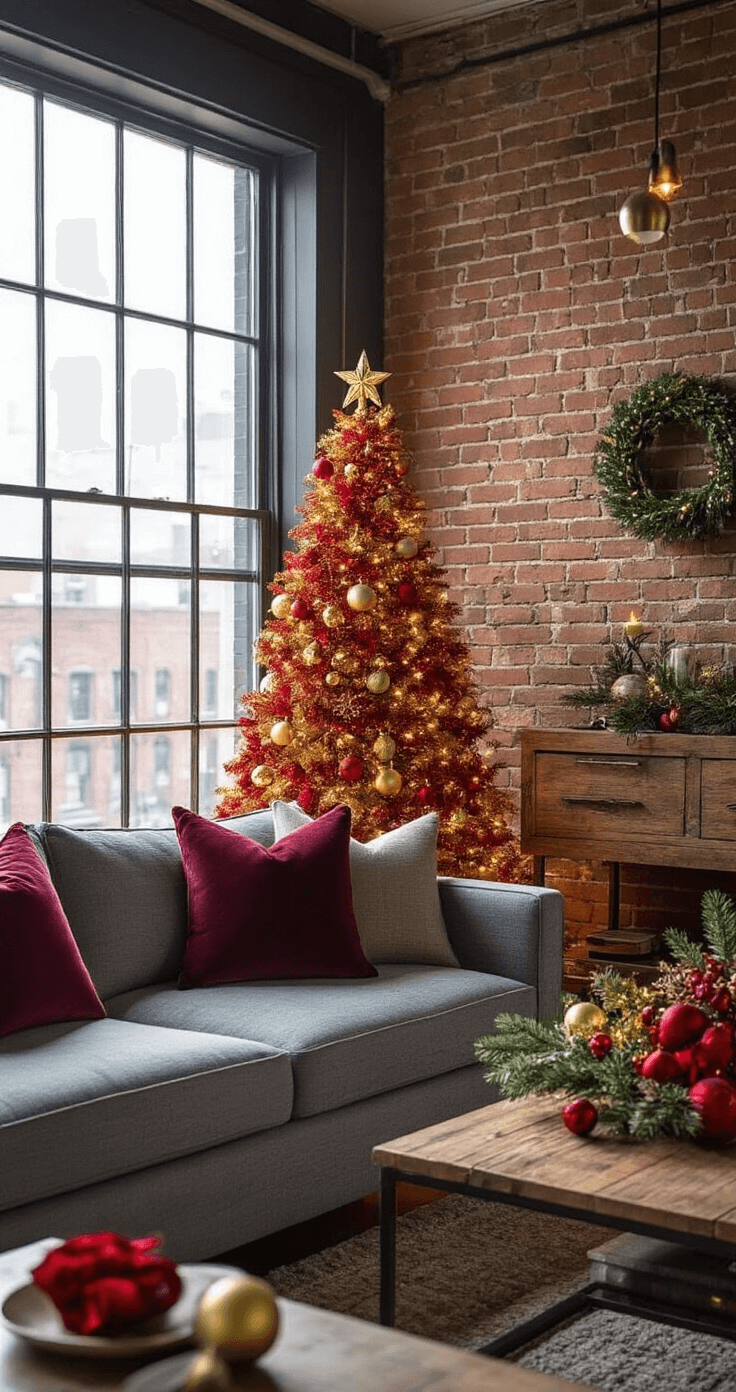
- Red brings warmth and tradition (think cozy fireside chats and childhood memories)
- Gold adds luxury without being stuffy
- Together, they create depth that makes your tree look professionally decorated
- The palette photographs beautifully for all those holiday cards and Instagram posts
I remember my first attempt at a themed tree. I went completely overboard with silver and blue, thinking I was being “sophisticated.” The result looked like a frozen wasteland had invaded my living room. My mom took one look and said, “Honey, where’s the Christmas spirit?”
That’s when I discovered the magic of red and gold.
Essential Supplies That Actually Matter
Forget those endless shopping lists that break the bank. Here’s what you really need:
Lighting (Your Foundation):
- Warm white LED string lights – about 100 lights per foot of tree height
- Skip the colored lights—they’ll fight with your ornaments
Ornaments (Your Stars):
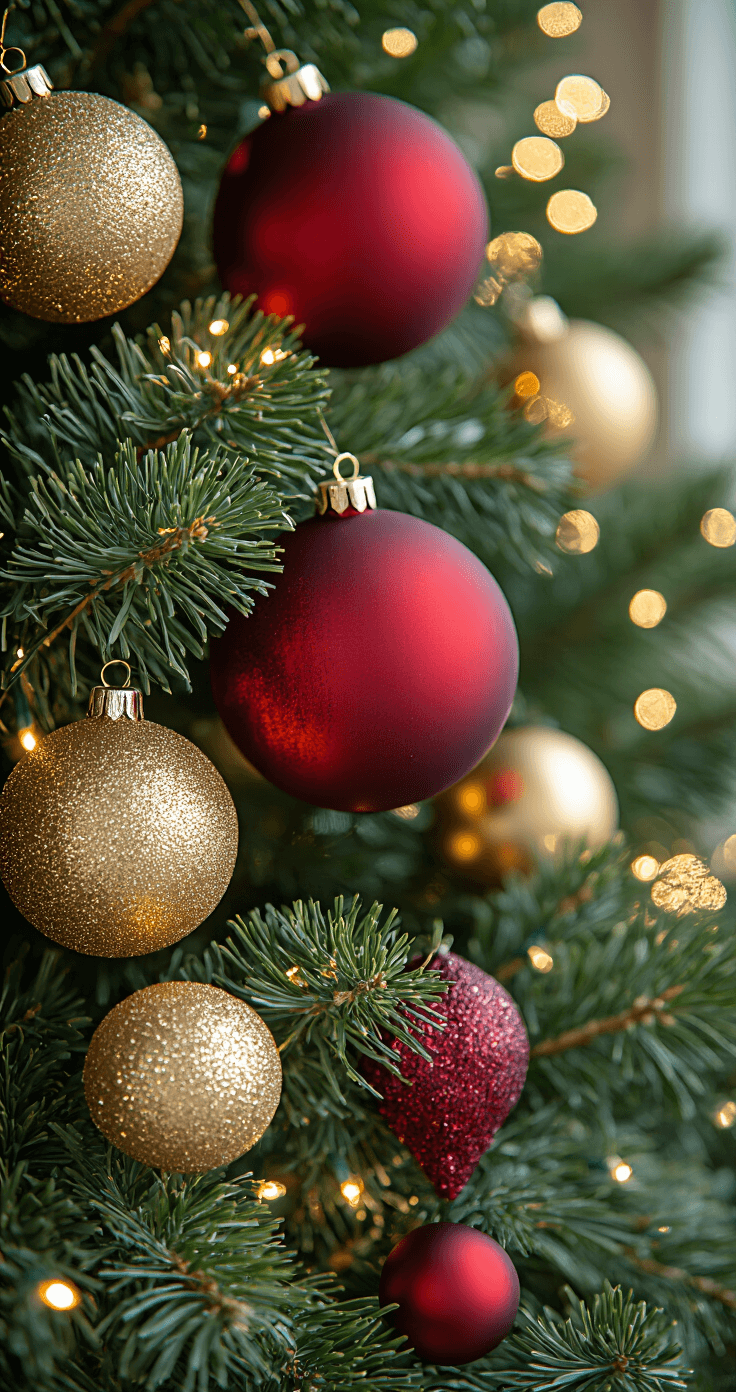
- Large balls (4-6 inches) in deep red and rich gold – 12-15 pieces
- Medium ornaments (2-3 inches) – 20-25 pieces
- Small accent pieces (1-2 inches) – 30-40 pieces
- Mix textures: matte, glossy, glittered, and metallic finishes
Ribbon Magic:
- Wide gold ribbon (4-6 inches) – 15-20 feet
- Red velvet or satin ribbon for contrast
Tree Topper:
- Gold star tree topper or elegant bow
Optional Game-Changers:
- Floral picks with red poinsettias or gold magnolia
- Berry branches for natural texture
- Red and gold ornament sets if you want everything to coordinate perfectly

The Secret to Professional-Looking Ornament Placement
This is where most people mess up. They hang ornaments like they’re decorating a clothesline.
Here’s my foolproof method:
Step 1: Light First, Always
Start from the trunk and work outward. Wrap lights around each branch, not just the tips. This creates depth and prevents that “Christmas tree wearing a light necklace” look.
Step 2: Big Boys Go Deep
Place your largest red and gold ornaments inside the tree, close to the trunk. This might feel wrong, but trust me. It creates layers and makes your tree look fuller.
Step 3: Medium Ornaments Fill the Gaps
These go on the middle sections of branches. Alternate colors—don’t clump all the red together.
Step 4: Small Ornaments on the Tips
These catch the light and create sparkle. Perfect spots for your most delicate pieces.
Pro tip I learned the hard way: Step back every 10 ornaments. What looks balanced up close might look lopsided from across the room.
Ribbon Styling That Doesn’t Look Like Gift Wrap Gone Wrong
I used to think ribbon belonged on presents, not trees. Then I watched a professional decorator work her magic, and everything changed.
The Cascade Method (My Favorite):
- Cut ribbon into 3-4 foot sections
- Tuck one end deep into the tree near the trunk
- Let it flow naturally down and outward
- Don’t pull it tight—loose draping looks more elegant
- Use 6-8 pieces for a 7-foot tree
The Spiral Technique:
- Use one continuous piece of ribbon
- Start at the top and wrap around the tree
- Keep loops loose and natural
- Secure with floral wire at branch joints
Lighting Tricks That Make Everything Magical
The lighting makes or breaks your tree. Period.
I’ve seen gorgeous ornaments look cheap under harsh white lights, and basic baubles look like jewelry under warm, soft lighting.
")
")
")


[…] grab a cup of hot cocoa, and let’s dive into the world of red and gold Christmas […]