
This post may contain affiliate links. Please see my disclosure policy for details.
My Sweet Success with a Candy Cane Christmas Tree: From Hot Mess to Holiday Magic
Contents
- My Sweet Success with a Candy Cane Christmas Tree: From Hot Mess to Holiday Magic
- Why I Nearly Gave Up on My Candy Cane Dream
- The Game-Changing Moment That Saved My Christmas Tree
- My Step-by-Step Candy Cane Christmas Tree Method
- The Mistakes That Nearly Ruined My Tree (And How You Can Avoid Them)
- My Budget-Friendly Candy Cane Tree Secrets
Creating a candy cane Christmas tree turned my living room into a winter wonderland last December, but let me tell you – my first attempt looked like a peppermint stick exploded.
You’re probably staring at your tree right now, wondering how on earth you’re going to make it look like those gorgeous Pinterest photos without spending your kid’s college fund. Or maybe you’re worried your decorating skills peaked in third grade with construction paper snowflakes.
I get it. I was there too.
Why I Nearly Gave Up on My Candy Cane Dream
Last November, I had grand visions of a stunning red-and-white masterpiece. What I got instead was a hot mess that looked like Santa’s workshop after a tornado.
My ornaments were scattered randomly. The colors clashed instead of complemented. And don’t even get me started on that crooked candy cane tree topper that made everything look lopsided.
But here’s what changed everything for me.
The Game-Changing Moment That Saved My Christmas Tree
I discovered that a candy cane Christmas tree isn’t just about throwing red and white stuff everywhere. It’s about creating layers, balance, and that magical sweet-shop feeling that makes people stop in their tracks.
The secret? Strategic placement and the 60-30-10 rule.
Here’s what actually works:
The Foundation Layer:
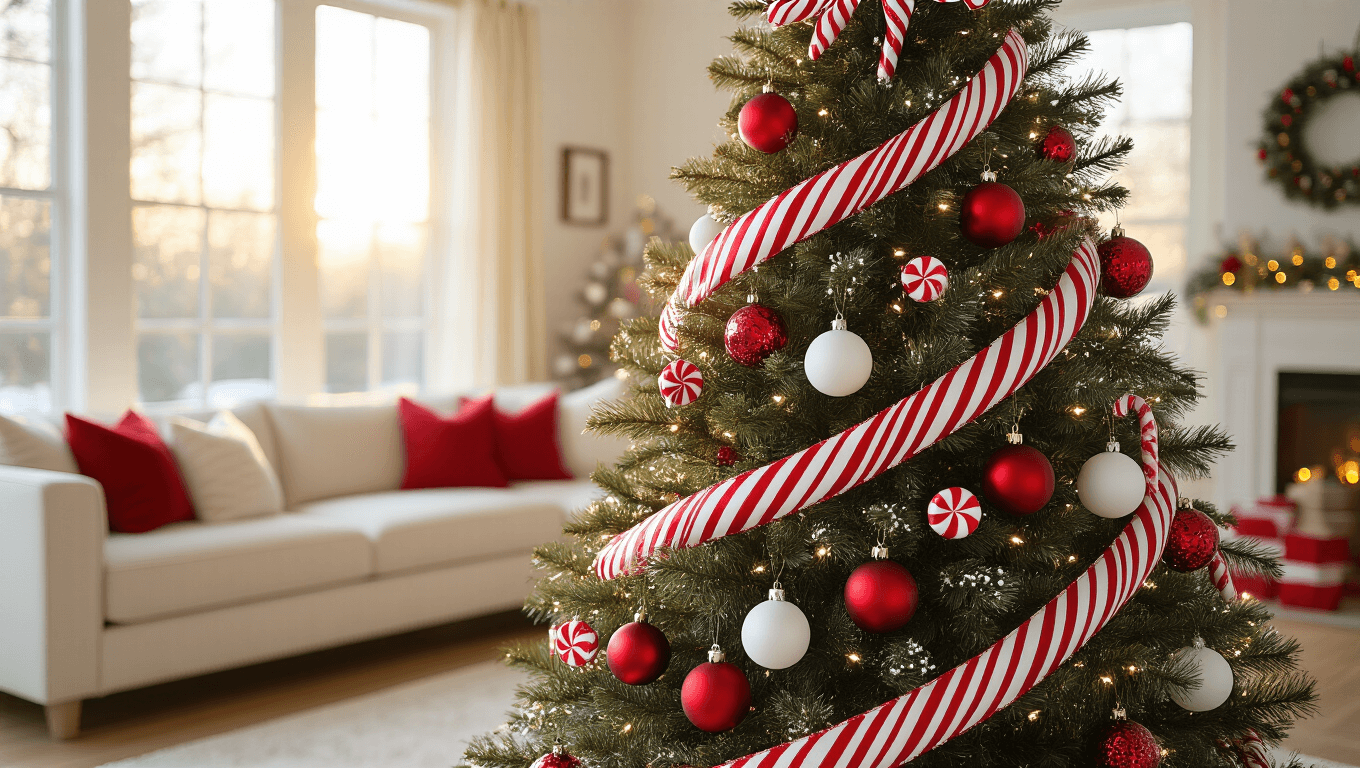
- Start with red and white striped ribbon wrapped diagonally around your tree
- This creates the candy cane pattern that ties everything together
- Don’t worry about perfection – slightly uneven looks more natural
The Statement Pieces:
- Place your largest ornaments first
- I use oversized peppermint swirl ornaments as anchors
- Space them evenly using the triangle method (imagine connecting them with invisible lines)
My Step-by-Step Candy Cane Christmas Tree Method
Hour 1: The Foundation
I learned this the hard way – you cannot skip the prep.
Clear a 8×8 foot space around your tree. Trust me on this one. You’ll be walking circles around that tree more than a dog chasing its tail.
Fluff every single branch. I know it’s tedious, but this makes the difference between “meh” and “magnificent.”
Hour 2: The Ribbon Magic
This is where the candy cane magic actually starts.
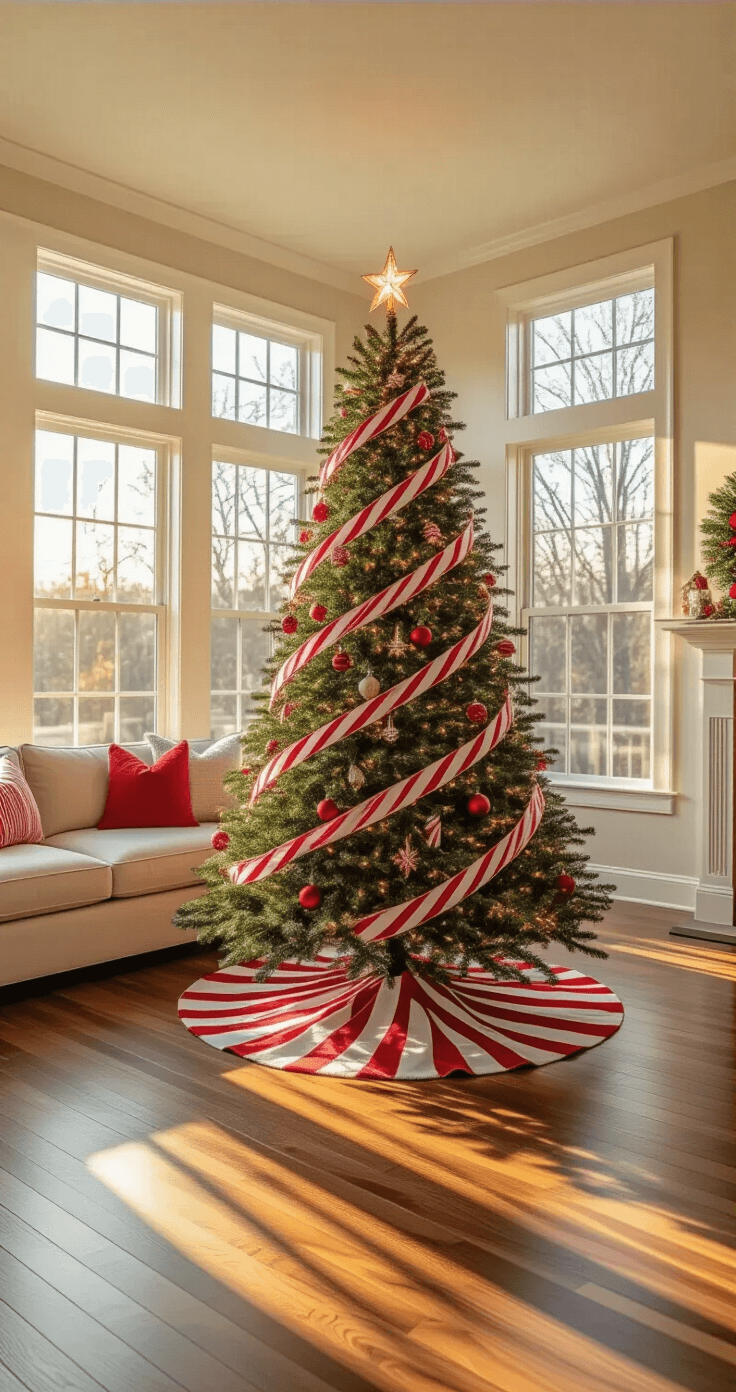
Wrap your ribbon from top to bottom in a diagonal spiral. Start behind the tree and work your way around. Leave about 12 inches between each wrap.
Pro tip: Secure the ribbon to branches with small pieces of floral wire instead of ornament hooks. It stays put better and doesn’t show.
Hour 3: The Heavy Hitters
Now for the fun part – the big ornaments.
I place my largest pieces first:
- Top third: 3-4 large ornaments
- Middle third: 5-6 medium pieces
- Bottom third: 4-5 large ornaments (kids and pets won’t knock these off as easily)
Mix your textures here. Glossy red ball ornaments next to matte white ones. Striped pieces balanced with solid colors.
Hour 4: The Sweet Details
This is where your tree goes from nice to “holy cow, where did you get this done?”
Add your specialty pieces:
- Mini candy canes tucked into branches
- Small peppermint candy ornaments as fillers
- White berry picks for texture contrast
The Mistakes That Nearly Ruined My Tree (And How You Can Avoid Them)
Mistake #1: Going Overboard with Red
I thought more red meant more impact. Wrong. It looked like a candy cane threw up on my tree.
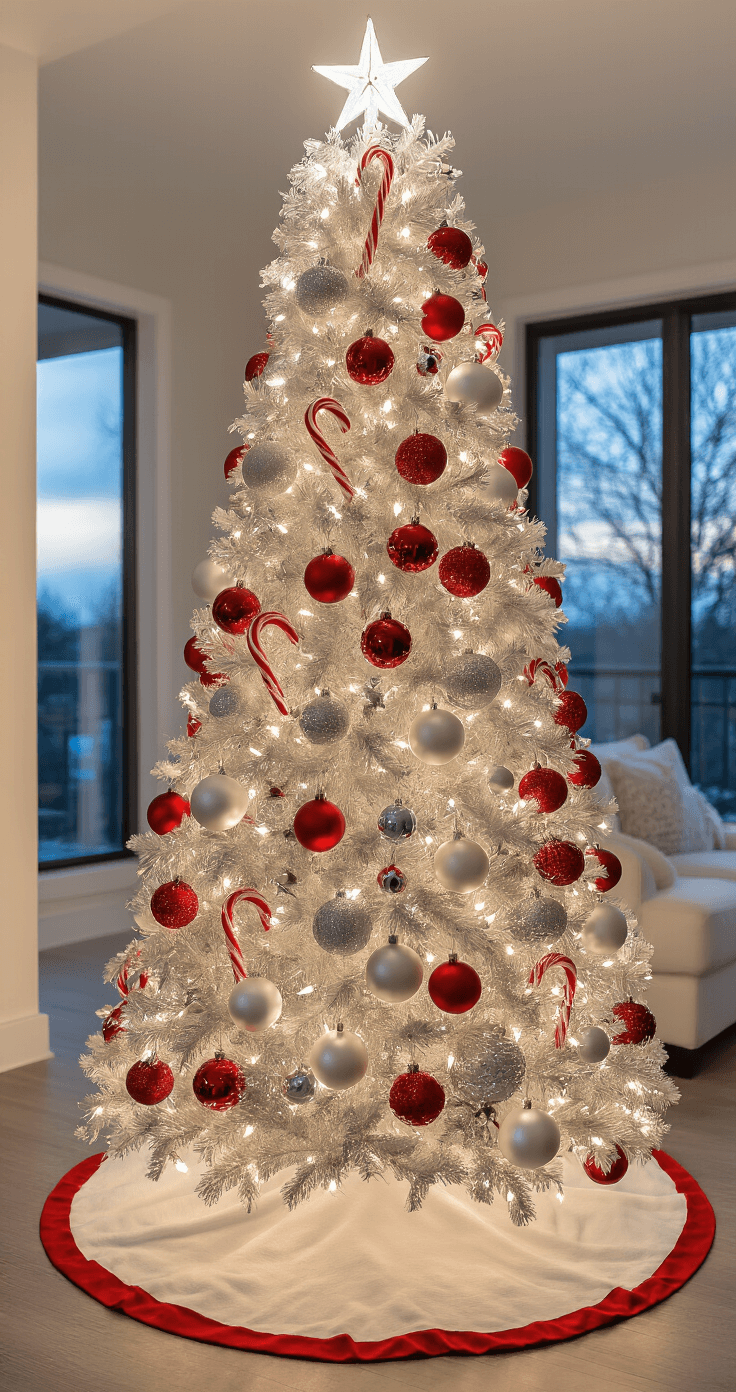
The fix: Use the 60-30-10 rule.
- 60% white/silver
- 30% red
- 10% accent colors (green, gold, or clear)
Mistake #2: Ignoring Tree Depth
All my ornaments hung at the same level. It looked flat and boring.
The fix: Hang ornaments at different depths.
- Large pieces go deeper into the tree
- Medium ornaments at branch tips
- Small accents wherever there’s a gap
Mistake #3: Forgetting the Bottom Half
I spent so much time on the top that the bottom looked bare.
The fix: The bottom third gets the most ornaments. It’s at eye level – that’s where people really look.

My Budget-Friendly Candy Cane Tree Secrets
You don’t need to drop $300 to create magic.
Dollar Store Gold:
- Red and white ball ornaments (buy extras – you’ll use more than you think)
- Striped ribbon
- Candy cane picks
- Small glass bowls for peppermint displays
DIY Winners That Actually Work:
- Paper peppermint swirls (use a Cricut if you have one)
- Felt candy cane ornaments (my kids made these)
- Mason jars filled with real peppermint candies
Splurge-Worthy Items:
- One gorgeous tree topper (this is your statement piece)
- High-quality ribbon (cheap ribbon looks cheap)
- A few large, eye-catching ornaments as focal points
")


