

This post may contain affiliate links. Please see my disclosure policy for details.
Christmas Lantern Decorating Ideas That’ll Make Your Neighbors Jealous
Contents
Christmas lantern decorating ideas can transform your space from “meh” to magazine-worthy in under 30 minutes.
I’ll be honest with you.
The first time I tried decorating lanterns for Christmas, I stuffed them with whatever ornaments I had lying around and called it a day.
They looked like sad little Christmas prisons.
But after years of trial and error (and more Pinterest fails than I’d like to admit), I’ve cracked the code on making lanterns look absolutely stunning without needing a design degree or emptying your wallet.
Why Your Lanterns Look Like Something’s Missing
You know that feeling when you decorate a lantern and it just looks… flat?
Like it’s missing that special something?
I’ve been there too many times to count.
The problem isn’t your taste or creativity.
It’s usually one of three things:
- No layering – everything sits at the same level like a sad pancake
- Wrong scale – tiny decorations in massive lanterns or vice versa
- Missing the glow – you forgot that lanterns are meant to create light and warmth
Once you fix these issues, everything changes.
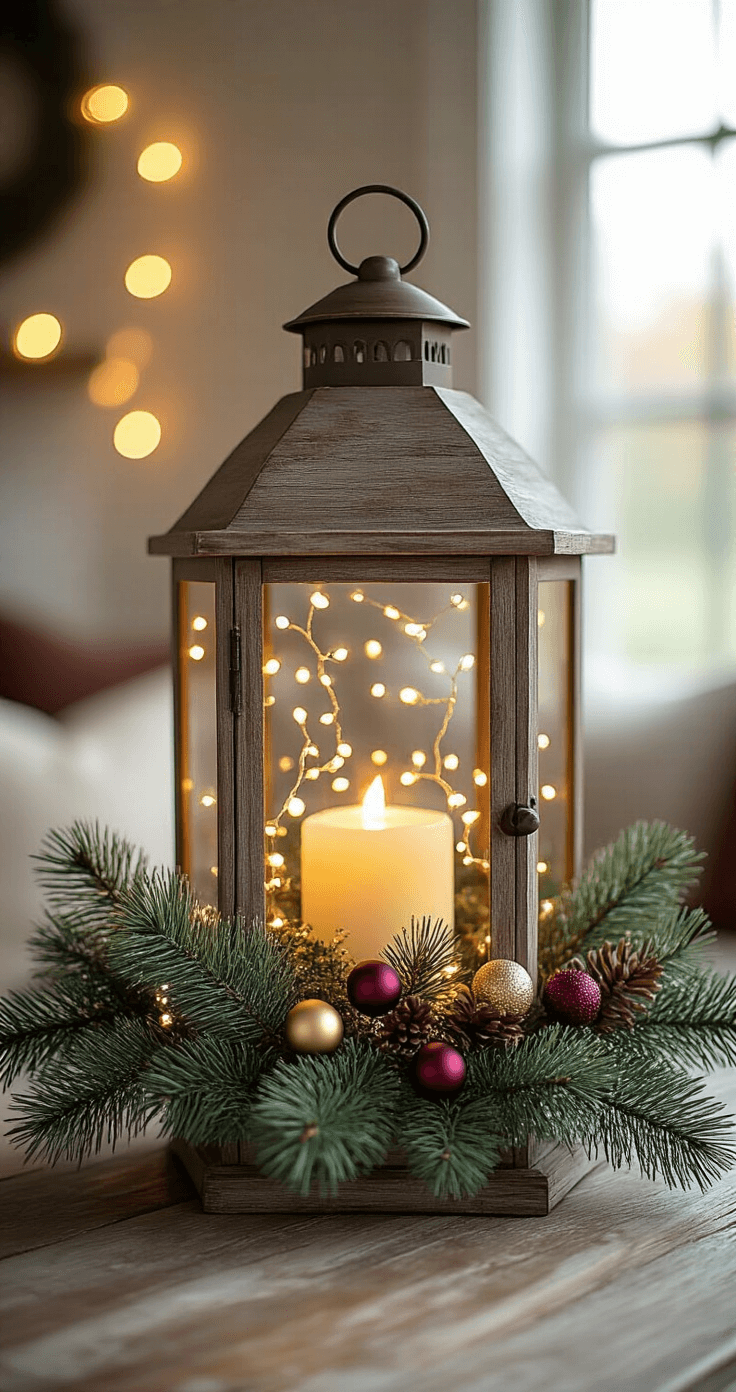
The Greenery Method That Never Fails
This is my go-to when I need something that looks expensive but costs almost nothing.
Start with artificial Christmas greenery filling the bottom third of your lantern.
I’m talking pine, cedar, eucalyptus – whatever speaks to you.
Here’s the magic formula:
Layer One: The Foundation
- Pack greenery loosely at the bottom
- Leave breathing room – crushed greenery looks desperate
- Vary the heights so stems point in different directions
Layer Two: The Sparkle
- Add 3-5 small Christmas ornament balls in complementary colors
- Nestle them into the greenery, not on top of it
- Use different sizes to create visual interest
Layer Three: The Texture
- Throw in some pine cones (real or fake, I won’t tell)
- Add berry picks for pops of color
- Consider tiny dried orange slices for that rustic vibe
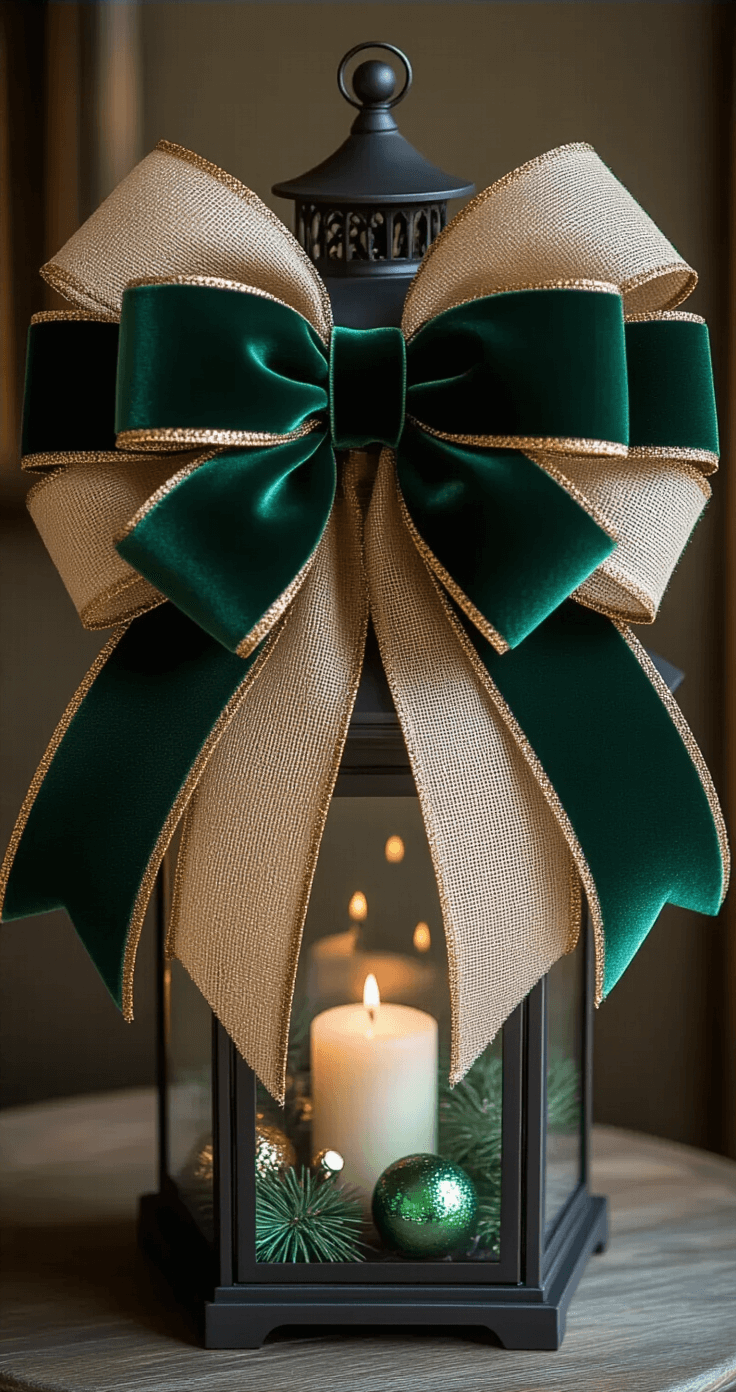
The Crowning Glory
- Wrap wired Christmas ribbon around the lantern’s handle or top
- Make a bow that’s almost embarrassingly large
- Fluff it until it looks intentionally messy
This whole setup takes 20 minutes max.
And it looks like you hired a decorator.
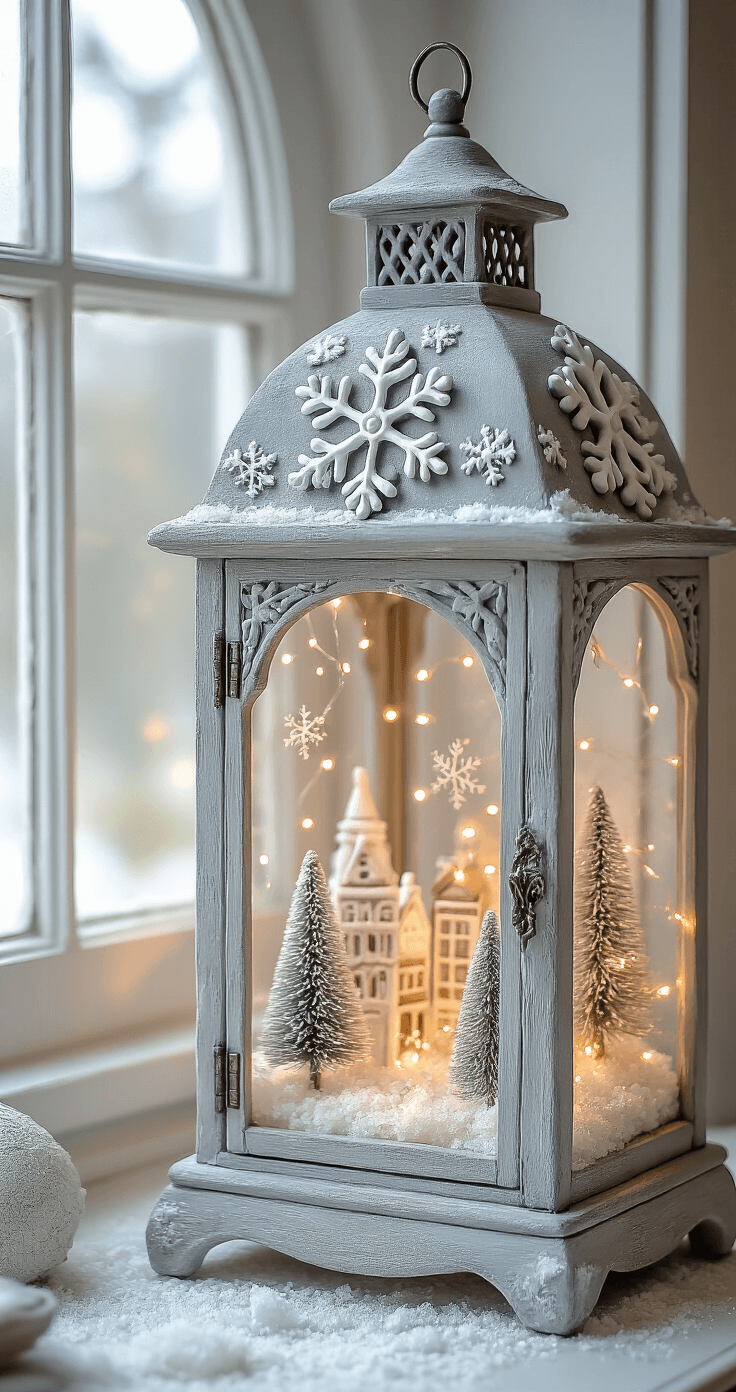
The Glowing Winter Village Trick
This one makes people stop and stare.
I created my first winter village lantern three years ago, and guests still ask about it.
What You’ll Need:
- Battery operated fairy lights (warm white, not that harsh blue-white)
- Fake snow or epsom salt
- Miniature bottle brush trees
- Tiny houses or figurines
- Command strips
Here’s How:
Stick the battery pack to the inside top of your lantern with command strips.
Nobody wants to see that thing.
Let the lights cascade down naturally – don’t force them into perfect coils.
Pour about an inch of fake snow at the bottom.
Epsom salt works brilliantly if you’re on a budget.
Now comes the fun part.
Arrange your village scene with taller items in the back corners.
Don’t line things up like little soldiers.
Angle them.
Create little pathways between the houses.
Make it look like a place where tiny people actually live.
Hang a small star ornament from the top so it dangles in the center.
This catches the light and draws the eye upward.
When you turn on those lights at night?
Pure magic.
The Fancy French Country Upgrade
This method takes more time but creates something you could sell on Etsy.
I learned this technique after getting tired of basic plastic lanterns looking… well, basic and plastic.
The Transformation Process:
Start with a cheap plastic lantern (the kind that looks like painted sadness).
Grab some decorative IOD moulds and air-dry clay.
Press snowflakes, ornamental designs, or architectural details into the clay, then attach them around your lantern’s frame.
These dimensional elements change everything.
Once dry, paint the entire piece with grey chalk paint using a stippling motion.
Don’t brush it on smoothly.
You want texture.
Layer on metallic finishes – silver in the crevices, bronze on the raised areas.
The result looks like you found it at a French antique market.
Nobody needs to know it started life at the dollar store.
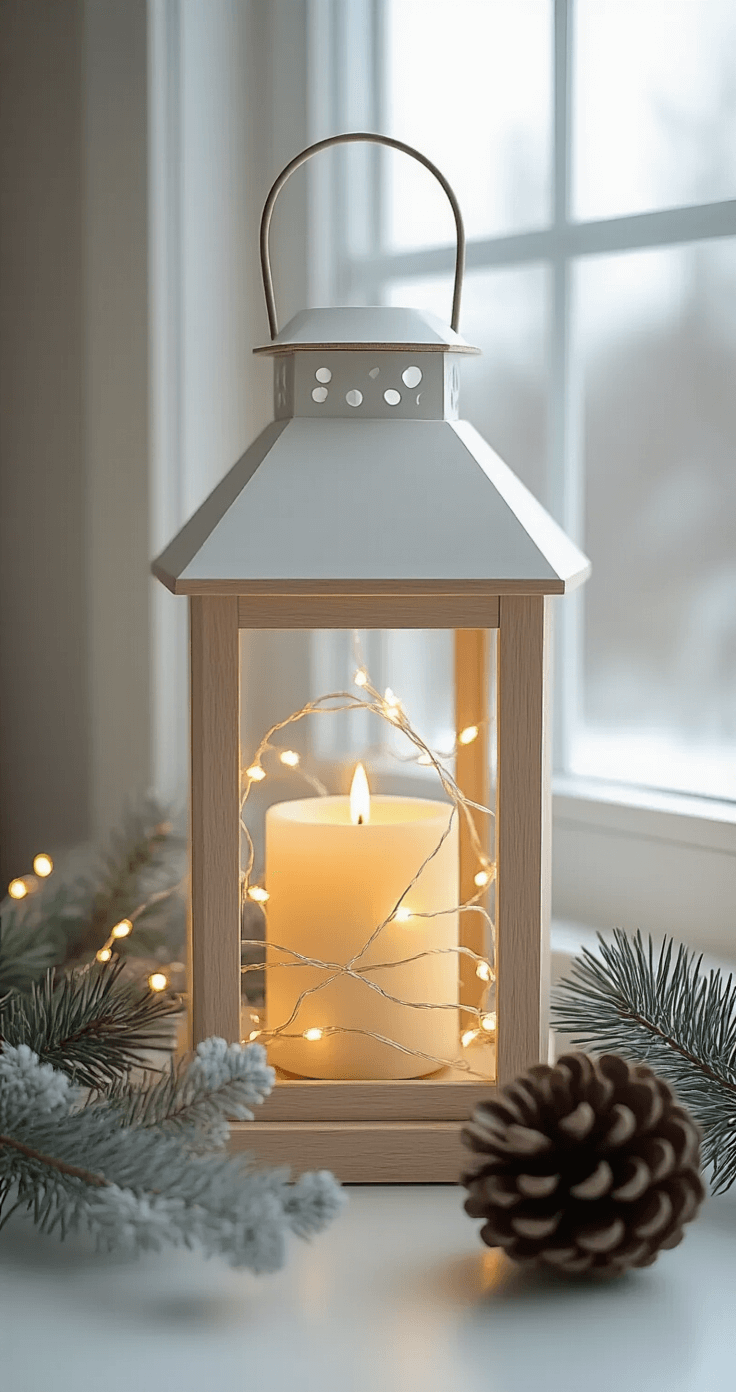
The Minimalist Light Show
Sometimes less really is more.
Fill your lantern with LED string lights and call it done.
But here’s the upgrade that makes this simple approach sing:
Add layers of light:
- String lights as the base layer
- Battery-operated pillar candles in the center
- Small tea lights scattered at the bottom
Weave in subtle natural elements:
- A few sprigs of eucalyptus
- White berry picks for texture
")
")
")


