
This post may contain affiliate links. Please see my disclosure policy for details.
How I Learned to Install Outdoor Christmas Lights Without Burning Down My House (Or Breaking My Neck)
Contents
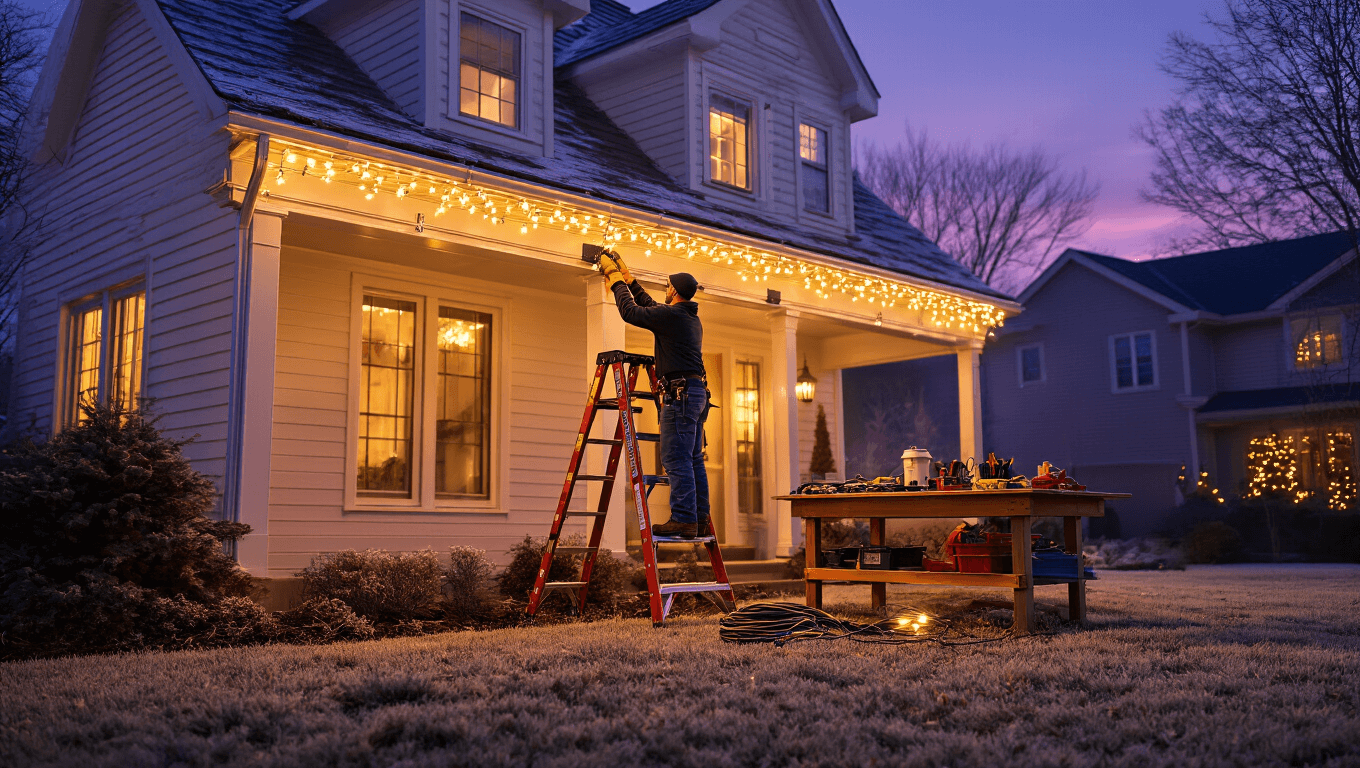
Outdoor Christmas lights turned my first holiday season as a homeowner into a comedy of errors I’ll never forget.
Picture this: me, balancing on a wobbly ladder at dusk, wrestling with a tangled mess of lights that may or may not have been outdoor-rated, plugging everything into one sad extension cord.
My neighbor watched from his perfectly lit porch and shook his head.
That’s when I realized I had no clue what I was doing.
Fast forward three years, and I’ve got this down to a science.
No more blown fuses, no more lights dangling like sad tinsel by January, and definitely no more white-knuckle moments on sketchy ladders.
Let me walk you through exactly how to do this right.
")
Why Most People Screw This Up (And How Not to Be One of Them)
Here’s the thing nobody tells you: outdoor lighting isn’t just about making your house look festive.
It’s about electricity, weather exposure, and not creating a fire hazard that’ll have the fire department at your door on Christmas Eve.
I’ve seen it all in my neighborhood:
- Lights that flicker out after the first rain
- Extension cords that literally melted into the snow
- Displays that trip the breaker every single night
The difference between a magical display and a disaster? Proper planning and the right gear.
What You Actually Need (No Junk, No Fluff)
The Lights Themselves
Forget those bargain bin lights from the gas station.
You want outdoor-rated LED Christmas lights with UL certification.
I learned this the hard way when my first set of cheap incandescent bulbs turned my electric bill into a horror story.
LEDs changed everything:
- They use 75% less energy than old-school bulbs
- They stay cool to the touch (no fire risk)
- They last for years, not weeks
- They don’t dim when you connect multiple strands
Look for the UL mark or ENERGY STAR rating on the box.
If it doesn’t have either, put it back.
")
Clips and Mounting Gear That Won’t Destroy Your House
I once stapled lights directly to my fascia board.
My wife still brings this up at parties.
Don’t be me.
Get yourself plastic gutter clips that slide right onto your gutters without tools or damage.
For other surfaces, you’ll want:
- Vinyl siding hooks for horizontal surfaces
- Shingle tabs that slip under roof edges
- Adhesive clips for smooth surfaces (test first on an inconspicuous spot)
The beauty of these? They come off clean in January without leaving holes or marks.
The Extension Cord Situation
This is where I see people make dangerous mistakes constantly.
You need outdoor extension cords with GFCI protection built in.
That GFCI feature is your safety net—it cuts power the instant it detects an electrical imbalance.
Translation: it prevents you from getting shocked or starting a fire.
I use weather-resistant outdoor extension cords rated for at least 15 amps.
The cord should feel thick and heavy, not flimsy like indoor versions.
Check for these features:
- Bright color (so you don’t trip over it)
- Three-prong grounded plugs
- “Outdoor” or “For outdoor use” clearly marked
- Weather-resistant or waterproof seal where plugs connect
")
The Ladder Question
Listen, I know aluminum ladders are lighter and cheaper.
Do not use them around electricity. Period.
Metal conducts electricity beautifully, which is the last thing you want when working near power lines or outlets.
Get yourself a fiberglass or wooden sturdy extension ladder.
My 20-footer reaches my two-story roofline with room to spare.
Ladder safety basics I follow religiously:
- Always place it on flat, solid ground
- Use the 4-to-1 rule (for every 4 feet up, the base goes 1 foot out)
- Never lean it against gutters—they’ll bend or break
- Have someone hold the base while you climb
The Extras That Make Life Easier
You’ll also want:
- Zip ties for securing lights to tree branches
- A programmable timer so you’re not outside every night at 11 PM
- Cable organizers to bundle excess cord length
- A surge protector rated for outdoor use
")
My Step-by-Step Process (Tested Over Three Winters)
Step 1: Test Everything Before You Climb
I plug in every single strand while it’s still in my garage.
Sounds paranoid? Maybe.
But finding a dead section while you’re 15 feet up on a ladder is way worse.
Check each strand for:
- Broken or missing bulbs
- Frayed wires or exposed copper
- Loose connections where the plug meets the cord
- Burn marks or melted plastic
If you find damage, toss that strand.
It’s not worth the risk.
<img src="https://evyvehomes.com/wp-content/uploads/2026/03/2352outdoor-electrical-connections-macro-dusk.png" alt="Detailed macro shot of outdoor electrical connections at dusk, featuring a glowing programmable timer plugged into a weatherproof GFCI outlet on tan vinyl siding, surrounded by heavy-duty extension cords with waterproof twist-lock plugs, showcasing proper cord loops and strain relief for safety." style="
")
")


