This post may contain affiliate links. Please see my disclosure policy for details.
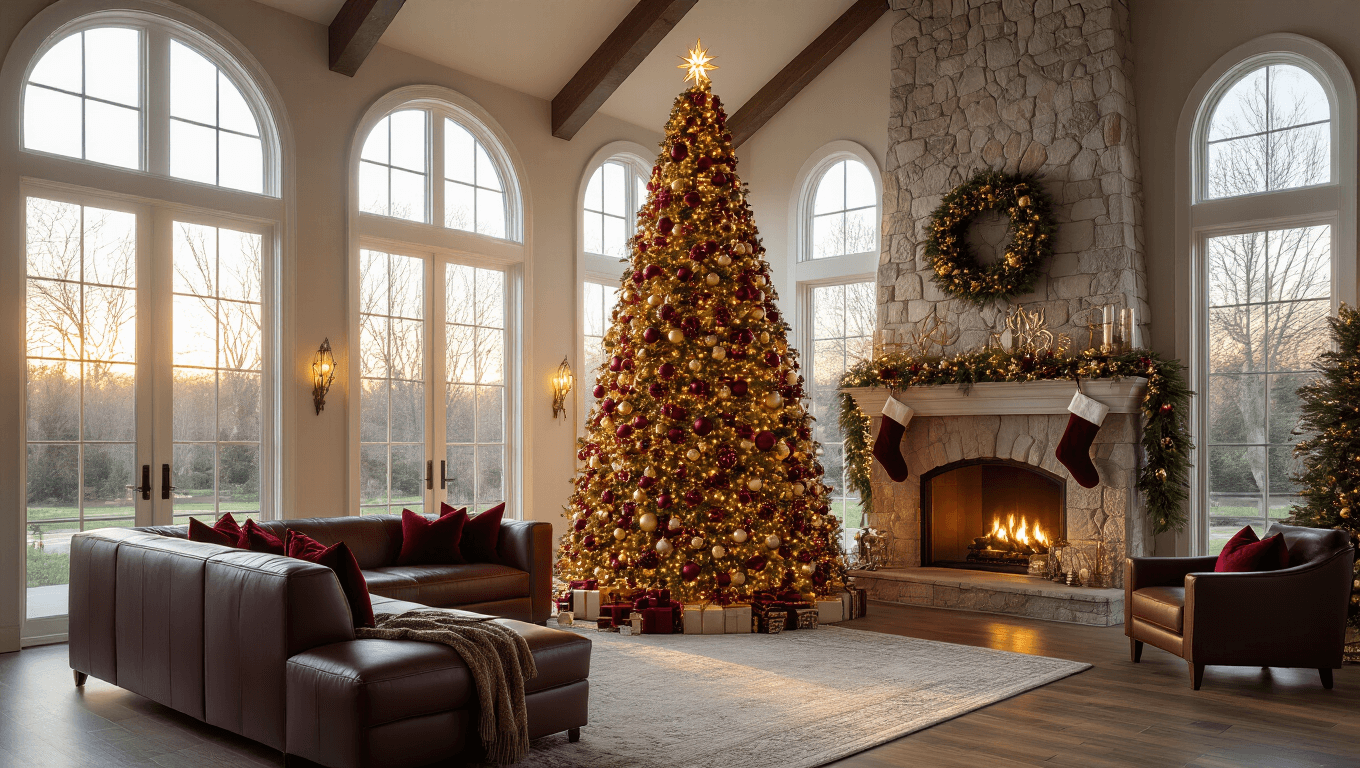
‘Tis the season to transform your home into a winter wonderland, and what better way to start than with a showstopping Christmas tree? I’m here to guide you through creating a Pinterest-worthy centerpiece that’ll have your guests oohing and aahing all season long.
Let’s face it – decorating the perfect Christmas tree can be daunting. Will your color scheme clash? Are your ornaments too big or too small? Fear not, my festive friends! I’ve got all the tips and tricks you need to create a tree that’s both stylish and personal.
Ready to dive in? Here’s what you need to know:
Time to get your festive on:
Contents
2-3 hours
Total time (including setup and photography):
4-5 hours
Ideal space:
Medium to large rooms
Difficulty level:
Easy to moderate
Budget:
$100-$500 (depending on how extra you want to be!)

Choosing Your Style
First things first – let’s talk style. Are you a traditionalist at heart, or do you prefer a more modern twist? Maybe you’re all about that cozy rustic vibe? Whatever your preference, we’ve got you covered.
Traditional:
Think classic red and green, glass ornaments, and plenty of tinsel.
|
Our Rating:
3.5
|
Our Rating:
3.5
|
Our Rating:
3.5
|
Our Rating:
3.5
|
Our Rating:
3.5
|
Our Rating:
3.5
|
Our Rating:
3.5
|
Our Rating:
3.5
|
|
$7.99
|
$7.99
|
$9.99
|
$19.99
|
$9.99
|
$9.99
|
$7.99
|
$25.99
|
Modern:
Sleek and chic with a white and silver color palette.
Rustic:
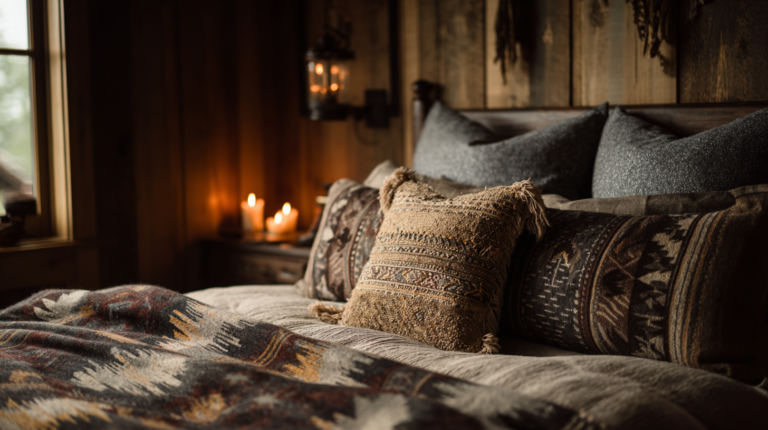
Warm woods, natural elements, and a touch of homespun charm.

Essential Toolkit
Now, let’s get down to the nitty-gritty. Here’s your essential toolkit:
- Christmas lights (because duh!)
- A variety of ornaments (mix sizes and textures for interest)
- Garlands (tinsel, beads, or ribbon – take your pick!)
- A show-stopping tree topper
Pro tip: Invest in a quality artificial tree if you want to save time and mess in the long run. Trust me, your vacuum cleaner will thank you!

Optional Extras
Optional extras to take your tree from “nice” to “naughty but nice”:
- Fairy lights for extra twinkle
- Scented candles for that authentic pine smell (if you’ve gone artificial)
- Natural elements like pinecones or cinnamon sticks
On a budget? No worries! Mother Nature’s got your back. Forage for pine branches, holly, or mistletoe to add a touch of organic charm without breaking the bank.

Decorating Method
Now, let’s get decorating! Here’s my fool-proof method:
- Clear the decks: Move furniture to create a focal point for your tree.
- Light it up: Start with your lights, wrapping them evenly from top to bottom.
- Build your base: Add your largest ornaments first, spacing them evenly.
- Fill it in: Use smaller ornaments to fill gaps and create depth.
- Add the tinsel: Drape garlands or tinsel, starting from the top and working your way down.
- Top it off: Crown your masterpiece with a stunning tree topper.
Remember the golden rule of Christmas tree styling: the 60-30-10 rule. 60% of your decorations should be your main color, 30% your secondary color, and 10% an accent color. This creates a cohesive look without being matchy-matchy.

Photography Tips
Want to take Instagram-worthy photos of your creation? Here are my top tips:
- Shoot in the early morning or late afternoon for that magical golden hour light.
- Get low! Shooting from a lower angle makes your tree look more impressive.
- Use a ring light to add a festive twinkle to your photos.

Common Pitfalls to Avoid
Common pitfalls to avoid:
- Overloading one side of the tree (step back regularly to check balance)
- Forgetting to fluff artificial branches (nobody likes a sad, flat tree)
- Using clashing colors (stick to your chosen palette)
Including a set of 12pcs assorted gingerbread ornaments comes with a string for easy hanging, each one is unique and with great details, just looks like real gingerbread cookies
You will receive 36 pieces of Halloween mini resin ornaments,each resin ornament comes in a different style and is accompanied by a 32 ft golden string for easy hanging.Variety of styles and enough quantity can meet all your holiday, party, home, office decoration needs.Ideal for creating a festive and fun atmosphere.
This set of 130 Christmas ball ornaments adds elegance and festive charm to your Christmas tree, creating a beautiful holiday atmosphere in your home.
Value pack of 30pcs mini resin Christmas ornaments of variety of styles, they’re full of Christmas elements, including Santa clause, Christmas tree, snowman, Santa hat, reindeer, stockings, gift boxes, jingle bell, gloves, Christmas ball, etc.
You'll receive 24 PCS Halloween tree ornaments wooden full of Halloween elements! Including Pumpkin, Bat, Ghost, Witch, Skull, Tombstone, Spider, Scarecrow, Black Cat. These Halloween tree decorations are not just decorations. They're mood-setters, adding a Halloween touch to your home or party. Elevate your space with happiness and create unforgettable memories this Christmas!
This fall tree ornaments collection features a rich array of balls in warm shades of gold, bronze, and brown, each with unique textures and finishes like matte, glossy and glittering finishes. The rich components of harvest-related ornaments will bring a sense of autumn, symbolizing abdunce and prosperity.
Christmas Crafts Kit: Includes materials to create 40 beaded Christmas ornaments—20 Christmas wreath ornaments, 10 candy canes in 5 styles, 5 snowman ornaments, and 5 Christmas tree ornaments; assembly required; includes instructions.
And there you have it, folks! Your guide to creating a Christmas tree that’s worthy of the front page of any home decor magazine. Remember, the most important thing is to have fun and let your personality shine through. After all, it’s not just a tree – it’s a reflection of you and your family.
So go forth and decorate! And don’t forget to pour yourself a festive mug of hot cocoa when you’re done. You’ve earned it!
Happy decorating, and may your days be merry and bright!

