

This post may contain affiliate links. Please see my disclosure policy for details.
Christmas Tree Drawing Decor: A Festive DIY Project
The Christmas tree drawing that looked most charming was a simple outline with decorative ornaments and a star on top. Drawing a Christmas tree is a fun holiday activity. The key is keeping the lines simple and adding festive details.
I’ve been doing this for years, and let me tell you, it’s become one of my favorite holiday traditions. It’s perfect for those who want to add a festive touch without breaking the bank or taking up too much space. So, grab your hot cocoa, and let’s get started!

What You’ll Need:
1. Paper or canvas
2. Pencil and eraser
3. Colored pencils or markers
4. Scissors
5. Tape or adhesive putty
6. Optional: Glitter, sequins, or other decorative elements

Step 1: Sketch Your Tree
Start by lightly sketching the outline of your Christmas tree on your paper or canvas. Don’t worry about perfection – we’re going for charm here, not a botanical illustration!
Pro tip: Use a triangular shape as your base, then add some curved lines for branches.
Step 2: Add Some Detail
Now, let’s give that tree some personality! Draw in some branches, ornaments, and maybe even a star on top. Remember, this is your tree, so feel free to get creative!
Step 3: Color It Up
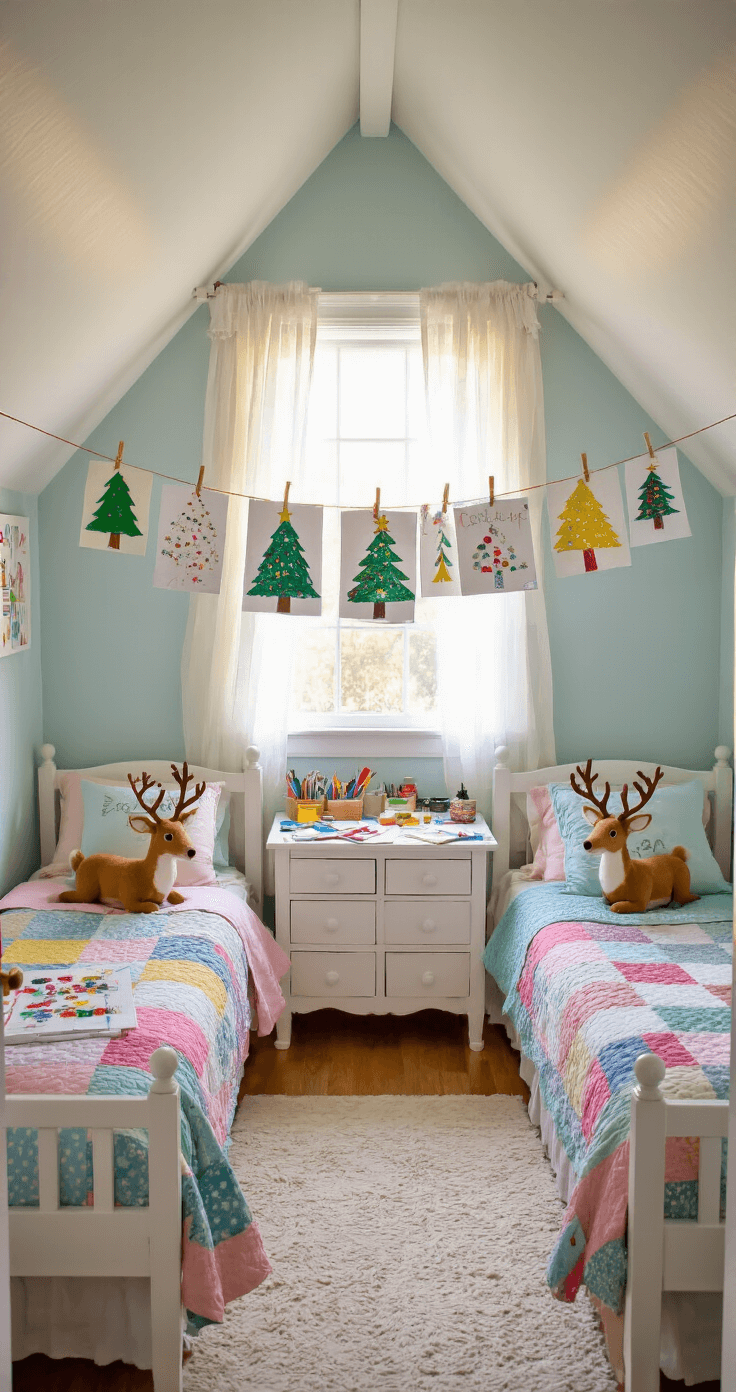
Time to break out those colored pencils or markers! Green is classic for the tree, but don’t be afraid to go wild with ornament colors. I once did a pink and gold tree that looked absolutely fabulous!
Save this article
Enter your email and we'll send it straight to your inbox.
Step 4: Add Some Sparkle (Optional)
If you’re feeling extra festive, why not add some glitter or sequins? A little sparkle goes a long way in catching the light and adding some magic to your drawing.

Step 5: Cut It Out
Carefully cut out your tree drawing. If you’re not confident in your cutting skills, leaving a small white border around the tree can actually look quite nice.
Step 6: Display Your Masterpiece
Now for the fun part – finding the perfect spot for your tree! I love using adhesive putty to stick my tree drawings on walls or windows. It’s easy to remove and won’t damage your surfaces.
Styling Tips:
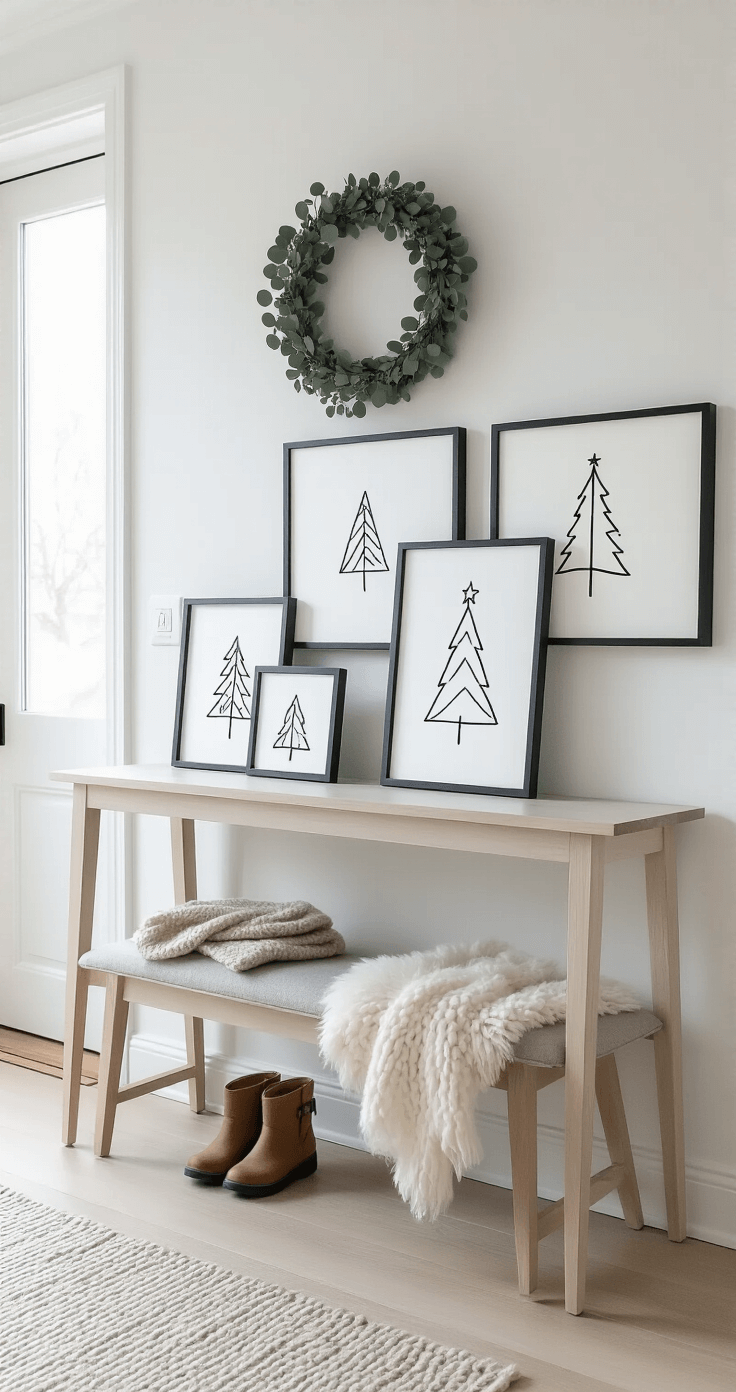
1. Create a forest: Make multiple trees in different sizes for a whimsical display.
2. Frame it: Pop your tree in a festive frame for an instant holiday artwork.
3. Garland alternative: String up several small tree drawings to create a unique garland.

Remember, the beauty of this project is its simplicity and adaptability. You can easily tailor it to fit your personal style or existing decor. Whether you’re going for a minimalist Scandinavian vibe or a colorful, retro look, this project can be adjusted to suit your needs.
And here’s a little secret: these make fantastic last-minute gifts! I’ve lost count of how many times I’ve whipped up a quick tree drawing for a friend or neighbor. Pair it with some homemade cookies, and you’ve got a thoughtful, personal gift that’s sure to bring a smile.
A Christmas tree drawing works when the lines are simple and the details are festive. Use a basic tree shape, add ornaments, and top with a star. The drawing should feel charming and seasonal.
Keep this one for later
We'll email you the link so you can come back to it.


[…] the bank on presents? No worries! Hit up Dollar Tree for some budget-friendly DIY […]