

This post may contain affiliate links. Please see my disclosure policy for details.
Christmas Tree Painting: Turn Your Holiday Spirit Into Beautiful Art
Contents
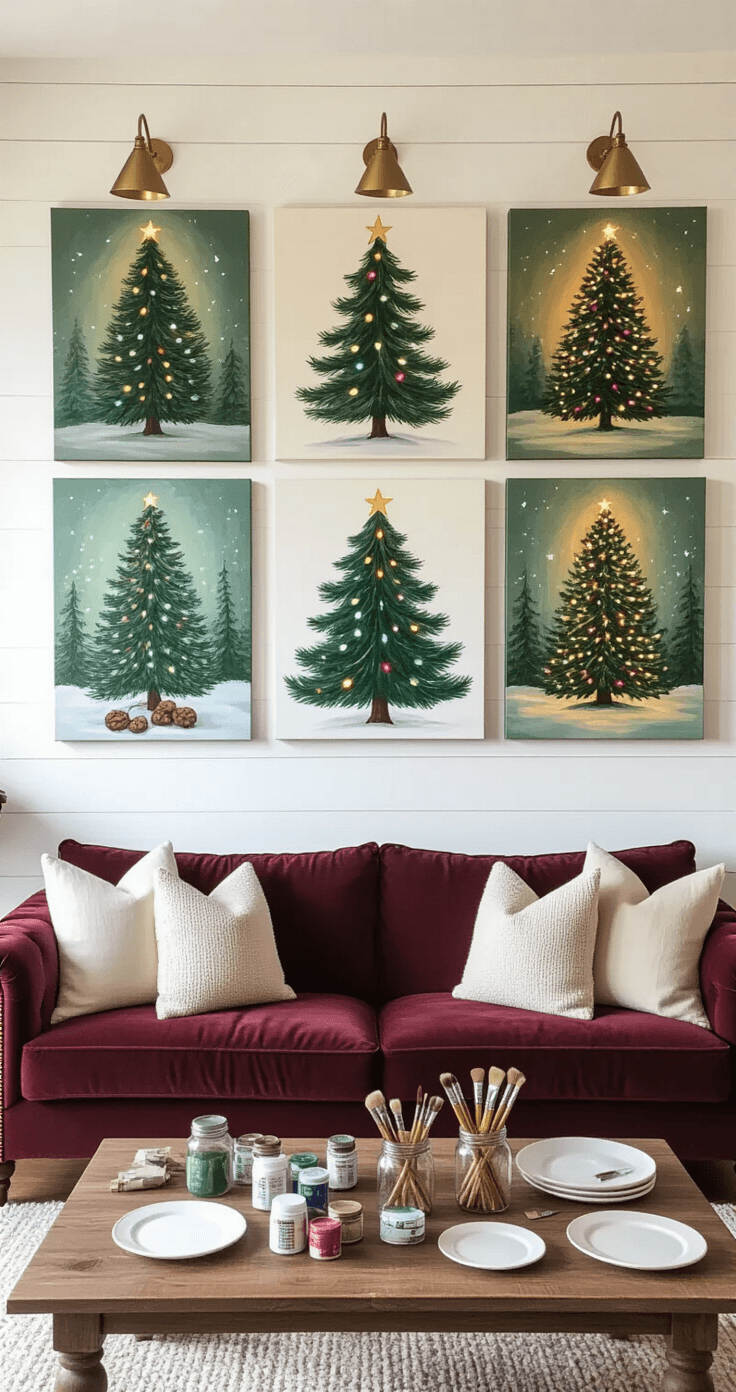
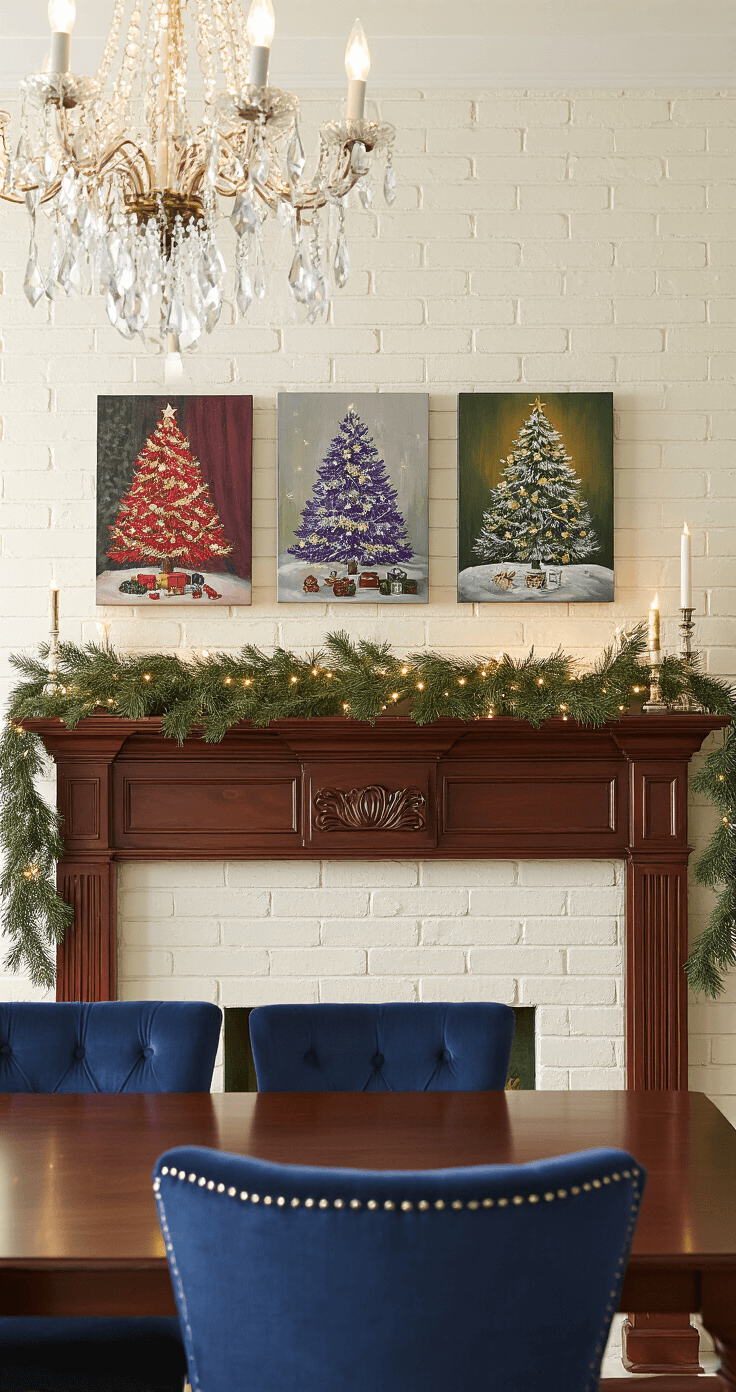
Christmas tree paintings have completely transformed my holiday decorating game, and I’m about to show you exactly how to create stunning seasonal artwork that’ll have your guests asking where you bought it.
I’ve been painting these festive trees for three years now, and what started as a desperate attempt to fill empty wall space has become my favorite holiday tradition.
Quick Facts About This Project
Styling time needed: 30-45 minutes
Total content creation time: 1-2 hours (including drying time)
DIY difficulty level: Beginner to intermediate
Budget range: $15-40 for supplies
Style category: Holiday seasonal art
Best for: Paint nights, holiday crafting, festive home decor
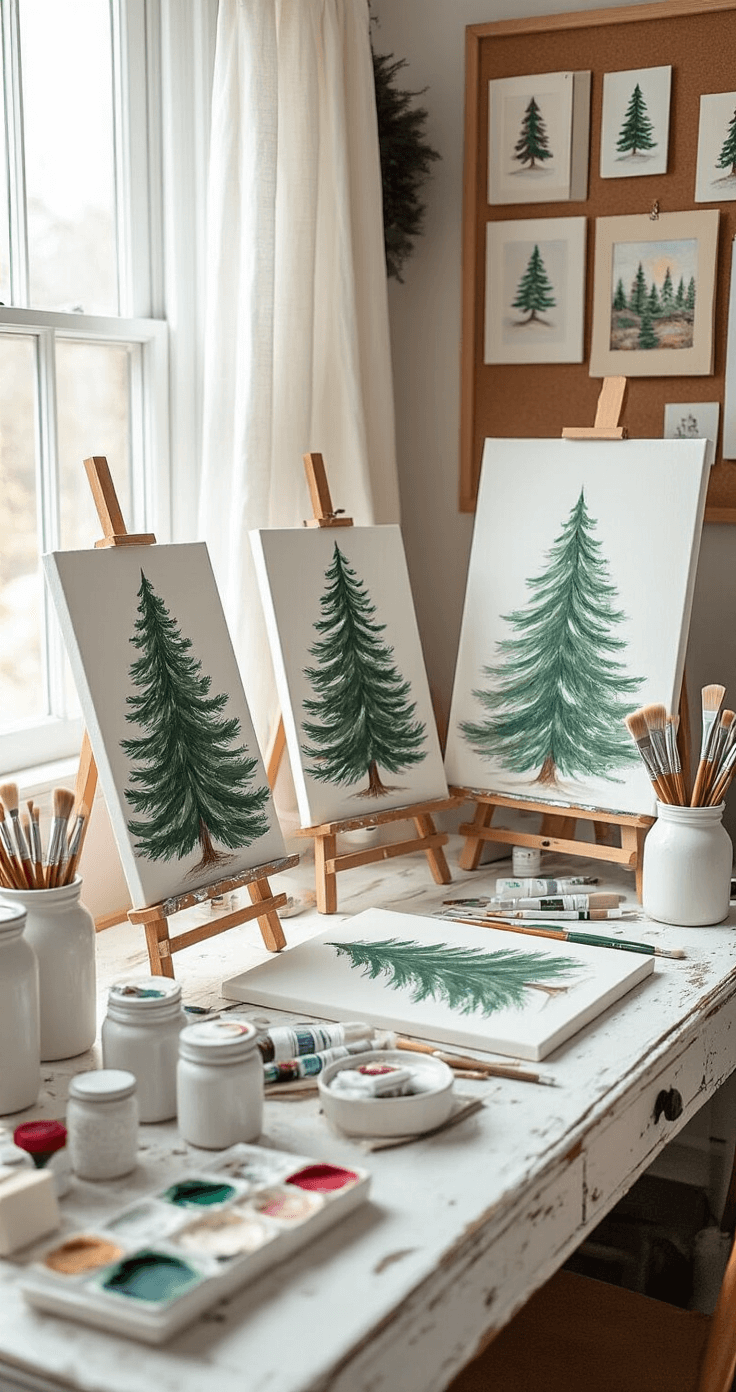
Gather Your Art Arsenal
Trust me, having the right supplies makes all the difference between a masterpiece and a hot mess.
Here’s what you absolutely need:
- Canvas panels or boards (I prefer 9×12″ for beginners)
- Acrylic paint set in holiday colors
- Multiple brush sizes – 1″ flat, 1″ filbert, and #3 round brushes
- Paper plates for color mixing
- Canvas easel (optional but helpful)
I learned the hard way that skimping on brushes leads to frustration. Get decent ones and thank me later.
Master the Classic Christmas Tree Method
Build Your Background Like a Pro
Start with your mood-setting background color. I mix dark blue with black and just a whisper of grey.
Pro tip: Don’t blend it perfectly. Those slightly unmixed streaks add character that screams “handmade with love,” not “painted by a robot.”
Use a large foam brush to cover your entire canvas. Let those brush strokes show – they’re part of the charm.
Shape That Perfect Tree
Here’s where most people mess up – they think too much about making it perfect.
Step-by-step tree building:
- Start at the bottom with your darkest green
- Use rough, feathery brush strokes
- Make each layer smaller as you climb higher
- Think Christmas tree, not telephone pole
I use a round brush with the lightest touch possible. Heavy-handed painting kills the magic every single time.
Add Depth That Pops
Once your base dries (and patience here pays off), layer on lighter green shades.
My secret formula:
- Dark forest green as your foundation
- Medium green for mid-tones
- Light sage green for highlights
- Mix your own custom greens – store-bought colors can look flat
This layering technique separates amateur hour from “holy cow, did you really paint that?”
Make It Sparkle Like Christmas Morning
Time for the fun stuff – those twinkling lights that make everything magical.
Light application technique:
- Use the tip of your smallest brush
- Dab tiny dots of pink, red, purple, and yellow
- Vary the sizes slightly
- Don’t overthink the placement
For snow effects, I randomly touch white paint to branch tops. Random is key here – real snow doesn’t follow patterns.
Tree trunk reality check: Paint it light brown first, then add darker brown for dimension. Flare the base slightly because trees grow from the ground, not hover above it.
Crown Your Creation
Every Christmas tree needs a star, and yours should shimmer with imperfection. Use gold paint with deliberately uneven strokes.
Paint the ground area with brown mixed with just a hint of blue. This grounds your tree and prevents that awkward floating effect.
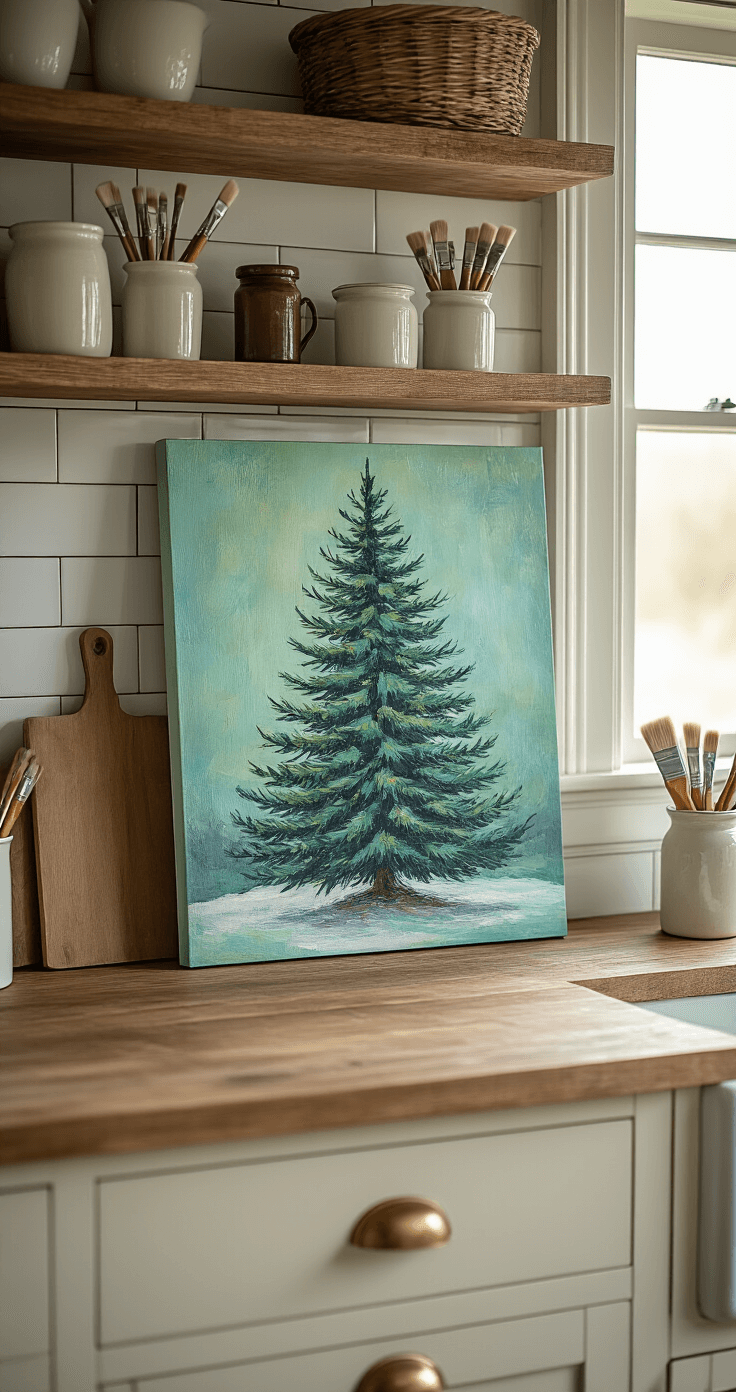
Try the Magical Opalescent Technique
Foundation Magic
This method creates trees that literally seem to glow from within.
Apply white gesso first – this isn’t optional perfectionist nonsense. Gesso creates a barrier that helps colors pop and prevents fading over time.
Once dry, paint soft gray tones using crisscrossing motions. This natural blending sets the stage for your glowing masterpiece.
Build Your Glowing Tree
Mix black with yellow for your dark green base. Use a filbert brush and tap the color on rather than brushing it.
Tapping technique benefits:
- Creates natural texture
- Prevents overmixing
- Builds authentic evergreen appearance
Make shadows underneath your tree shape. Real trees cast shadows, and yours should too.

Layer the Glow Effect
Mix turquoise with purple and lightly tap over your tree. Don’t blend completely – those color variations create the opalescent magic.
")
")
")


[…] beauty of Art Deco is its versatility. It can be as bold or as subtle as you want, as long as you keep those key […]