
This post may contain affiliate links. Please see my disclosure policy for details.
My Journey Creating the Perfect DIY Christmas Tree for Every Budget and Style
Contents
Creating your own DIY Christmas tree transforms your holiday decor from ordinary to absolutely magical, and I’m here to walk you through every single step I’ve learned along the way.
🌟 Steal This Look
- Paint Color: Sherwin-Williams Pure White SW 7005
- Furniture: slim profile console table for tree base display and gift arrangement
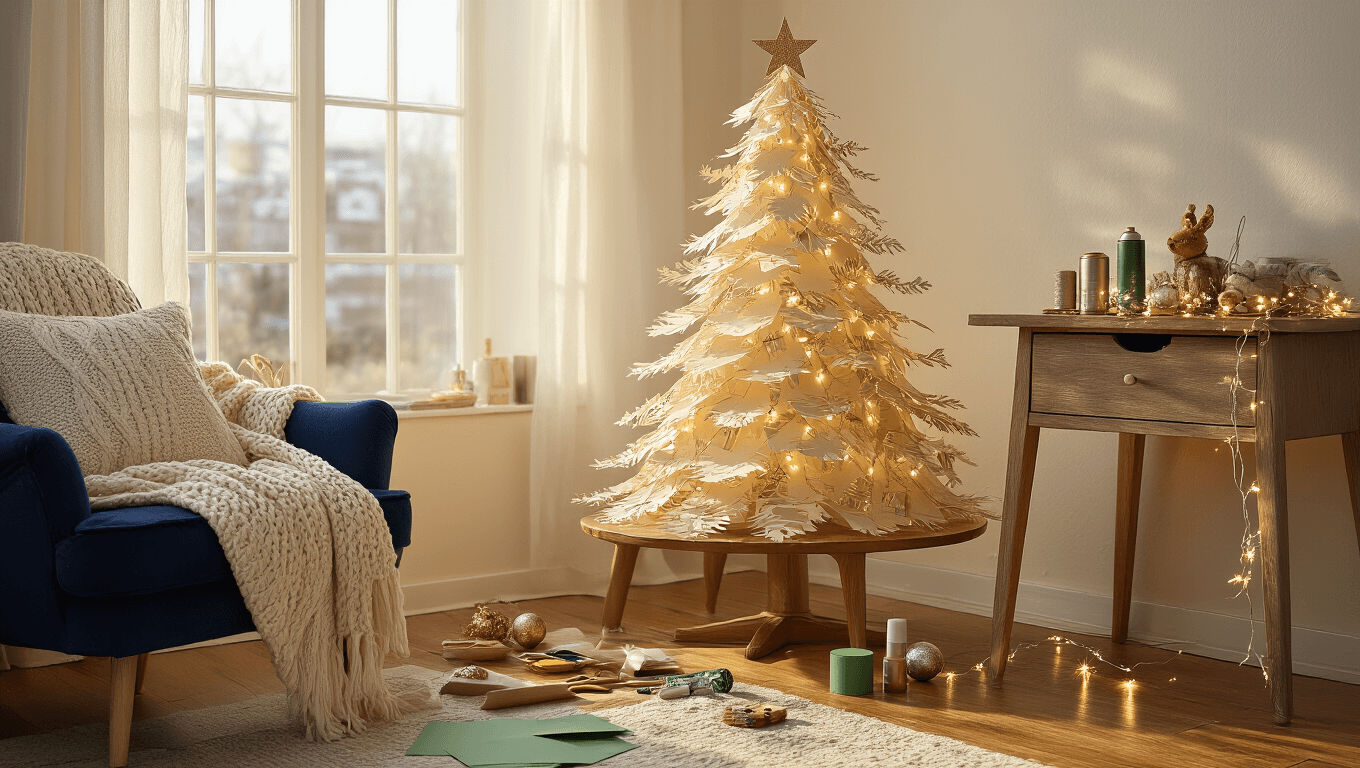
- Lighting: warm white LED fairy lights with dimmer function
- Materials: natural jute twine, burlap ribbon, dried orange slices, cinnamon sticks, unfinished wood beads
I learned this the hard way after three years of trees that looked ‘almost right’—turns out the secret isn’t spending more, it’s understanding how light interacts with your chosen materials before you even start assembling.
Why I Started Making My Own Christmas Trees
Look, I get it. You’re staring at those $80 fresh trees at the lot, or maybe you’re dealing with a tiny apartment that can’t fit a traditional tree. Perhaps you’re just tired of the same old green-and-red routine everyone else is doing.
I’ve been there.
Three years ago, I was living in a studio apartment with exactly zero floor space for a real tree. My cat would’ve destroyed it anyway. That’s when I discovered the absolute game-changer that is DIY Christmas trees.
Here’s what blew my mind: You can create stunning holiday centerpieces for under $10 that look like they came straight from a designer’s Instagram feed.
The Real Talk About DIY Christmas Trees
What You Actually Need to Know
Time Investment:
- Simple paper trees: 30 minutes max
- Wood plank trees: 2-3 hours (including drying time)
- Elaborate recycled projects: Half a day if you’re being fancy
Space Requirements:
- Tabletop minis work on surfaces as small as 12 inches
- Medium trees need about 2 feet of floor or counter space
- Large statement pieces require corner placement
Skill Level Breakdown:
- Beginner: Paper folding, cardboard cutting, styling mini trees
- Intermediate: Basic woodworking, complex layering, structural assembly
My Favorite DIY Christmas Tree Methods
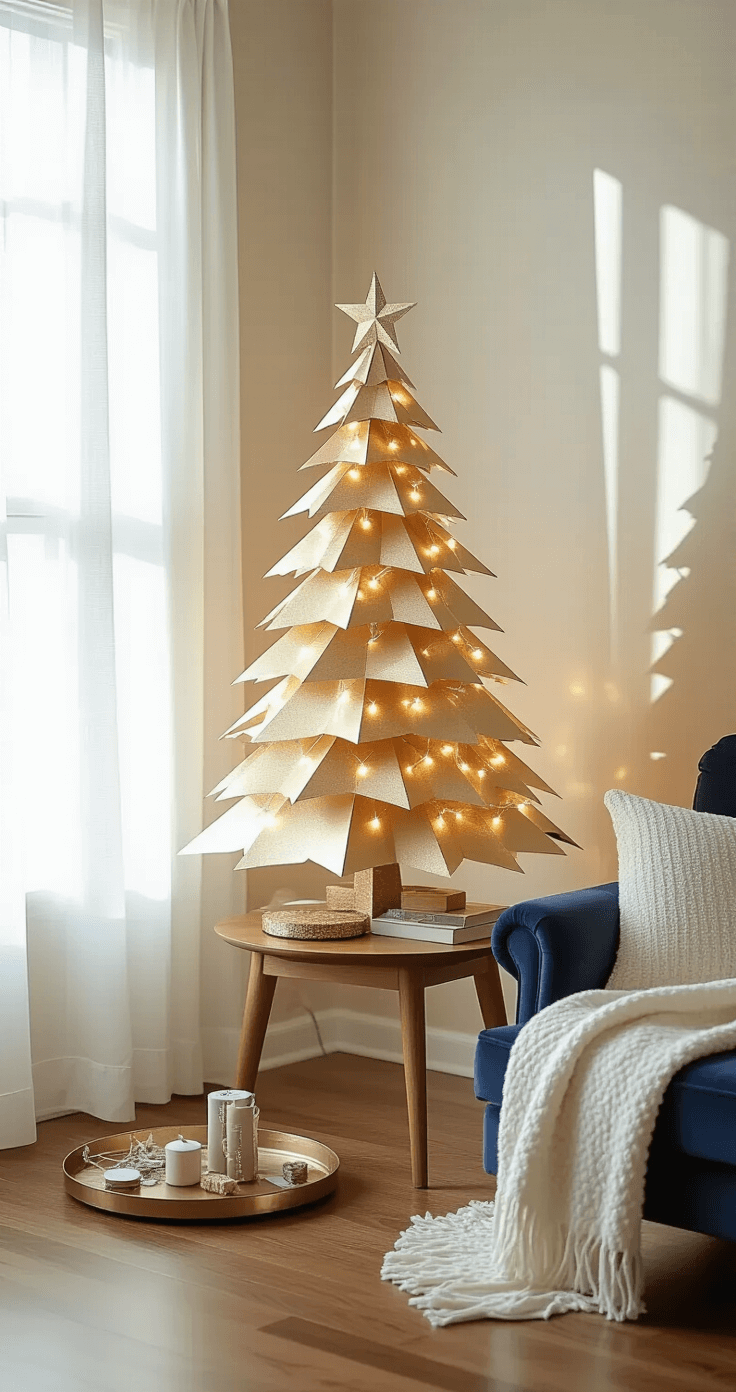
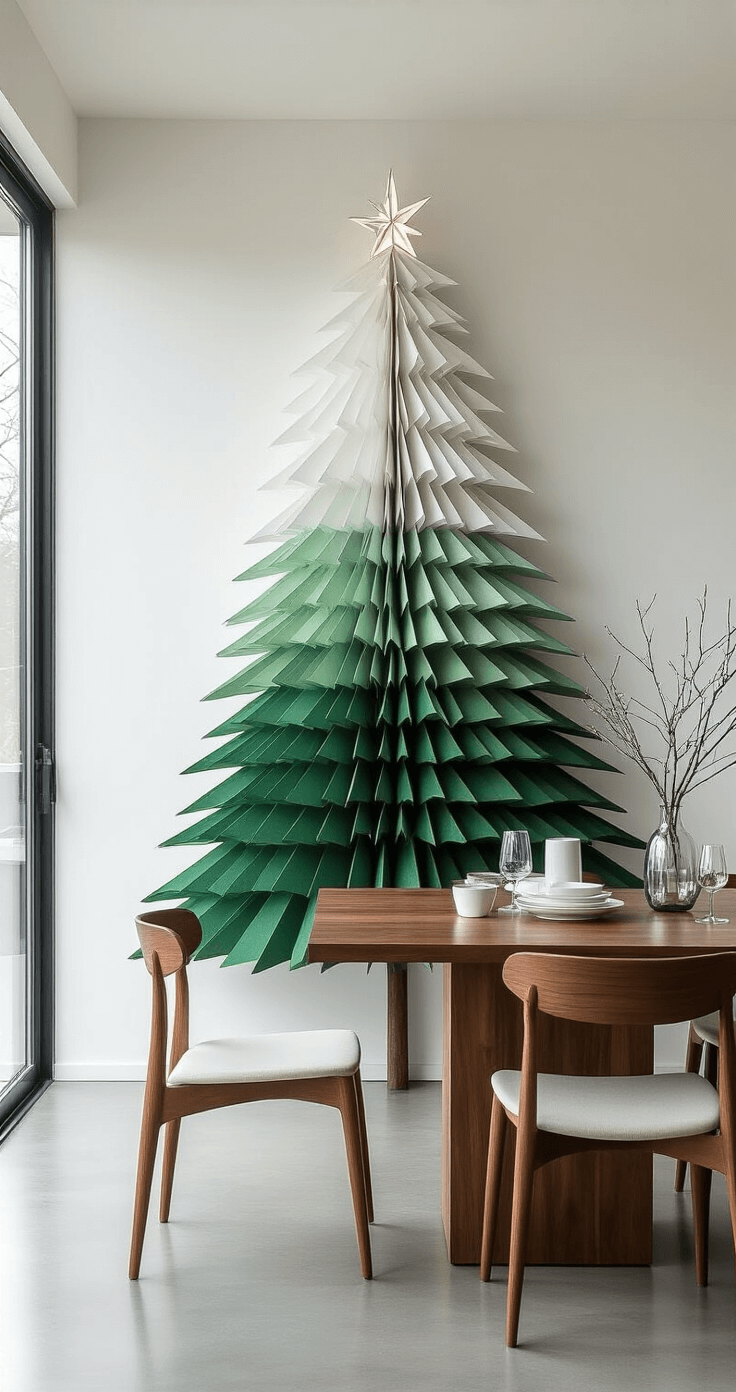
The “I Have Zero Skills” Paper Tree
This saved my holiday party last year when I needed six matching centerpieces.
What you’ll need:
- Green cardstock paper
- Scissors
- Glue stick
- Mini string lights
The process:
- Cut triangular tree shapes in graduated sizes
- Score fold lines down the center for dimension
- Stack and glue from largest to smallest
- Wrap with battery-powered fairy lights
- Add tiny paper star on top
Pro tip: Make these in metallics for New Year’s. Same technique, completely different vibe.
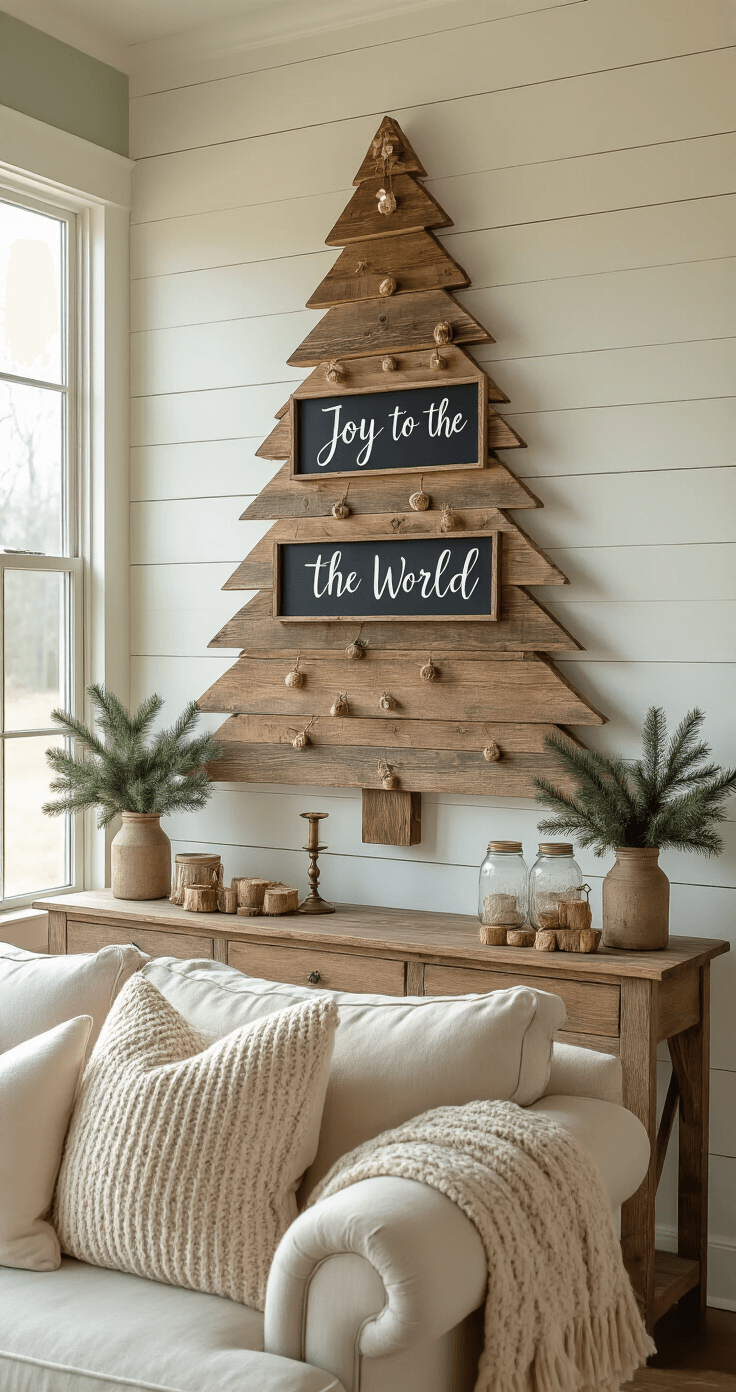
The Rustic Wood Plank Masterpiece
I made this for my mom last Christmas, and she still brags about it to neighbors.
Shopping list:
- Reclaimed wood planks (various lengths)
- Wood stain or paint
- Small wood ornaments
- Drill and screws
The magic happens like this:
- Cut planks in decreasing lengths (start with 24″, work down to 4″)
- Sand everything smooth
- Stain in your favorite finish
- Mount horizontally on a central backing board
- Drill small holes for hanging mini ornaments
Game changer: Paint the backing board in chalkboard paint. Write holiday messages that change throughout December.
The “I’m Saving the Planet” Recycled Tree
This approach turns your recycling bin into holiday gold.
Materials I’ve used successfully:
- Wine bottles (green ones work best)
- Cardboard Amazon boxes
- Old magazines
- Fabric scraps
- Spray paint for unifying colors
My favorite technique:
- Cut cardboard into tree silhouette
- Layer with magazine pages in ombre effect
- Add fabric texture in key spots
- Spray entire piece with metallic accent
- Mount on wall or prop against bookshelf
💡 Steal This Look
- Paint Color: use Behr brand. Match the ACTUAL wall color in the image. Format: Behr ColorName CODE
- Furniture: specific furniture for this room
- Lighting: specific lighting fixture
- Materials: key textures and materials
These two methods represent the beautiful spectrum of holiday crafting—one demands nothing but patience and a steady hand, the other rewards a Saturday afternoon with power tools and the satisfying smell of wood stain. I’ve watched complete beginners succeed with both, and the pride in their finished pieces never gets old.
The Photography Game-Changer
Nobody talks about this enough: Your DIY tree isn’t finished until you capture it properly.
Lighting That Actually Works
Natural light wins every time:
- Shoot near your brightest window
- Avoid direct sunlight (creates harsh shadows)
- Overcast days give the most even lighting
For evening shots:
- Use warm white LED bulbs
- Position lights at 45-degree angles
- Never use your camera’s flash
Styling Secrets That Make Everything Pop
Layer your textures:
- Smooth (glass ornaments)
- Rough (burlap ribbons)
- Shiny (metallic accents)
- Matte (painted elements)
Color coordination rules I swear by:
- Pick three colors maximum
- Use the 60-30-10 rule (dominant, secondary, accent)
- Metallics count as neutrals
🏠 Steal This Look
- Paint Color: use Valspar brand. Match the ACTUAL wall color in the image. Format: Valspar Soft Wool 5002-1B
- Furniture: low-profile velvet sofa in deep emerald or charcoal, positioned perpendicular to the tree for optimal sight lines
- Lighting: adjustable arc floor lamp with warm 2700K LED bulb, positioned behind camera angle to fill shadows
- Materials: raw linen backdrop curtains, reclaimed wood picture ledges for ornament display, brushed brass curtain rods
I’ve learned that the trees my readers save and share aren’t always the most expensive—they’re the ones photographed with intention, where someone took ten minutes to clear the background and wait for the right light.
Budget Breakdown: What I Actually Spent
The $5 Challenge Tree
- Dollar store supplies: $3
- Craft paint: $2
- Total: $5
- Result: Adorable 18-inch tabletop tree
The $25 Investment Piece
- Quality
")


[…] dozens of bedrooms: creating that dreamy, earth-toned retreat isn’t about having a massive budget or perfect Instagram lighting. It’s about understanding a few key principles and knowing where to focus […]