
This post may contain affiliate links. Please see my disclosure policy for details.
Transform Your Kitchen: The Ultimate Guide to Painting Kitchen Cabinets
Contents
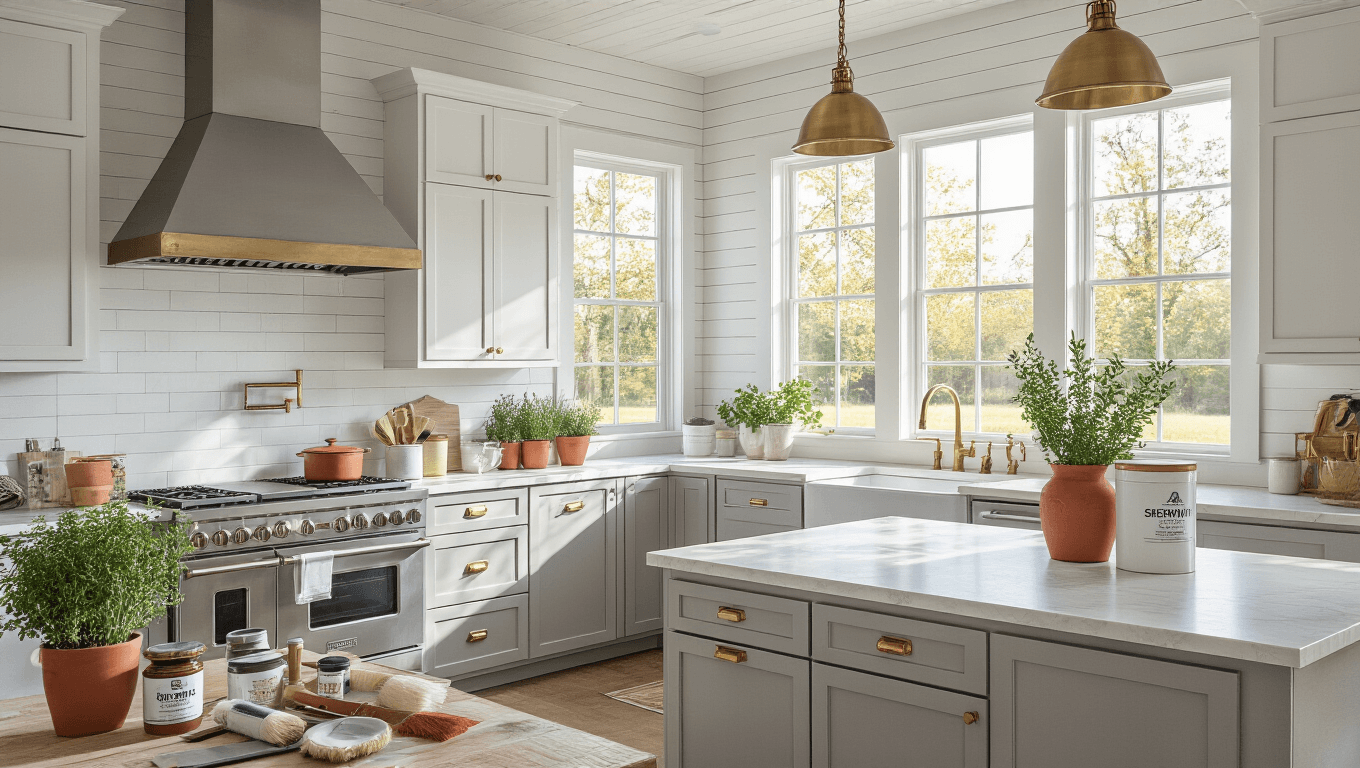
Tired of staring at dated, worn-out kitchen cabinets? I’m about to show you how to breathe new life into your kitchen without breaking the bank.

Why Paint Your Kitchen Cabinets?
Let’s get real. Kitchen renovations can cost a fortune. But painting your cabinets? That’s a game-changer. For just a few hundred bucks and some weekend elbow grease, you can completely transform your space.
Quick Project Snapshot
- Time Investment: 3-5 days
- Skill Level: Moderate
- Budget: $100-$300
- Difficulty: Totally doable for DIY enthusiasts
The Prep: Your Blueprint for Success
Gather Your Arsenal
Must-Have Tools:
- Sandpaper (medium and fine grit)
- Degreaser
- Primer
- Paint
- Brushes and foam rollers
- Drop cloths
- Screwdriver
- Wood filler
- Painter’s tape

Prep Like a Pro
Step 1: Strip It Down
- Remove ALL hardware
- Label each door and drawer
- Take photos for reference during reassembly
Step 2: Deep Clean
- Degrease every surface
- Remove years of cooking grime
- Pro tip: Use a heavy-duty kitchen cleaner
Step 3: Sand with Purpose
- Create a smooth surface for paint
- Focus on rough spots and edges
- Use 120-grit sandpaper first, then 220-grit for smoothness

Priming: The Secret Weapon
Why Primer Matters
- Ensures paint adhesion
- Covers imperfections
- Creates a uniform base
Primer Pro Tips:
- Use a bonding primer for best results
- Apply thin, even coats
- Let dry completely (usually 2-4 hours)

Painting: The Transformation Begins
Choose Your Paint Wisely
Recommended Finishes:
- Semi-gloss
- Satin
- Urethane enamel
Top Paint Recommendations:
- Sherwin-Williams Emerald Urethane Trim Enamel
- BEHR Premium Cabinet & Trim Enamel

Painting Techniques
Application Methods:
- Foam roller for large, flat surfaces
- Angled brush for details and edges
- Thin, even coats
- Minimum two coats for full coverage
Pro Painting Tricks:
- Paint in a dust-free environment
- Use natural light to spot imperfections
- Allow 4-6 hours between coats
- Work in a well-ventilated space

Finishing Touches
Reassembly Tips
- Wait 24-48 hours after final coat
- Reinstall hardware carefully
- Consider updating knobs/pulls for extra pizzazz
Common Pitfalls to Dodge
- DON’T: Rush the process
- DON’T: Skip cleaning or sanding
- DON’T: Use cheap brushes or paint
- DO: Take your time and be patient
Budget Breakdown
- Paint: $50-$150
- Primer: $20-$50
- Supplies: $30-$100
- Total: $100-$300
When to Call a Pro
Consider professional help if:
- Cabinets are extensively damaged
- You lack time or confidence
- Your kitchen has complex cabinet designs
Final Thoughts
Painting kitchen cabinets isn’t just a project—it’s a transformation. With the right approach, you’ll create a stunning kitchen that feels brand new.
Ready to make some magic happen? Let’s do this!

")
")
")


[…] to transform your kitchen? Let’s make some magic happen! […]
[…] Painting cabinets is one of the most cost-effective ways to renovate your kitchen. Average cost ranges from $200-$800 depending on: […]