

This post may contain affiliate links. Please see my disclosure policy for details.
How I Transformed My Screened Porch Into a Pinterest-Worthy Paradise (And You Can Too)
Screened porch design ideas saved my sanity last spring when I realized my outdoor space looked more like a storage closet than the cozy retreat I’d been dreaming about.
You know that feeling when you scroll through Pinterest at 2 AM, wondering why your porch looks like a sad afterthought while everyone else seems to live in a magazine spread?
I’ve been there.
Staring at mismatched lawn chairs, a random pile of gardening tools, and wondering if I’d ever figure out how to make my screened porch actually inviting.
Here’s what nobody tells you: styling a screened porch that photographs beautifully isn’t about having a massive budget or designer credentials.
It’s about understanding a few key principles and being willing to move furniture around until your back hurts.
Let me walk you through exactly how I did it.
Why Your Screened Porch Probably Looks Terrible Right Now
Most screened porches fail because we treat them like outdoor storage instead of actual living space.
We dump the stuff that doesn’t fit inside.
Old coolers, random planters, that chair we’re “definitely going to fix.
I did the same thing for two years before I finally got fed up.
The other mistake? Thinking you can just throw some cushions on cheap plastic chairs and call it decorated.
Your screened porch needs to be styled like an indoor room that happens to have screens instead of walls.
That mindset shift changed everything for me.
The Foundation: What You Actually Need Before You Start
Let’s talk logistics first because jumping straight into styling without prep is how you waste an entire Saturday achieving nothing.
Time Investment (The Honest Version)
Styling time: 2–4 hours minimum
This includes decluttering, which always takes longer than you think, furniture arranging, and styling all the little details that make photos pop.
Total content creation: One full day
- 2–4 hours styling
- 1–2 hours shooting photos
- 1–3 hours editing and writing descriptions
I learned this the hard way after trying to “quickly snap some photos” that turned into a six-hour ordeal.
Budget Reality Check
Here’s where I messed up initially: I thought I needed to spend thousands.
Wrong.
Budget tier ($150–$400):
- Outdoor throw pillows
- Cozy throw blankets
- Potted plants from your local nursery
- String lights for porch
- Basic outdoor area rug
This tier works beautifully if you already have seating.
Mid-range ($400–$1,000):
- New seating pieces
- Larger rug
- Side tables
- Better quality lighting fixtures
High-end ($1,000+):
- Swing bed or custom seating
- Custom cushions
- Ceiling fixtures
- Built-in features or fireplace
I started budget tier and gradually upgraded pieces over two years.
Still looks fantastic in photos.
Space Considerations
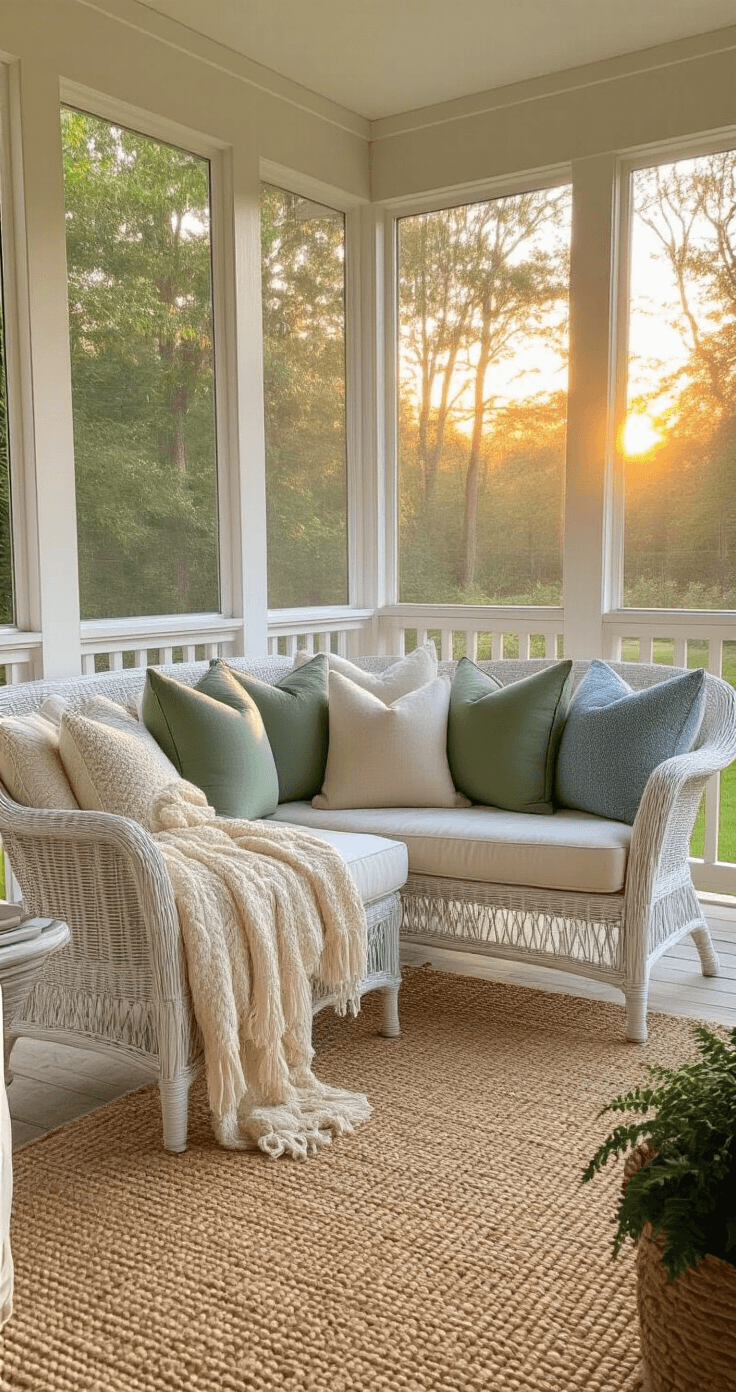
My porch is roughly 10×14 feet, which falls into the typical small-to-medium category (80–200 square feet).
This approach works whether you have a tiny 8×12 space or a generous 12×16 porch.
Save this article
Enter your email and we'll send it straight to your inbox.
The principles scale.
My Photography Setup (No Fancy Camera Required)
I shot my first viral Pinterest pin on my iPhone.
Seriously.
Essential equipment:
- Your smartphone (clean the lens first, you’d be shocked how often this matters)
- White foam board as a reflector (under $5 at any craft store)
- Natural light
- That’s it
Optional but helpful:
- Small LED light for fill
- Basic phone tripod
Editing apps I actually use:
- Lightroom Mobile (free version works fine)
- Snapseed for quick tweaks
- Canva for Pinterest graphics with text overlays
The gear doesn’t matter nearly as much as understanding light and composition.
I’ve seen gorgeous porch photos shot on phones that outperform expensive camera setups.
Finding Your Style (Without Getting Overwhelmed)
The Pinterest rabbit hole of screened porch styles can paralyze you.
Modern farmhouse, coastal, Scandinavian, boho, traditional—how do you even choose?
Here’s my shortcut: pick one style and commit for the season.
You can always change it up later.
I went with modern farmhouse because I already owned neutral furniture.
My color palette:
- Base: warm neutrals (greige, cream, tan)
- Accents: sage green and soft blue in pillows
- Contrast: black metal in lanterns and plant stands
This combo photographs incredibly well and feels timeless.
Color strategy that works:
- Keep large surfaces neutral (floor, main furniture, rug)
- Add personality through easily swappable items (pillows, throws, small decor)
- Pull accent colors from your view (greens from trees, blues from sky)
The Styling Formula That Actually Works
After dozens of attempts, I figured out the exact sequence that creates that “indoor room that happens to be outdoors” vibe.
Step 1: Choose Your Focal Point
Every great screened porch photo has one hero piece.
Mine is a wicker loveseat positioned to face the backyard view.
Focal point options:
- Swing or glider
- Sofa or loveseat
- Dining table for entertaining
- Cozy chair pair with side table
Place this first.
Everything else supports it.
Step 2: Anchor With a Rug
This step transforms the space from “porch” to “room.
I use a neutral outdoor jute rug that defines the seating area and adds crucial texture.
Rug placement tips:
- Large enough that front legs of all seating sit on it
- If too small, it makes everything look cramped in photos
I learned this after wondering why my first photos looked so awkward.
Step 3: Layer Textures Like Your Life Depends On It
This is where magic happens.
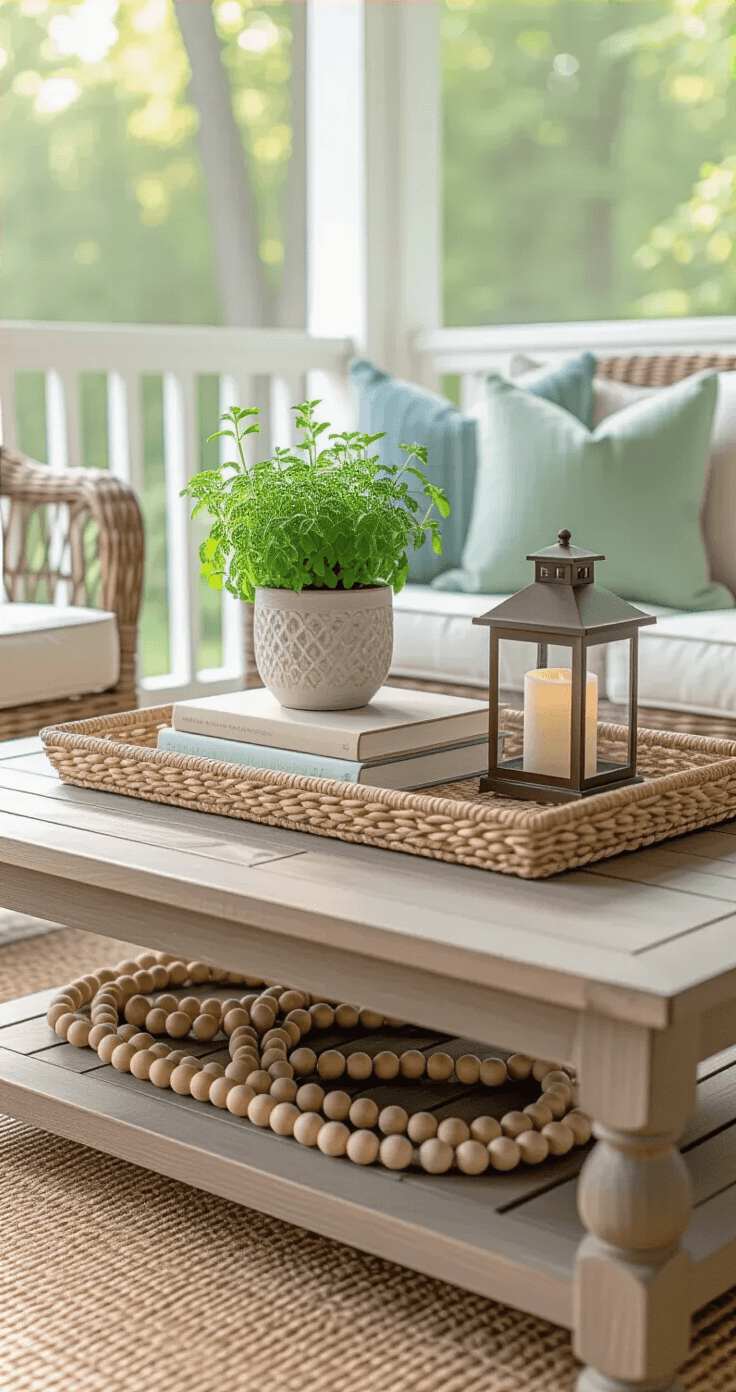
My texture mix:
Keep this one for later
We'll email you the link so you can come back to it.


[…] Works for standard porches (30-80 sq. ft.) but can be scaled down for tiny […]