

This post may contain affiliate links. Please see my disclosure policy for details.
Shower Standing Handles: Your Ultimate Guide to Bathroom Safety That Actually Works
Contents
- Shower Standing Handles: Your Ultimate Guide to Bathroom Safety That Actually Works
- Why Your Shower Needs Standing Handles (And Why Yesterday Would’ve Been Perfect)
- Material Showdown: What Actually Holds Up in Your Shower
- Installation Placement: Getting It Right the First Time
- Installation Secrets That Actually Matter
- Technical Specifications That Actually Protect You
- Choosing the Right Orientation for Your Needs
Shower standing handles might seem like a small addition to your bathroom, but trust me – they’re absolute game-changers for safety.
I’ve installed dozens of these in my own home and for family members, and I can tell you firsthand that the peace of mind they provide is worth every penny.
Whether you’re dealing with mobility concerns, recovering from an injury, or simply want to prevent that heart-stopping slip we’ve all experienced in wet showers, these handles are your best defense against bathroom accidents.
Why Your Shower Needs Standing Handles (And Why Yesterday Would’ve Been Perfect)
Let’s be brutally honest here.
Bathrooms are dangerous.
The combination of water, soap, and smooth surfaces creates the perfect storm for falls.
I learned this lesson the hard way when my mother slipped getting out of her shower last year.
One moment she was fine, the next she was on the floor with a bruised hip and shattered confidence.
That incident made me realize that waiting until you need grab bars is waiting too long.
Here’s what shower standing handles actually do:
- Provide stable support when entering and exiting
- Offer balance assistance while washing
- Give confidence to move naturally in wet conditions
- Prevent costly falls and injuries
- Maintain independence for users with mobility challenges
The statistics don’t lie – bathroom falls account for over 234,000 injuries annually.
Installing proper grab bars reduces fall risk by up to 70%.
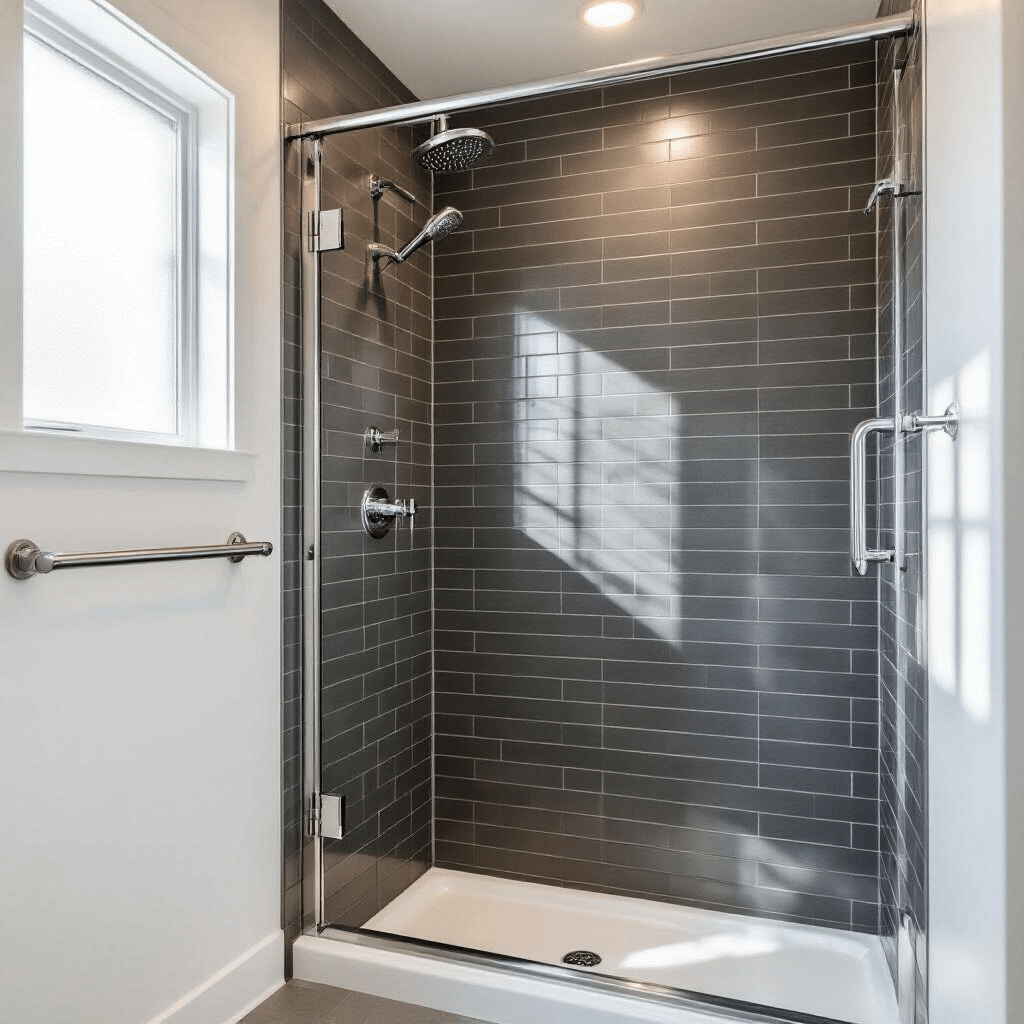
Material Showdown: What Actually Holds Up in Your Shower
Stainless Steel: The Heavyweight Champion
I’ve tested every material out there, and stainless steel wins every single time.
My stainless steel grab bars have been in my guest bathroom for three years now.
They still look brand new despite daily use.
Why stainless steel dominates:
- Supports 500+ pounds without breaking a sweat
- Never rusts or corrodes
- Available in chrome and brushed nickel finishes
- Easy to clean and maintain
- Looks professional and modern
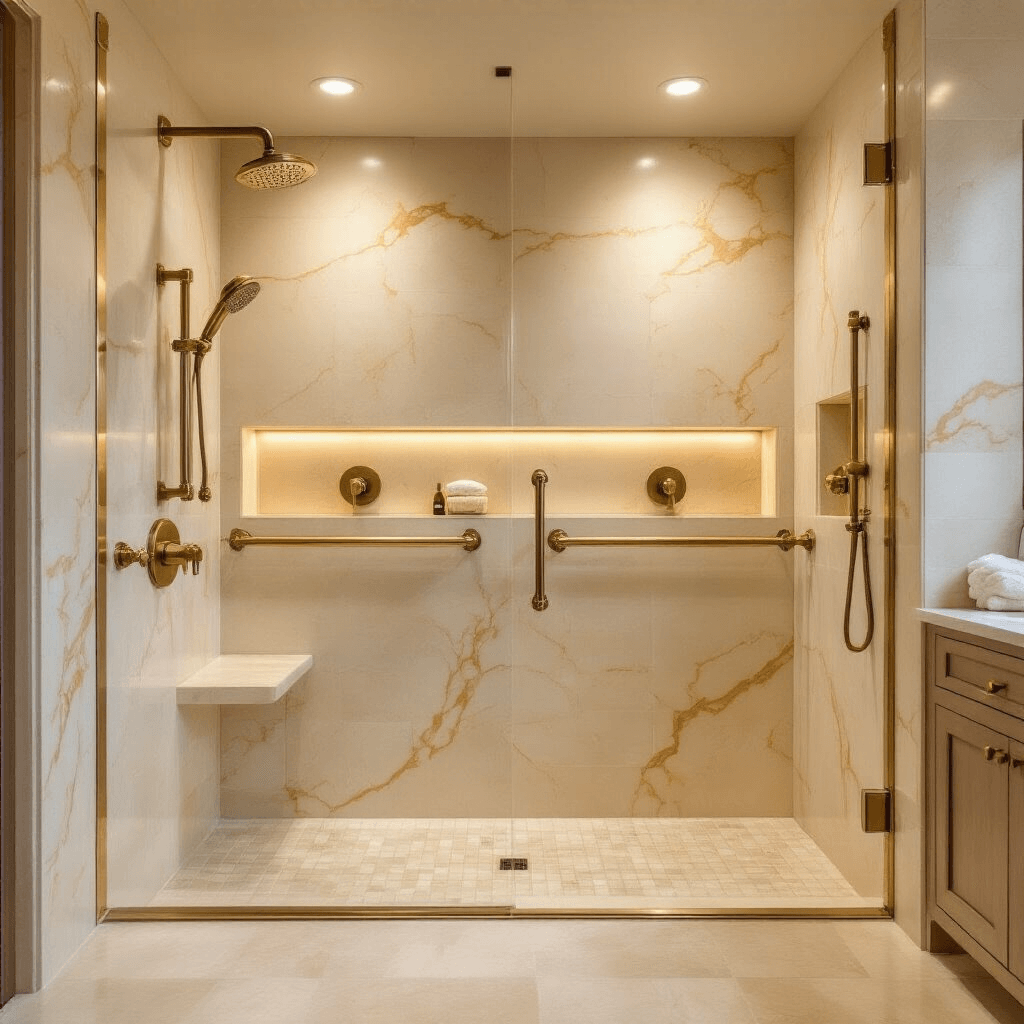
Brass: The Luxury Option
Brass handles scream elegance, but they come with a premium price tag.
I installed brass bars in my master bathroom because they matched my existing fixtures perfectly.
The natural corrosion resistance makes them ideal for humid environments.
Aluminum: Budget-Friendly But Buyer Beware
Aluminum bars work well for lighter users or temporary installations.
I recommend them for guest bathrooms or situations where aesthetics matter less than function.
Critical aluminum considerations:
- Choose thicker diameter bars for better strength
- Perfect for users under 200 pounds
- Lightweight installation
- Won’t rust but may show wear over time
Plastic: Only for Very Specific Situations
Honestly, I only recommend plastic grab bars for temporary use or rental properties.
They’re cheap upfront but often cost more in the long run when they fail.
Installation Placement: Getting It Right the First Time
Shower Area Specifications
Mount your bars 33-36 inches from the floor.
I measured this height in my own shower, and it hits perfectly at waist level for most adults.
For showers with seats:
- Install bars 9 inches above seat height
- Add a vertical bar 18 inches from the back wall
- This combination makes sitting-to-standing transitions much safer
Bathtub Installations Done Right
I always install two bars for bathtubs:
- Horizontal bar 8-10 inches from the tub rim
- Second bar 33-36 inches from the tub base
This double-bar system gives users multiple grip options depending on their position.
Roll-in Shower Requirements
For accessible showers, use bars at least 54 inches long on side walls.
I learned this specification when helping my neighbor create an accessible bathroom for her husband.

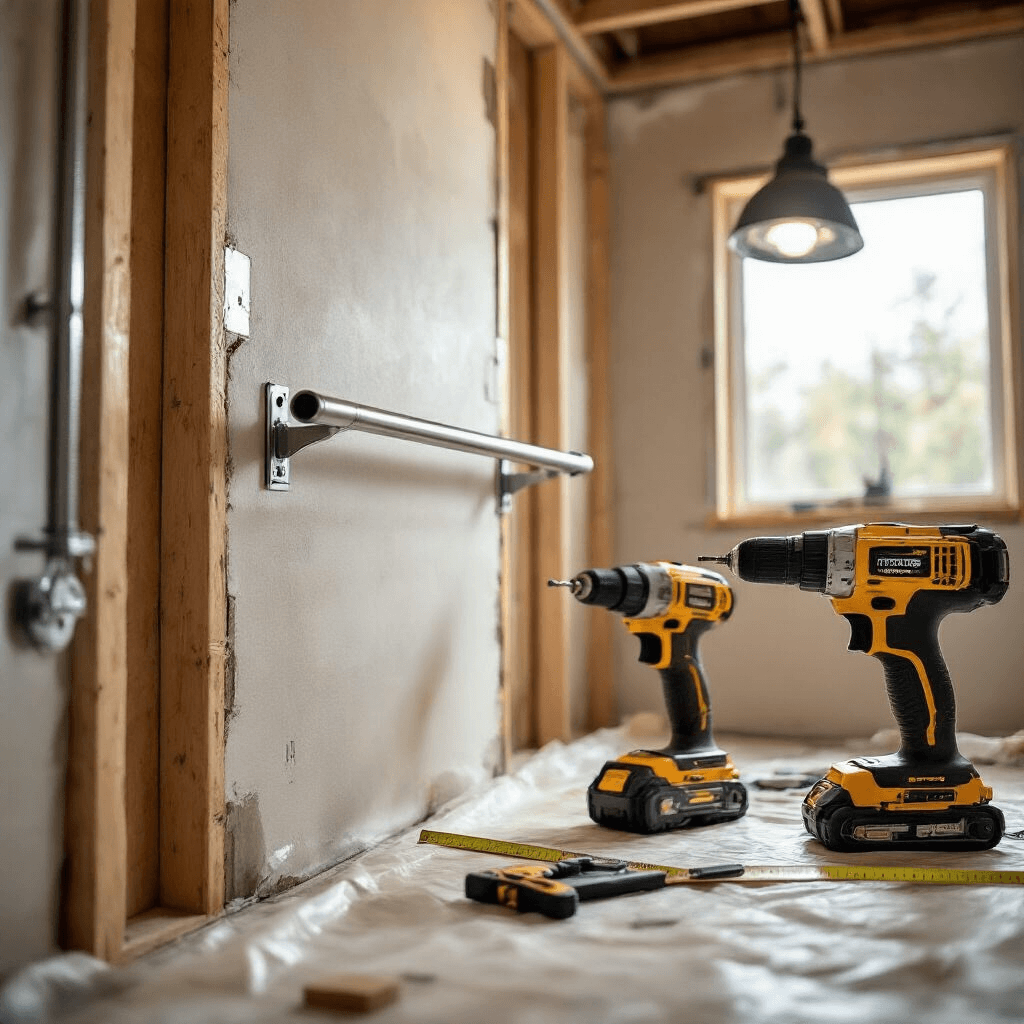
Installation Secrets That Actually Matter
Stud Mounting: Non-Negotiable
Every single grab bar I install goes directly into wall studs.
No exceptions.
No shortcuts.
No “quick fixes.”
I’ve seen too many adhesive-mounted bars fail when someone actually needed them.
Here’s my installation process:
- Locate studs using a reliable stud finder
- Mark mounting points precisely
- Drill pilot holes to prevent cracking
- Secure with heavy-duty screws rated for the bar’s weight capacity
- Test thoroughly before considering the job complete
Professional installation typically costs $100-200 per bar, but the peace of mind is priceless.
I always recommend professional installation unless you’re extremely confident in your DIY skills.
Technical Specifications That Actually Protect You
ADA Compliance Standards
Quality shower grab bars must meet specific requirements:
- 1¼ to 1½ inch diameter gripping surfaces
- Exactly 1½ inches clearance between bar and wall
- Minimum 250-pound weight capacity
- Many quality bars support up to 500 pounds
Why these specifications matter:
The diameter ensures comfortable gripping for various hand sizes.
The wall clearance prevents knuckle scraping while providing secure holds.
The weight capacity covers emergency situations where full body weight might suddenly transfer to the bar.
Choosing the Right Orientation for Your Needs
Horizontal Bars: The Steady Performers
Horizontal bars excel for standing balance and provide intuitive gripping angles.
I use horizontal bars along the shower’s long wall where users spend most of their washing time.
Vertical Bars: Transition Specialists
Vertical bars shine during position changes – sitting to standing, entering and exiting.
I always place one vertical bar near the shower entrance.
Diagonal Bars: The Best of Both Worlds
Diagonal grab bars offer versatility that straight bars can’t match.
They accommodate different grip preferences and hand strengths.


")
")
")
