

This post may contain affiliate links. Please see my disclosure policy for details.
Transform Your Christmas Tree Into a Designer Masterpiece with Ribbon
Contents
- Transform Your Christmas Tree Into a Designer Masterpiece with Ribbon
- Why Your Tree Looks “Off” Without Ribbon
- The Ribbon Types That Actually Work (And the Ones That Don’t)
- How Much Ribbon Do You Actually Need?
- The Game-Changing Preparation Steps Nobody Talks About
- The Professional Method: Cut Before You Weave
- The Tuck-and-Billow Technique That Changes Everything
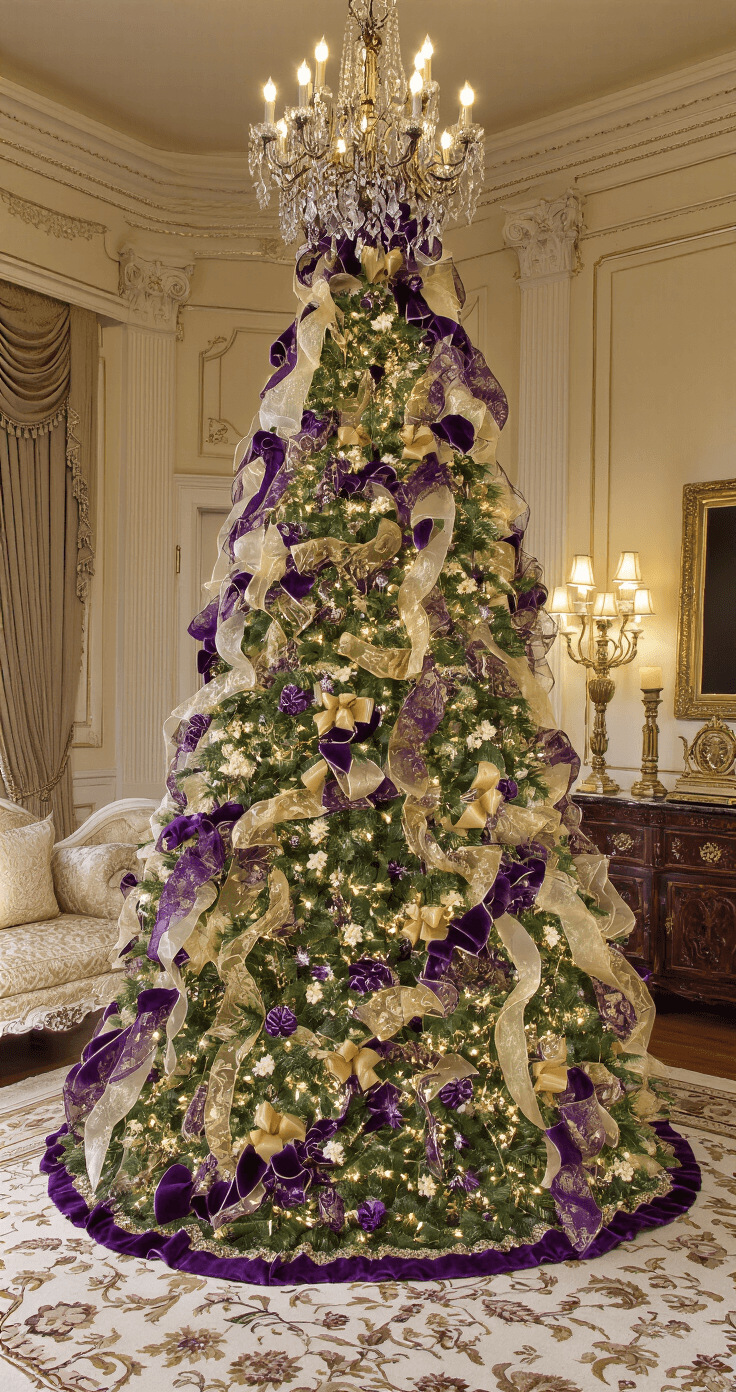
Christmas tree ribbon decoration stopped me dead in my tracks the first time I saw it done properly.
I was visiting my friend Sarah’s house three Decembers ago, expecting the usual haphazard ornament explosion most of us call “decorated.”
Instead, I walked into her living room and gasped.
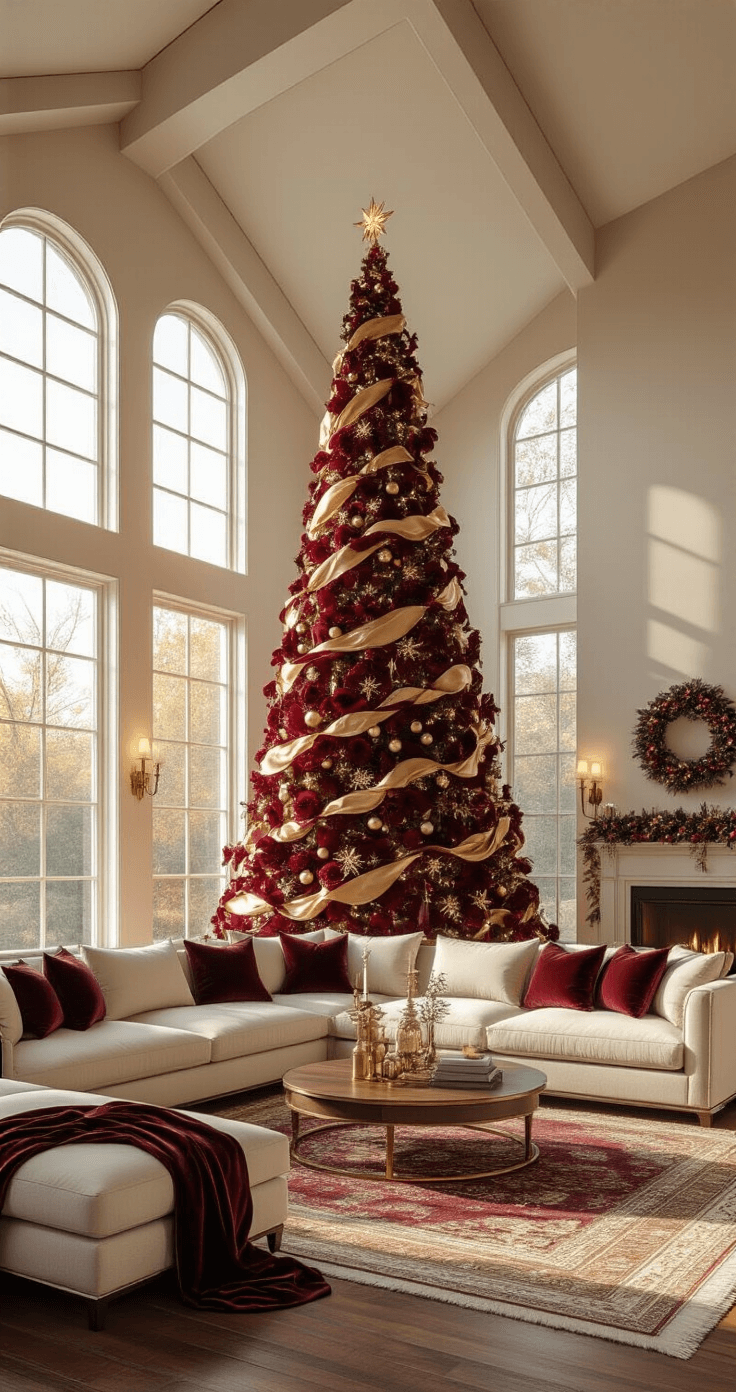
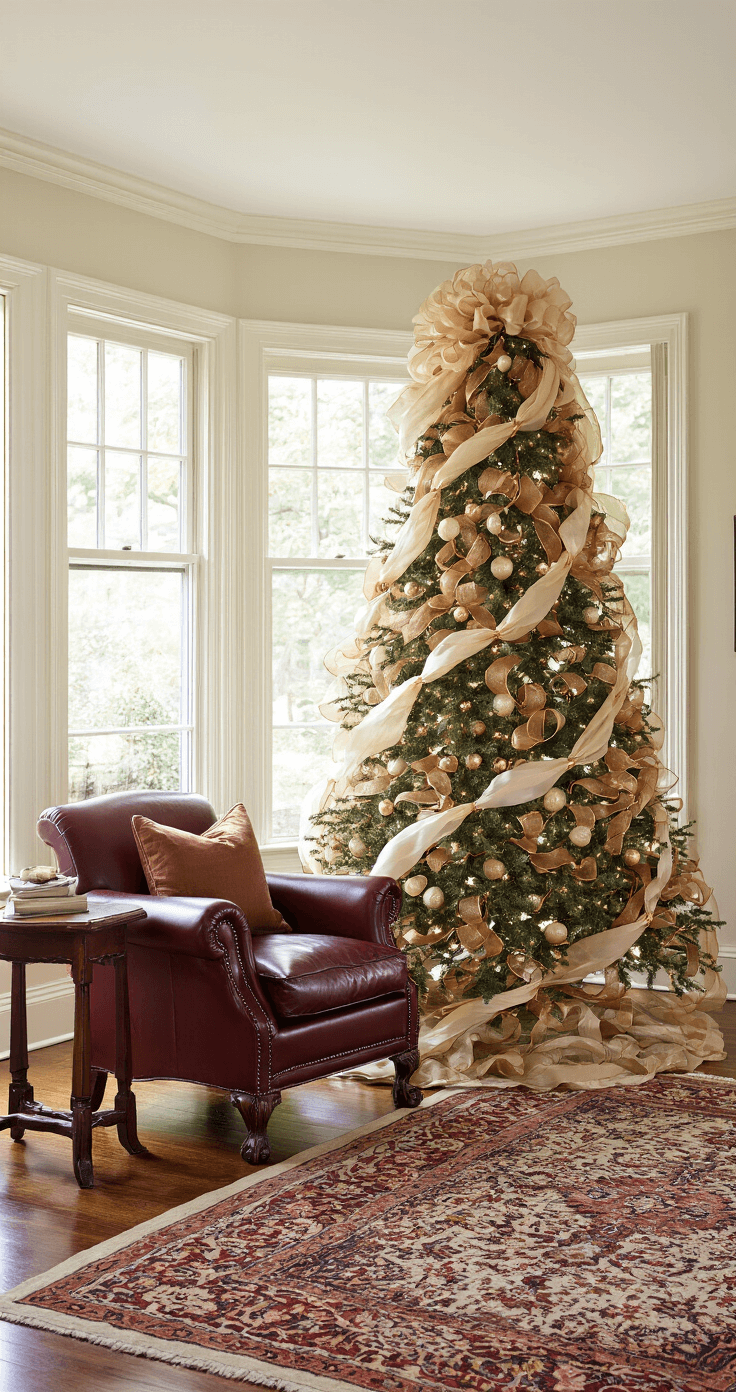
Her tree looked like something straight out of a magazine shoot – flowing ribbons cascaded through the branches like silk waterfalls, creating depth and movement that made every ornament pop.
“How much did your decorator charge?” I blurted out.
Sarah laughed. “Decorator? I did this myself in about an hour!”
That conversation changed everything about how I approach Christmas tree decorating.
Why Your Tree Looks “Off” Without Ribbon
You know that feeling when your tree looks… fine… but not spectacular?
You’ve hung every ornament perfectly. The lights twinkle just right. But something’s missing.
That something is ribbon.
Ribbon acts like the foundation garment of Christmas tree decorating – it pulls everything together and creates the cohesive, professional look that separates amateur efforts from designer masterpieces.
Without it, your ornaments float in space like random decorations. With it, they become part of a unified, flowing design.
The Ribbon Types That Actually Work (And the Ones That Don’t)
Not all ribbon is created equal for Christmas trees.
I learned this the hard way during my first attempt, when I grabbed whatever ribbon was on sale at the grocery store.
The result? Limp, sad-looking strips that disappeared into the branches like decorative roadkill.
Winners:
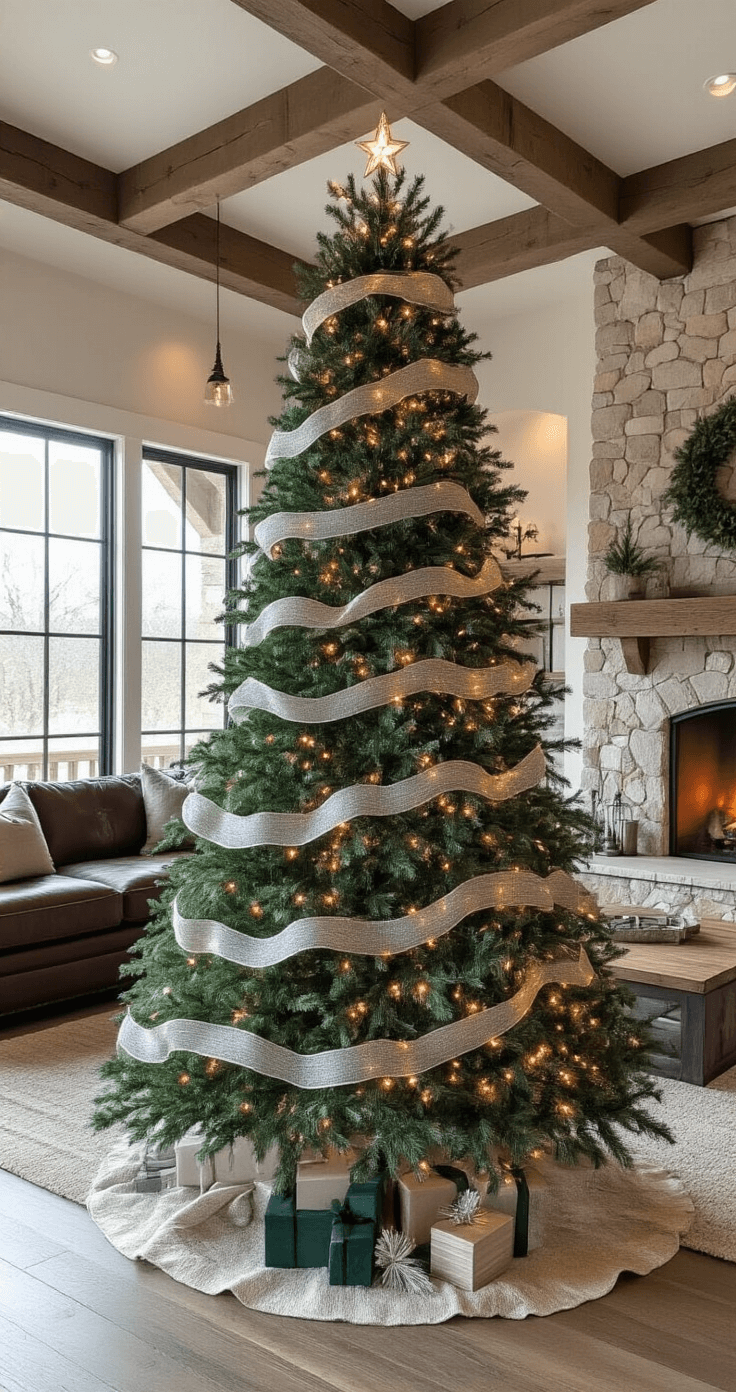
- Wired ribbon – Your absolute best friend (2.5-4 inches wide is perfect)
- Velvet ribbon – Adds luxury and depth
- Mesh ribbon – Creates volume without overwhelming
- Metallic ribbon – Reflects lights beautifully
Losers:
- Cheap satin ribbon (too slippery)
- Narrow ribbon under 1.5 inches (gets lost)
- Non-wired options (can’t hold shape)
The wire edge changes everything. It lets you create those gorgeous billows and poufs that stay exactly where you put them.
How Much Ribbon Do You Actually Need?
This question haunted me for years.
Buy too little, and you’re making emergency craft store runs on December 23rd. Buy too much, and you’re drowning your tree in fabric.
Here’s my foolproof formula:
For a 6-7 foot tree:
- Two 30-foot rolls of your main ribbon
- One 30-foot roll of accent ribbon
- Extra roll if you’re using three different types
For trees 8+ feet:
- Add one extra roll per ribbon type
For tabletop trees:
- One 15-foot roll usually does it
I always buy slightly more than I think I need. Leftover ribbon becomes bow material or gets saved for next year. Running out mid-decoration is decorating hell.

The Game-Changing Preparation Steps Nobody Talks About
Most ribbon tutorials skip straight to the fun part.
Big mistake.
Your prep work determines whether your tree looks professionally decorated or like a craft project gone wrong.
Step 1: Fluff Like Your Life Depends On It
Pull every single branch apart. Yes, every one. This creates the full backdrop your ribbon needs to shine.
Step 2: Test Every Light
Replace dead bulbs now. Trust me on this one. You don’t want to discover a dark section after you’ve woven ribbon through half your tree.
Step 3: Choose Your Christmas tree lights Strategy
- Warm white lights make ribbon colors pop.
- Multicolored lights need simpler ribbon patterns.
- Cool white works best with metallics.
The Professional Method: Cut Before You Weave
Here’s where most people go wrong.
They try to use one continuous piece of ribbon, wrestling with yards of fabric while ornaments fall and cats attack dangling ends.
Professional decorators never do this.
Instead, cut your ribbon into 2-3 foot sections before you start.
This lets you:
- Create natural-looking billows
- Control each section perfectly
- Fix mistakes without redoing the entire tree
- Work around existing ornaments easily
I keep my ribbon scraps in a large decorative bowl while I work. It prevents tangling and keeps everything organized.
The Tuck-and-Billow Technique That Changes Everything
This technique took my trees from “nice try” to “holy wow” overnight.
Start at the top:
Tuck your ribbon end deep into the interior branches. For real trees, bend a sturdy branch around it. For artificial trees, use the branch connection points.


 Cry")


[…] technique transformed my tree decorating game completely. I call it the “foundation-up approach,” and it works every […]