

This post may contain affiliate links. Please see my disclosure policy for details.
Transform Your Christmas Tree Into a Bow-Adorned Masterpiece
Contents
Christmas tree decorated with bows can turn your ordinary holiday display into something that looks like it belongs in a luxury hotel lobby.
I’m going to be brutally honest with you – I’ve seen too many Christmas trees that look like they were decorated by someone who gave up halfway through.
You know the type: a few sad ornaments scattered around, some lights that barely work, and zero personality.
But here’s what I’ve learned after years of experimenting with holiday decorating: bows are your secret weapon.
They’re the difference between “meh” and “magnificent.”

🌟 Steal This Look
- Paint Color: Sherwin-Williams Pure White SW 7005
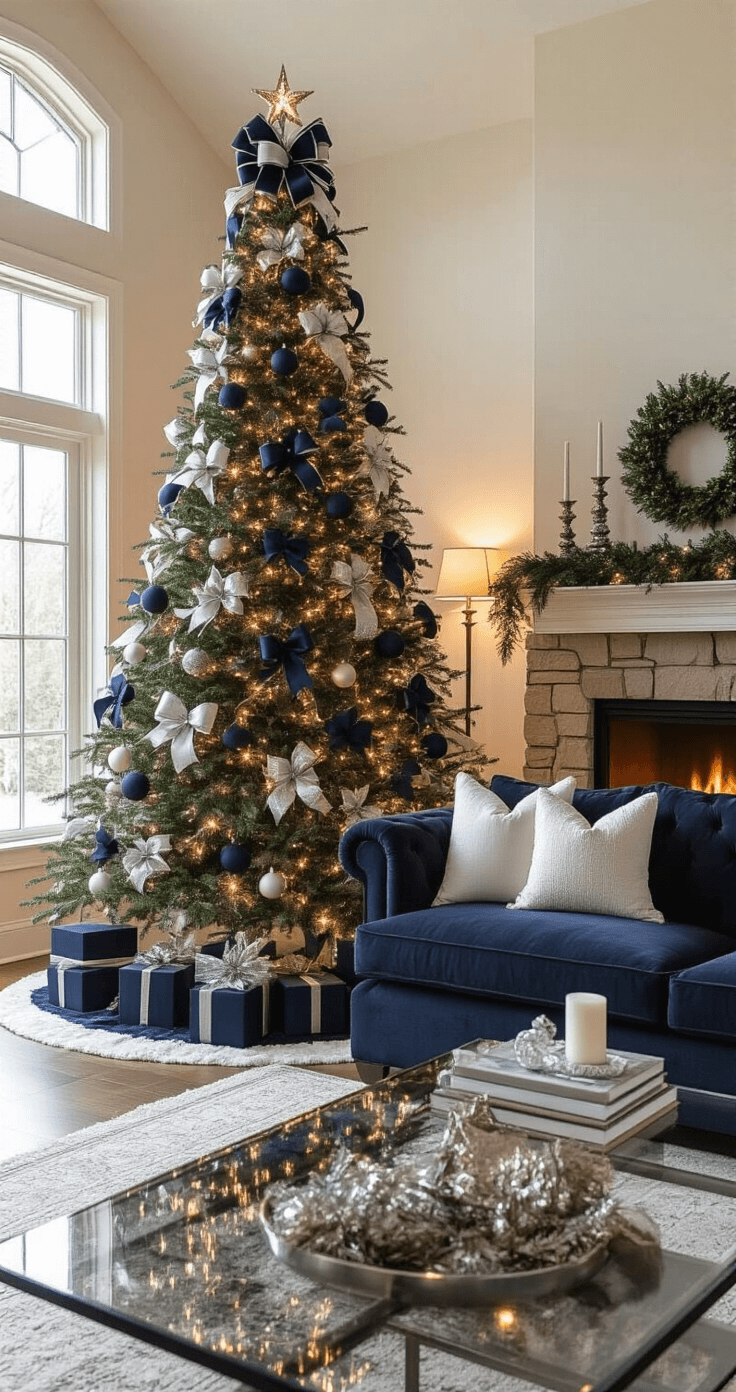
- Furniture: velvet-upholstered settee in emerald or burgundy for seasonal seating near the tree
- Lighting: antiqued brass floor lamp with linen drum shade for ambient glow that complements tree lights
- Materials: wired velvet ribbon, matte gold ornament hooks, flocked artificial greenery, mercury glass accents
I learned this the hard way after my first attempt looked like a craft store exploded—now I spend October hunting for the perfect wide velvet ribbon because it’s the one element guests always reach out to touch.
Why Bows Make Your Christmas Tree Pop
Let me paint you a picture.
Last year, my neighbor Sandra spent hours carefully placing expensive ornaments on her tree.
Meanwhile, I grabbed some velvet ribbon and made a dozen bows in thirty minutes.
Guess which tree had people stopping to take photos?
Bows create instant elegance without the hefty price tag of designer ornaments.
They add:
- Texture that catches light beautifully
- Movement that makes your tree feel alive
- Cohesion that ties your whole color scheme together
- Drama in all the right places
🎨 Steal This Look
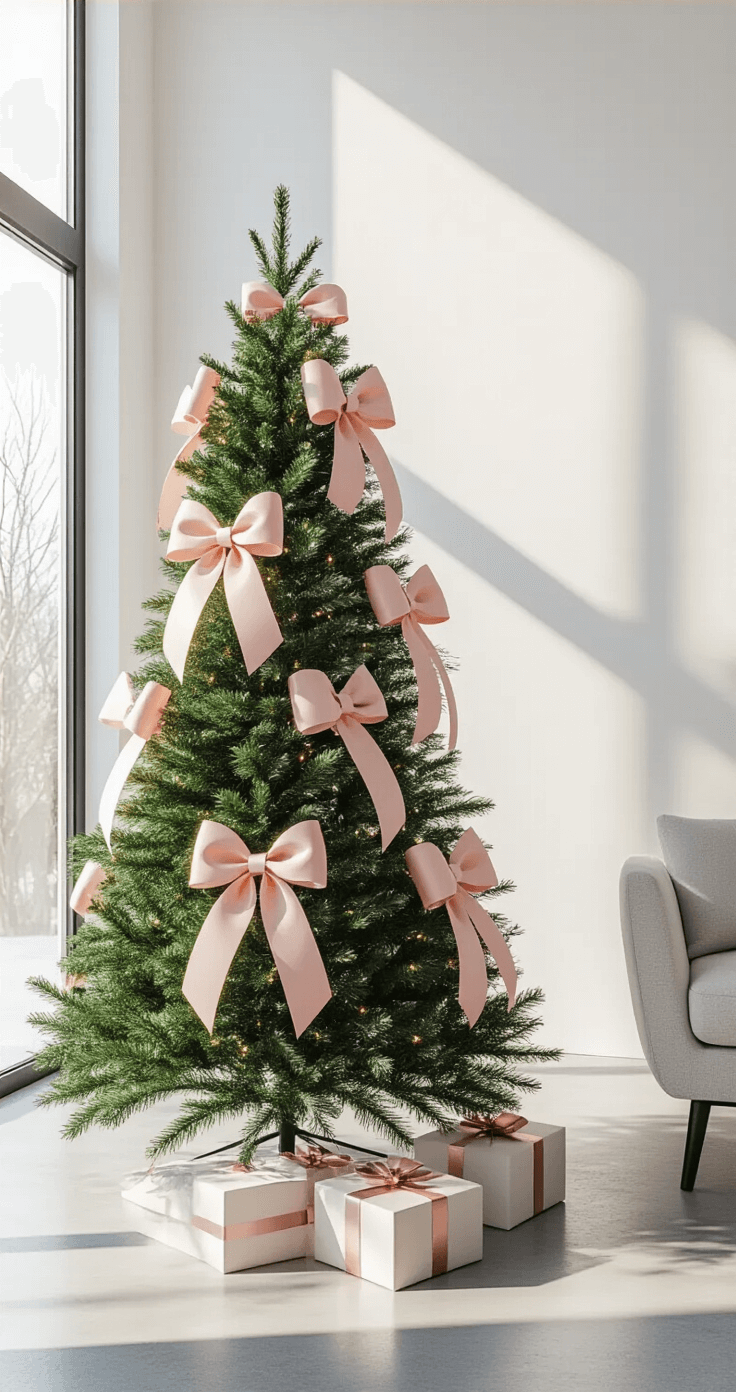
- Paint Color: Benjamin Moore Simply White OC-117
- Furniture: slipcovered linen sofa in natural oatmeal, paired with a reclaimed wood coffee table with visible grain
- Lighting: oversized linen drum pendant with brass hardware
- Materials: matte velvet ribbon, raw silk, aged brass, unbleached linen, weathered wood
I learned this the hard way after years of fighting tangled ornament hooks—now I keep a drawer of pre-wired velvet ribbon and can transform even a sparse tree in twenty minutes when unexpected guests announce they’re stopping by.
🌊 Get The Look
The Ribbon Math You Actually Need
Here’s where most people mess up – they either buy way too little ribbon or go completely overboard.
I’ve cracked the code through trial and error (mostly error, if I’m being honest).
For a perfectly balanced bow-decorated tree:
- 6-foot tree: 18-20 yards of ribbon
- 7-foot tree: 21-24 yards of ribbon
- 8-foot tree: 24-27 yards of ribbon
- 9-foot tree: 27-30 yards of ribbon
Trust me on this – it’s better to have leftover ribbon than to run out when you’re in the decorating zone.
💡 Steal This Look
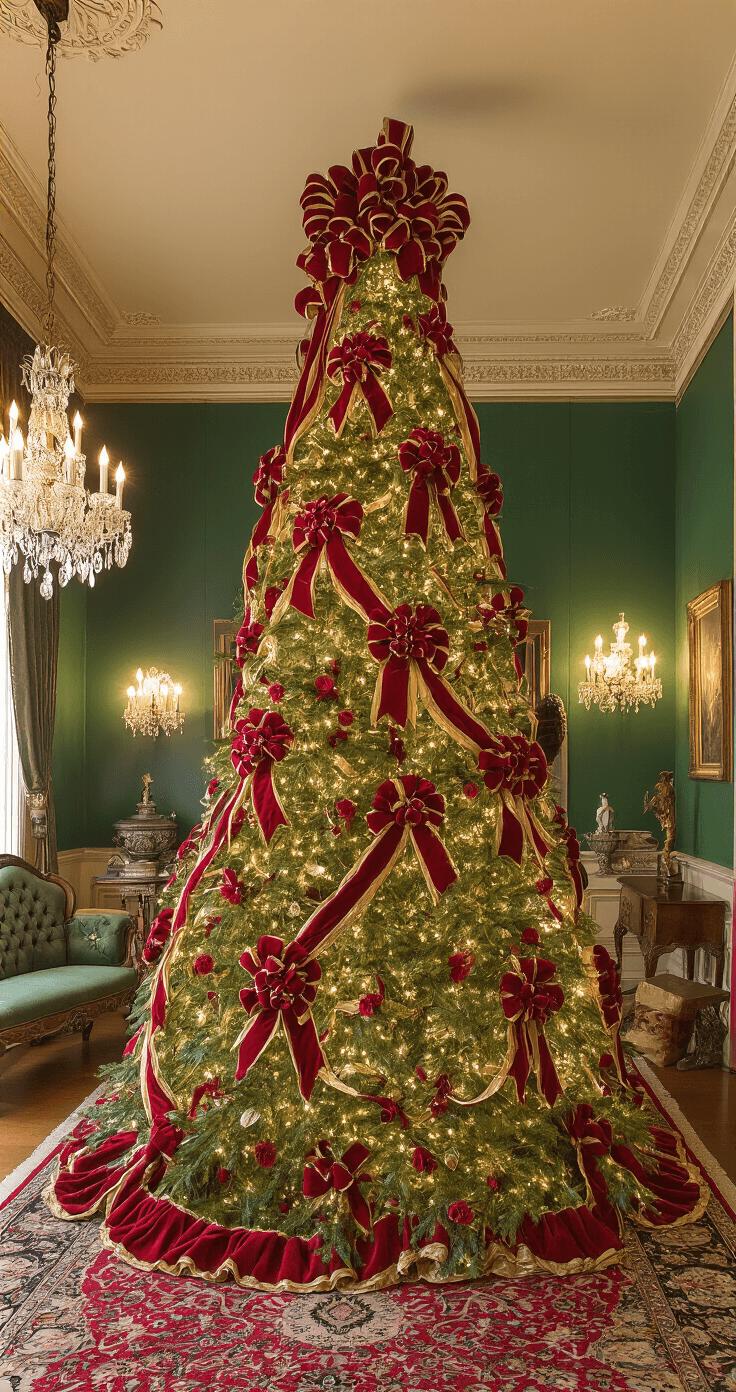
- Paint Color: Farrow & Ball Pointing 2003
- Furniture: vintage-inspired velvet settee in forest green with turned wooden legs
- Lighting: antiqued brass adjustable floor lamp with linen drum shade
- Materials: raw silk ribbon, aged brass wire, hand-blown glass ornaments, reclaimed wood tree collar
I learned this ribbon math the hard way after running out of my perfect plum velvet mid-tree and having to finish with a jarring metallic substitute that haunted me all season—now I keep an extra spool in the closet like a security blanket.
Choosing Your Ribbon Arsenal
Not all ribbons are created equal, and I learned this the hard way.
My first attempt involved some gorgeous but limp satin ribbon that looked like wet lettuce within hours.
Here’s what actually works:
Wired Ribbon (Your Best Friend)
- Holds its shape like a dream
- Easy to manipulate into perfect bows
- Won’t droop or lose form
Velvet Ribbon (For Luxury Vibes)
- Catches light beautifully
- Feels expensive to the touch
- Perfect for traditional or elegant themes
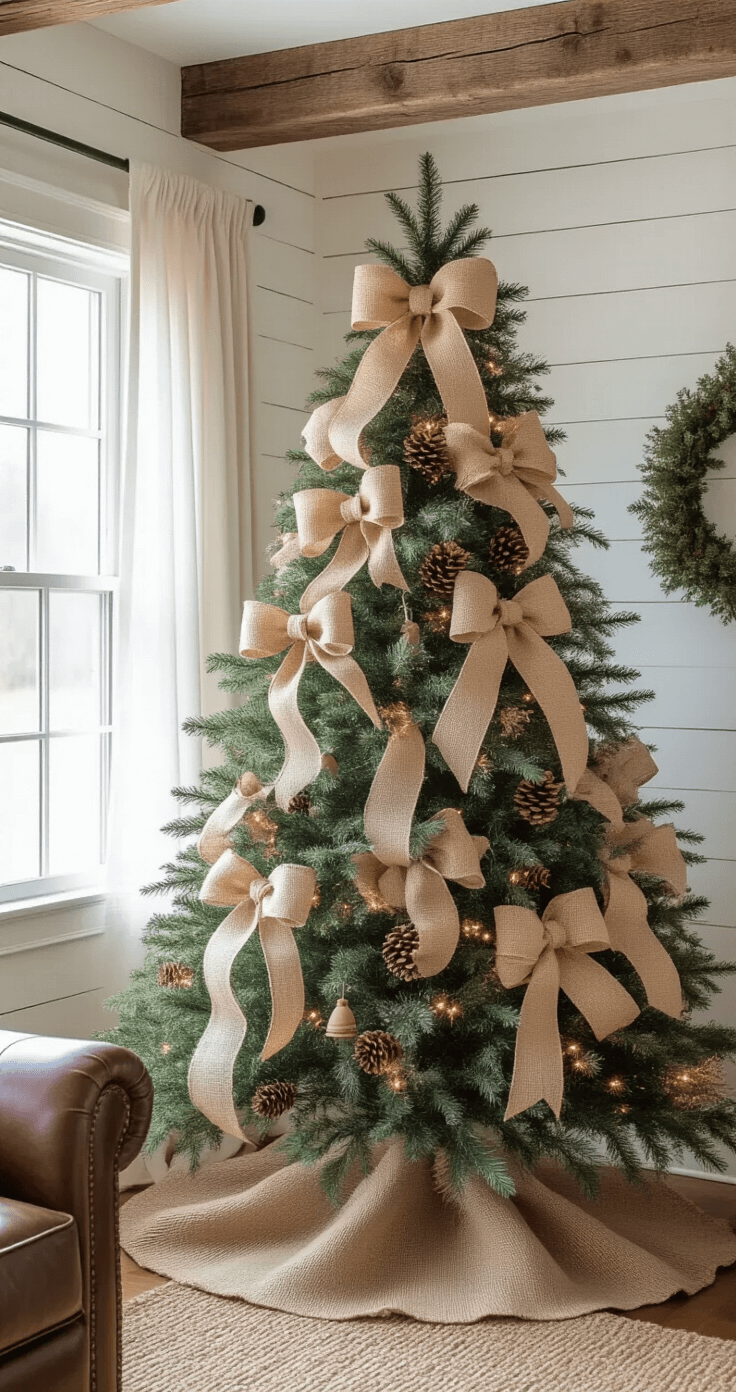
Burlap Ribbon (Rustic Charm)
- Adds texture and warmth
- Great for farmhouse or natural themes
- Pairs beautifully with pinecones and wooden ornaments
I always keep wired ribbon as my go-to choice because it’s practically foolproof.
🏠 Steal This Look
- Paint Color: Behr Swiss Coffee 12
- Furniture: slipcovered linen sofa in natural ivory, reclaimed wood coffee table with turned legs
- Lighting: antiqued brass adjustable floor lamp with linen drum shade
- Materials: matte velvet, rough-hewn burlap, polished satin, aged brass wire, weathered pine
I still wince remembering that limp satin disaster—now my ribbon drawer is organized by texture and wired status, and my tree actually looks intentional instead of apologetic.
The Bow-Making Technique That Never Fails
Forget those complicated YouTube tutorials that make you feel like you need an engineering degree.
Here’s my foolproof method:
The Classic Bow (Takes 2 Minutes Max):
- Cut your ribbon to desired length (I usually go with 12-18 inches)
- Make two loops of equal size
- Pinch the center firmly
- Wrap a small piece of wire around the pinched center
- Fluff and adjust until it looks perfect
Pro tip: Make all your bows first, then attach them to the tree. It’s way easier than trying to tie bows while wrestling with tree branches.
🎨 Steal This Look
- Paint Color: Valspar Cozy White 7009-21
- Furniture: rolling craft cart with ribbon storage bins
- Lighting: adjustable-arm LED desk lamp with daylight temperature
- Materials: wired edge ribbon, floral wire spools, sharp fabric scissors
This is the method I use every December while binge-watching holiday movies, and it turns even ribbon-phobic friends into confident bow-makers.
🛒 Get The Look
Strategic Bow Placement (This Is Where Magic Happens)
Random bow placement is like putting salt in your coffee – technically possible, but why would you?
The Triangle Rule:
Place your largest, most dramatic bows in a triangle pattern around your tree. This creates visual balance that your eye naturally loves.
The Depth Strategy:
- Front bows: Slightly larger, positioned at eye level
- Side bows: Medium-sized, placed strategically for side views
- Back bows: Smaller, but still visible through branches
The Size Gradient:
Start with your biggest bows at the bottom and gradually decrease size as you move up. It mimics the natural shape of your tree and creates harmony.
🖼 Steal This Look
- Paint Color: PPG Timeless 1025-1
- Furniture: slipcovered linen sofa in natural ivory, weathered oak coffee table with turned legs
- Lighting: aged brass chandelier with candle-style bulbs and fabric shades
- Materials: raw Belgian linen, reclaimed pine, mercury glass, hand-thrown ceramics
This is the room where you’ll actually sit and stare at your tree with coffee in hand, so those sight lines matter—your bows need to perform from the sofa, not just the doorway.
🎁 Get The Look
The Topper That Commands Attention
Your tree topper bow is like the crown jewel – it sets the tone for everything below.
I use a large wired ribbon bow that’s roughly twice the size of my other bows.
My topper formula:
- <
")


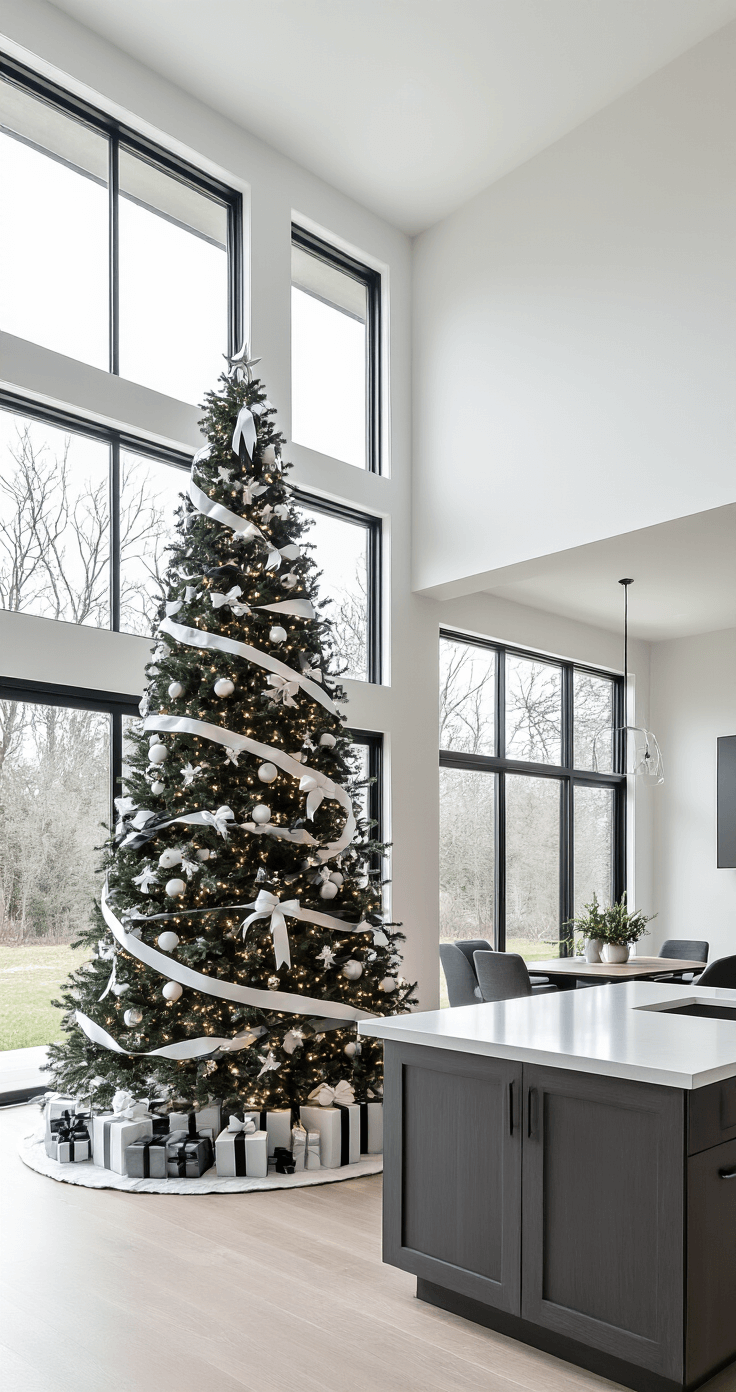
[…] like a soft blanket, adding warmth to the space. This type of tree skirt complements the elegant black and white Christmas tree theme […]