

This post may contain affiliate links. Please see my disclosure policy for details.
DIY Advent Calendar Ideas That’ll Make December Actually Magical
Contents
DIY advent calendars can be created using simple, budget-friendly materials like paper bags, cardboard boxes, or hanging structures, filled with crafts, activities, and small gifts instead of just candy.
I’ll be honest with you.
The first advent calendar I ever made looked like a craft project gone wrong.
Crooked numbers, mismatched bags, and enough hot glue to seal an envelope for eternity.
But my kids absolutely loved it.
That’s when I realized something important: the whole point isn’t perfection.
It’s about creating something that builds anticipation and makes December feel special without breaking the bank or losing your sanity in the process.
Why Bother Making Your Own When Stores Sell Them?
Fair question.
Store-bought calendars usually fall into two categories: cheap chocolate ones that taste like sweetened wax, or expensive branded ones that cost more than your electric bill.
Making your own means you control what goes inside.
You can skip the sugar overload and fill each day with experiences, tiny treasures, or activities that actually mean something to your family.
Plus, you’re not stuck with another piece of plastic junk that ends up in the landfill come January.

🖼 Steal This Look
- Paint Color: Benjamin Moore Chantilly Lace OC-65
- Furniture: built-in banquette with hidden storage drawers beneath the seat
- Lighting: Schoolhouse Electric Isaac Plug-In Sconce in brass
- Materials: raw linen, unfinished birch plywood, matte ceramic, kraft paper, leather cord
This is the room where your family actually lives—morning coffee, homework sessions, weekend board games—so your advent calendar should feel integrated, not like a seasonal intrusion.
Choosing Your Base Structure (The Foundation That Holds Everything Together)
This is where you decide how your calendar will actually exist in your space.
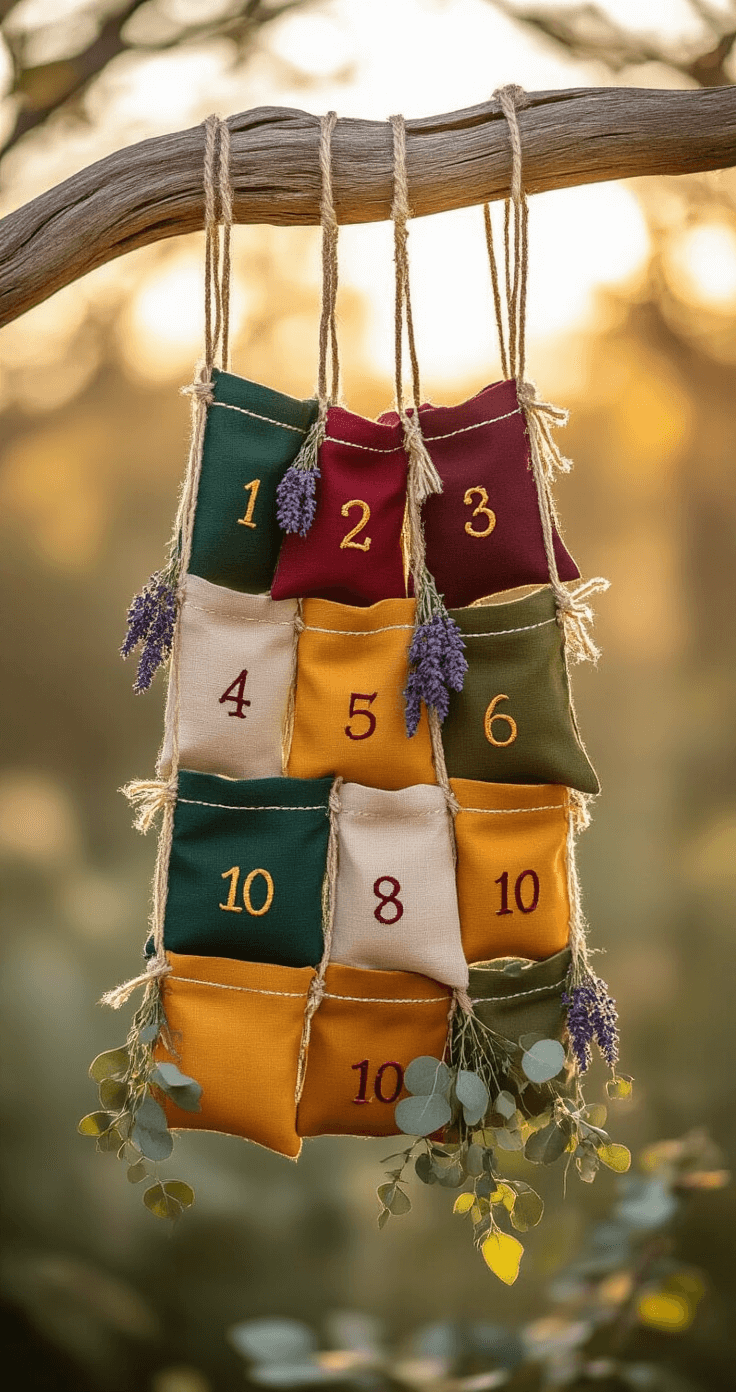
Hanging Displays: Simple and Space-Saving
I’m a huge fan of hanging displays because they don’t eat up precious counter space during the busiest month of the year.
Grab a sturdy branch from your yard (free!), a wooden dowel rod, or even a clothes hanger from your closet.
Attach gift bags using clothespins or small clips.
String the whole thing up between two command hooks on your wall.
Done.
Another option: Tie a piece of chunky yarn across your fireplace mantel and attach individual packages to create a garland effect that looks intentional and festive without trying too hard.
Box Structures: For Those Who Like a Project
If you’ve got a free afternoon and want something more permanent, consider assembling small wooden boxes into a tree or tower shape.
Dollar stores and craft shops sell these boxes dirt cheap.
Stack them using hot glue (my nemesis and best friend), arrange them in whatever configuration makes you happy, and add numbers using paint, stickers, or a label maker.
I once made a tower structure using binder clips to hold boxes together.
It was wobbly but charming, like most things I create.
You can also buy a wooden advent calendar tree with small drawers if you’d rather skip the construction phase and jump straight to decorating.

Wall-Mounted Options: For Renters and Commitment-Phobes
Command strips are your friend here.
Arrange numbered envelopes, small bags, or pouches directly on the wall in whatever pattern speaks to you.
A Christmas tree shape works.
A simple grid works too.
Literally anything works as long as you’ve got 24 or 25 spots.
🌟 Steal This Look
- Paint Color: Farrow & Ball Pointing 2003
- Furniture: vintage wooden ladder repurposed as leaning display
- Lighting: adjustable brass picture light mounted above the display area
- Materials: raw birch wood, natural jute twine, unbleached muslin fabric, matte black metal clips
There’s something quietly satisfying about walking past your creation each morning, coffee in hand, knowing you built this small ritual from nothing but a branch and some string—it grounds the whole season in something you made with your own hands.
🎁 Get The Look
Packaging Options That Won’t Cost a Fortune
The containers you choose determine the whole vibe of your calendar.
I’ve tried most options, and here’s what actually works:
Paper or Canvas Gift Bags
These are my go-to choice because they’re cheap, reusable, and come in every color imaginable.
Dollar stores sell packs of small gift bags that work perfectly.
Go for neutral tones if you want it to match your existing decor.
Or grab a rainbow of colors if matchy-matchy isn’t your thing.
Small Boxes
3-inch square boxes wrapped with strips of metallic paper or simple kraft paper look surprisingly fancy.
I wrap them assembly-line style while watching terrible holiday movies.
Makes the tedious part bearable.
Pillow Pouches
These flat, pillow-shaped containers are brilliant for gift cards, cash, flat toys, or small accessories.
They take up less space than boxes and they’re stupid easy to make if you’ve got basic folding skills.
Fabric Pouches
If you sew, fabric advent pouches are gorgeous and last for years.
I don’t sew well, so I bought hessian drawstring bags online and called it a day.
You can mark numbers on them with fabric markers, stamps, or embroidery if you’re feeling ambitious.
Mix and Match
Here’s a secret: your packaging doesn’t have to match.
Different shapes and sizes actually create visual interest.
Stop stressing about uniformity.
🖼 Steal This Look
- Paint Color: use Behr brand. Match the ACTUAL wall color in the image. Format: Behr ColorName CODE
- Furniture: floating wall shelf with brass brackets for displaying advent calendar
- Lighting: warm white LED string lights with timer function
- Materials: kraft paper, metallic gold washi tape, natural cotton twine, recycled cardboard boxes
I learned the hard way that flimsy dollar-store bags tear open under the weight of chocolate coins, so now I double-bag anything heavier than a tea bag and save myself the midnight repair session.
🛒 Get The Look
What to Put Inside (Because That’s the Whole Point)
This is where you get to be creative or practical or both.
I rotate between different categories to keep things interesting throughout the month.
Craft Activities That Don’t Require an Art Degree
- Paint small wooden ornaments (buy a pack and split them across multiple days)
- Sew or glue simple felt ornaments using kits
- Scratch art projects that keep kids busy for more than seven seconds
- Holiday coloring pages printed from free sites
- Simple puzzles split across several days to build anticipation
Pro tip: Include all the supplies they need right in the bag so you’re not scrambling for glue sticks at 7 AM.
Experience Tickets (My Personal Favorite)
Create printed “tickets” for activities you’ll do together:
- Movie night with their pick
- Hot chocolate bar with all the toppings
- Baking session where they choose the recipe
- Drive around to see Christmas lights
- Stay up 30 minutes past bedtime (costs nothing, feels like winning the lottery to a kid)
These experience days are the ones my kids remember years later.
Not the plastic trinkets.
Small Treats and Surprises
I’m not completely anti-candy, just anti-nothing-but-candy:
- Chocolate coins (classic for a reason)
- Glow sticks for bath time
- New crayons, markers, or colored pencils
- Holiday stickers
- Tiny toys from the dollar store
- Hair accessories
- Temporary tattoos
- Small notebooks
Keep a few emergency backup items because you will forget to fill a day.
I speak from repeated experience.
")


[…] DIY deck ideas […]