

This post may contain affiliate links. Please see my disclosure policy for details.
DIY Holiday Wreaths That Look Expensive (But Cost Under $10)
Contents
Making your own holiday wreath sounds intimidating until you realize it’s basically just tying pretty branches together in a circle.
I’m not going to lie to you—the first wreath I made looked like something a crow assembled during a breakdown. But the second one? People asked where I bought it.
Here’s what nobody tells you: you don’t need crafting skills, a glue gun collection, or three hours of your Saturday. You need wire, branches, and about 20 minutes.
Why Your Store-Bought Wreath Looks… Store-Bought
Walk through any big-box store in November and you’ll see them. Those sad, flat wreaths with plastic berries that scream “I gave up.”
They cost $40. They look like $8.
The difference between a gorgeous wreath and a sad one isn’t money—it’s layering and texture. That’s it. That’s the secret professional designers charge you for.
What You Actually Need (And What You Don’t)
Let me save you a trip to the craft store where you’ll get seduced by $15 ribbon you’ll use once.
The essentials:
- Floral wire (22 or 24 gauge—grab the green kind)
- Fresh greenery from your yard, a neighbor’s yard (ask first), or the grocery store
- Ribbon that’s at least 1½ inches wide
- Wire cutters or kitchen scissors you’re willing to dull
Nice to have but not mandatory:
- Pine cones you picked up from literally anywhere outside
- Berries (fake ones are fine, nobody’s going to inspect them)
- Ornaments you’re tired of looking at on your tree
Skip entirely:
- Hot glue guns (messy and unnecessary)
- Wreath forms (you can make one from wire)
- Those little floral picks (just use more wire)

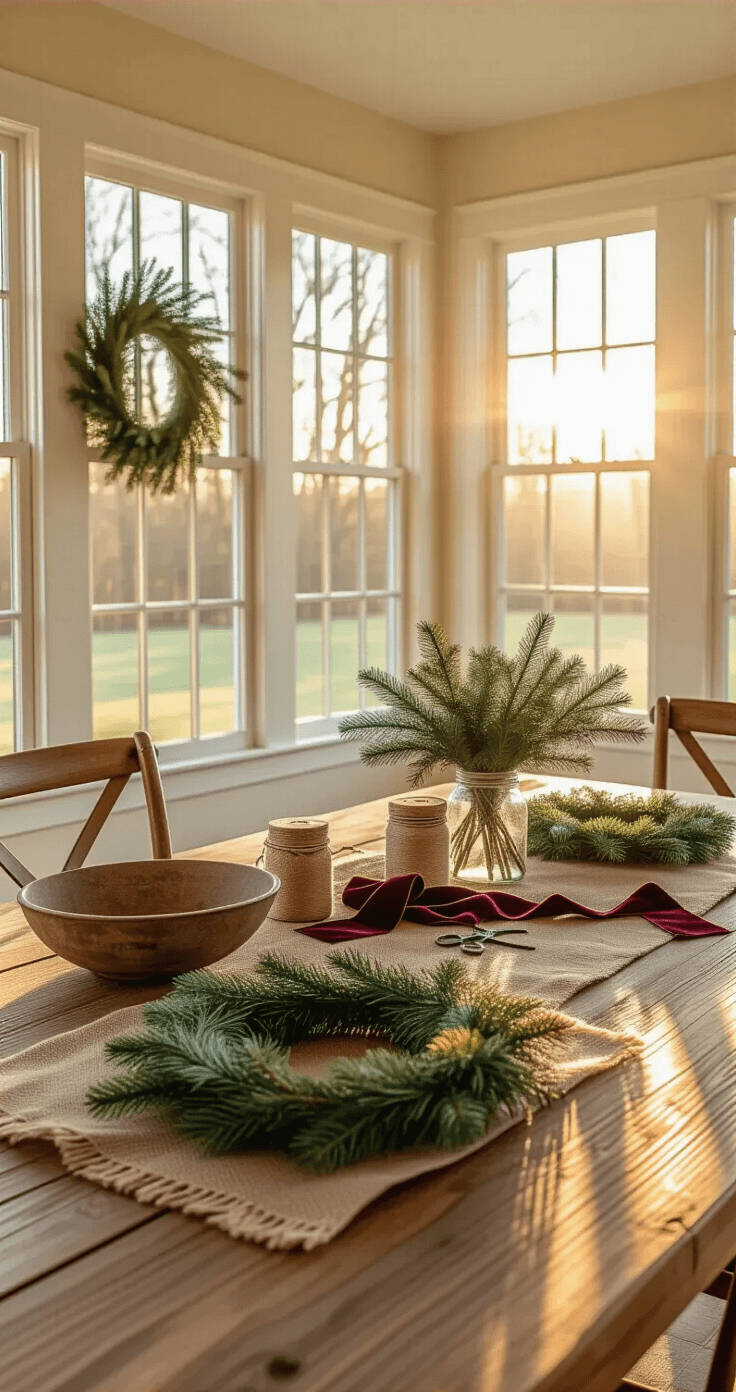
The Stupidly Simple Garland Method
This is how I make wreaths now because it’s genuinely foolproof.
Step 1: Make a garland
Lay three or four branches in a row with the stems overlapping. Think of it like you’re creating a hedge that fell over.
The leafy parts should all face the same direction. The stems should overlap by about 3-4 inches.
Step 2: Wire it together
Take your floral wire and wrap it diagonally around the stems. Don’t strangle them—loose wraps work better. You’re not performing surgery, you’re just keeping things from falling apart.
Space your wire wraps about 2-3 inches apart as you work down the garland.
Step 3: Make it circular
Once your garland is about 3-4 feet long (longer if you want a door-sized wreath), bend it into a circle. Overlap the ends by a few inches and wire them together.
That’s it. You made a wreath.
Step 4: Make it pretty
Fluff the branches outward so it looks full instead of flat. Add a bow at the top. Thread wire through the back of the bow to create a hanging loop.
Walk away before you overthink it.
The Fuller Bundle Method (When You’re Feeling Ambitious)
This technique gives you that expensive, professional look because it creates actual depth.
Gather your bundles:
Grab handfuls of mixed greenery—don’t worry about matching them perfectly. Each bundle should fit comfortably in your hand.
The magic is in the direction:
Wire each bundle to your base (you can use a wire wreath frame or make one by bending a wire hanger into a circle).
Here’s the trick—alternate the direction. Point some bundles toward the center of the wreath. Point others toward the outside edge.
This creates dimension instead of that flat, sad look.
Control the fullness:
Want it super full and lush? Overlap your bundles significantly.
Prefer a more delicate, airy look? Space them farther apart.
Hide your starting point:
When you get back around to where you started, tuck that last bundle UNDER the first one. This hides the beginning point and makes the wreath look continuous.
The Styles That Actually Look Good
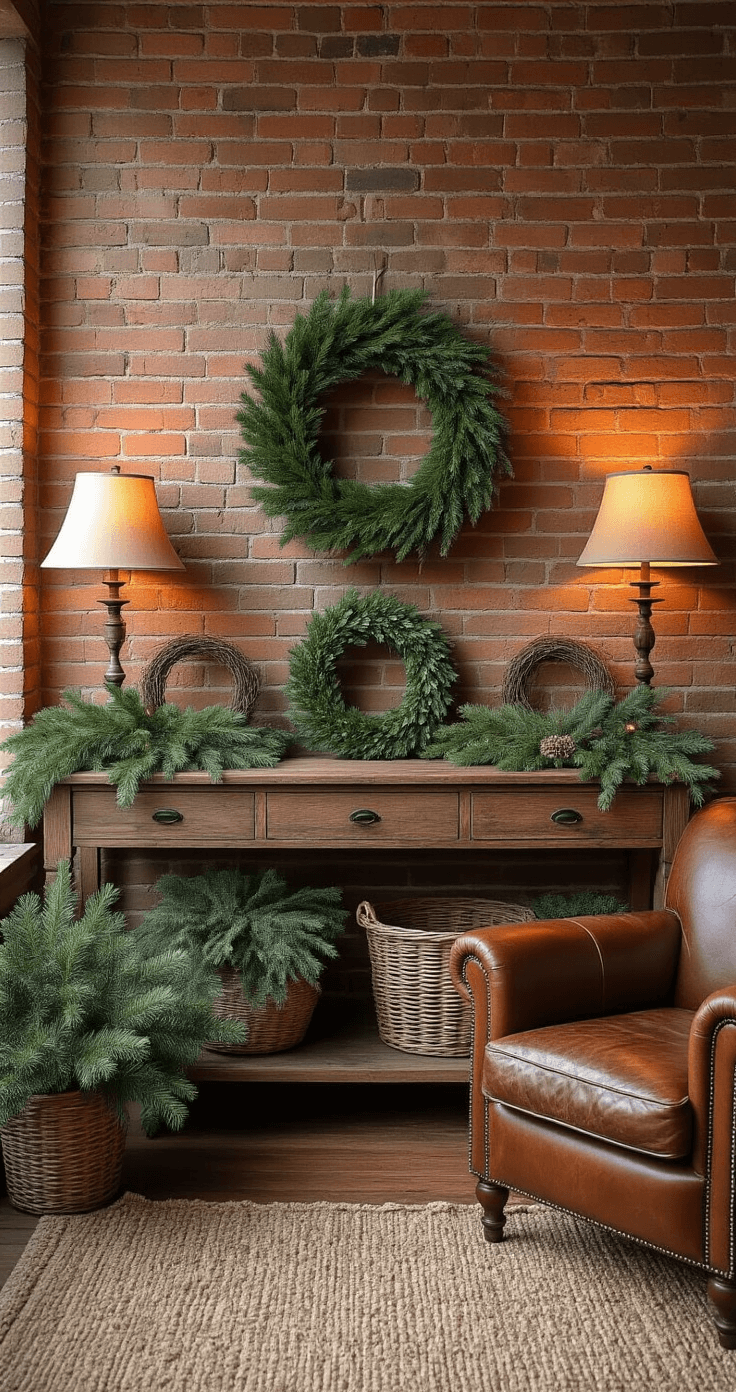
Rustic (the easiest to pull off):
Mix pine branches with burlap ribbon. Add actual pine cones you found outside. Throw in some fake or real berries.
The imperfection is the point—you’re going for “cozy cabin” not “museum display.”
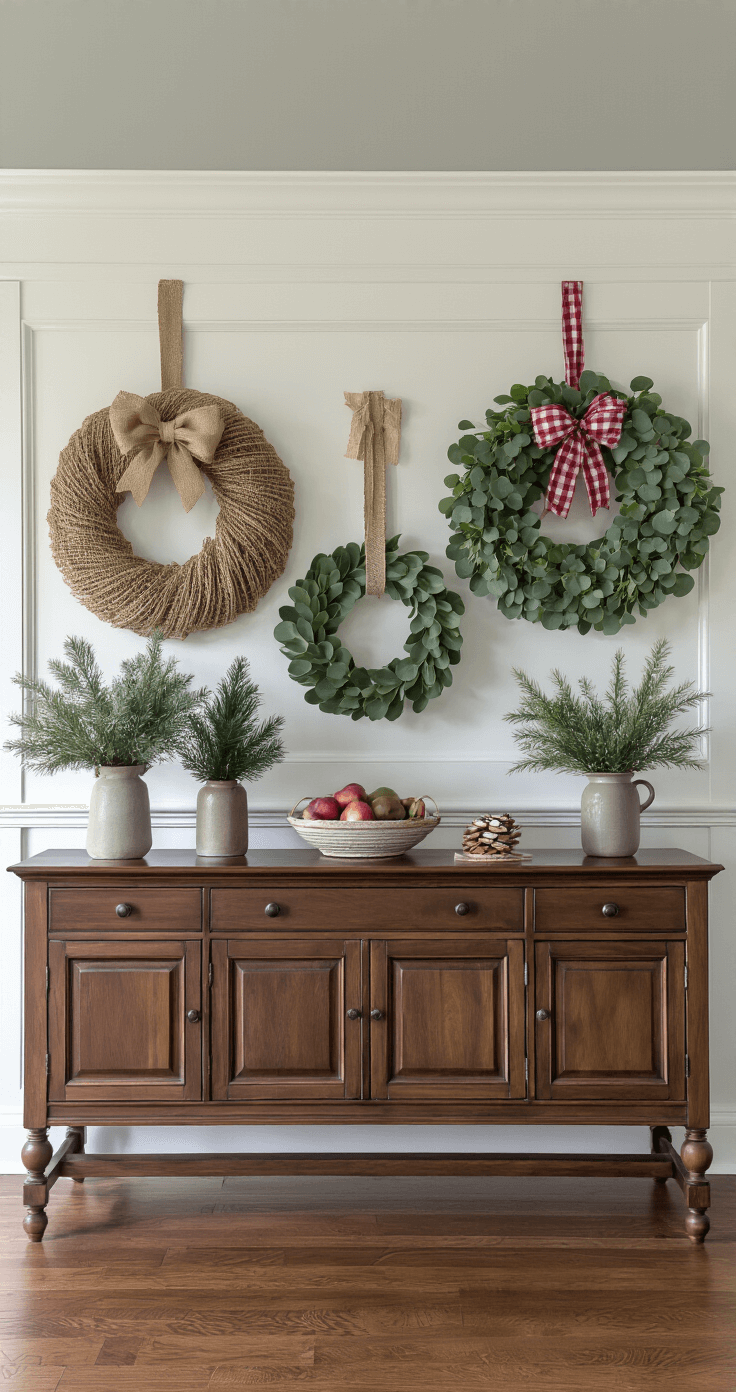
Modern (for people who hate traditional Christmas):
Skip the circle entirely. Make a half-wreath that only covers the top or one side of your door. Use eucalyptus or olive branches instead of pine. Add one dramatic element—a single large bow or three matching ornaments.
Keep it sparse. Modern is about what you DON’T add.
Farmhouse (because apparently we all live on farms now):
Buffalo check ribbon is your friend. Black and white or red and white.
Add bottle brush trees (those fuzzy little Christmas trees). Use a chunky knit or yarn for texture.
The vibe is “I bake bread and know how to can vegetables” even if you definitely don’t.
Budget ninja move:
Buy two cheap, sparse pre-made wreaths. Wire them together, one on top of the other.
Suddenly you have a full, expensive-looking wreath for $16


 Cry")

