This post may contain affiliate links. Please see my disclosure policy for details.
Fall bark might just be the smartest thing you’ll make all season—and I’m not exaggerating.
Look, I get it. You want to bring something impressive to your friend’s Thanksgiving potluck. You need homemade gifts that don’t require a culinary degree. You’re craving something sweet and seasonal, but your oven is already occupied by a casserole.
Here’s the beautiful truth: fall bark requires zero baking skills, about fifteen minutes of actual work, and makes you look like you spent hours in the kitchen.
I stumbled onto this game-changer last October when I promised to bring dessert to a party and completely forgot until two hours beforehand. Panic mode activated. But then I remembered seeing chocolate bark at a farmer’s market, and thought—how hard could this possibly be?
Turns out, not hard at all.
What Exactly Is Fall Bark?
Contents
Think of it as chocolate’s greatest hits album, autumn edition.
You’re melting chocolate, spreading it flat, dumping delicious fall-themed stuff on top, letting it harden, then breaking it into rustic pieces. That’s it. No measuring cups needed. No stand mixer required. No complicated techniques to master.
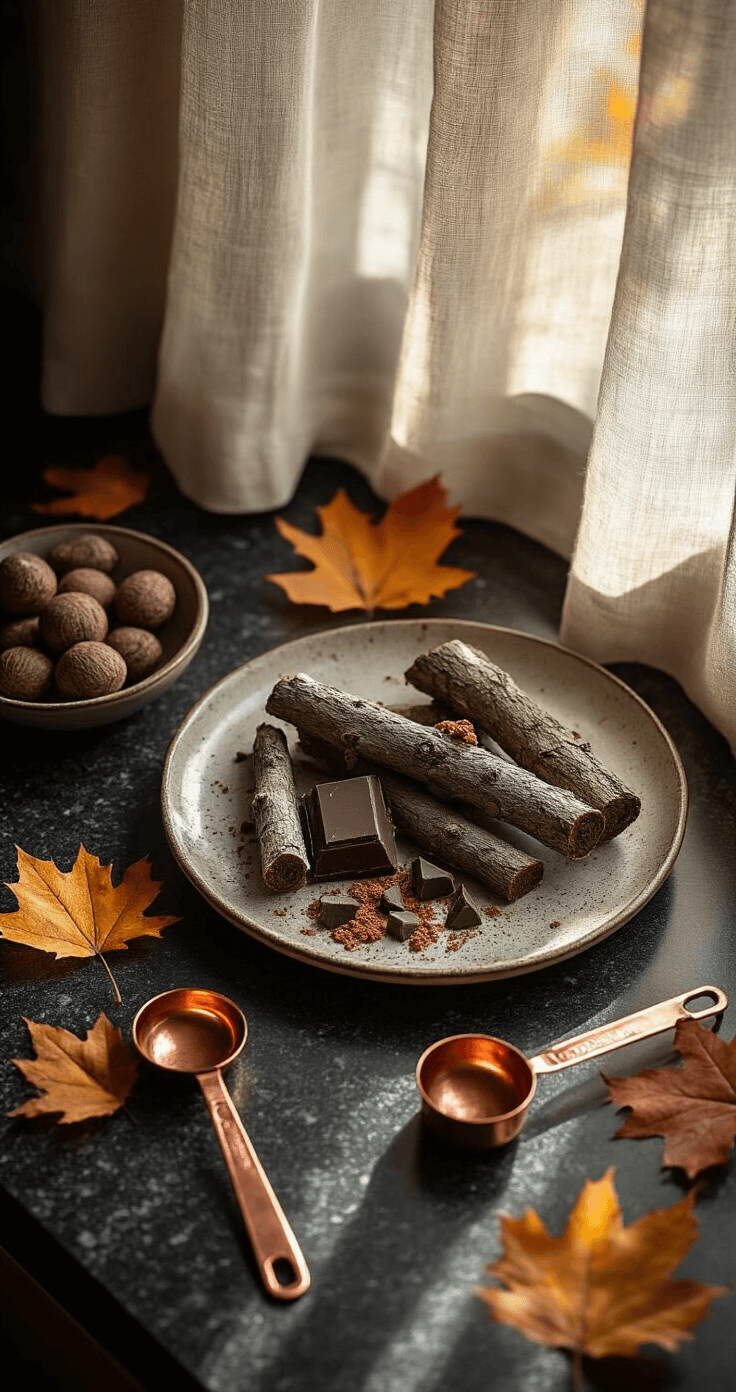
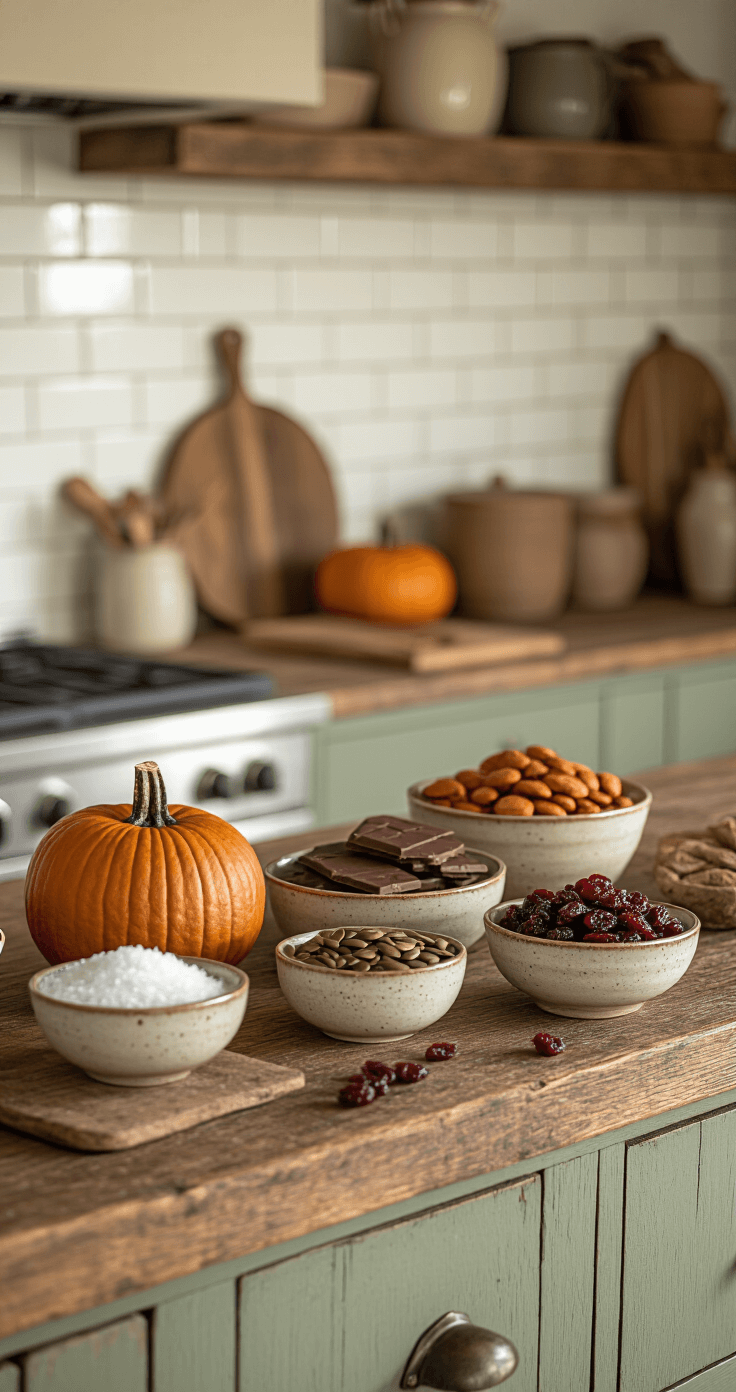
The base is chocolate—white, dark, milk, or those candy melting wafers that actually melt like they’re supposed to. The toppings are whatever screams “fall” to you: roasted pumpkin seeds, dried cranberries, candy corn (controversial, I know), crushed pretzels, pecans, a sprinkle of sea salt.
It’s basically edible abstract art.
Why Everyone’s Obsessed With This Treat
It looks expensive but costs pennies. Seriously, chocolate melting wafers run about five bucks, and you probably already have nuts or pretzels lying around.
It’s infinitely customizable. Hate candy corn? Leave it out. Obsessed with cinnamon? Sprinkle away. Want to use up those random baking supplies cluttering your pantry? This is your moment.
Kids can actually help without disaster striking. My seven-year-old nephew scattered toppings last Thanksgiving while I melted the chocolate. He felt like a chef. I got credit for “letting him participate.” Win-win.
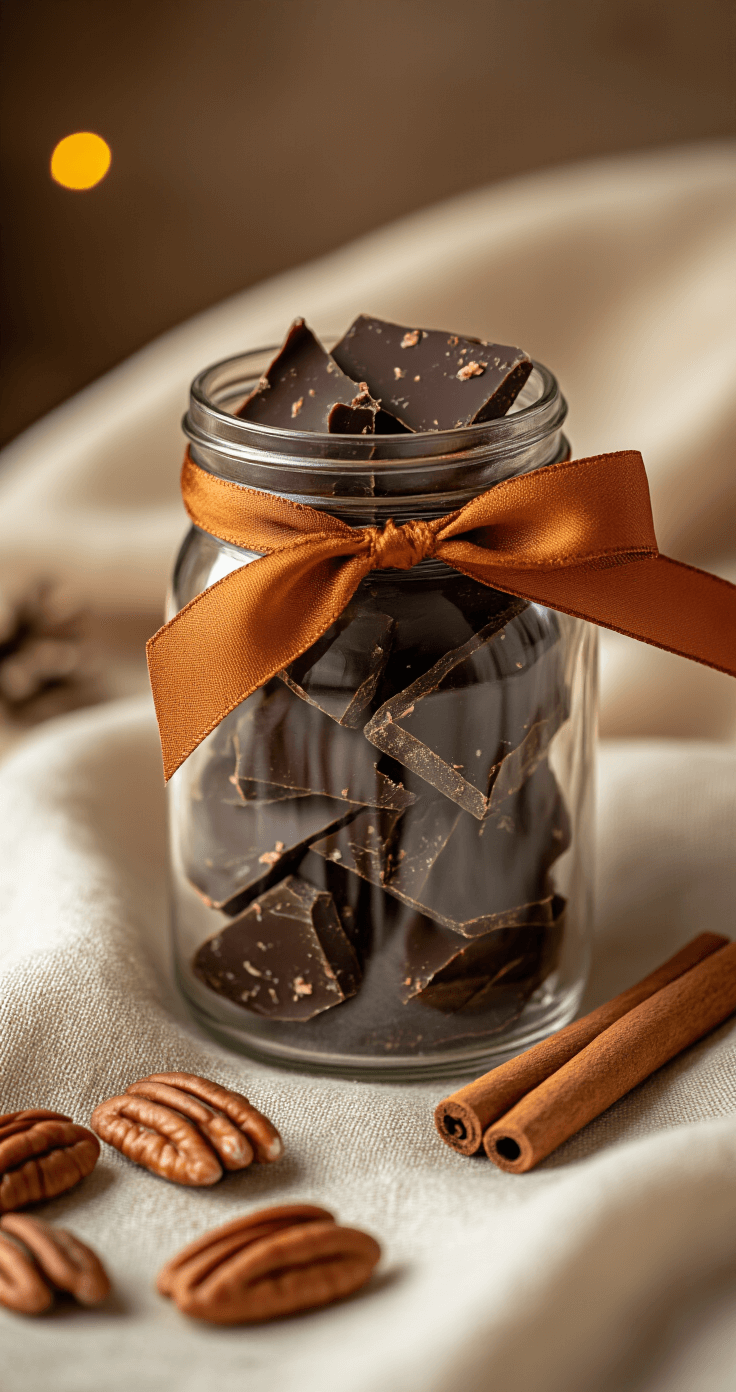
It travels beautifully. Unlike cupcakes that get smooshed or pies that leak, bark just sits there in a container, looking perfect.
The Foolproof Method I Use Every Time
Let me walk you through exactly how I make this without overthinking it.
Step 1: Get Your Workspace Ready
Line a baking sheet with parchment paper. Not wax paper—learned that the hard way when everything stuck like superglue. If you want thicker, sturdier pieces that feel more substantial, use a 9×9-inch pan with sides instead.
Gather your toppings before you start melting anything. Once that chocolate is liquid gold, you need to move quickly.
Step 2: Melt Your Chocolate Like a Pro
I use the microwave because I’m impatient and my stovetop is usually occupied.
Here’s the trick:
- Dump your chocolate into a microwave-safe bowl
- Zap it for 30 seconds
- Stir thoroughly
- Repeat until it’s smooth and melted
Don’t rush this by cranking up the power. Chocolate burns faster than you think, and burned chocolate tastes like regret.
If you’re fancy and prefer the double boiler method, go for it. Fill a pot with an inch of water, bring it to a simmer, place a heat-safe bowl on top (not touching the water), and stir your chocolate until it melts.
For darker, more sophisticated bark, I grab dark chocolate chips in the 70-86% range. For kid-friendly versions, white chocolate or orange candy melts work beautifully.
Step 3: Spread It Out
Pour that melted chocolate onto your prepared pan. Use a spatula to spread it into an even layer—aim for about a quarter-inch thick.
Don’t stress about perfection here. Rustic is the vibe we’re going for.
Step 4: Go Wild With Toppings
This is where you get to play.
While the chocolate is still wet and sticky, scatter your toppings across the surface. Press them down gently so they stick when the chocolate hardens.
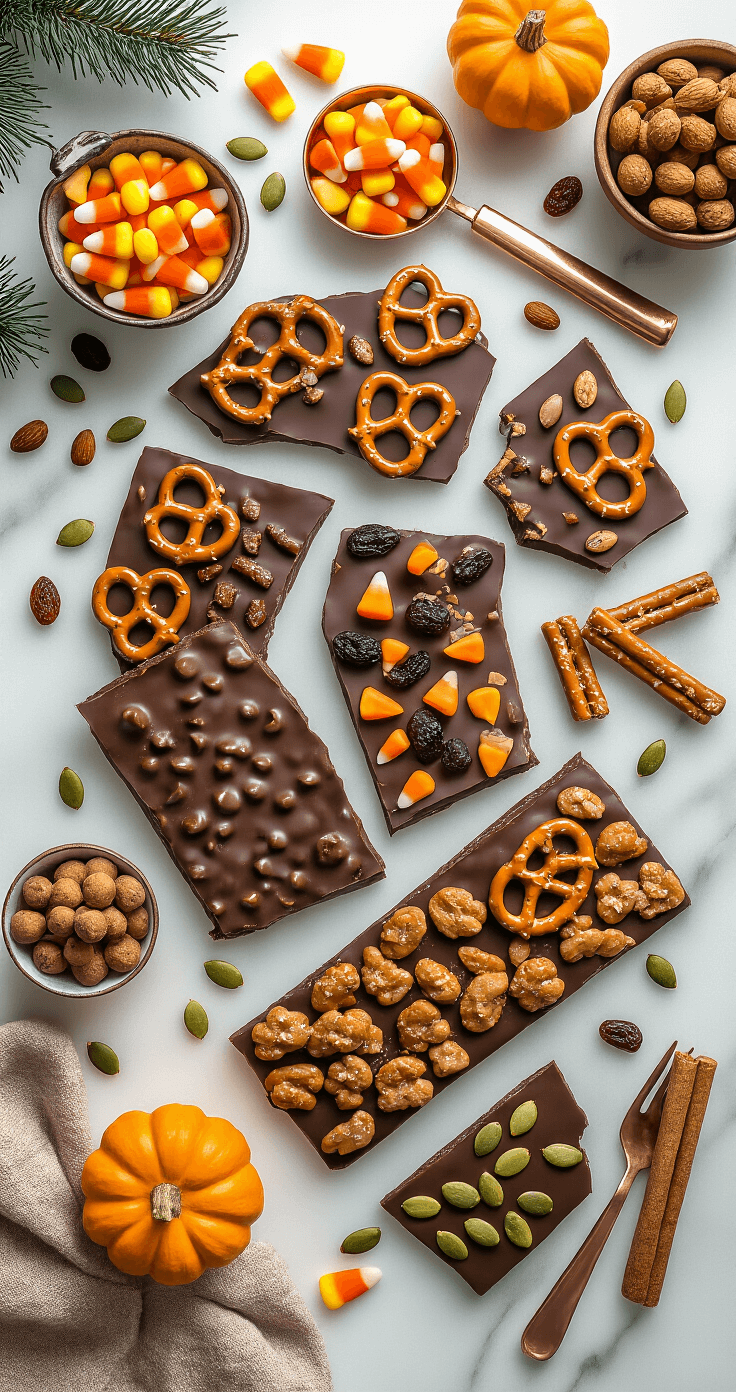
My favorite fall combinations:
- Salted pretzel chunks + roasted pumpkin seeds + dried cranberries + flaky sea salt
- Chopped pecans + mini marshmallows + cinnamon dust + toffee bits
- Candy corn + pretzels + orange and brown sprinkles (pure nostalgia)
- Dried apple chips + walnuts + a drizzle of caramel + coarse sea salt
Pro move: If you’re using white chocolate as your base, drizzle melted dark chocolate over the top in zigzag patterns, then drag a toothpick through it to create swirls before adding toppings. Takes thirty extra seconds, looks like you went to pastry school.
Step 5: Let It Set
Slide the whole thing into your refrigerator. In about 20-30 minutes, it’ll be completely hardened and ready to break.
Resist the urge to touch it before it’s set. I know it’s tempting.
Step 6: Break It Into Pieces
Once it’s solid, lift the parchment paper and transfer everything to your counter. Now comes the satisfying part—breaking it into chunks.
I just use my hands and break it along natural fault lines. Some pieces will be big. Some will be tiny. That’s the charm.
If you’re gifting it, aim for roughly similar sizes. If you’re eating it yourself at 10 PM while watching Netflix, size literally doesn’t matter.

Fall Bark Variations That Actually Work
After making approximately seven thousand batches (slight exaggeration, but not by much),