This post may contain affiliate links. Please see my disclosure policy for details.
Why Your Fall Porch Matters More Than You Think
Contents
Look, I get it.
You’re busy, fall sneaks up on you, and suddenly it’s mid-October and you’re still looking at your summer geraniums wondering when you’ll find time to swap them out.
But here’s what I’ve learned: your outdoor space sets the tone for everything that happens inside your home during the season.
When guests arrive to a thoughtfully decorated porch, they feel welcomed before they even knock.
When your family comes home to pumpkins and twinkling lights, the day’s stress melts away a little faster.
It’s not about perfection or Pinterest-worthy photos (though we’ll get to making it look incredible).
It’s about creating a space that feels like fall.
The Foundation: What You Actually Need
Forget the overwhelming lists telling you to buy forty different items.
Here’s what truly matters:
The Non-Negotiables:
- Pumpkins (real or artificial, various sizes)
- Mums or fall plants in rich autumn colors
- One statement piece (wreath, corn stalks, or dramatic arrangement)
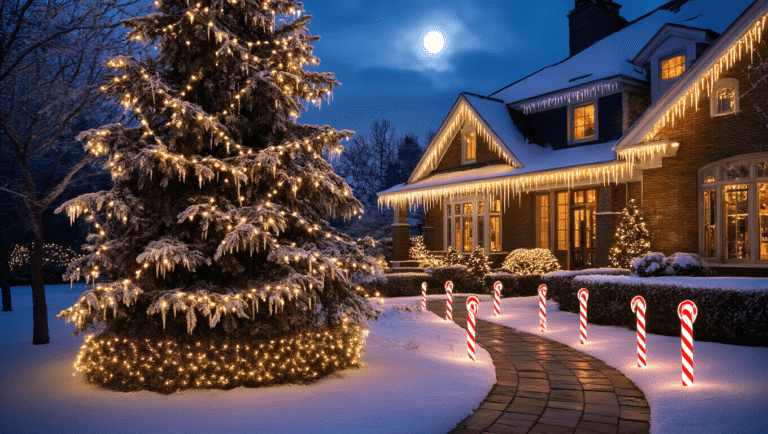
- Lighting for those early evenings
- Texture elements (hay bales, wood crates, or galvanized containers)
Budget Reality Check:
- Minimal budget ($50-75): Focus on pumpkins, one mum display, and a fall wreath
- Moderate budget ($100-200): Add multiple plant containers, lighting, and textural elements
- Splurge budget ($250-400): Go all out with layered displays, premium plants, and statement pieces
I learned this the hard way my first year decorating a large front porch.
I bought everything that caught my eye at the garden center, spent nearly $500, and ended up with a cluttered mess that looked like a fall decor store exploded.
The next year, I focused on fewer, better pieces arranged thoughtfully.
Spent half as much, looked twice as good.
Start With Your Porch’s Personality
Not all porches are created equal, and trying to force a decorating style that doesn’t match your architecture is like wearing someone else’s clothes that don’t quite fit.
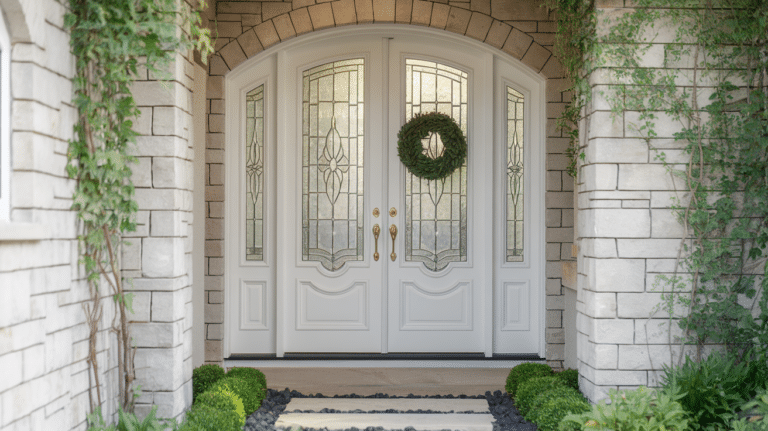
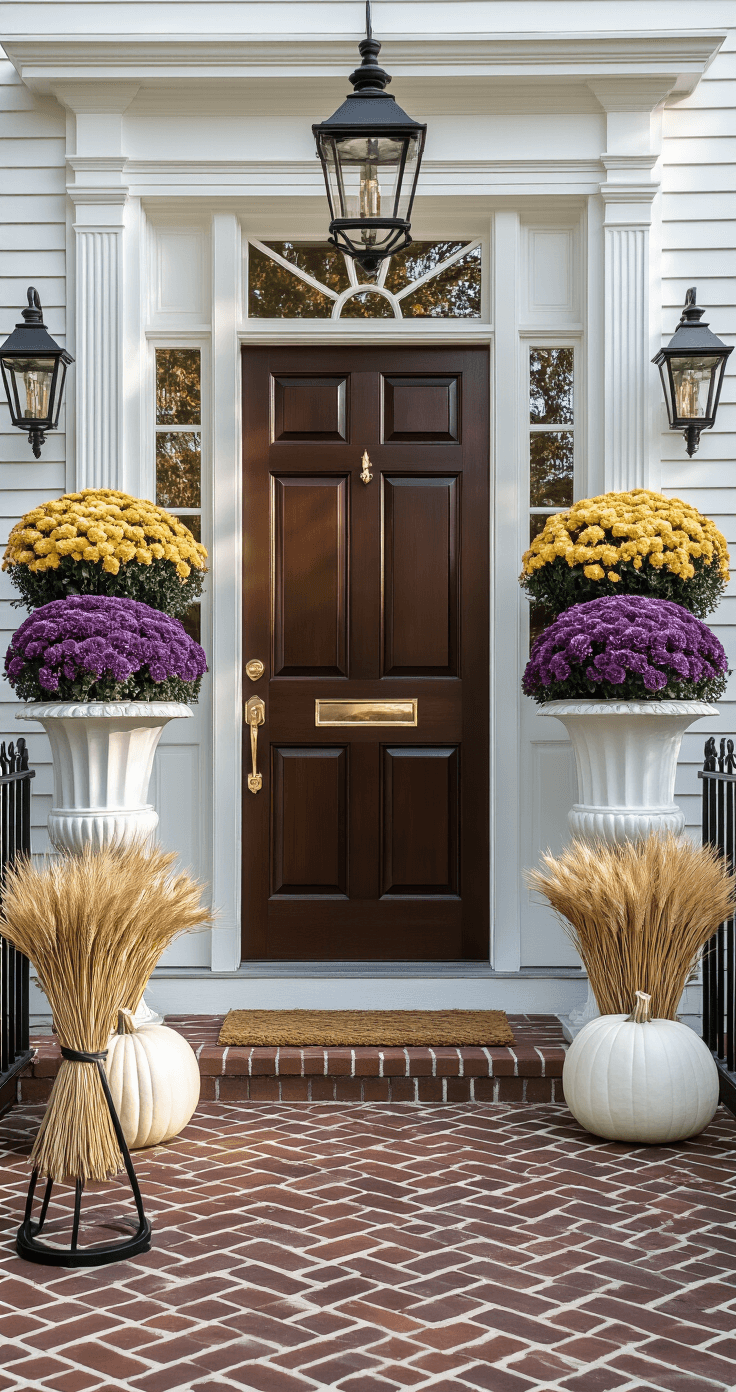
For Traditional/Colonial Homes:
Classic symmetry works beautifully here.
Flank your door with matching planters filled with mums, hang a traditional fall wreath front and center, and arrange pumpkins in balanced clusters on either side.
Think polished and refined rather than rustic and wild.
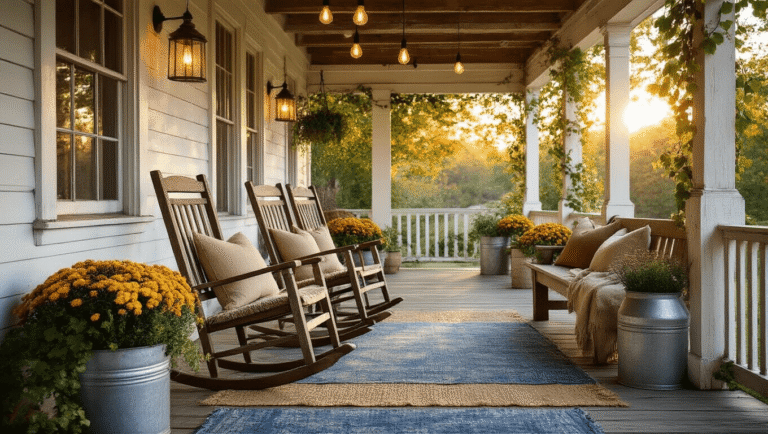
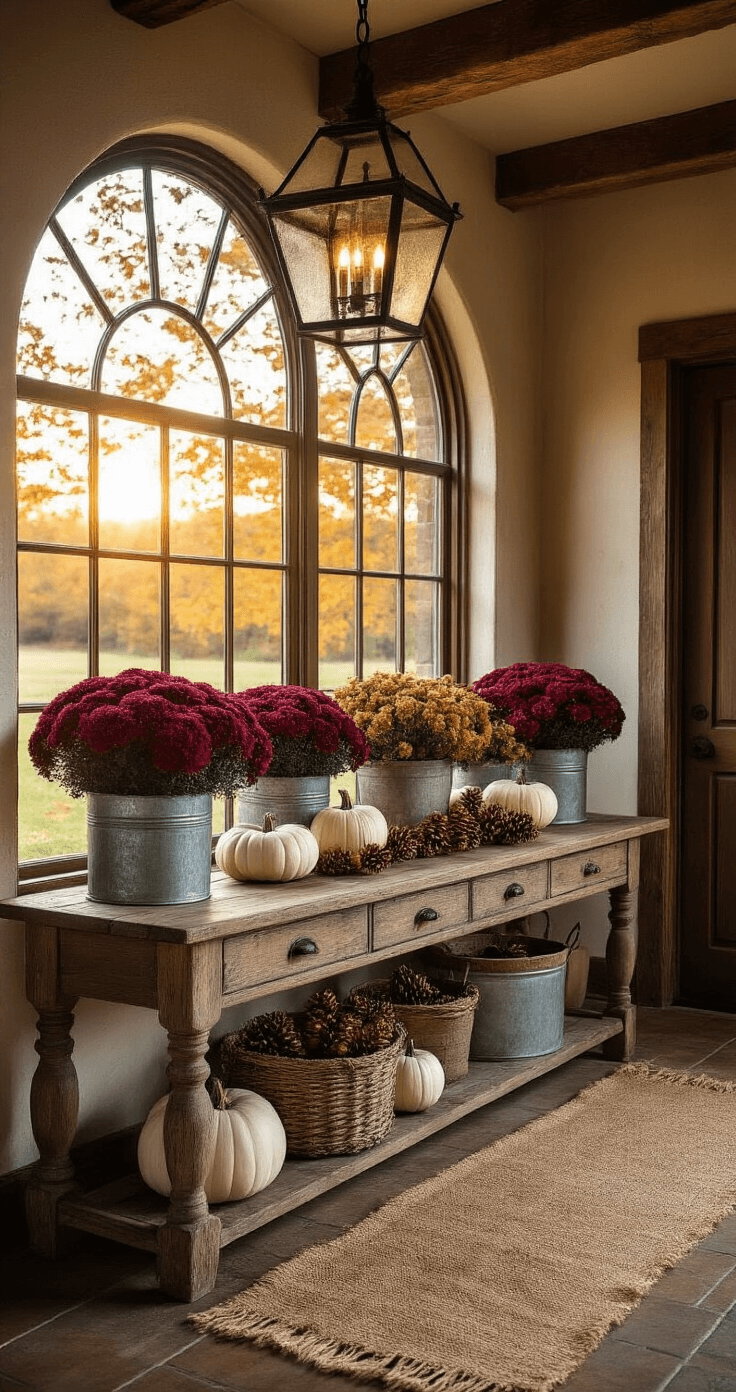
For Farmhouse/Cottage Styles:
This is where you can go full harvest mode.
Stack hay bales, lean corn stalks against posts, use weathered wood crates and galvanized buckets as planters.
Embrace the slightly imperfect, gathered-from-the-field aesthetic.
I use my grandmother’s old apple baskets every year, and they add more character than anything I could buy new.
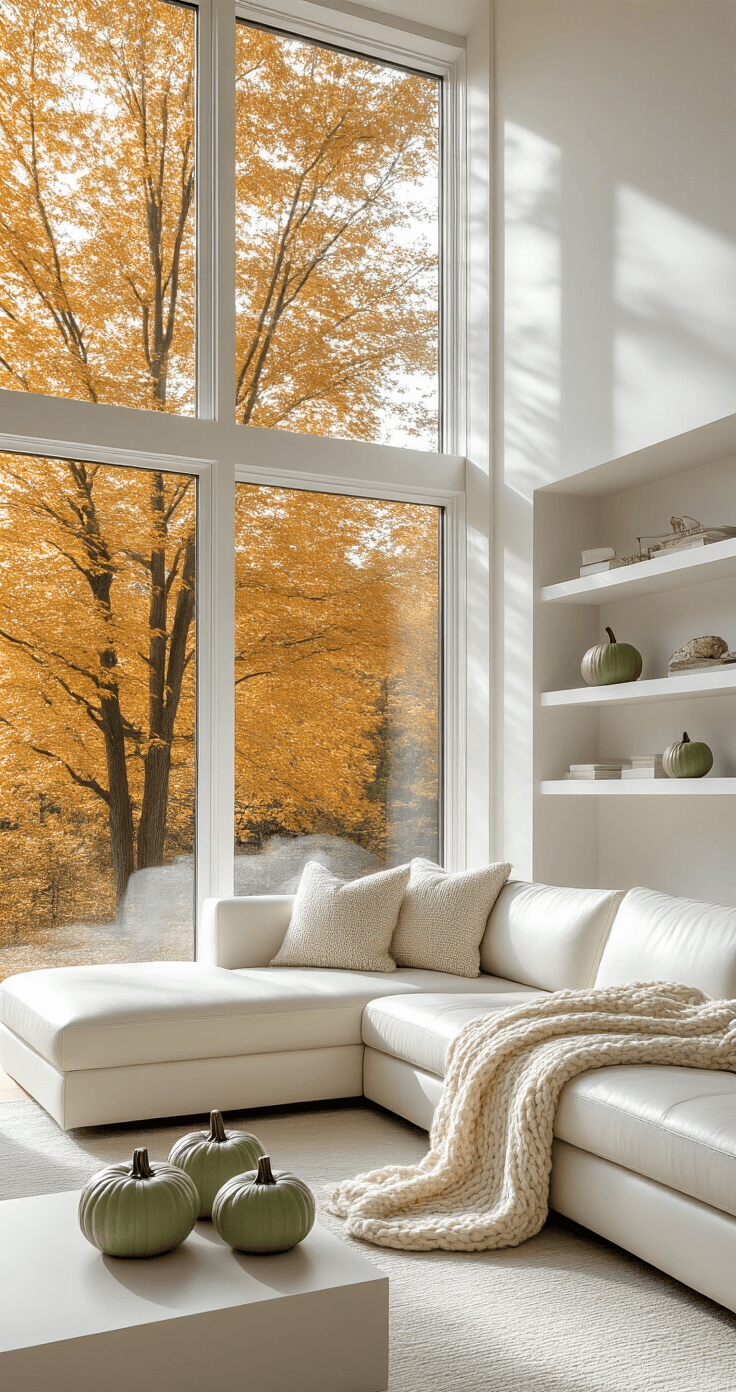
For Modern/Contemporary Homes:
Less is absolutely more here.
Choose pumpkins in a single color family (all white, all green, or varying shades of grey-green).
Skip the corn stalks and hay bales entirely.
Use sleek containers, focus on clean lines, and let negative space do some of the work.
A single dramatic arrangement beats five smaller ones every time.
For Small Porches/Stoops:
Vertical is your best friend.
Hang a generous wreath, use tall planters with height, and create one stellar arrangement rather than spreading things out.
I’ve seen tiny stoops look absolutely magical with just three white pumpkins stacked vertically, a gorgeous potted mum, and a lantern with a flameless candle.

The Layer-by-Layer System That Actually Works
Here’s the method I use for every porch, every year, and it’s never failed me.
Layer 1: Foundation and Anchor Pieces
Start with your largest elements first.
Place your biggest pumpkins, your tall planters with mums, or your hay bales.
These anchor your entire design and take up the most visual space.
Don’t worry about making them perfect yet—just get them roughly positioned.
Walk to the curb or across the street and look at your porch from where visitors will see it first.
This perspective reveals what works and what doesn’t far better than standing three feet away.
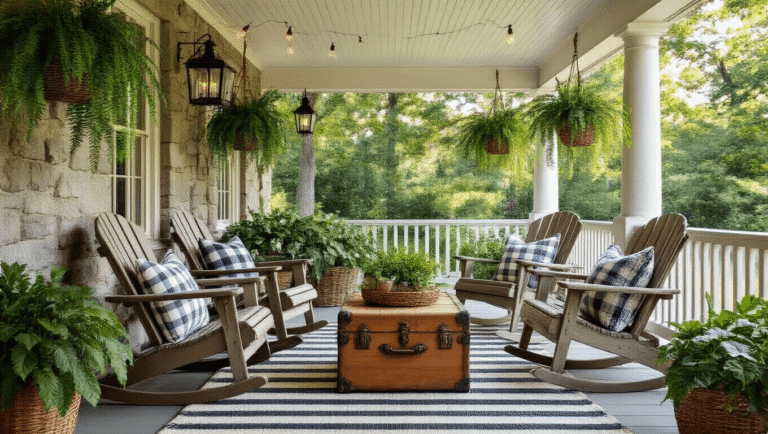
Layer 2: Medium Elements and Fill-Ins
Now add your medium-sized pumpkins, smaller planters, wooden crates, or decorative elements.
These pieces should nestle around your anchor pieces, creating visual connections between the larger items.
Group items in odd numbers (three, five, seven) rather than even numbers.
I don’t know why this works, but it does.
Our brains find odd-numbered groupings more natural and interesting.
Layer 3: Small Details and Finishing Touches
This is where magic happens.
Add small gourds tucked into planter displays, pinecones scattered around the base of pumpkins, a string of outdoor fairy lights woven through your arrangement.
Place your lanterns with candles where they’ll cast the prettiest glow at dusk.
Tuck in dried flowers, wheat stalks, or eucalyptus stems.
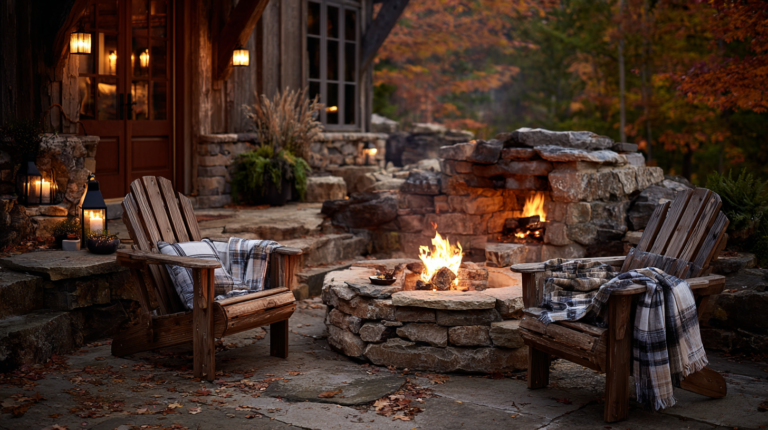
Layer 4: The Lighting Layer
Wait until twilight to place your lighting.
What looks good in daylight often needs adjustment once you see how shadows and light actually fall.
I position solar lights along walkways, battery-operated candles inside lanterns on steps, and sometimes a subtle spotlight aimed at my best plant display.
Lighting extends the hours you can enjoy your space and makes your home feel welcoming when darkness falls early.
The Pumpkin Strategy Nobody Talks About
Let’s talk pumpkins, because there’s more to this than just buying orange spheres and plopping them down.