
This post may contain affiliate links. Please see my disclosure policy for details.
Fall Rocks: Everything You Need to Know About Painting Autumn’s Prettiest Décor
Contents
- Fall Rocks: Everything You Need to Know About Painting Autumn’s Prettiest Décor
- Why Everyone’s Obsessed With Fall Rocks Right Now
- What Exactly Are Fall Rocks?
- Pumpkin Spice Everything
- The “Hello Fall” Welcome Committee
- Retro Fall Trees That Look Designer
- Gratitude Rocks (The Emotional Ones)
- What You Actually Need to Get Started
- My Step-by-Step Process (That Actually Works)
Fall rocks are painted stones featuring autumn themes like pumpkins, leaves, and cozy messages – and they’re about to become your new obsession.
I’ll be honest with you. The first time someone showed me a painted rock with a tiny pumpkin on it, I thought it was the silliest craft project I’d ever seen. Then I tried it. Three hours later, I had twelve rocks lined up on my kitchen counter, each one more adorable than the last, and my husband was gently suggesting I might need an intervention.
Why Everyone’s Obsessed With Fall Rocks Right Now
You’ve probably seen them. Those gorgeous little painted stones sitting on porches, tucked into garden beds, or lined up along windowsills every September.
They’re everywhere because they hit that sweet spot between:
- Stupid easy to make (even if you can’t draw a straight line)
- Incredibly satisfying (instant gratification, anyone?)
- Actually looks good when you’re done
- Dirt cheap compared to store-bought fall décor
Plus, you can make them while binge-watching your favorite show. No judgment here.
🎨 Steal This Look
- Paint Color: Benjamin Moore Kendall Charcoal HC-166
- Furniture: reclaimed wood console table with open shelving for displaying seasonal rock collections
- Lighting: adjustable-arm brass desk lamp with warm 2700K LED bulb for detailed painting sessions
- Materials: raw linen drop cloths, unfinished river stones, natural bristle brushes, kraft paper for protecting surfaces
There’s something meditative about holding a cool, smooth stone in your palm while autumn light streams through the window—this humble craft connects us to slower, more intentional making in a way that expensive décor never could.
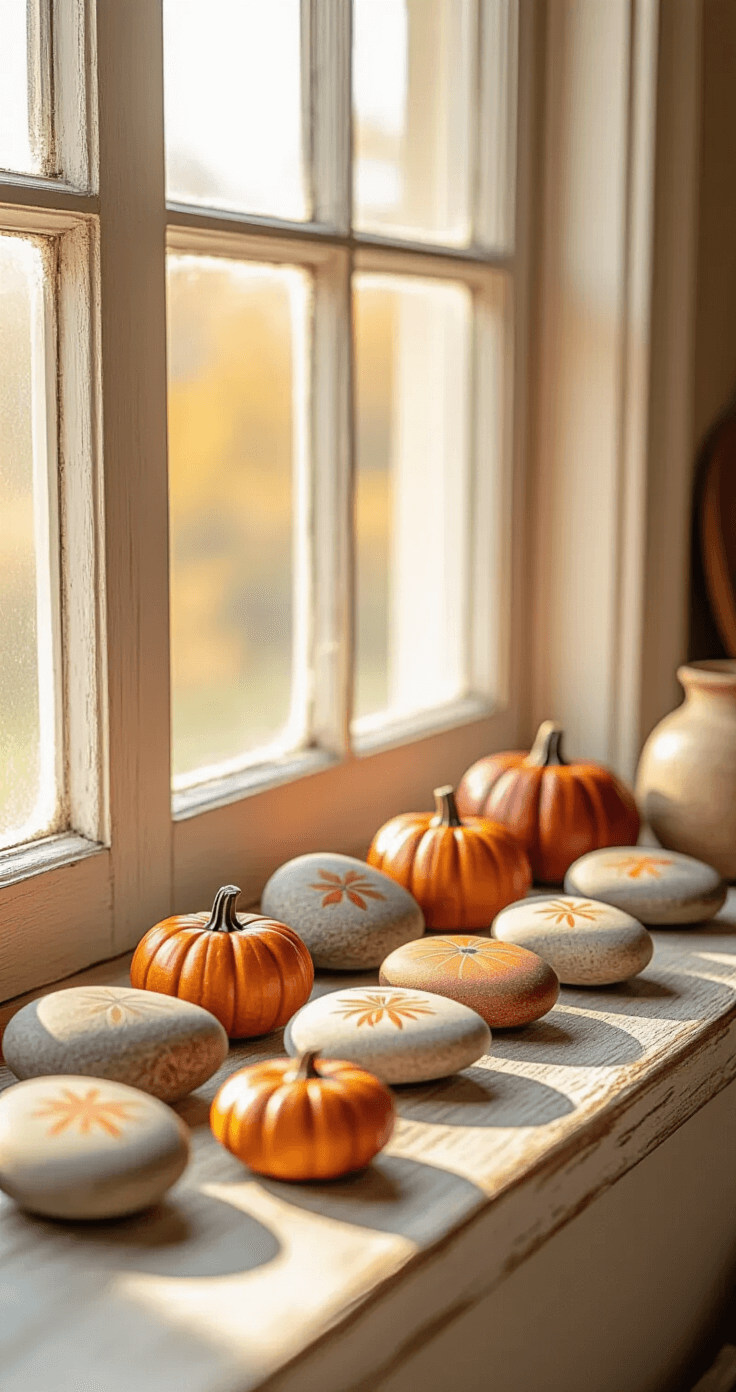
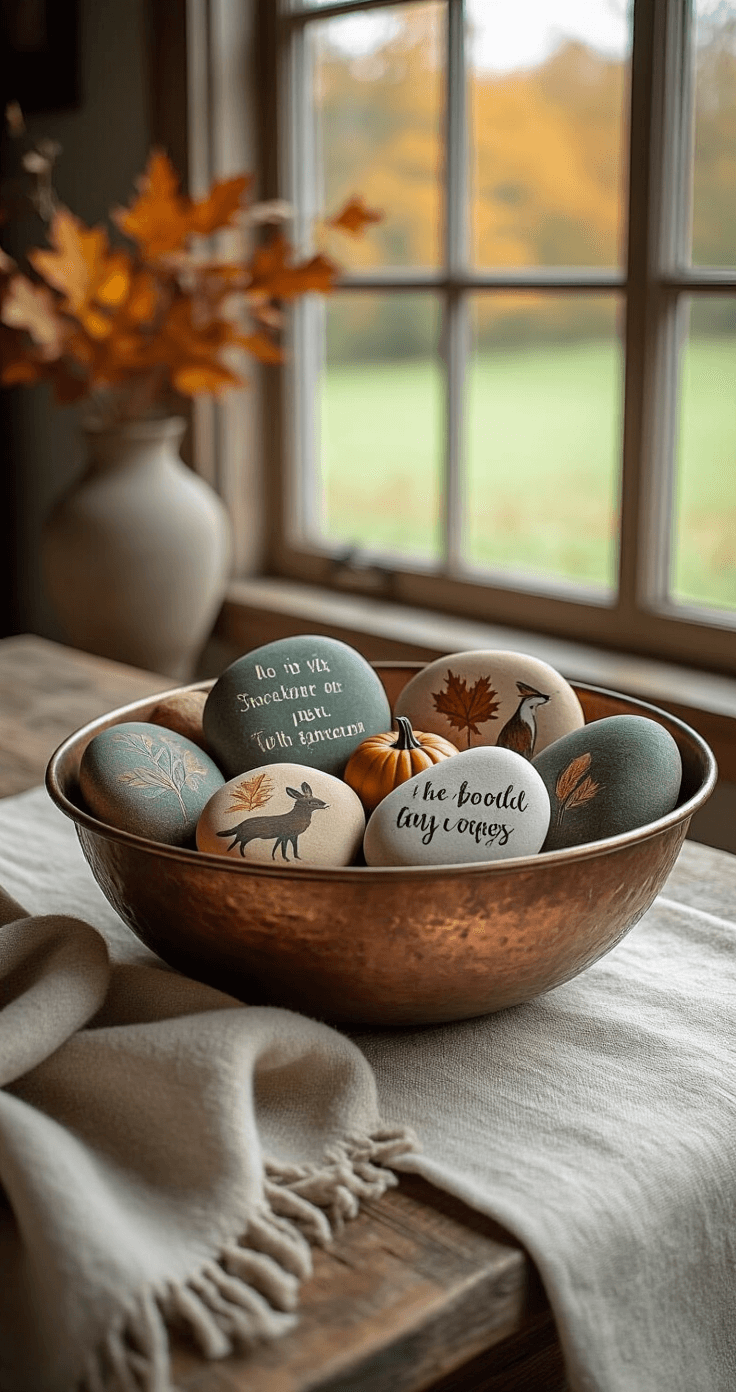
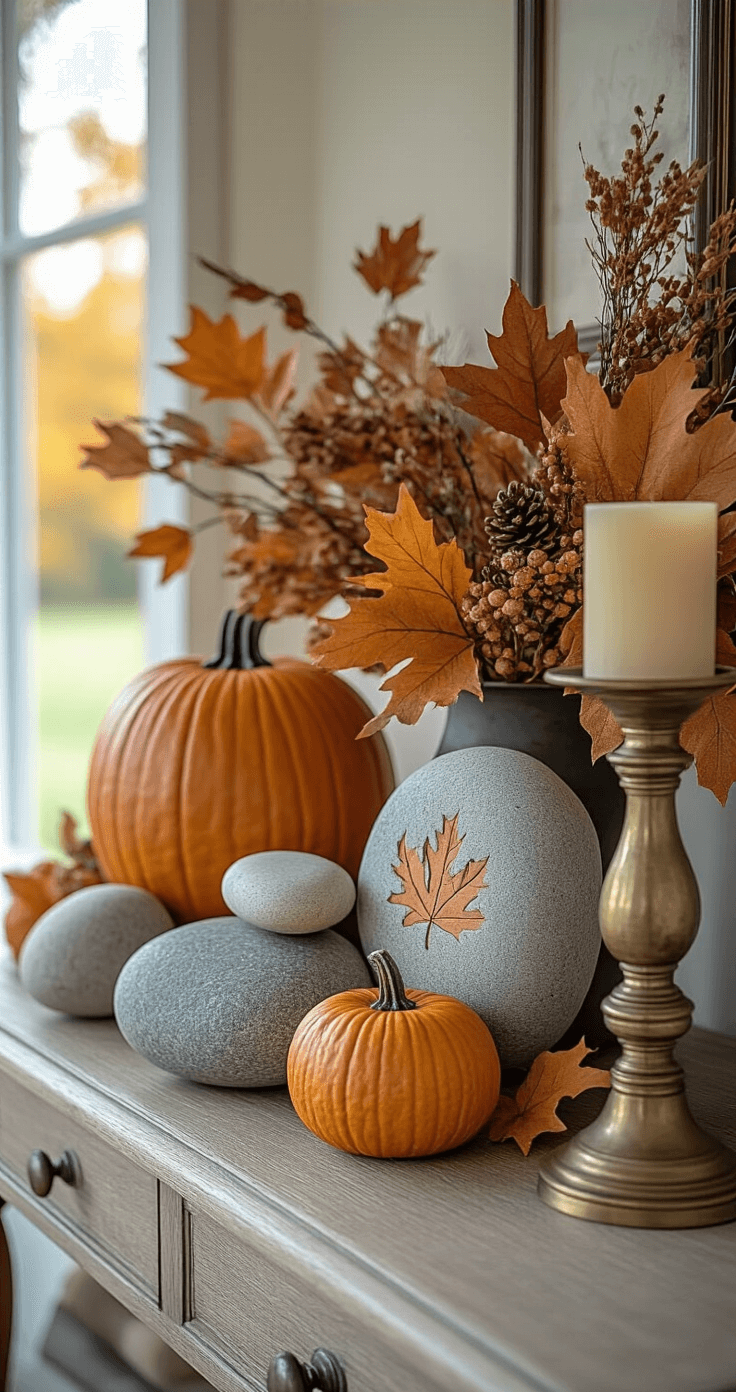
What Exactly Are Fall Rocks?
Let me break this down like you’re five.
Fall rocks are just regular rocks – the kind you’d find in your yard or at a craft store – painted with autumn designs.
We’re talking:
- Pumpkins (from realistic to cartoon-cute)
- Fall leaves in those chef’s-kiss oranges and reds
- Cozy phrases like “Hello Fall” or “Grateful”
- Autumn trees with bare branches
- Acorns, pinecones, and woodland creatures
The beauty is in their simplicity. You’re not trying to recreate the Sistine Chapel here.
The Designs That Actually Work (I’ve Tested Them All)
Pumpkin Spice Everything
Look, I know we joke about pumpkin spice overload. But pumpkin designs on rocks just work.
The easiest approach:
- Paint the whole rock orange
- Add some darker orange or brown lines for sections
- Slap a little green stem on top
- Done
Want to get fancy? Try the “pumpkin spice” aesthetic with swirls, coffee cups, and fall florals. It’s Instagram gold, and people will think you’re way more artistic than you actually are.
🖼 Steal This Look
- Paint Color: Behr Pumpkin Patch PPU3-16
- Furniture: small wooden accent table for displaying painted rocks
- Lighting: warm white LED fairy lights in mason jar
- Materials: smooth river rocks, acrylic craft paint in burnt orange and sage green, fine-tipped brushes, matte sealant spray
There’s something deeply satisfying about creating seasonal decor that costs next to nothing but feels genuinely handmade—this is the kind of project that makes you want to invite people over just to show off your coffee table.
The “Hello Fall” Welcome Committee
Here’s my confession: I have seventeen rocks that say “Hello Fall” in different fonts. Seventeen.
These work because:
- They’re impossible to mess up
- You can practice different lettering styles
- They look intentional scattered around your porch
- Guests think you’re crafty and organized (ha!)
Pro move: Use metallic paint markers for the lettering. The shimmer makes even wobbly handwriting look purposeful.
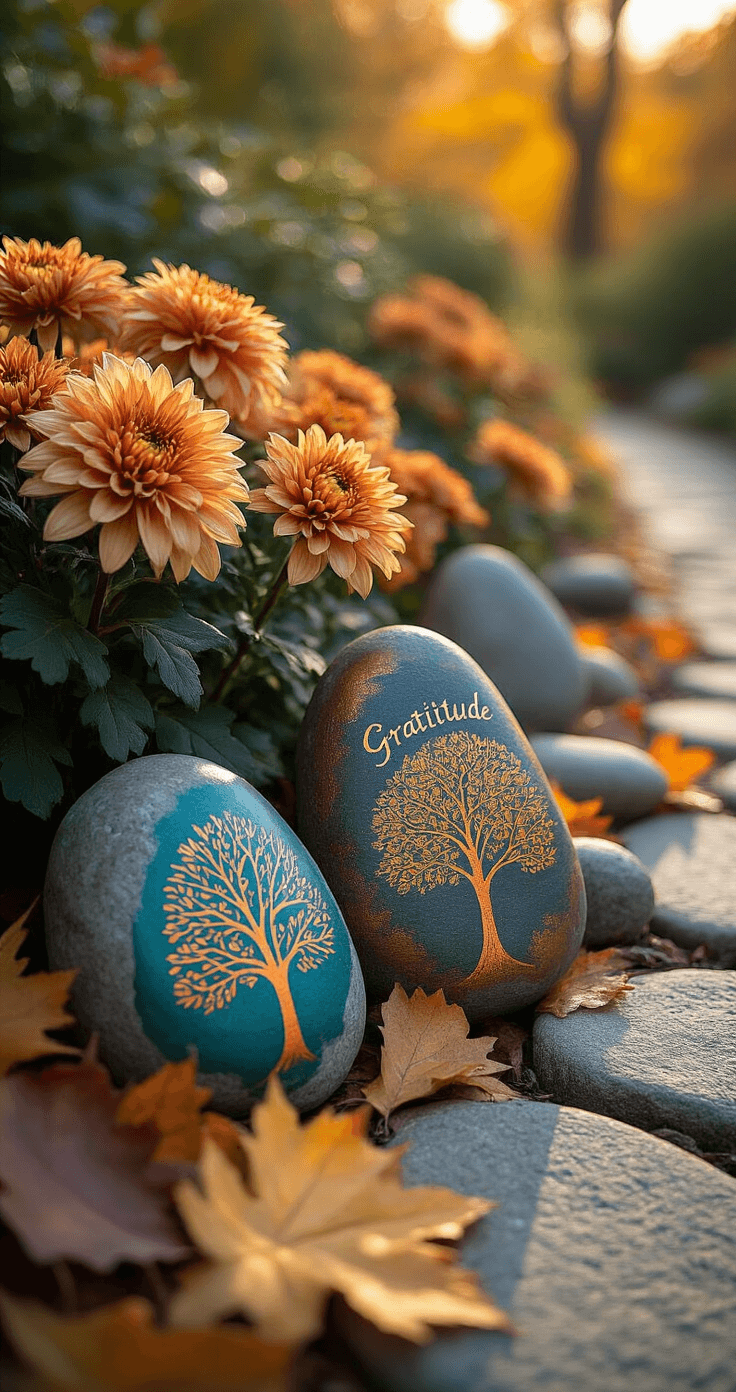
Retro Fall Trees That Look Designer
This is where you can really show off.
The technique is stupidly simple:
- Paint layers of semi-circles in fall colors (think burnt orange, copper, gold)
- Stack them to create a retro tree shape
- Add a brown trunk
- Maybe throw in some metallic accents
I learned this from watching rock painting tutorials, and now I can’t stop. My family has put a three-rock-per-week limit on me.
🏠 Steal This Look
- Paint Color: PPG Burnt Orange PPG1065-7
- Furniture: mid-century modern credenza with tapered legs to display your rock collection
- Lighting: adjustable brass-arm architect lamp for detailed rock painting sessions
- Materials: smooth river rocks, metallic gold leaf pen, matte acrylic sealant, natural cork display mat
There’s something deeply satisfying about turning a free backyard find into a conversation piece that guests actually pick up and admire—my painted rocks have outlasted three seasons of trendy ceramic decor.
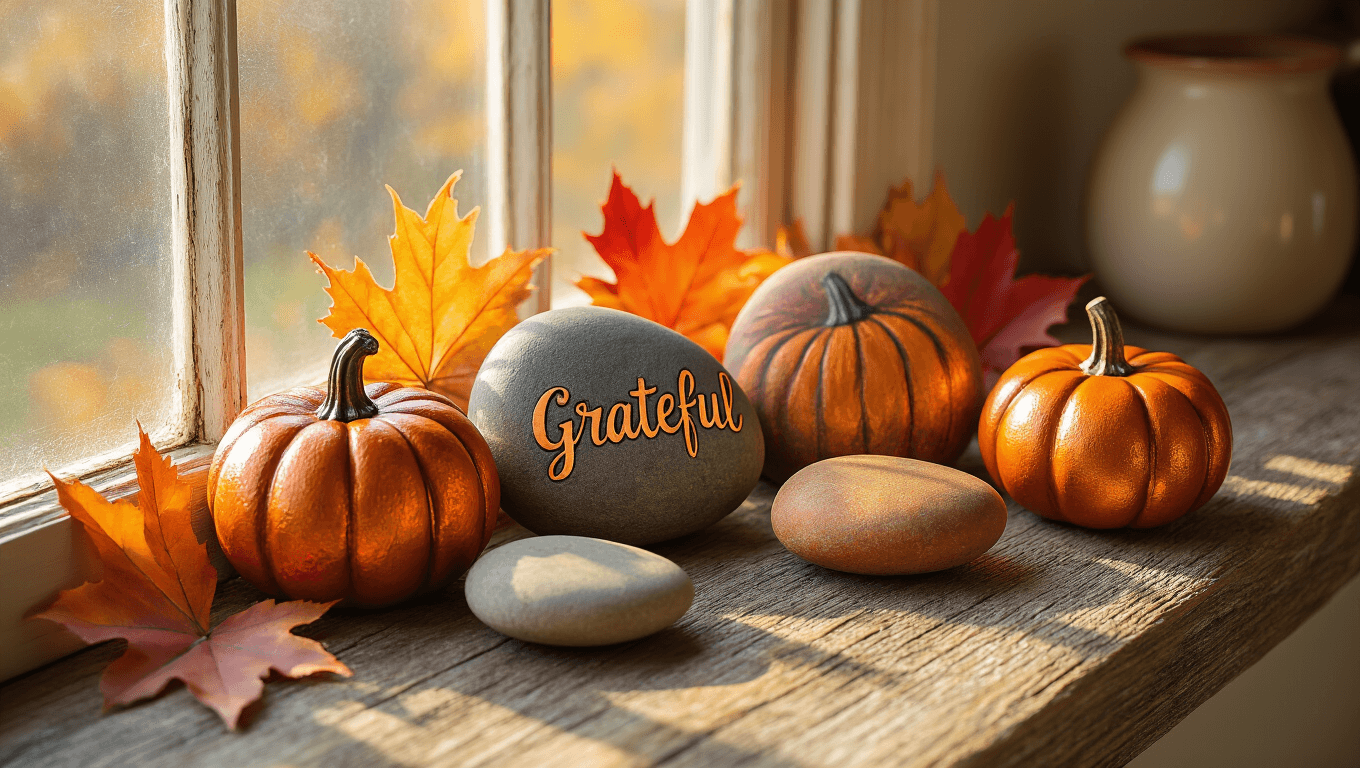
Gratitude Rocks (The Emotional Ones)
These hit different.
Paint words like “Grateful,” “Thankful,” or “Blessed” with some simple fall accents. I keep a few on my desk because apparently I need inanimate objects to remind me not to be a grouch.
They also make ridiculously good gifts. Someone having a rough time? Hand them a gratitude rock. Instant mood lifter, and you look like a thoughtful genius.
What You Actually Need to Get Started
Forget those massive craft hauls. You need five things:
The rocks themselves:
- Smooth river rocks work best
- Size of your palm or slightly smaller
- Flat-ish surface for easier painting
- Clean and dry (wash them, people)
Grab smooth river rocks for painting if you don’t want to hunt around outside.

Paint that won’t make you cry:
- Acrylic paint sets in fall colors
- Metallics like copper and champagne gold
- Optional but amazing: glitter paint for that extra sparkle
Brushes you won’t ruin:
- One medium round brush
- One tiny detail brush
- That’s literally it
Sealer to protect your masterpiece:
- Clear acrylic sealer spray OR
- Outdoor Mod Podge if you want them weatherproof
Optional fancy stuff:
- Paint pens for detail work (game-changer for lettering)
- Resin for that glossy, professional finish
- Glitter because we’re adults and we can
★ Steal This Look
- Paint Color: Clare Paint Dirty Chai CW-05
- Furniture: a compact rolling craft cart with pull-out trays for organizing paints, brushes, and drying rocks
- Lighting: a daylight LED desk lamp with adjustable arm for true color matching while painting
- Materials: unfinished wood surfaces, woven seagrass baskets for rock storage, and a cork-backed craft mat
This is the room where weekend projects actually happen, not where supplies go to die in drawers. A craft space that respects your time means you’ll finish those painted rocks instead of abandoning them half-done.
My Step-by-Step Process (That Actually Works)
1. Prep Your Rock Like You Mean It
Wash it. Dry it completely. Maybe even give it a coat of white gesso if you’re feeling fancy.
This isn’t optional if you want the paint to stick. I learned this the hard way when my first three rocks looked great for about two days.
2. Base Coat Everything
Cover the rock
💡 Steal This Look
- Paint Color: use Fine Paints of Europe brand. Match the ACTUAL wall color in the image. Format: Fine Paints of Europe ColorName CODE
- Furniture: specific furniture for this room
- Lighting: specific lighting fixture
- Materials: key textures and materials
There’s something meditative about transforming a forgotten garden stone into a tiny piece of art—this process turns an afternoon into something you actually want to display, not just another Pinterest fail.


—Here's How You Can Too")
")

[…] me break down exactly what you need to plant to transform your fall garden from cemetery vibes to […]
[…] bloom continuously and don’t need deadheading—perfect for lazy gardeners like […]