

This post may contain affiliate links. Please see my disclosure policy for details.
Farmhouse Grapevine Wreaths: A Rustic Decor Essential
Contents
Farmhouse grapevine wreaths have taken over front doors everywhere, and honestly, I get it.
But here’s the thing—I’ve walked past way too many doors where these wreaths look like someone hot-glued every single item from the clearance bin onto a circle and called it rustic.
That’s not farmhouse. That’s chaos.
I’ve been decorating my home with grapevine wreaths for years now, and I’ve learned what actually works versus what just looks busy and confused.
Let me walk you through the styling approaches that’ll make your wreath look intentional, beautiful, and like you didn’t try too hard (even though we both know you did).
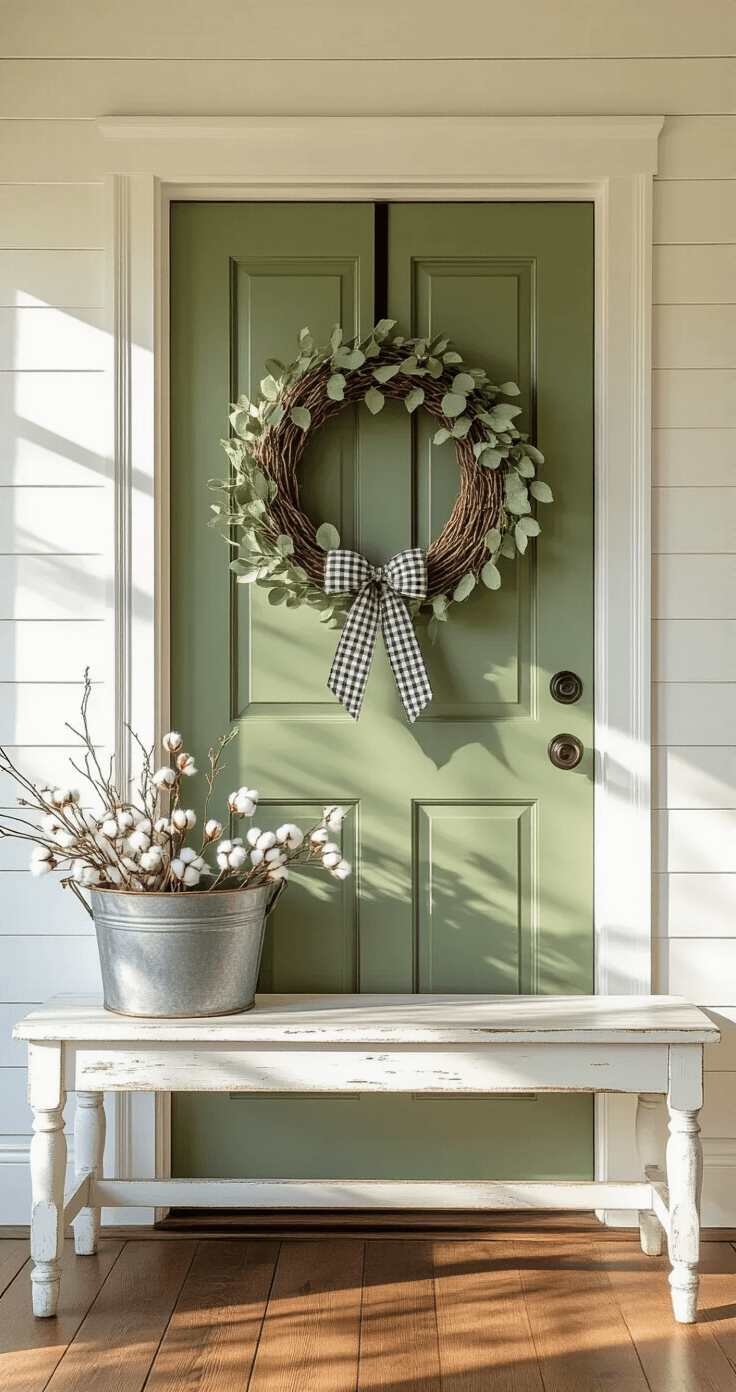
The Everyday Farmhouse Look That Never Gets Old
This is my go-to. The one I come back to again and again.
I call it my “lazy genius” wreath because once you build the base, you barely have to touch it.
Here’s what I use:
- Lamb’s ear greenery (that soft, silvery-green stuff that looks expensive but isn’t)
- Cotton pods (real or faux—nobody’s getting close enough to tell)
- A neutral bow that I swap out seasonally
The genius part?
The base stays the same all year long. I just swap the ribbon.
Black and white gingham for everyday. Pastel ribbon for spring. Orange plaid for fall. Red and white for Christmas.
You get a grapevine wreath base that’s about 18 to 24 inches, attach your lamb’s ear and cotton with floral wire (not hot glue—more on that later), and you’re done.
I spent maybe thirty minutes on mine two years ago, and I’ve been riding that high ever since.
Why This Works
It’s simple. It’s textured. It doesn’t scream “LOOK AT ME.”
The neutral palette means it works with literally any front door color, and the soft materials give it that lived-in farmhouse vibe without looking like you’re trying to cosplay as Joanna Gaines.
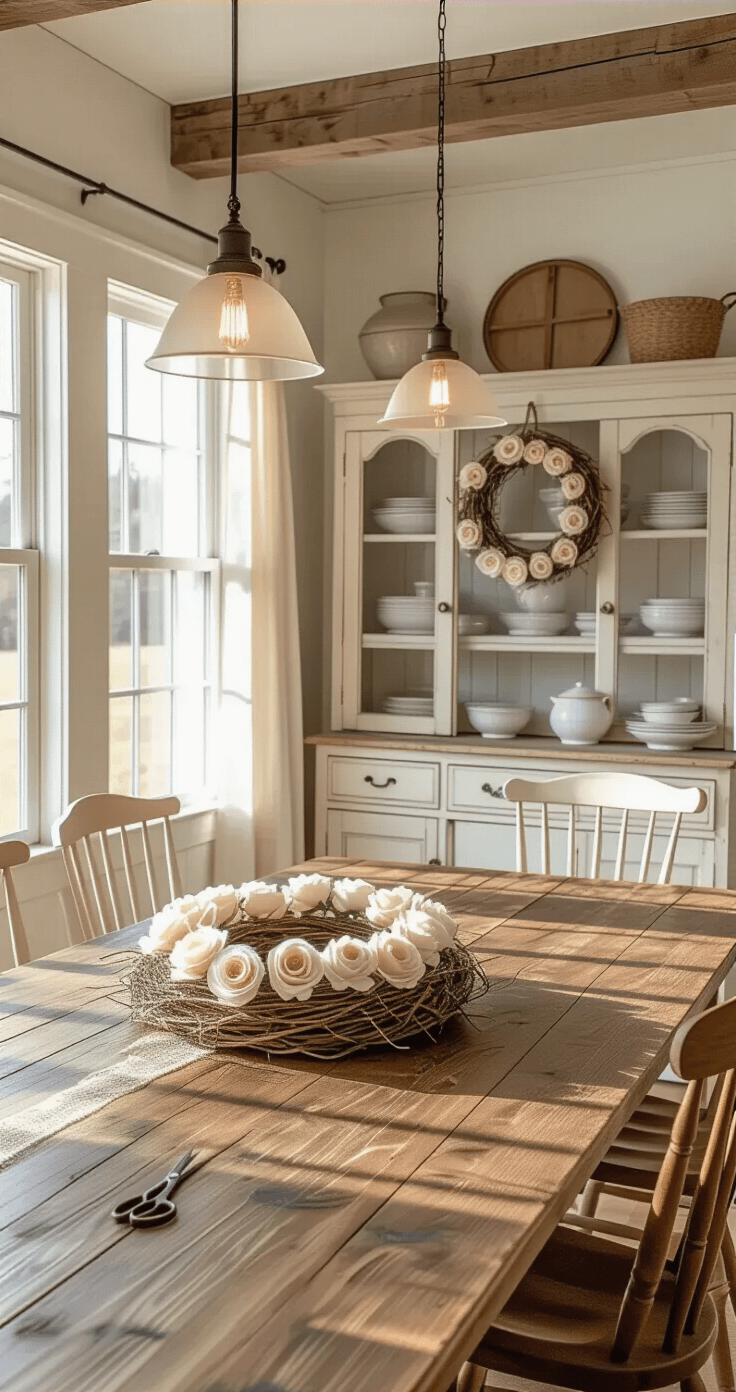
Making Your Own Fabric Flowers (Because Store-Bought Looks Store-Bought)
Alright, this one takes more effort, but the payoff is huge.
I stumbled into this method after buying yet another overpriced floral pick that fell apart in the rain.
You’ll need:
- Painter’s drop cloth, muslin, or osnaburg fabric (basically any neutral, textured fabric)
- A good pair of fabric scissors
- Hot glue gun and plenty of glue sticks
- Burlap ribbon for bows
How I Actually Make These Flowers
Cut your fabric into strips. Width matters here—1.5 inches for tighter, smaller flowers, 2.5 inches for those big, blowsy ones.
Start rolling.
Don’t overthink it. Roll loosely at first, then gather and twist as you go.
Some flowers I roll tight. Some I let unravel at the edges for texture.
The imperfection is the point.

Hot glue each flower directly to your grapevine base, clustering them in odd numbers (3, 5, 7—even numbers look too symmetrical and weird).
Add a burlap bow with intentionally frayed edges.
I literally pull threads loose because perfect bows look craft-fair desperate.
The Control You Get With This Method
This is what I love most.
You decide:
- How tight or loose each flower is
- How much the edges fray
- The exact size and height
- Where every single element sits
Store-bought picks force you into their vision. This lets you create exactly what you want.
It takes longer, sure. But when someone asks “where did you get that?” and you can say “I made it,” that feels pretty damn good.
Seasonal Switches That Don’t Require Rebuilding the Whole Thing
I’m not rebuilding my wreath every time the calendar flips.
That’s exhausting.
Instead, I keep a base wreath and style it seasonally with removable pieces.
Fall: Layering Florals Like You’re Building a Salad
For fall, I work in layers.
Bottom layer: Longest floral picks with warm foliage (burnt orange, deep red, burgundy)
Middle layer: Medium-length picks with texture (berries, wheat stalks, small sunflowers)
Top layer: Shortest accent pieces (mini pumpkins, pinecones, whatever catches my eye)
I attach everything with floral wire, not glue.
Why?
Because when Halloween’s over, I can unwind that wire and switch to winter greenery without destroying the whole wreath.
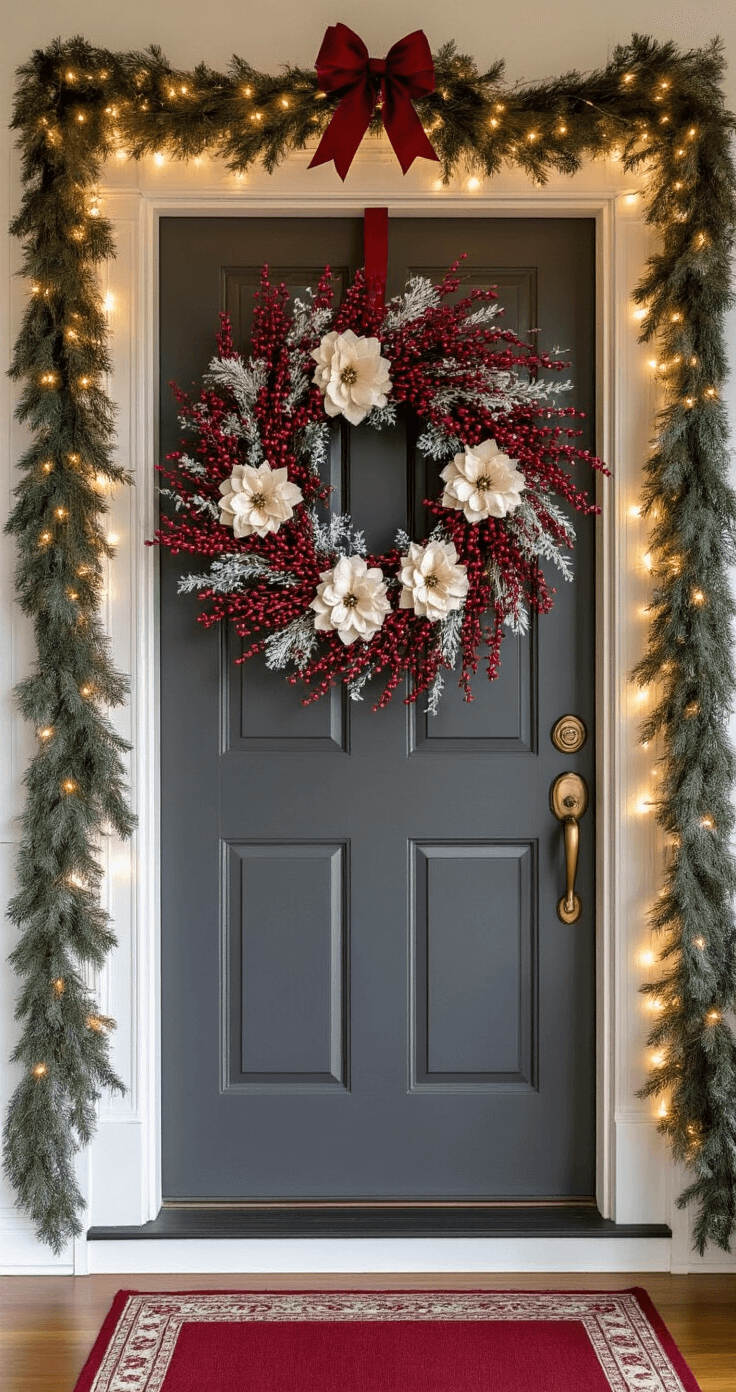
Christmas: Red, White, and Zero Chill
My Christmas farmhouse wreath is basically a controlled explosion of red and white.
Red berries. White flowers (or fabric flowers from that method I mentioned). Maybe some frosted pine.
I add battery-operated fairy lights woven through the grapevine because I’m not a monster—I like my wreath to glow.
The farmhouse vibe comes from keeping it cozy, not overdone.
Think “snow day with hot chocolate,” not “Santa’s workshop threw up.”
<img
")


[…] Grapevine or wire wreath frame (your canvas) […]
[…] barn doors add instant farmhouse character while saving valuable floor space. Brands like Rustica and Home Depot offer hardware kits […]