
This post may contain affiliate links. Please see my disclosure policy for details.
Transform Your Home This Christmas: The Complete Guide to Stunning Garland Christmas Decor That’ll Make Your Neighbors Green with Envy
Contents
- Transform Your Home This Christmas: The Complete Guide to Stunning Garland Christmas Decor That’ll Make Your Neighbors Green with Envy
- Why Your Christmas Garland Probably Looks Like a Hot Mess (And How to Fix It)
- The Secret Formula Behind Jaw-Dropping Holiday Garland
- Master These 5 Essential Garland Styles (From Beginner to Show-Stopper)
- Where to Place Your Garland for Maximum Impact (Location Is Everything)
Garland Christmas decor might seem simple, but I’ve learned the hard way that there’s a world of difference between throwing some greenery on a mantel and creating something truly magical.
Why Your Christmas Garland Probably Looks Like a Hot Mess (And How to Fix It)
Let me be brutally honest here. Most people’s garland looks like they grabbed whatever was left at the store and threw it up without a second thought. I used to be one of those people.
My first attempt at garland decorating looked like a Christmas tree had exploded across my living room. Everything was fighting for attention, nothing flowed, and the whole thing screamed “amateur hour.”
But here’s what I discovered: great garland Christmas decor isn’t about having the most expensive materials – it’s about understanding the fundamentals.
🏠 Steal This Look
- Paint Color: Benjamin Moore Chantilly Lace OC-65
- Furniture: slipcovered linen sofa in natural oatmeal, reclaimed wood coffee table with visible grain
- Lighting: brass adjustable picture light above mantel or built-in shelving
- Materials: velvet ribbon in deep forest green, aged brass wire, fresh cedar and eucalyptus stems, matte ceramic vases
I learned this the hard way after three years of overstuffing my mantel garland until a designer friend gently asked if I was trying to hide the fireplace—now I step back every few feet to check the sight line from across the room.
The Secret Formula Behind Jaw-Dropping Holiday Garland
After years of trial and error (and some spectacular failures), I’ve cracked the code. Every stunning garland follows this simple formula:
Foundation + Lights + Texture + Focal Points = Magic
Foundation: Your Garland’s Backbone
Your foundation is everything. Skip this step, and your entire display falls flat.
I always start with high-quality artificial garland because it gives me control. Real greenery is gorgeous, but it’s unpredictable and doesn’t photograph well after a few days.
Pro tip: Double up your garland for instant fullness. One strand looks sparse, two strands look intentional and lush.
Lights: The Game-Changer You’re Probably Getting Wrong
Here’s where most people mess up spectacularly. They either skip lights entirely or wrap them like they’re strangling the garland.
The right way to add lights:
- Use warm white LED string lights – cool white looks harsh and uninviting
- Weave lights through the garland, not around it
- Start from the back and work forward
- Use 100 lights per 6 feet of garland (trust me on this)
I learned this the hard way when I tried to photograph my first “masterpiece” and it looked like a sad, dark blob in every photo.
Master These 5 Essential Garland Styles (From Beginner to Show-Stopper)
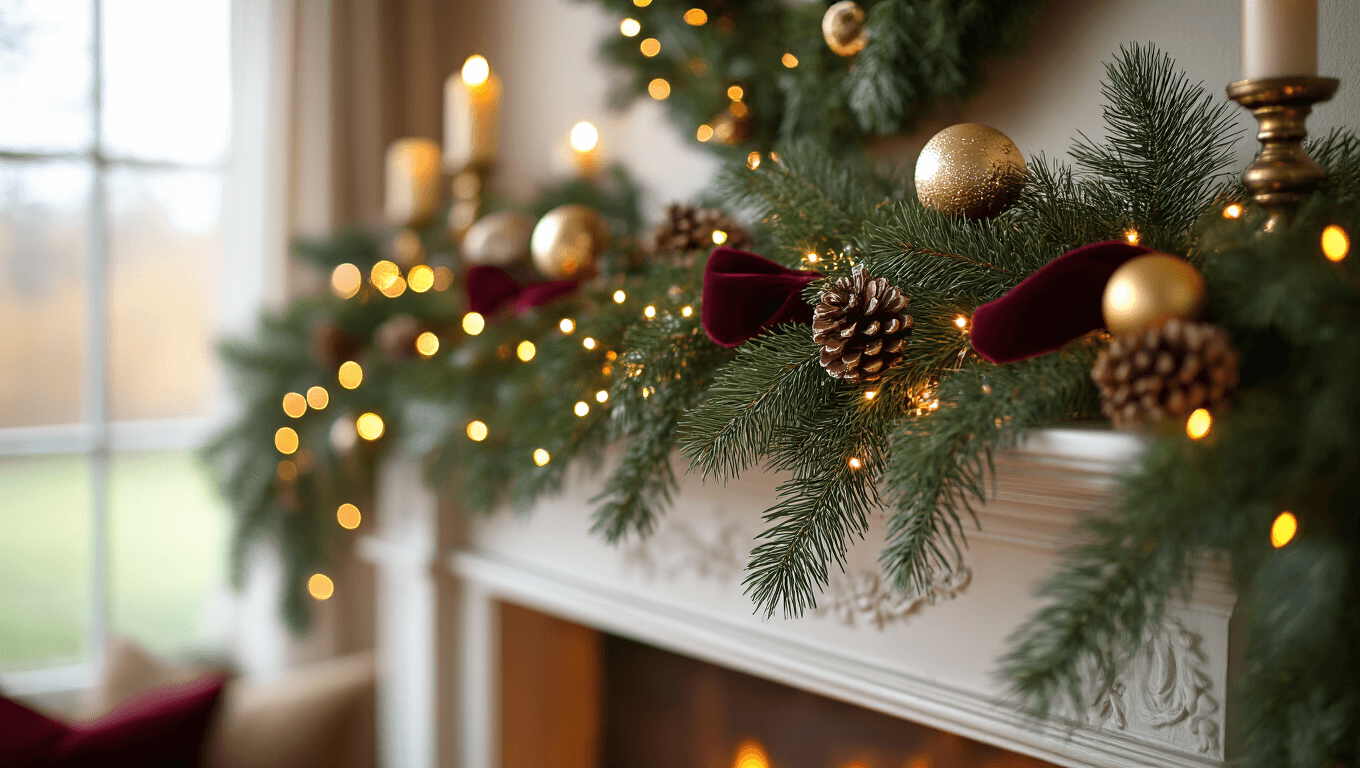
Style #1: The Classic Traditional
Perfect for: First-time decorators, traditional homes, anyone who loves timeless elegance
What you need:
- Pine or mixed evergreen garland
- Red velvet ribbon
- Gold ball ornaments
- Traditional Christmas ornament set
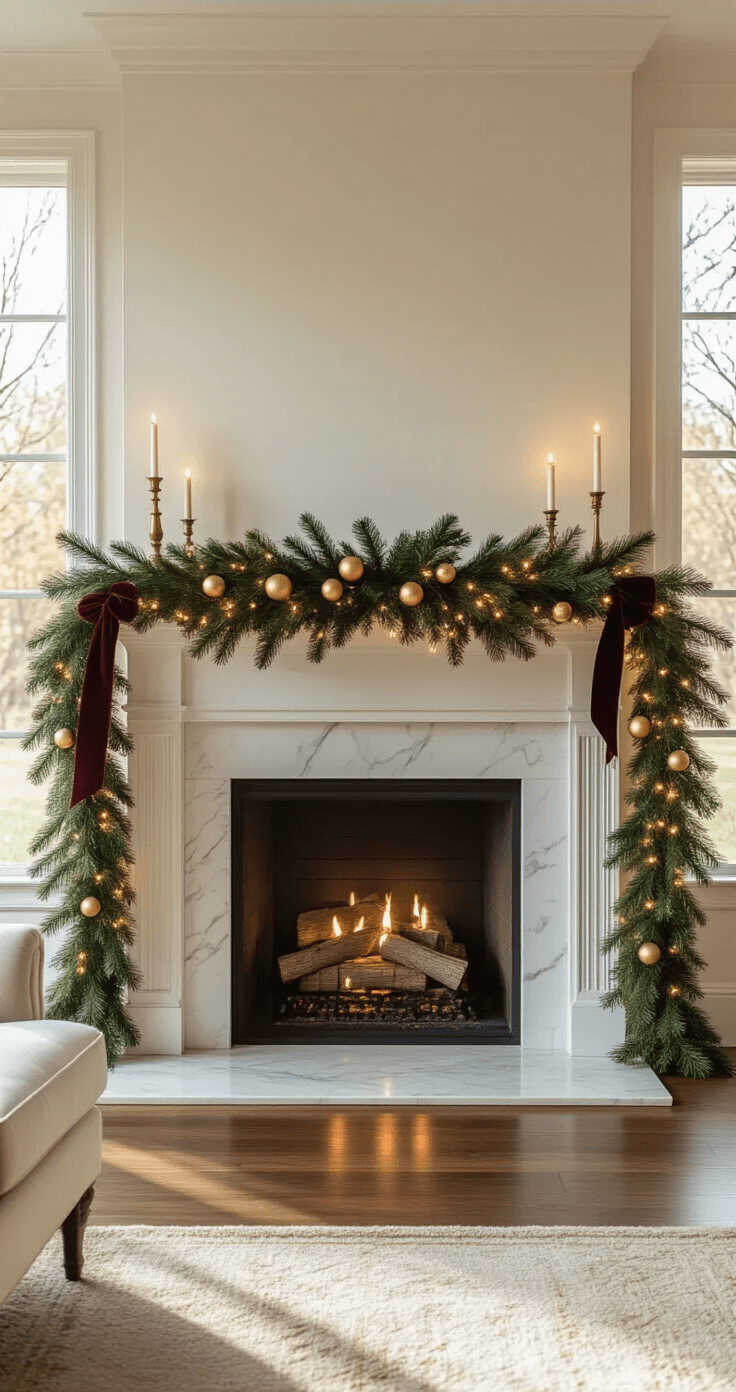
Time investment: 45 minutes
Budget: $30-50
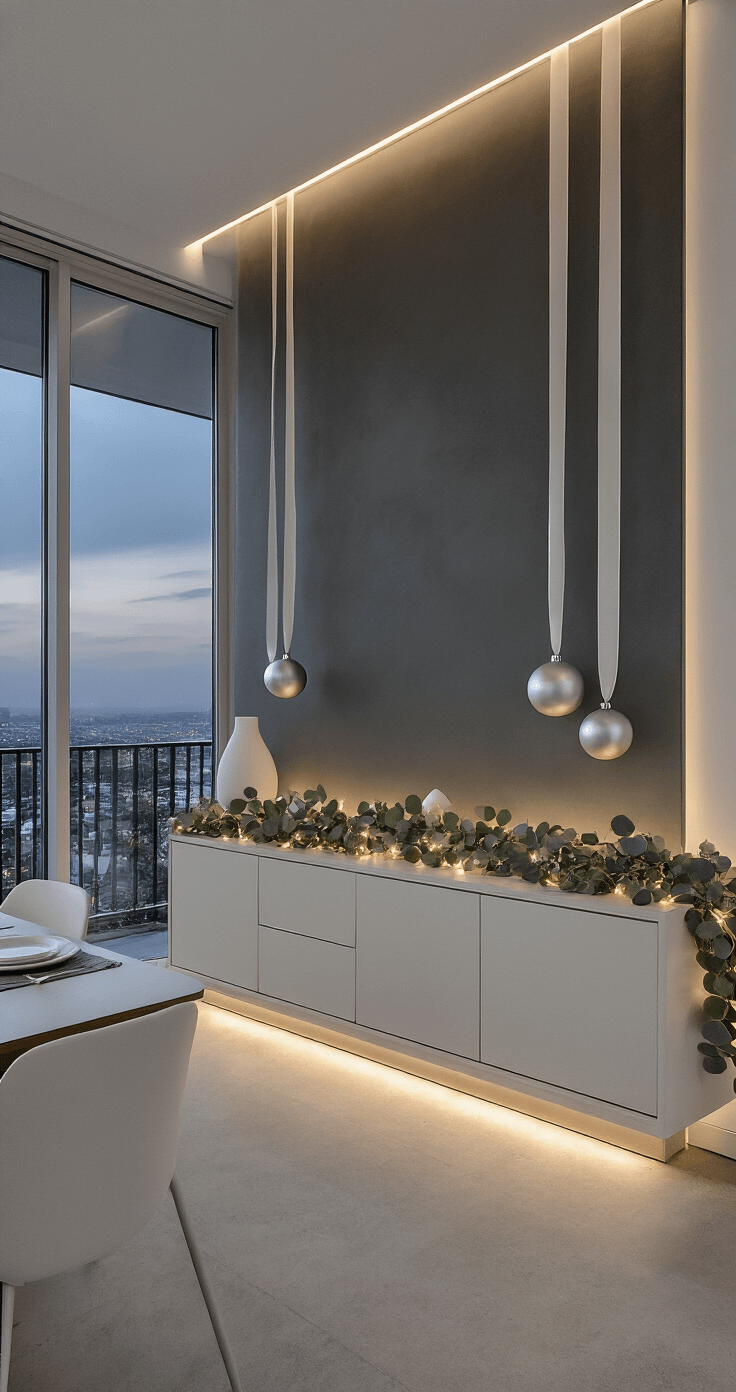
Style #2: The Modern Minimalist
Perfect for: Contemporary homes, small spaces, anyone who hates clutter
Color palette: White, silver, maybe a touch of pale gold
Key elements:
- Simple eucalyptus or mixed green base
- White ribbon in varying widths
- A few statement silver ornaments
Time investment: 30 minutes
Budget: $25-40
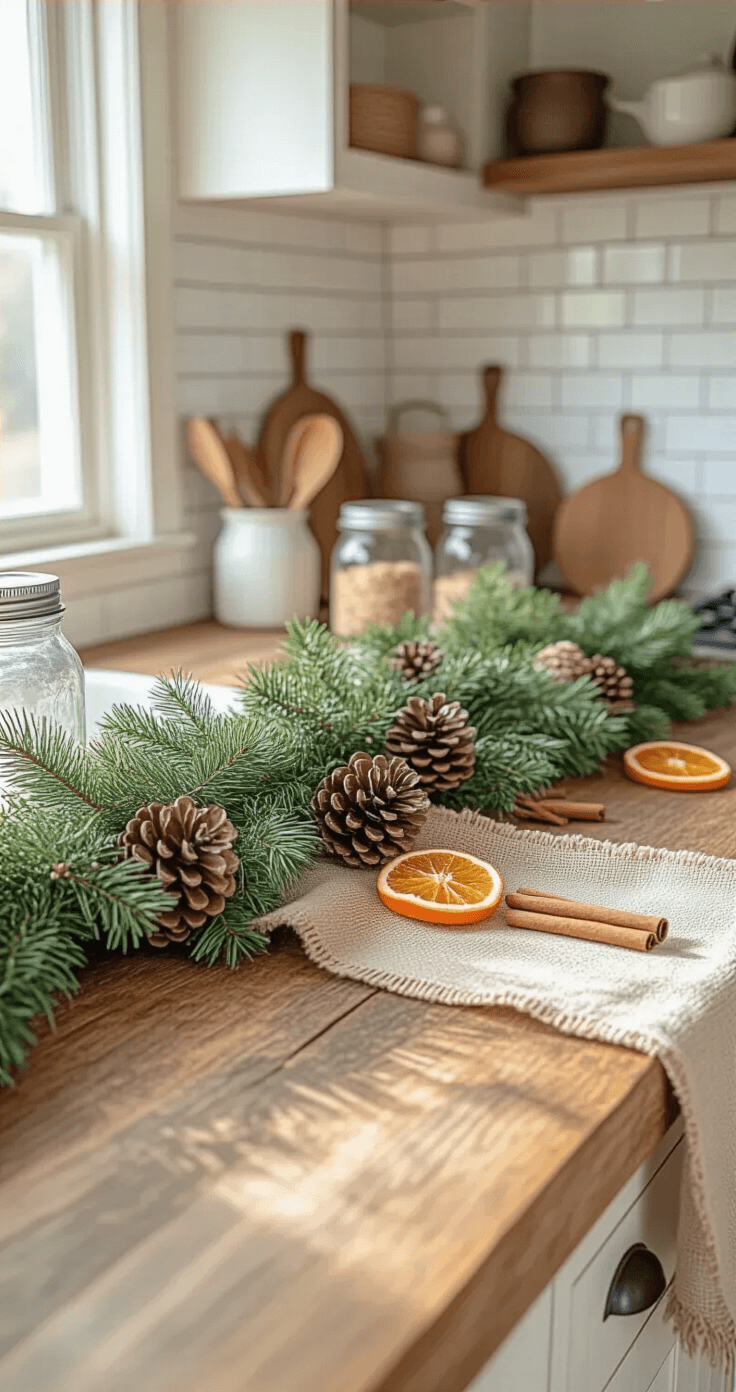
Style #3: The Rustic Farmhouse
Perfect for: Country homes, anyone who loves that cozy, lived-in feel
This is my personal favorite because it’s forgiving and photographs beautifully.
Essential elements:
- Mixed greenery with lots of texture
- Burlap ribbon in natural tones
- Pinecones, dried oranges, cinnamon sticks
- Wood bead accents
Time investment: 60 minutes
Budget: $35-55
Style #4: The Glamorous Showstopper
Perfect for: Formal dining rooms, anyone who wants their decor to make a statement
Must-have elements:
- Lush, full garland base
- Metallic ribbon (gold, rose gold, or silver)
- Oversized ornaments
- Crystal or metallic accents
Time investment: 90 minutes
Budget: $60-100+

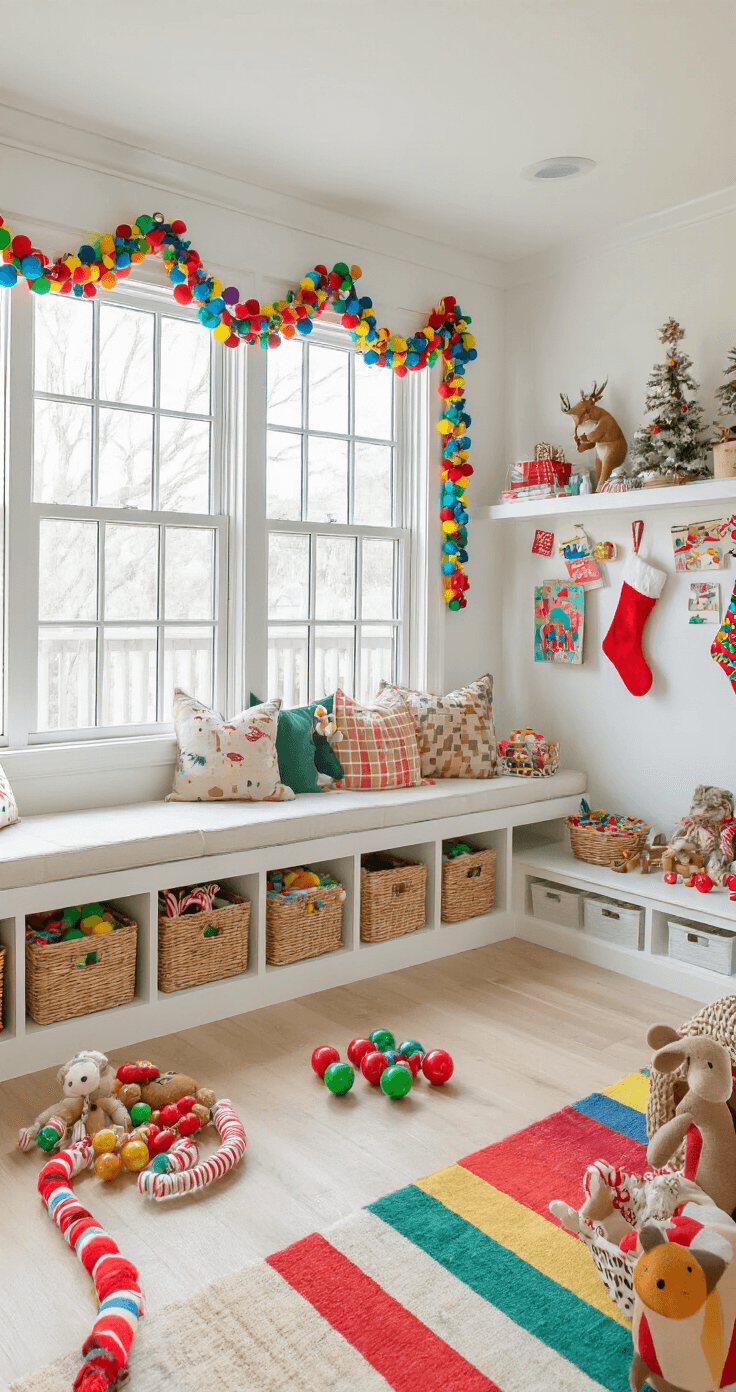
Style #5: The Whimsical Family-Friendly
Perfect for: Homes with kids, playrooms, anyone who loves fun over formality
Key components:
- Colorful ribbon combinations
- Mixed ornament sizes and colors
- Fun additions like mini stockings or candy canes
- Pops of unexpected color
Time investment: 75 minutes
Budget: $40-70
🖼 Steal This Look
- Paint Color: Behr Swiss Coffee 12
- Furniture: reclaimed wood dining table with turned legs, vintage ladder-back chairs, distressed sideboard
- Lighting: wrought iron chandelier with Edison bulbs
- Materials: raw burlap, weathered barn wood, galvanized metal, hand-thrown ceramics, chunky knit wool
This is the style that feels like coming home to my grandmother’s kitchen—there’s permission here to use what you already have, to let pinecones collected on a walk become the stars of your mantel, and to embrace the beauty of worn, well-loved things.
Where to Place Your Garland for Maximum Impact (Location Is Everything)
Mantels: The Classic Choice
This is where most people start, and for good reason. Mantels
")


[…] where things get exciting. Canva lets you take professionally designed Christmas desktop wallpaper templates and make them completely your […]