
This post may contain affiliate links. Please see my disclosure policy for details.
How to Hang Garland on Stairs Without Losing Your Mind (Or Your Safety)
Contents
- How to Hang Garland on Stairs Without Losing Your Mind (Or Your Safety)
- Why Your Banister Length Matters More Than You Think
- The Connection Game Nobody Warns You About
- How to Actually Attach This Thing Without It Falling Down at 2 AM
- The Safety Rule That Saves Lives and Lawsuits
- Why Your Garland Looks Sad and Thin (And How I Fixed Mine)
- Fluffing Is Not Optional
- The Final Layer That Makes People Ask Where You Hired Your Decorator
Hanging garland on stairs sounds romantic until you’re halfway up a ladder, tangled in pine needles, wondering why you didn’t just hire someone.
I’ve been there.
Three Christmases ago, I confidently draped what I thought was “enough” garland along my banister, only to step back and see something that looked less “festive wonderland” and more “sad green caterpillar.”
Let me save you from my mistakes.
")
Why Your Banister Length Matters More Than You Think
Here’s what nobody tells you about garland shopping.
You cannot just eyeball this.
I learned this the hard way when I bought exactly 12 feet of garland for my 12-foot banister and wondered why it looked like dental floss stretched across a smile.
Here’s your measurement cheat sheet:
- Straight look: Match your handrail length exactly
- Elegant draping: Multiply handrail length by 1.5
- Fancy newel post drama: Add 3 extra feet to cascade down the front
I now swear by the 1.5 rule.
My 10-foot banister gets 15 feet of pre-lit Christmas garland, and suddenly it looks like something from a magazine instead of a last-minute panic project.
Most people grab a 6-foot strand for a 4-foot section.
That extra slack creates those gorgeous swags that make your staircase look professionally decorated instead of “I tried.”
")
The Connection Game Nobody Warns You About
You’ll probably need multiple garland pieces.
That’s completely normal.
I connect mine with floral wire, twisting the wire around overlapping sections until they’re basically married together.
You can also use zip ties if you’re going for speed over romance.
Just make sure the connections hide behind fuller sections.
How to Actually Attach This Thing Without It Falling Down at 2 AM
I’ve tried every method.
Tape? Lasted six hours.
Hope and prayer? Even less effective.
What actually works:
- Zip ties (fast, secure, don’t care about aesthetics)
- Floral wire (invisible, adjustable, my personal favorite)
- Velcro ribbon (reusable year after year)
- Pipe cleaners (surprisingly strong and bendable)
Start at the top of your staircase.
Anchor that first end like your holiday reputation depends on it, because honestly, it kind of does.
Then work your way down, creating attachment points every 2-3 feet.
I typically use decorative ribbon to secure mine because it doubles as decoration and structure.
")
The Safety Rule That Saves Lives and Lawsuits
Listen carefully.
Your garland cannot sit ON TOP of the handrail.
It needs to drape to the front or back.
I don’t care how pretty it looks balanced on top—someone will grab that rail, slip, and suddenly your festive decor becomes a liability nightmare.
My mother-in-law nearly took a tumble because I got fancy with placement.
Now I’m obsessive about keeping the actual railing completely clear and gripable.
Garland goes in front, creating that beautiful cascading effect while leaving the functional handrail completely exposed.
")
Why Your Garland Looks Sad and Thin (And How I Fixed Mine)
That expensive garland from the fancy boutique?
Still looked pathetic on my staircase.
The secret isn’t one amazing garland.
It’s layering like you’re building a lasagna.
Here’s my current formula:
- Base layer: Cheap, thick artificial pine garland from the dollar store
- Middle layer: Something with texture—eucalyptus, cedar, or mixed greenery
- Top layer: The fancy stuff with pine cones or berries
The budget garland gives volume and support.
The expensive pieces just accent and sparkle on top.
I spend maybe 40% of what I used to, and my staircase looks three times fuller.
Mix different greenery types.
Real talk: monotone garland looks flat and boring.
Add cedar for scent, fir for color variation, maybe some lambs ear for that silvery contrast.
")
Fluffing Is Not Optional
Straight out of the box, your garland looks like it survived a compression chamber.
You need to fluff.
Pull branches outward and forward.
Separate individual needle clusters.
Rotate fuller sections toward the front.
I spend a solid 20 minutes just fluffing, and it’s the difference between “I decorated” and “I DECORATED.”
The Final Layer That Makes People Ask Where You Hired Your Decorator
Once your garland is secured and fluffed, you’re only 70% done.
Now comes the personality:
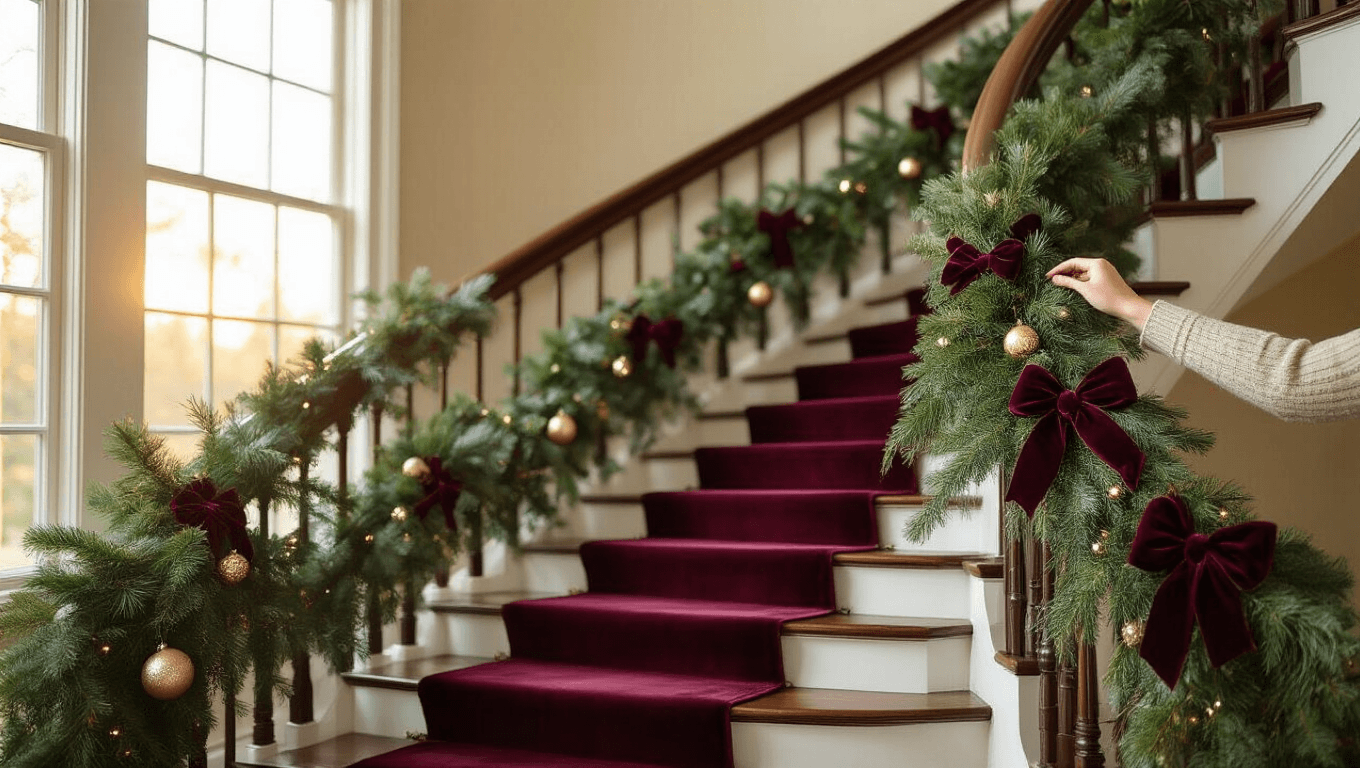
- Velvet bows at connection points
- Battery-operated fairy lights woven through
- Small ornaments clipped strategically
- Dried orange slices for that trendy rustic vibe
- Bells that jingle when people walk by
- Berries (faux, unless you enjoy cleaning stains)
I learned to add lights LAST, not first.
Threading lights through after the garland is secured means I can see exactly where they need to go for


")