
This post may contain affiliate links. Please see my disclosure policy for details.
Why Your First Gingerbread House Probably Collapsed (And How to Fix That)
Contents
Let me guess – you tried making one before and it looked like a tiny earthquake hit it? Been there, done that, got the sticky royal icing on my sweater to prove it.
The biggest mistake I see people make is treating gingerbread houses like regular cookies. They’re not cookies – they’re edible architecture.
Here’s what actually matters:
- Thick walls (at least 1/4 inch – I go thicker)
- Bone-dry icing that sets like cement
- Patience (yes, even more than when your kids ask “are we there yet” for the hundredth time)
🎨 Steal This Look
- Paint Color: Sherwin-Williams Ginger SW 6654
- Furniture: vintage farmhouse dining table with turned legs for rolling and assembling gingerbread
- Lighting: pendant with warm Edison bulbs over the work surface
- Materials: marble pastry slab, reclaimed wood display stands, copper mixing bowls
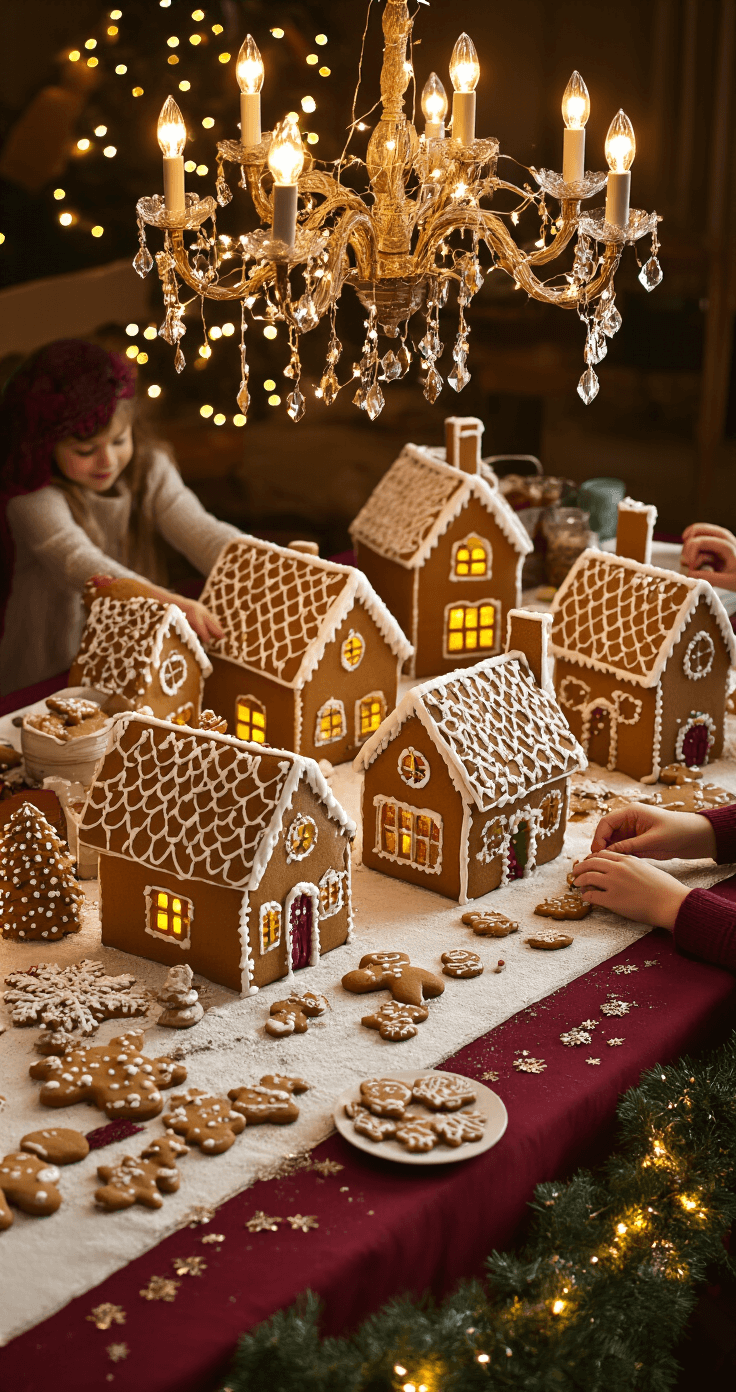
There’s something deeply satisfying about building edible architecture that stands on its own—it’s the same pride you feel when a shelf you installed doesn’t wobble.
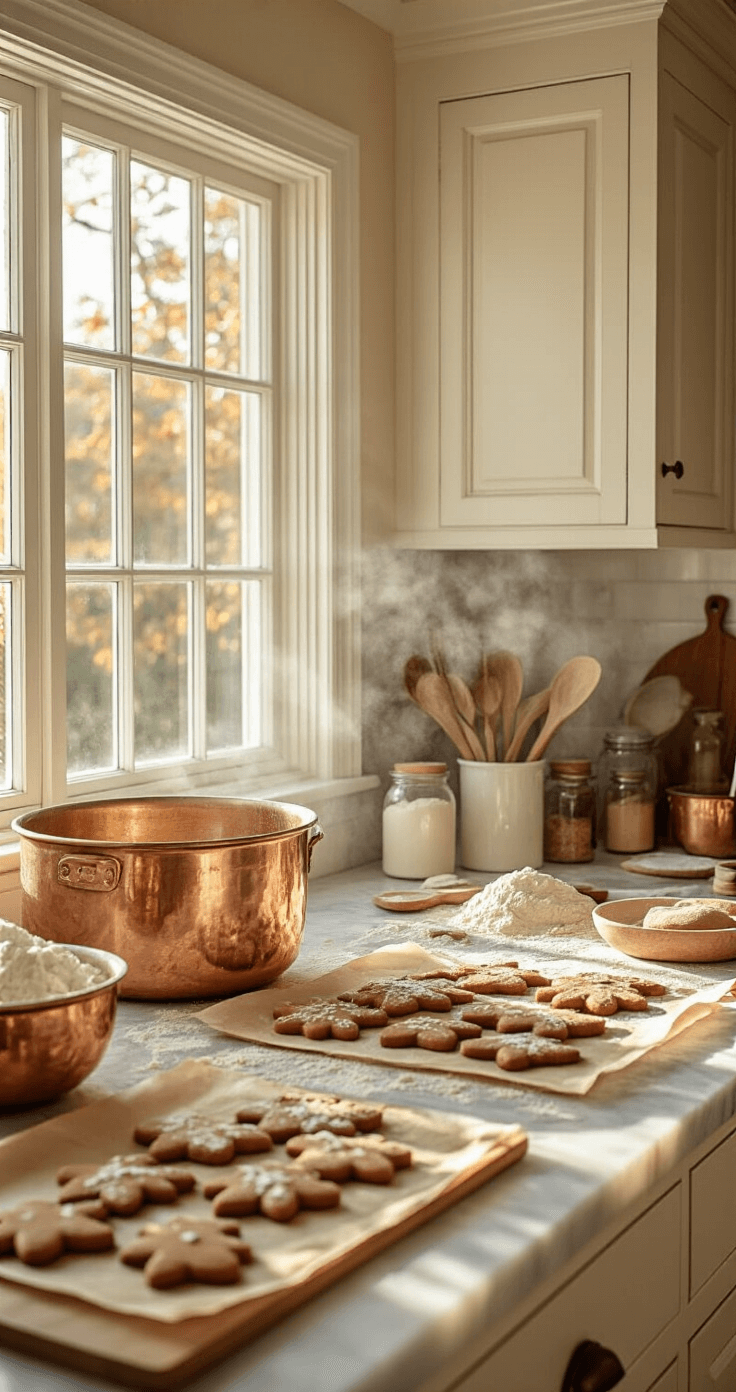
The Foundation: Getting Your Gingerbread Dough Right
I learned this the hard way after my first house crumbled faster than my willpower around chocolate. Your dough needs to be sturdy enough to hold weight but still taste amazing.
My Go-To Dough Recipe Secrets
The magic ingredients:
- Extra flour for strength
- Real honey (not the fake stuff)
- Fresh spices that make your kitchen smell like Christmas threw up everywhere
- One egg for binding power
Pro tip: Mix until the dough feels like play-dough, not cookie dough. If it’s too soft, your walls will bow out like they’re doing yoga poses.
I use gingerbread cookie cutters specifically designed for house-making because regular cutters just don’t cut it (pun intended).
🏠 Steal This Look
- Paint Color: Benjamin Moore Gingerbread CC-300
- Furniture: vintage farmhouse kitchen island with marble top for dough prep
- Lighting: pendant lights with amber glass shades over prep area
- Materials: warm butcher block, aged brass hardware, hand-thrown ceramic canisters
There’s something deeply satisfying about a kitchen that smells like ginger and cloves while you work—this room should feel like the heart of holiday tradition, not a sterile baking lab.
Building Like a Boss: Construction That Actually Stays Up
Template Magic
Forget those flimsy paper templates. I raid my recycling bin for cereal boxes – they’re the perfect thickness and free.
My template system:
- Draw your pieces on cardboard
- Cut them out
- Tape together for a test fit
- Make adjustments before touching any dough
Trust me, testing your template saves you from that moment when your roof is too small and you’re staring at a gingerbread disaster.
The Rolling and Cutting Game
Roll your dough between parchment paper sheets. This prevents the “flour everywhere” explosion that looks like it snowed in your kitchen.
Critical rules I never break:
- Roll to 1/4 inch minimum (I measure with a ruler like the perfectionist I am)
- Cut pieces 1 inch apart
- Remove excess dough, don’t move the cut pieces
- Mark windows and doors before baking
A good rolling pin with thickness guides changed my gingerbread game completely.

Baking: Low and Slow Wins the Race
Crank your oven down to 325°F. I know it feels wrong, but trust the process.
My baking timeline:
- Test piece first (always!)
- Bake until edges are firm
- Cool completely on the pan
- Test for sturdiness before removing
Your pieces should sound like you’re tapping on wood when they’re ready. Soft spots equal structural failure later.
✎ Steal This Look
- Paint Color: Farrow & Ball Sudbury Yellow 51
- Furniture: vintage farmhouse kitchen island with butcher block top for rolling and assembly workspace
- Lighting: schoolhouse pendant with warm amber glass over the work surface
- Materials: reclaimed wood open shelving, unlacquered brass hardware, natural linen curtains, terracotta floor tiles
This is the kitchen where holiday chaos becomes craft, where the mess of creation is part of the memory—not something to hide away.
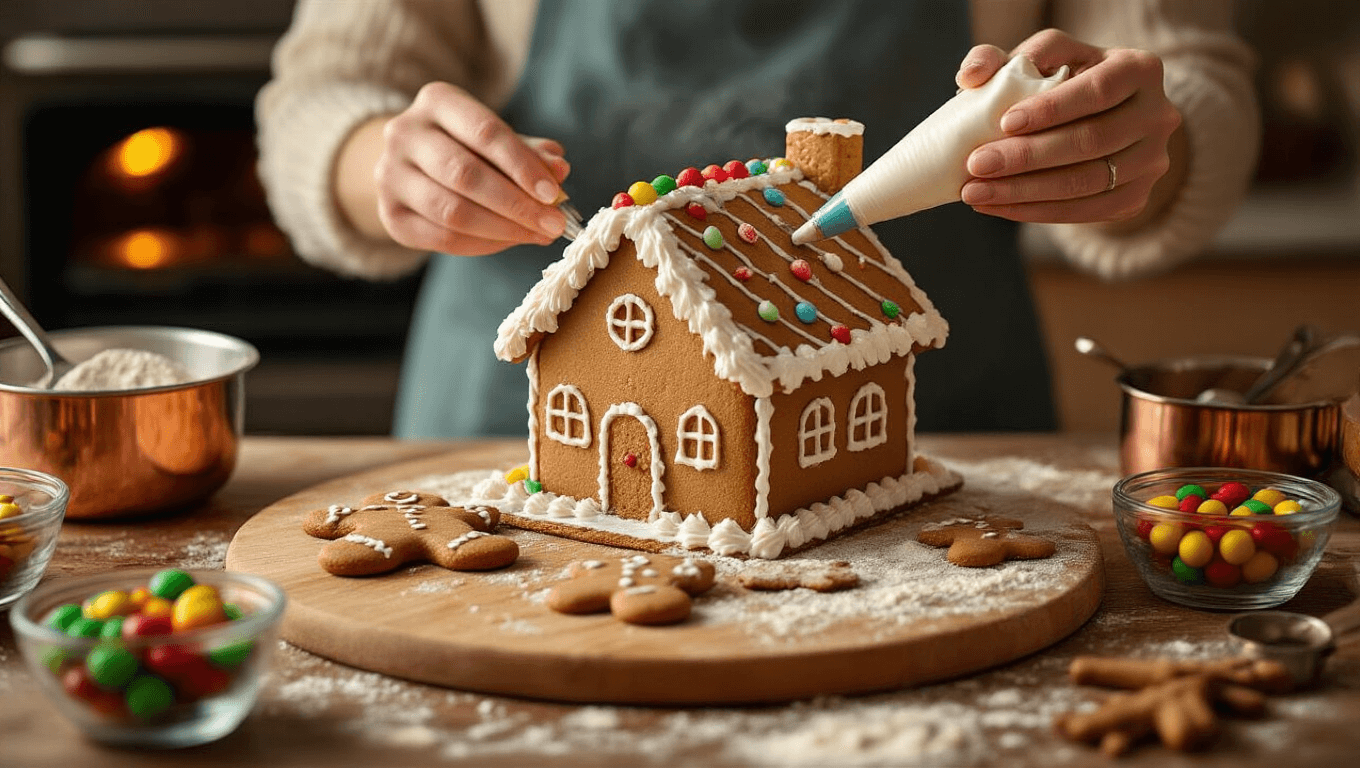
Assembly: Where Dreams Come True or Nightmares Begin
Royal Icing: Your Edible Cement
This isn’t regular frosting, people. Royal icing sets hard enough that I’ve accidentally knocked my houses off the counter and they survived.
My royal icing must-haves:
- Powdered sugar (lots of it)
- Egg whites or meringue powder
- A tiny bit of cream of tartar for stability
Beat this mixture until it holds stiff peaks that could probably poke your eye out. If it’s too thin, your house becomes a gingerbread pancake.
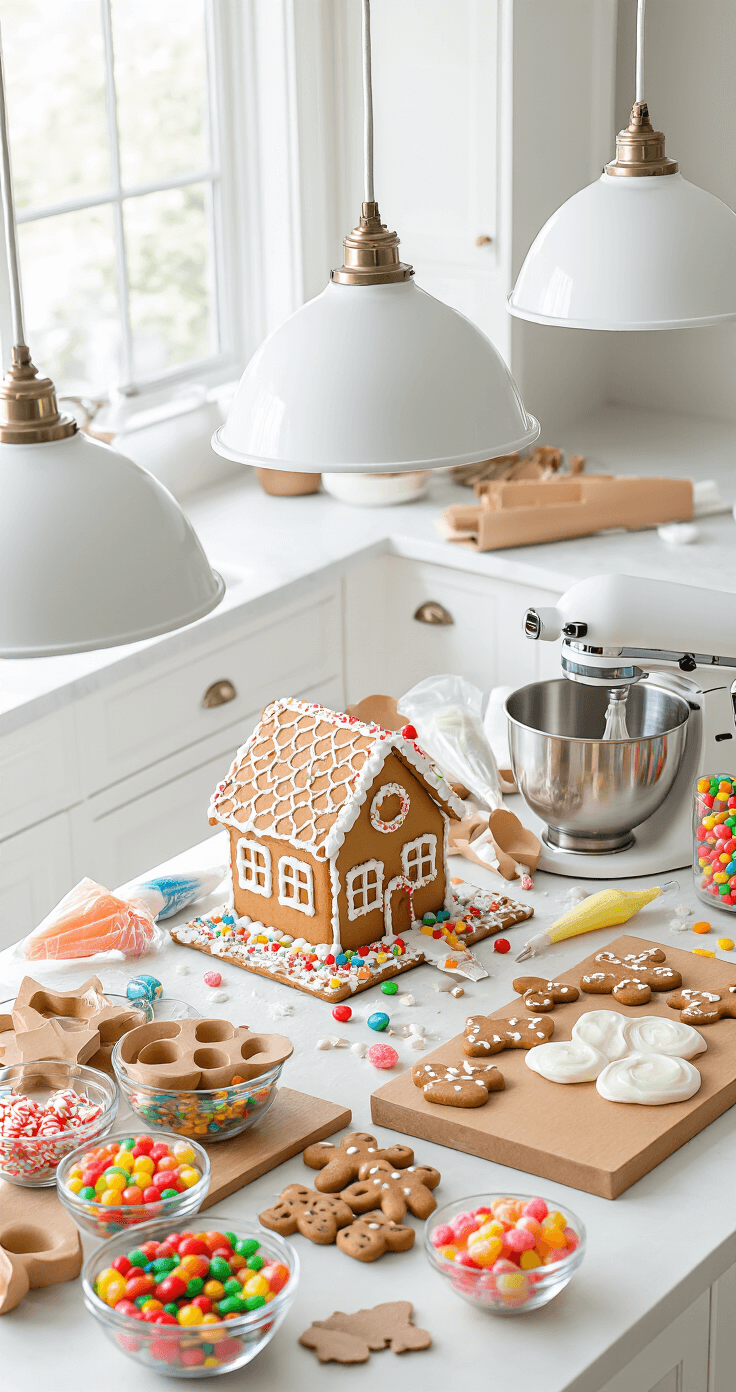
I swear by my stand mixer for getting the perfect consistency every time.
The Assembly Dance
Step-by-step survival guide:
- Pipe thick lines of icing on your base
- Stand up two walls that support each other
- Hold for 2-3 minutes (yes, really hold them)
- Add the next wall
- Keep going until you have a box
Pro tip: Use soup cans as wall supports while the icing sets. Your hands will thank you.
🌟 Steal This Look
- Paint Color: Behr Swiss Coffee 12
- Furniture: vintage farmhouse kitchen island with marble top for rolling and assembly workspace
- Lighting: schoolhouse pendant lights with warm Edison bulbs over prep zones
- Materials: butcher block countertops, matte ceramic canisters, linen tea towels, copper mixing bowls
This is the kitchen moment where patience actually pays off—there’s something deeply satisfying about that first wall standing on its own, even if your shoulders ache from holding it.
Decorating: This Is Where the Magic Happens
Pre-Assembly vs. Post-Assembly Decorating
I learned this trick from a pastry chef friend: decorate flat panels first, then assemble.
Flat decorating wins for:
- Intricate piping work
- Sprinkle applications
- Detailed window designs
Post-assembly decorating works for:
- Covering seam lines
- Adding landscaping
- Final touch-ups

Candy Selection Strategy
Not all candies are created equal for gingerbread houses.
My candy hall of fame:
- Lifesavers for stained glass windows
🏠 Steal This Look
- Paint Color: use Valspar brand. Match a warm cream backdrop that lets candy colors pop. Format: Valspar Swiss Coffee 7002-16
- Furniture: a vintage rolling baker’s cart with marble top for candy station organization and display
- Lighting: pendant lights with amber glass shades resembling old-fashioned candy jars
- Materials: butcher block surfaces, vintage ceramic mixing bowls, copper piping racks for drying decorated panels
This is the room where flour-dusted memories get made—my own kids still talk about the year we turned Lifesavers into cathedral windows that caught the afternoon light, and honestly, the mess is half the magic.
")


