
This post may contain affiliate links. Please see my disclosure policy for details.
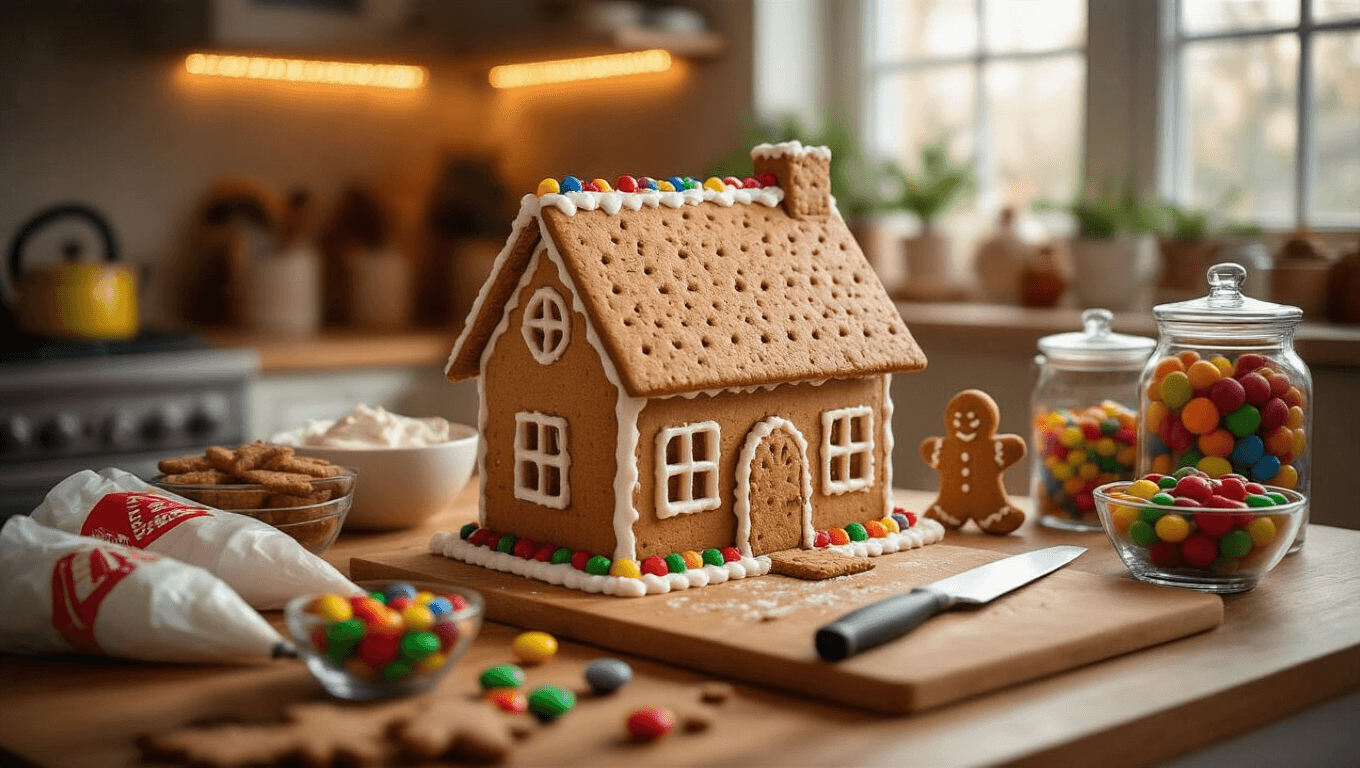
Graham Cracker Gingerbread Houses: The Easy No-Bake Holiday Project That Won’t Drive You Mad
Contents
Graham cracker gingerbread houses save you from the nightmare of baking, rolling, and praying your dough doesn’t crumble into a million pieces.
I’ll never forget my first attempt at a traditional gingerbread house. Two hours of baking, walls that wouldn’t stand up, and a kitchen that looked like a flour bomb exploded. My dog ate half the collapsed structure before I could stop him.
That’s when I discovered graham crackers, and honestly, I’ve never looked back.
💡 Steal This Look
- Paint Color: Sherwin-Williams Graham Cracker SW 9109
- Furniture: a sturdy farmhouse kitchen island with butcher block top for messy projects
- Lighting: pendant lights with seeded glass shades in aged brass
- Materials: warm honey-toned wood, creamy vanilla ceramics, cinnamon-stick accents, matte white subway tile
There’s something deeply satisfying about creating holiday magic without the stress of perfection—this kitchen setup embraces the beautiful mess of memory-making with kids or friends gathered around.
Why Graham Crackers Beat Traditional Gingerbread Every Single Time
Let me be blunt: unless you’re entering a professional baking competition, there’s zero reason to torture yourself with traditional gingerbread.
Graham crackers are already baked, uniformly shaped, and actually want to cooperate with you. They don’t shrink. They don’t warp. They don’t require you to own a rolling pin or understand what “chilling the dough” actually means.
Here’s what you’re getting yourself into:
- Total time: 30 minutes of actual work
- Drying time: 2-3 hours (while you do literally anything else)
- Skill level: If you can squeeze a bottle, you’re qualified
- Mess level: Minimal compared to flour-everywhere chaos
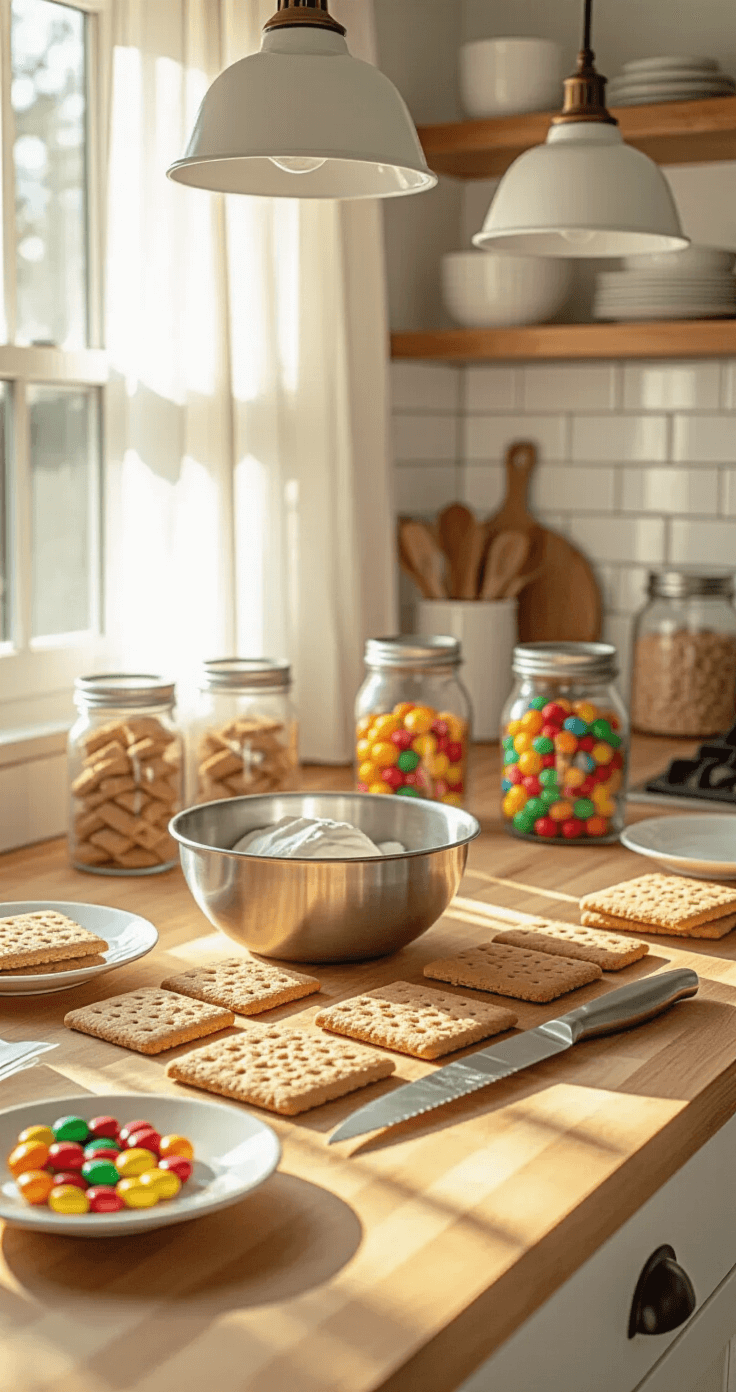
What You Actually Need (No Special Equipment Required)
The Foundation Stuff:
- 5-8 graham crackers per house (I’ll explain the brand thing in a second)
- Royal icing or ingredients to make it
- A serrated knife (your bread knife works perfectly)
- Paper plates or cake boards as your base
- Assorted candy for decorating (this is where kids go absolutely wild)
A word about graham cracker brands:
Store brands like Great Value cut cleaner than Honey Maid. I know, I know, Honey Maid is the classic choice. But trust me on this—the cheaper stuff actually works better because it’s slightly less honeyed and more structural. It’s the one time in life where the knockoff beats the original.
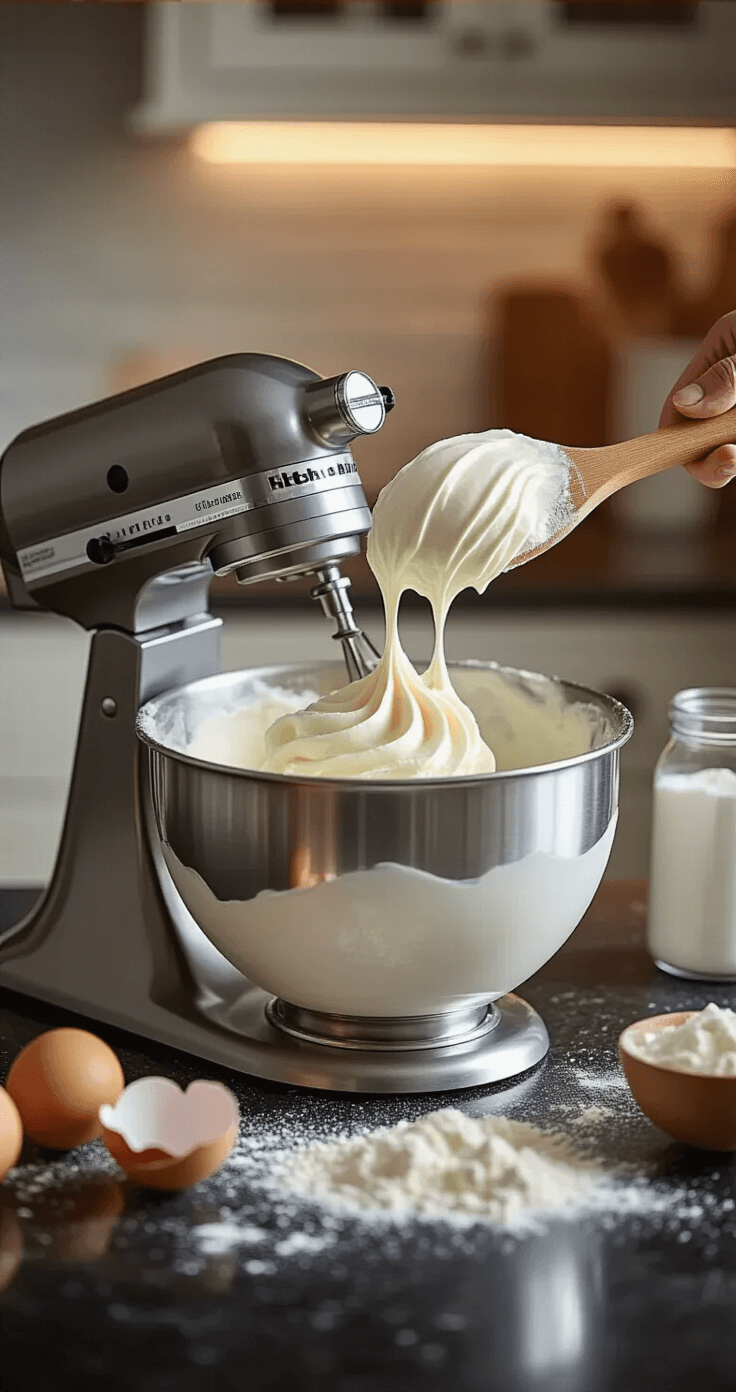
Making Royal Icing That Actually Holds Things Together
Royal icing is your construction glue, your mortar, your everything. Get this wrong and your house collapses like a bad real estate investment.
The texture you’re after: Thick toothpaste or that paste you used in elementary school. Not runny. Not soup. Definitely not dripping off your spoon like maple syrup.
Option 1: With Real Egg Whites (My Preferred Method)
- 2 egg whites (room temperature matters here)
- 3 cups powdered sugar
- ¼ teaspoon cream of tartar
- Optional: 1 tablespoon meringue powder for extra stability
Beat the egg whites and cream of tartar until they’re foamy and look like bubble bath. Then add your powdered sugar gradually while beating. Keep beating for 5-9 minutes until it’s thick, glossy, and holds stiff peaks.
Option 2: Egg-Free (For School Projects or Nervous Parents)
- 2 tablespoons meringue powder
- 6 tablespoons warm water
- Powdered sugar until you hit toothpaste consistency
Mix the meringue powder with water first, then add sugar until you achieve that perfect thickness.
Critical tip: Keep your icing covered with a damp towel while working. This stuff dries faster than you’d think, and crusty icing is useless icing.
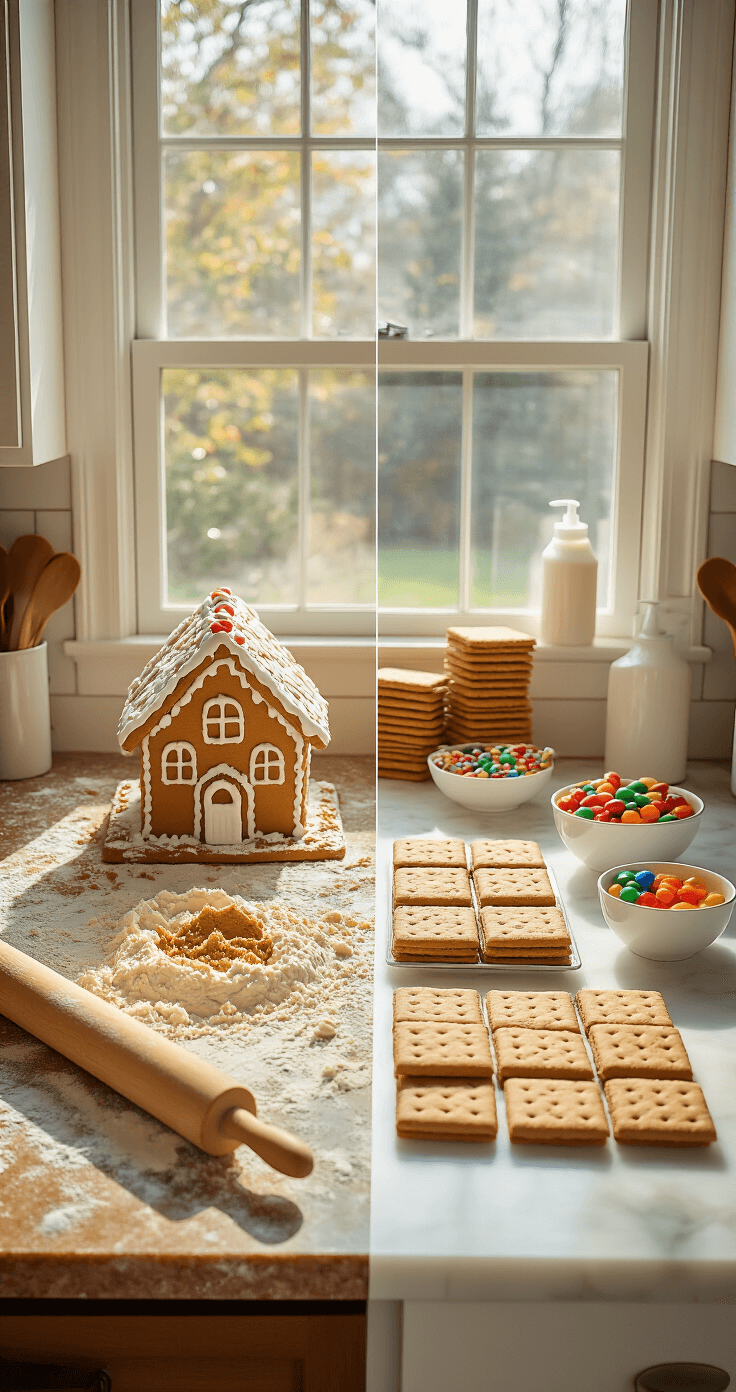
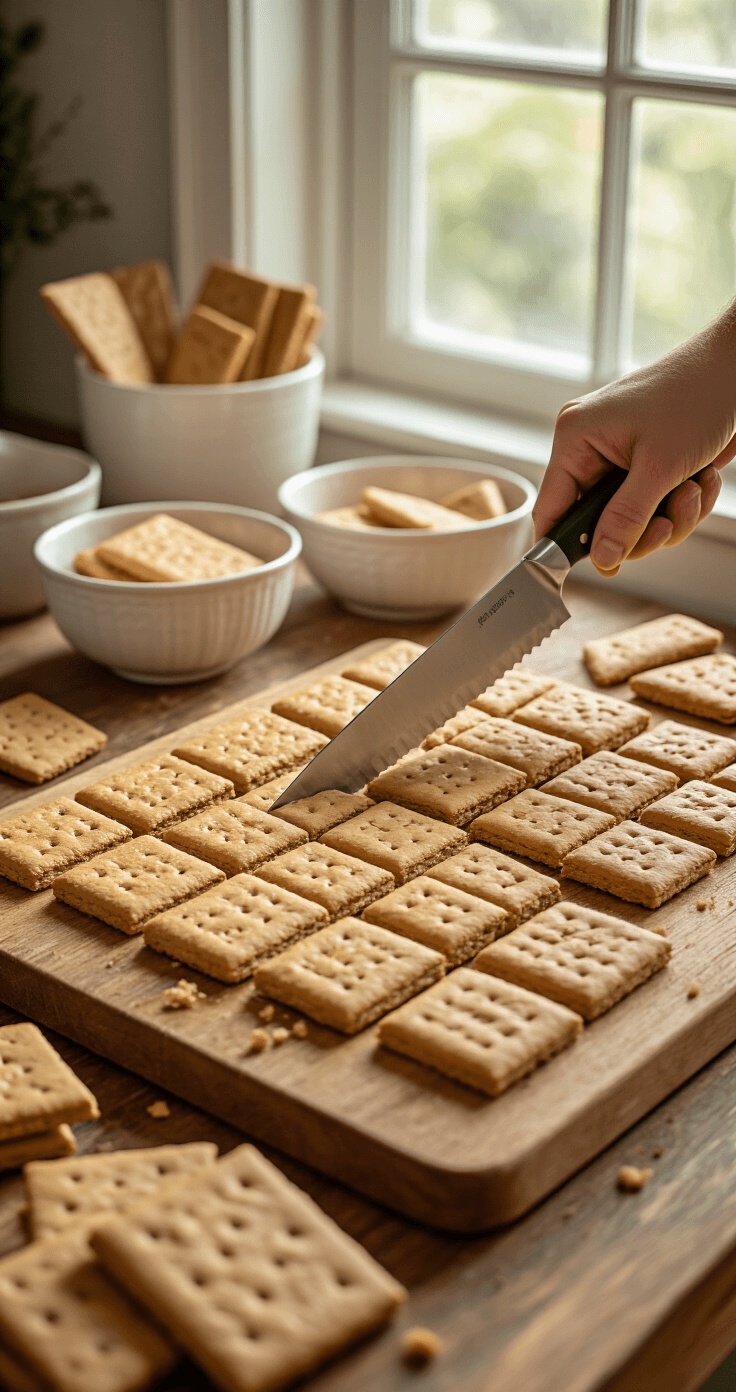
Cutting Graham Crackers Without Creating Crumb Disasters
This is where people panic, but it’s honestly easier than cutting a bagel.
Use a gentle sawing motion with your serrated knife. Don’t press down like you’re trying to murder the cracker. Think of it like you’re playing a tiny violin—smooth, steady, back and forth.
What you need to cut:
- 2 crackers cut diagonally for your peaked roof front and back
- 2 full crackers for your side walls
- 4 half crackers for your roof panels
- Extra pieces if you want a chimney, porch, or to get fancy
Pro move: Cut everything before you start assembling. Do your mise en place like you’re on a cooking show. It makes the actual building process so much smoother when you’re not juggling a knife while icing dries.
Building Your House Without It Collapsing Into Sadness
Here’s where your patience gets tested. But honestly, if I can do this while my toddler screams in the background, you can handle it.
Step 1: Build the Base Walls
Pipe a thick line of royal icing along the bottom edge of one wall piece. Press it onto your base plate or board. Hold it for 30-60 seconds.
I’m serious about the holding part. Don’t just stick it down and walk away thinking physics will help you out. Physics is not your friend here.
Step 2: Add Adjacent Walls
Pipe icing along the bottom AND the side edge where the next wall will meet. Press it in place. Hold for another minute while questioning your life choices.
Repeat until all four walls are standing.
Critical advice: Some people build two L-shaped wall sections first, then join them. This actually works better if you have shaky hands or impatient children “helping” you.
Step 3: Let It Dry
Walk away. Go watch TV. Make dinner. Check your phone. Just don’t touch the house for at least 1-2 hours.
Step 4: Add the Roof
Pipe generous lines of icing along the top edges of your walls. Place one
💡 Steal This Look
- Paint Color: Farrow & Ball Churlish Green W55
- Furniture: vintage farmhouse trestle table with worn pine top
- Lighting: oversized schoolhouse pendant with milk glass shade
- Materials: unbleached cotton drop cloths, raw edge butcher block, galvanized metal caddies, kraft paper runners
This is the room where flour dust becomes part of the decor and laughter echoes louder than any design rule you’ve ever followed.


[…] I get it. I’ve been there, paint samples taped to every wall, squinting at them in different lighting, driving myself absolutely mad. […]
[…] until it holds stiff peaks that could probably poke your eye out. If it’s too thin, your house becomes a gingerbread […]