
This post may contain affiliate links. Please see my disclosure policy for details.
Kawaii Halloween Magic: How to Create the Ultimate Hello Kitty Pumpkin Carving
Contents
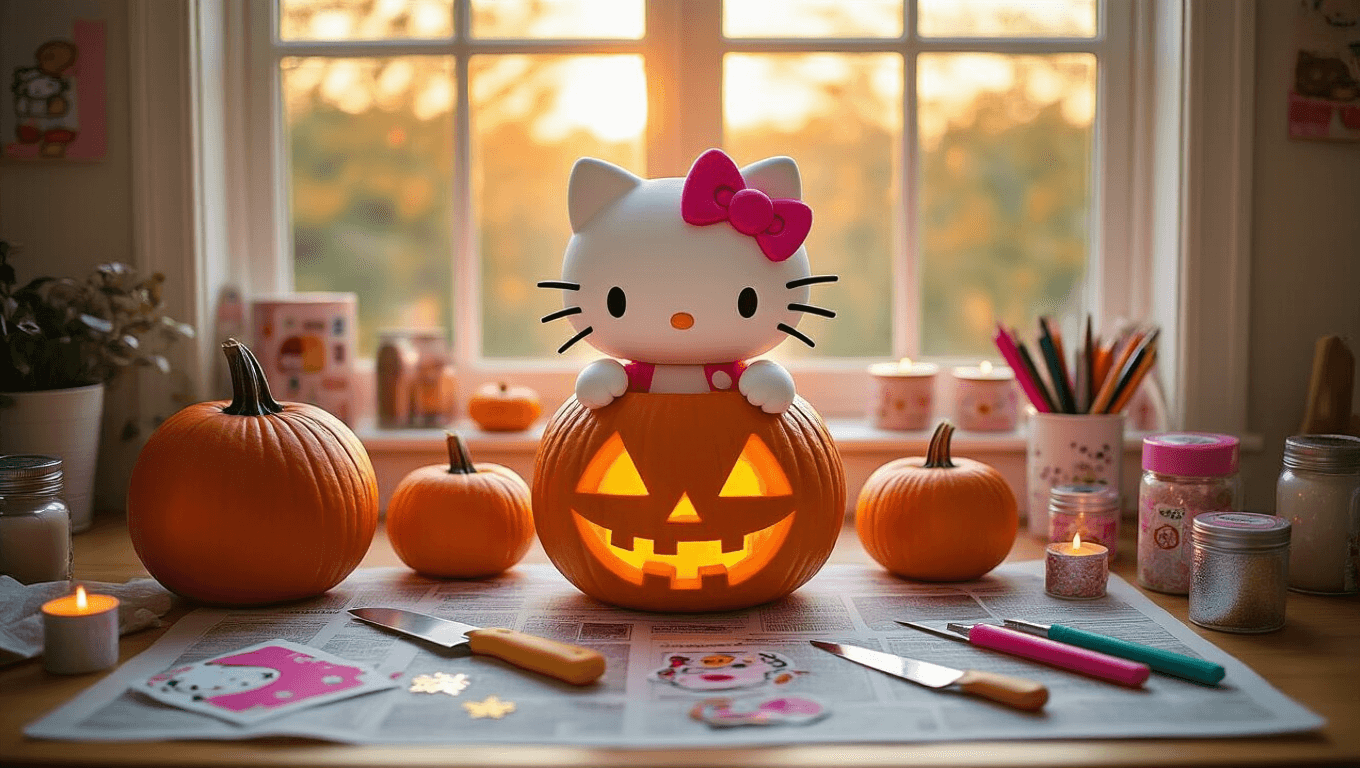
Halloween just got a massive cuteness upgrade, and I’m here to show you how to transform an ordinary pumpkin into a Sanrio-inspired masterpiece that’ll make every Hello Kitty fan squeal with delight!
🏠 Steal This Look
- Paint Color: Sherwin-Williams Pumpkin Cream SW 6654
- Furniture: white spindle-back dining chairs with rounded edges, a farmhouse-style harvest table in natural oak
- Lighting: oversized paper lantern pendant in soft pink with dimmable LED bulb
- Materials: matte ceramic pumpkins, fuzzy felt garlands, smooth vinyl tablecloth for easy cleanup, natural jute twine
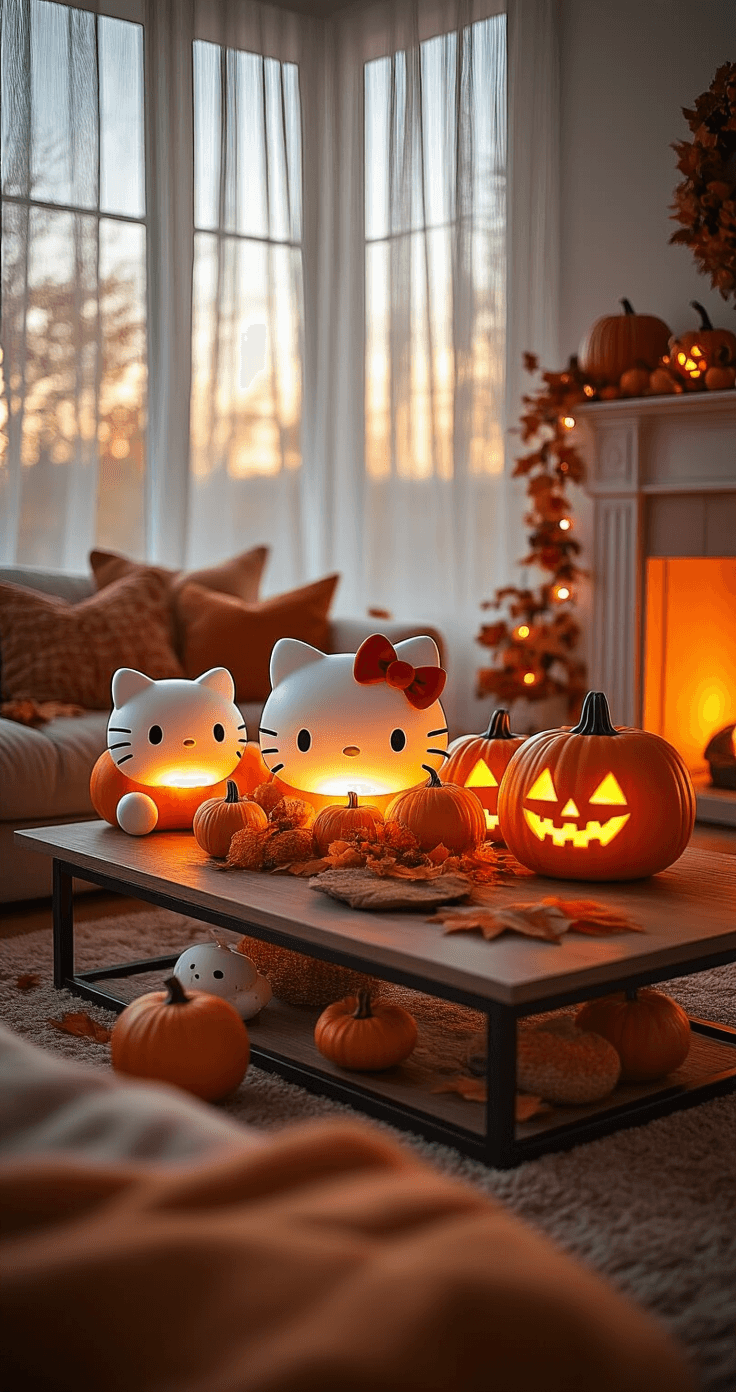
There’s something genuinely joyful about bringing this level of playful creativity into your home—it reminds us that Halloween doesn’t have to be spooky to be memorable, and your dining room becomes the backdrop for traditions your family will request year after year.
Why Hello Kitty Pumpkin Carving is Your Next Awesome DIY Project
Listen up, Sanrio lovers and Halloween enthusiasts! This isn’t just a pumpkin carving – it’s a creative adventure that combines two of the most exciting worlds: spooky Halloween vibes and adorable kawaii culture.
Quick Project Stats
- Difficulty: Beginner to Intermediate
- Time Required: 1-2 hours
- Budget: $5-$20
- Skill Level: Perfect for crafty teens and creative adults
🎨 Steal This Look
- Paint Color: Benjamin Moore Chantilly Lace OC-65
- Furniture: white lacquer craft table with built-in storage cubbies for organizing carving tools and stencils
- Lighting: adjustable LED architect desk lamp with daylight color temperature for precision work
- Materials: matte ceramic tool caddies, natural birch plywood display stands, soft cotton canvas drop cloths
There’s something genuinely satisfying about transforming a humble grocery store pumpkin into a piece of recognizable pop culture art that makes neighbors stop and smile during their evening walks.
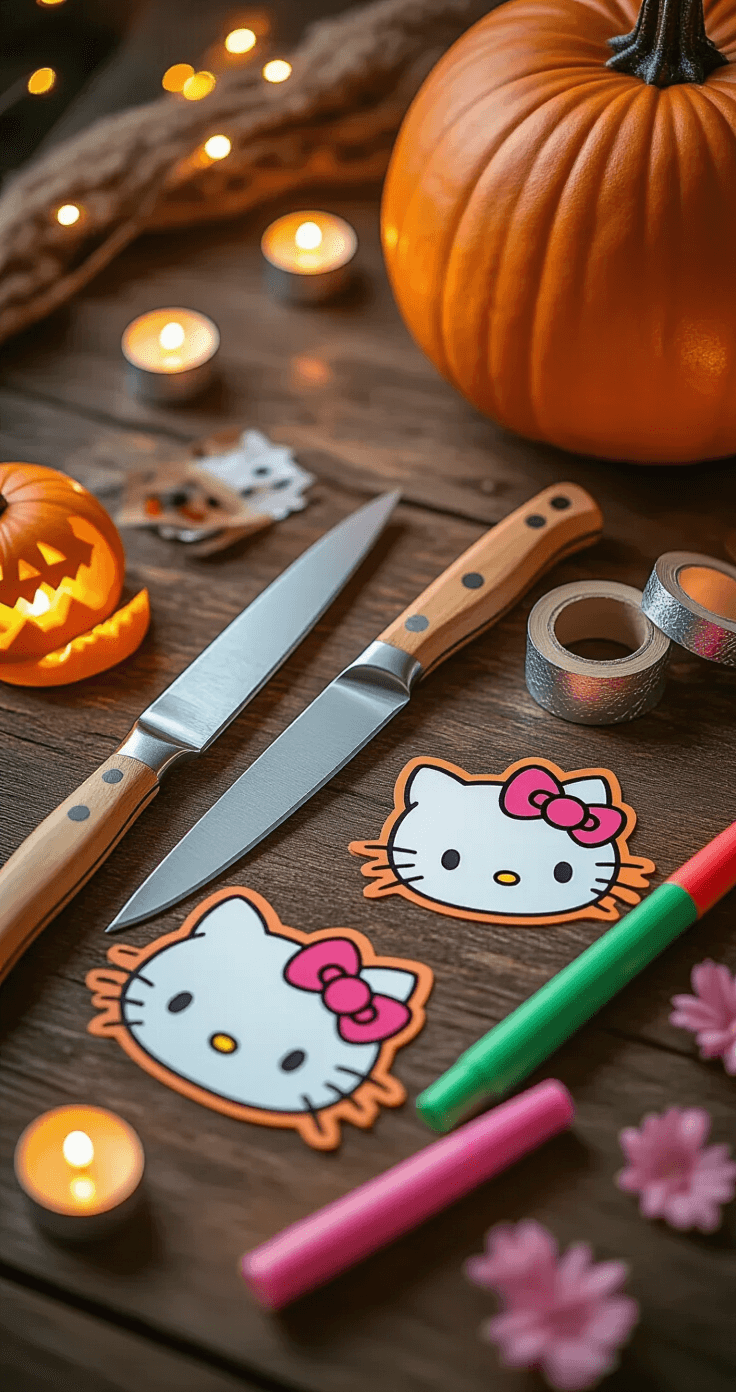
Essential Tools You’ll Need
Carving Supplies
- Pumpkin carving kit
- Medium-sized round pumpkin
- Hello Kitty stencil
- Marker or pencil
- Tape
- LED tea lights
Pro Tip Extras
- Sanrio stickers
- Glitter (optional but recommended!)
- Halloween themed backdrop
🌟 Steal This Look
- Paint Color: use Farrow & Ball brand. Match the ACTUAL wall color in the image. Format: Farrow & Ball ColorName CODE
- Furniture: craft table with wipeable laminate surface and built-in storage bins for organizing carving tools, stencils, and seasonal supplies
- Lighting: adjustable architect-style desk lamp with daylight LED bulb for precise stencil tracing and detail work
- Materials: butcher paper roll for protective surface covering, masonite board for stencil backing, and clear acrylic organizer cups for tool sorting
There’s something deeply satisfying about transforming a simple pumpkin into a piece of nostalgic Sanrio art—this is the kind of hands-on Halloween tradition that turns an ordinary evening into core memory material for kids and adults alike.
Step-by-Step Hello Kitty Pumpkin Carving Magic
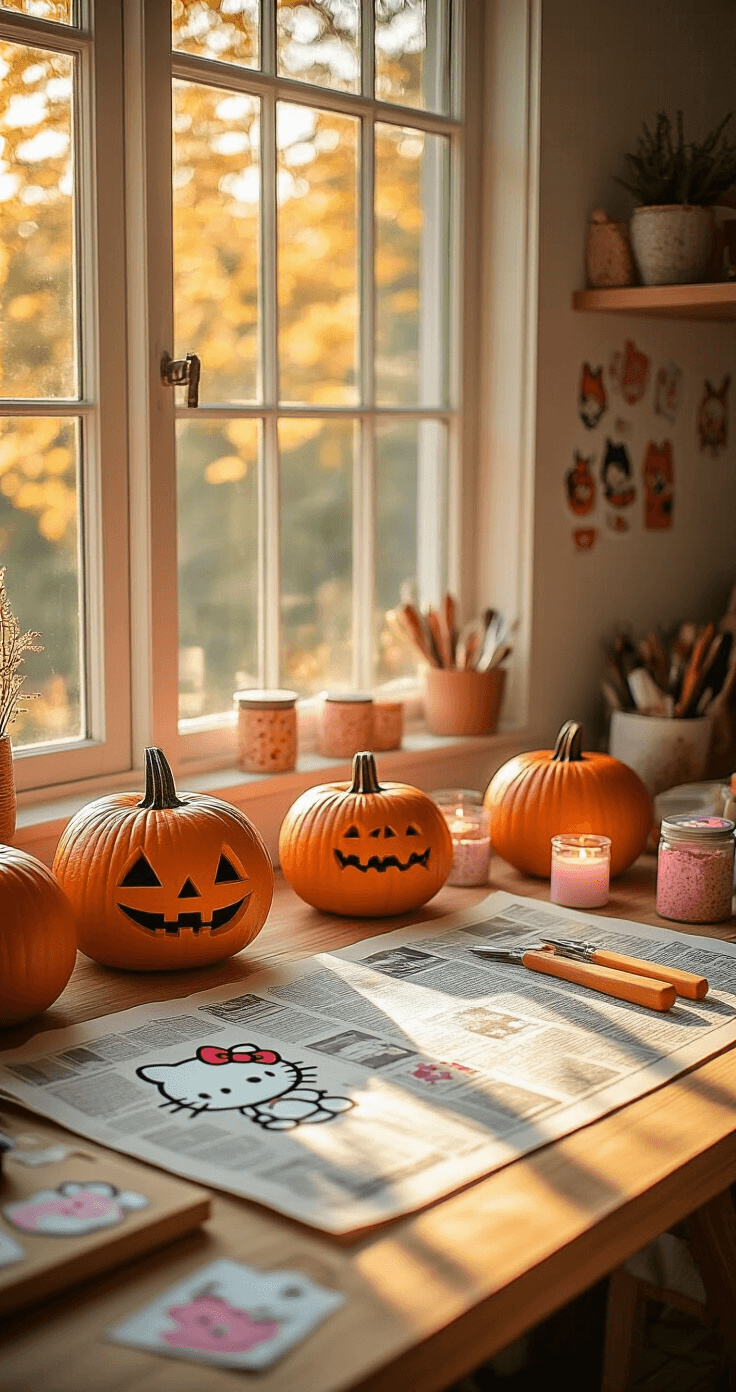
1. Prep Your Workspace
- Clear a large, clean surface
- Lay down newspaper or a disposable tablecloth
- Gather all your tools
- Put on a cute Halloween playlist (mandatory!)
2. Pumpkin Preparation
- Wash the pumpkin thoroughly
- Cut a circular lid at the top
- Scoop out seeds and stringy bits
- Pro hack: Save those seeds for roasting!
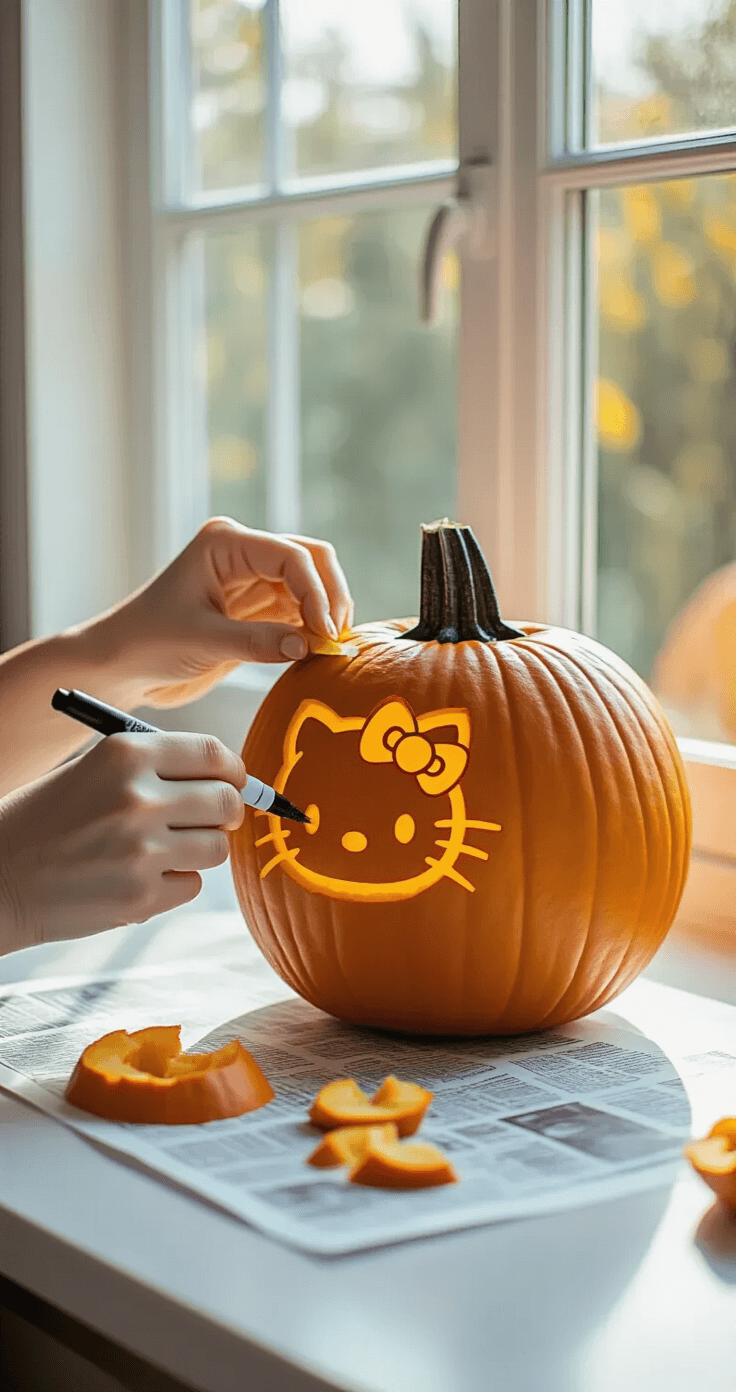
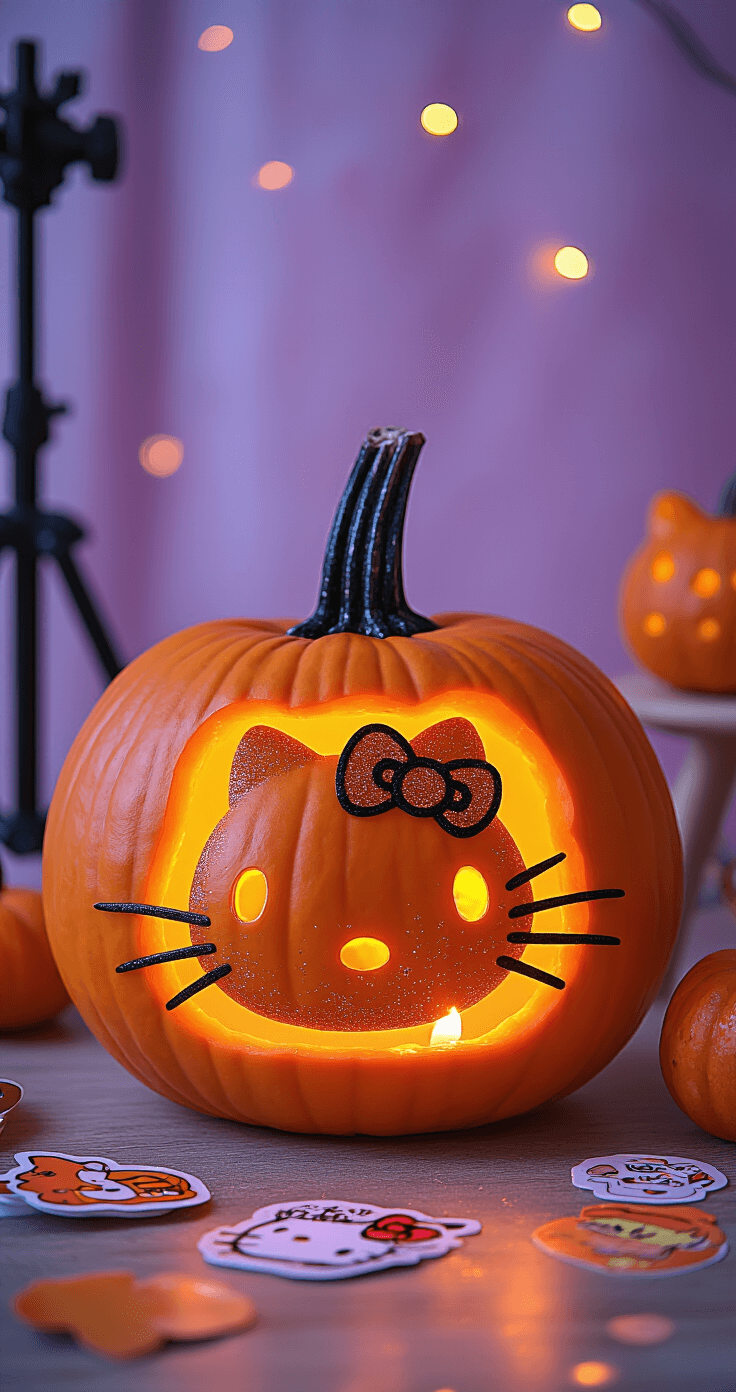
3. Transfer the Hello Kitty Design
- Print or download a Hello Kitty stencil
- Tape the stencil securely to the pumpkin
- Trace the design with a marker
- Use transfer paper for ultra-crisp lines
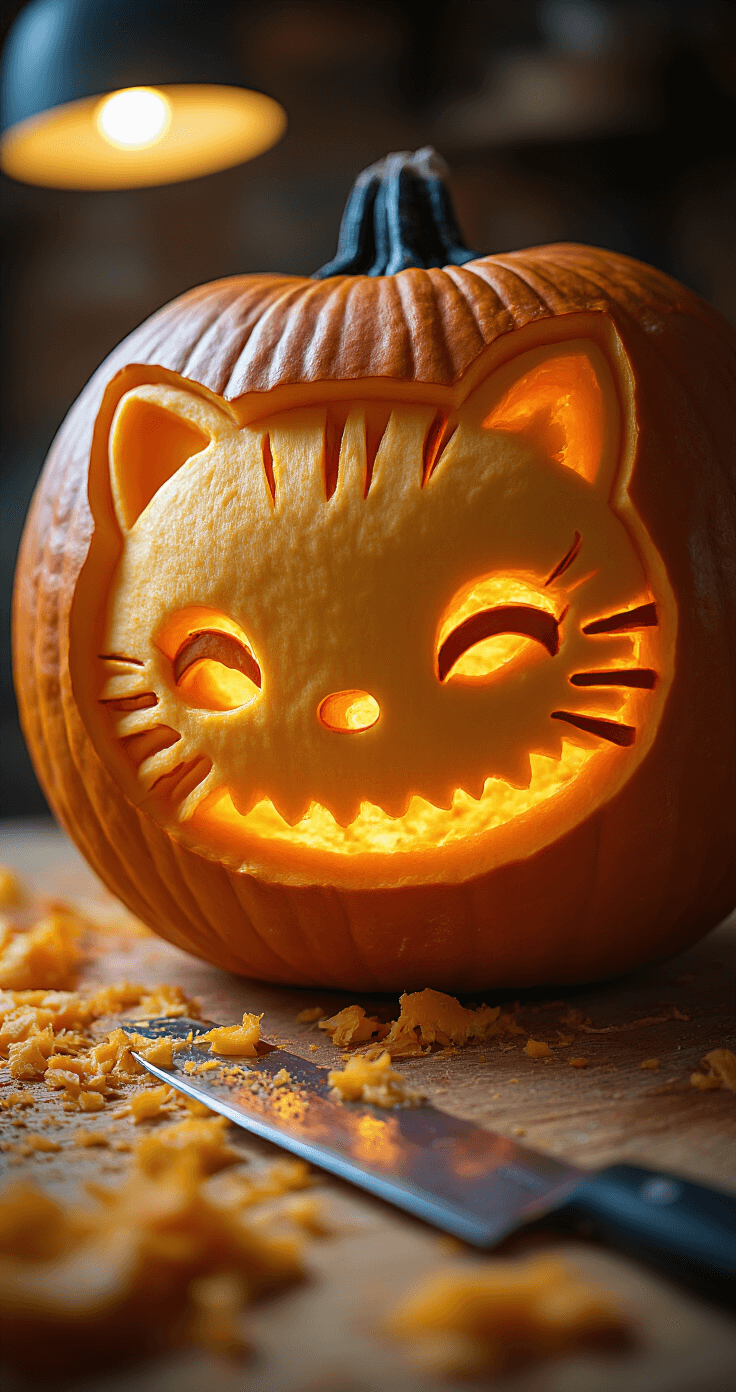
4. Carving Technique
- Start with larger areas first
- Use gentle, consistent pressure
- Work from the center outwards
- Take breaks to avoid hand fatigue
5. Finishing Touches
- Clean up carved edges
- Insert LED tea light
- Add optional glitter or Sanrio stickers
- Photograph your masterpiece!
✎ Steal This Look
- Paint Color: Behr Pumpkin Patch PPU3-15
- Furniture: white lacquered craft table with built-in storage cubbies
- Lighting: adjustable swing-arm LED task lamp with daylight color temperature
- Materials: wipeable vinyl table covering, matte ceramic tool caddies, unfinished pine display risers
This is the room where childhood nostalgia meets grown-up precision—there’s something deeply satisfying about transforming a chaotic pile of pumpkin guts into a perfectly recognizable Sanrio icon, and your workspace should feel like a celebration of that messy magic.
Pro Photography Tips
Lighting Matters
- Natural daylight works best
- Use soft, diffused light
- Shoot near a window
- Avoid harsh shadows
Styling Your Shot
- Use a Halloween themed backdrop
- Add Sanrio toys as props
- Create a cute Halloween vignette
🖼 Steal This Look
- Paint Color: use Valspar brand. Match the ACTUAL wall color in the image. Format: Valspar ColorName CODE
- Furniture: white floating shelf for vignette display, small round accent table for prop arrangement, collapsible photo backdrop stand
- Lighting: ring light with diffuser attachment, adjustable tripod floor lamp with daylight bulb, clip-on LED panel with softbox
- Materials: matte black velvet backdrop fabric, white faux fur throw for texture layering, clear acrylic risers for prop elevation
This setup transforms your kitchen counter or dining nook into a mini studio where even smartphone shots look professional—I’ve found that staging near my breakfast nook window with a simple white curtain diffuser gets me Instagram-ready results every October.
Common Mistakes to Avoid
- Don’t rush the carving process
- Keep tools clean and sharp
- Use stencils as a guide, not a strict rule
- Have fun and embrace imperfections!
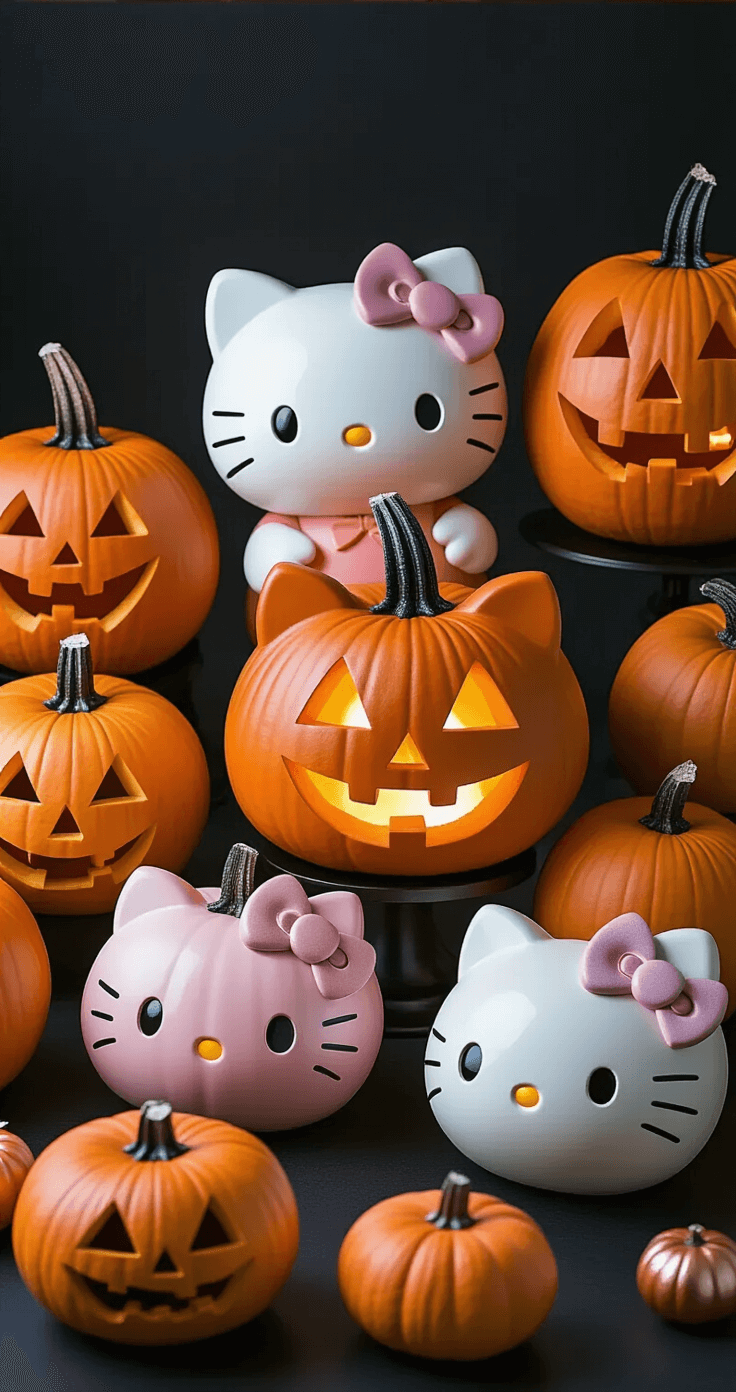
Bonus Style Variations
- Try pastel pumpkins
- Mix Hello Kitty with other Sanrio characters
- Add glitter or metallic accents
- Create a whole Sanrio Halloween scene
Safety First
- Supervise kids during carving
- Use child-safe carving tools
- Work in a well-lit area
- Take your time and enjoy the process
🎨 Steal This Look
- Paint Color: Dunn-Edwards Sweet Pink DE5039
- Furniture: white spindle-back desk chair with scalloped edges, mint green toy storage ottoman with removable lid, small round activity table in soft lavender
- Lighting: cloud-shaped flush mount ceiling light with dimmable LED and remote color-changing feature
- Materials: matte ceramic pumpkin decor, iridescent glitter cardstock, brushed gold contact paper, soft-touch silicone carving tools, velvet ribbon in blush and sage
This is the room where childhood memories get made, so build in flexibility for your little one to rearrange their own mini pumpkin gallery as their carving skills grow.
Final Thoughts
Your Hello Kitty pumpkin isn’t just a decoration – it’s a statement. It screams “I’m creative, I love Sanrio, and Halloween is my playground!”
Pro Tip: Share your creation on social media with #HelloKittyPumpkin and inspire other kawaii Halloween lovers!
💡 Steal This Look
- Paint Color: use Clare Paint brand. Match the ACTUAL wall color in the image. Format: Clare Paint ColorName CODE
- Furniture: specific furniture for this room
- Lighting: specific lighting fixture
- Materials: key textures and materials
There’s something genuinely joyful about merging childhood nostalgia with adult craftsmanship—this project lets you honor that inner eight-year-old who plastered her bedroom walls with Sanrio stickers while flexing the creative skills you’ve honed since.
")


