

This post may contain affiliate links. Please see my disclosure policy for details.
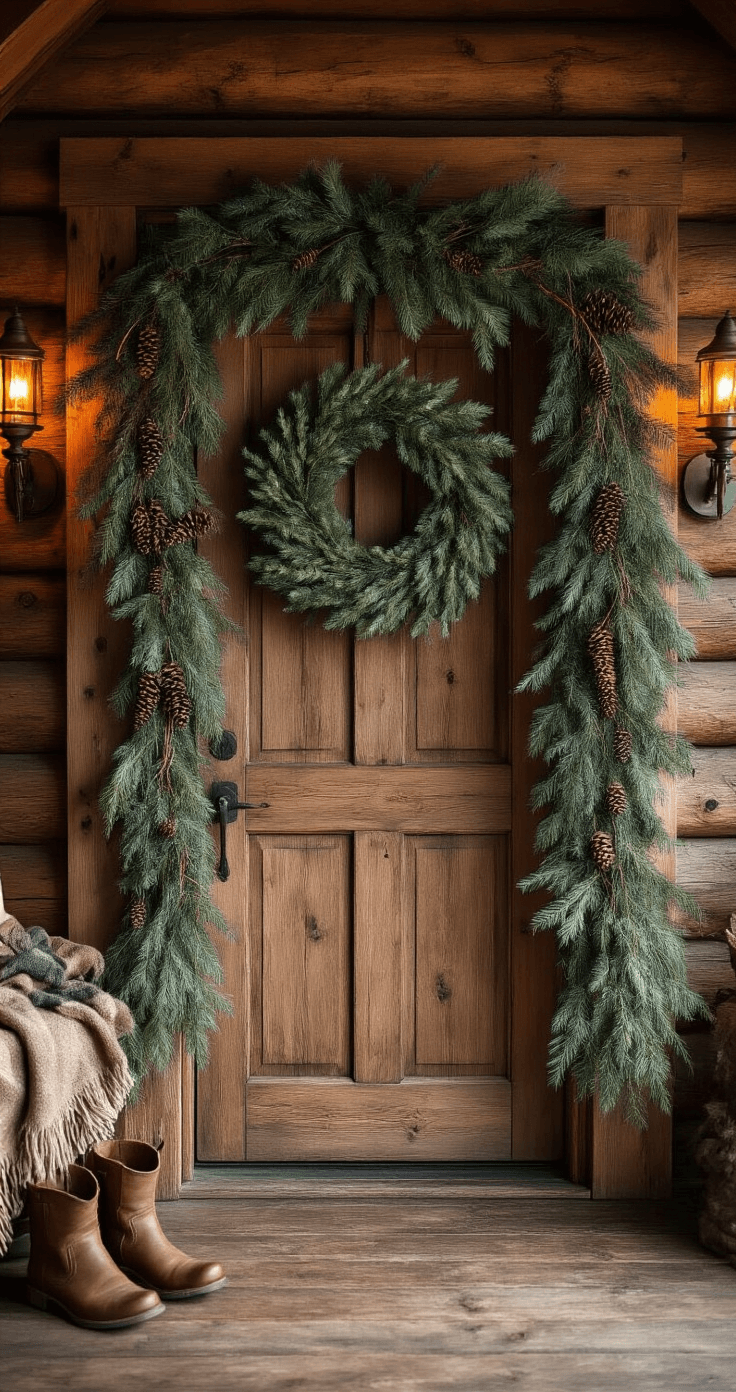
How to Hang Garland Around a Doorway Without Losing Your Mind (Or Your Security Deposit)
Contents
- How to Hang Garland Around a Doorway Without Losing Your Mind (Or Your Security Deposit)
- The Tools You Actually Need (Not the Fancy Stuff)
- Method 1: The Hook and Wire Approach (My Go-To Method)
- Step 1: Plan Your Hook Placement
- Step 2: Install Your Hooks
- Step 3: Attach the Garland with Wire
- Method 2: The Renter’s Best Friend (Zero Damage)
- The Adhesive Hook Strategy
- The Over-the-Door Hanger Trick
- Method 3: The Staircase Adaptation (Because Why Stop at Doorways?)
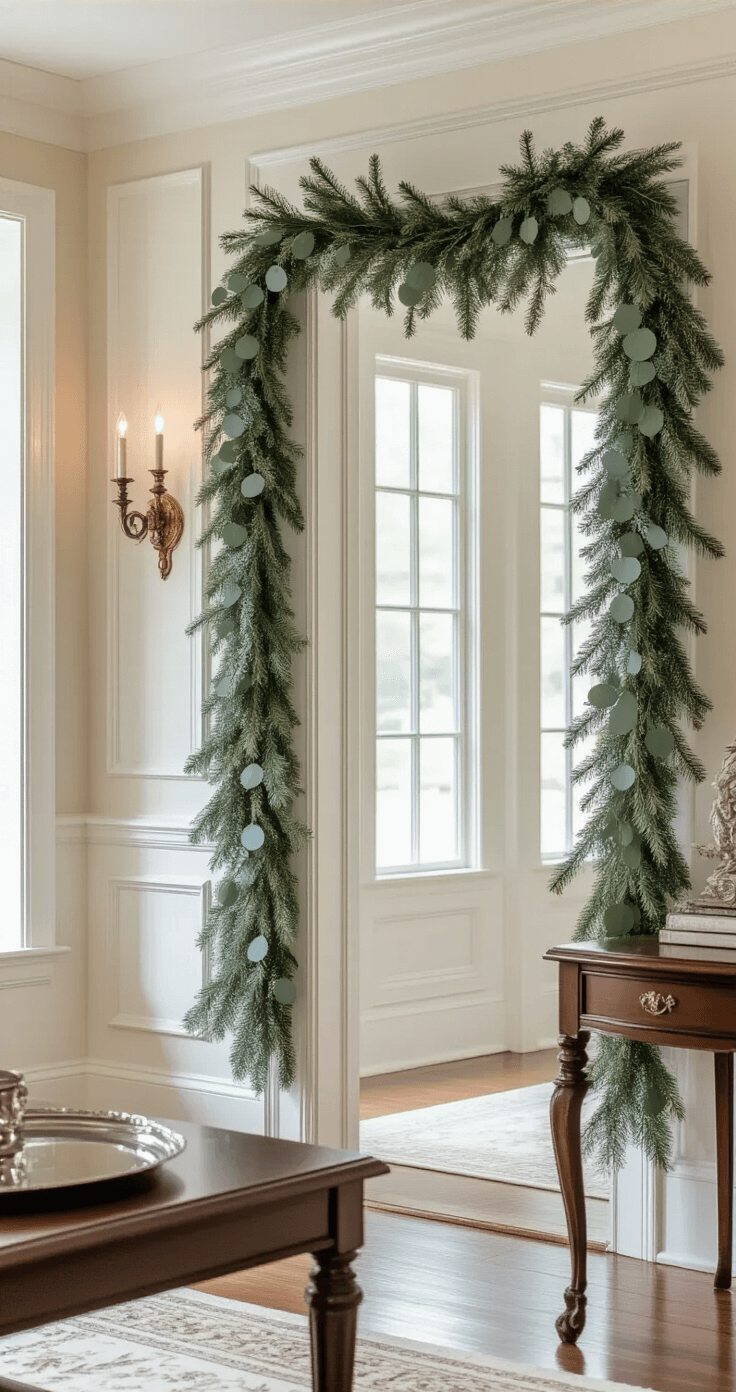
Hanging garland around a doorway transforms any entrance from drab to festive in minutes, but only if you know the tricks that actually work.
I’ve spent years wrestling with droopy garland, failed adhesive hooks, and zip ties that snap at the worst possible moment.
Let me save you the frustration.
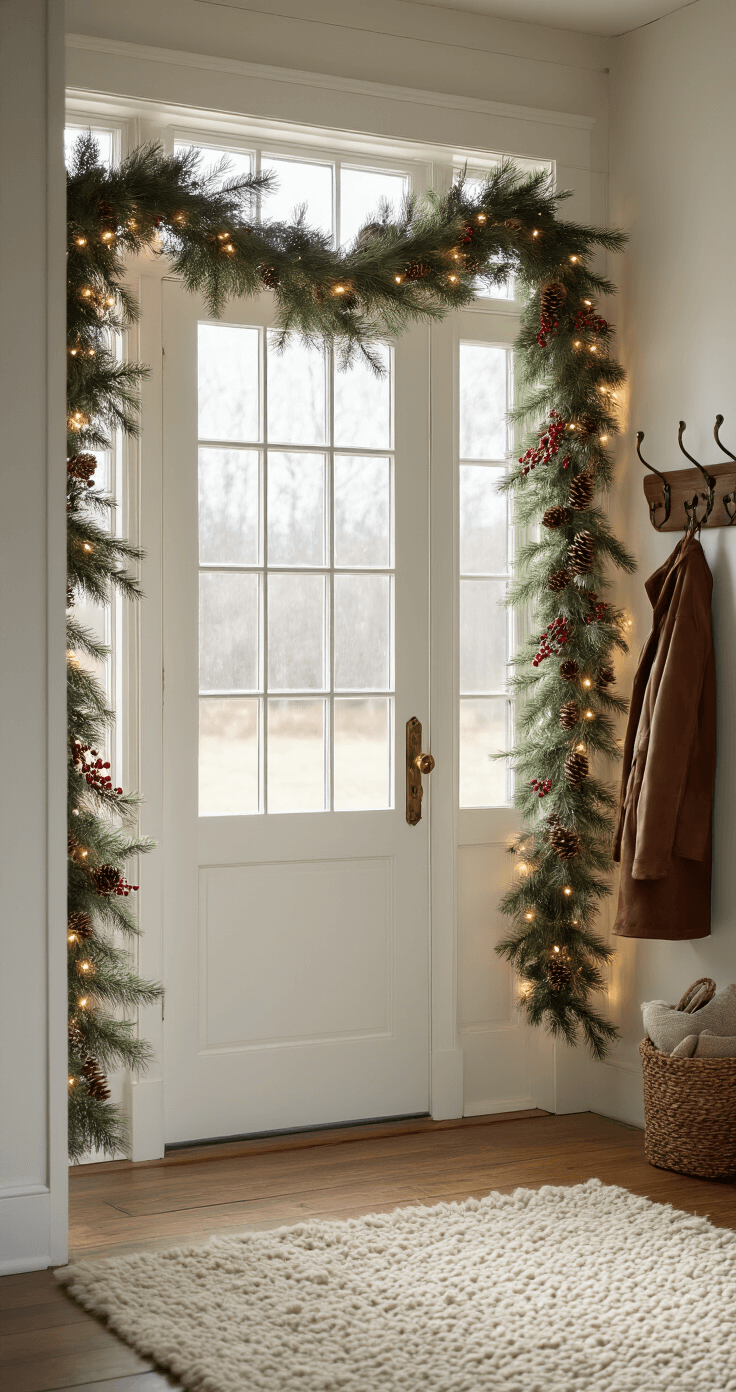
Why Your Garland Keeps Falling Down (And How to Fix It)
You know that sinking feeling when your carefully arranged garland crashes to the floor at 2 AM?
It happens because most people skip the crucial anchoring step.
Garland is heavier than it looks, especially when you add lights, ornaments, or those gorgeous pine cones.
Your doorway needs proper support points – not just one hook slapped in the middle and a prayer.
The Tools You Actually Need (Not the Fancy Stuff)
Stop overthinking this.
Here’s what works:
For Permanent Installation:
- Small screw hooks or 1.5-inch finishing nails
- Floral wire (the 22-gauge kind)
- Wire cutters
- Hammer or drill
For Damage-Free Hanging:
- Adhesive hooks rated for at least 3 pounds each
- Clear zip ties or fishing line
- Over-the-door garland hanger
- Scissors
That’s it.
No complicated gadgets required.

Method 1: The Hook and Wire Approach (My Go-To Method)
This is how I’ve hung garland for the past decade.
It stays put through wind, curious pets, and overly enthusiastic door slammers.
Step 1: Plan Your Hook Placement
You need five anchor points minimum around your doorway:
- Top left corner
- Top center
- Top right corner
- Both sides at eye level (optional but recommended for fuller doorways)
Mark these spots with painter’s tape first.
Step back and look.
Does it feel balanced?
Adjust before you commit.
Step 2: Install Your Hooks
Twist small screw hooks directly into the door frame.
They should go in about 1/2 inch deep – enough to hold firm but not so deep you’re hitting structural wood.
If you’re using nails instead, angle them slightly upward so the garland can’t slide off.
One quick tap to start, then drive them in until just the head remains visible.
Step 3: Attach the Garland with Wire
Cut pieces of floral wire about 8 inches long.
Double them up – seriously, don’t skip this part.
Single wire breaks under tension.
Thread the doubled wire through the back of your garland where the branches are thick.
Twist it around itself twice, then loop it around your hook.
Twist again until it’s snug.
The wire should disappear into the greenery.
Pro tip I learned the hard way: Start at the corners and work toward the middle.
This lets you adjust the drape before you lock in that center point.
Method 2: The Renter’s Best Friend (Zero Damage)
I lived in apartments for years where even thinking about nails felt rebellious.
This method saved me countless times.
The Adhesive Hook Strategy
Not all adhesive hooks are created equal.
You want heavy-duty versions rated for outdoor use if you’re hanging anything near a draft-prone door.
Here’s the installation ritual that actually works:
- Clean your door frame with rubbing alcohol Seriously scrub it. Dust and oils are why hooks fail.
- Wait 10 minutes for complete dryness I know you want to rush this. Don’t.
- Press each hook firmly for 30 seconds Set a timer on your phone. Your thumb will get tired. That’s how you know you’re doing it right.
- Wait 24 hours before hanging anything This is torture, but it’s the difference between hooks that hold and hooks that fail during your holiday dinner.
Attach your garland using clear zip ties or thin fishing line.
Loop it through the hook opening and around your garland’s base branches.
Pull snug but not tight enough to crush the foliage.
The Over-the-Door Hanger Trick
These spring-tension hangers changed my decorating life.
You mount them to the top of your door frame – they grip through pressure, not adhesive or nails.
Adjust the width to match your doorway.
Drape your garland over the hooks built into the hanger.
Done in five minutes flat.
The only downside? Your door can’t close completely while they’re installed.
Fine for exterior doors, less ideal for interior ones you actually use.
Method 3: The Staircase Adaptation (Because Why Stop at Doorways?)
Once you master doorways, staircases are next.
I use the fishing line method here because it’s practically invisible.
Tie clear nylon fishing line (20-pound test minimum) to one end of your garland.
Loop it around the top of your banister post.
Knot it three times.
Walk the garland down the stairs, letting it drape naturally.
Every 3-4 steps, tie the garland to the railing with another piece of fishing line.
At the bottom, secure it the same way you did at the top.
The trick is letting the garland curve naturally between tie points instead of


 Cry")

