

This post may contain affiliate links. Please see my disclosure policy for details.
Pipe Cleaner Flowers Bouquet: A Colorful DIY Adventure
The pipe cleaner bouquet I made with my niece lasted longer than any real bunch and cost less than the vase, which is most of the appeal. The craft is forgiving enough for small hands but loose enough that no two flowers come out the same, so the result looks made rather than mass-produced. A quiet afternoon is all it takes.
Let’s get our hands dirty (well, not really, but you know what I mean):
What You’ll Need:
- A rainbow of pipe cleaners (the more colors, the merrier!)
- Scissors (sharp ones, please – we’re not savages)
- Floral tape (green, obviously)
- A ruler (for the perfectionists among us)
- Glue gun (optional, but handy for those “oops” moments)
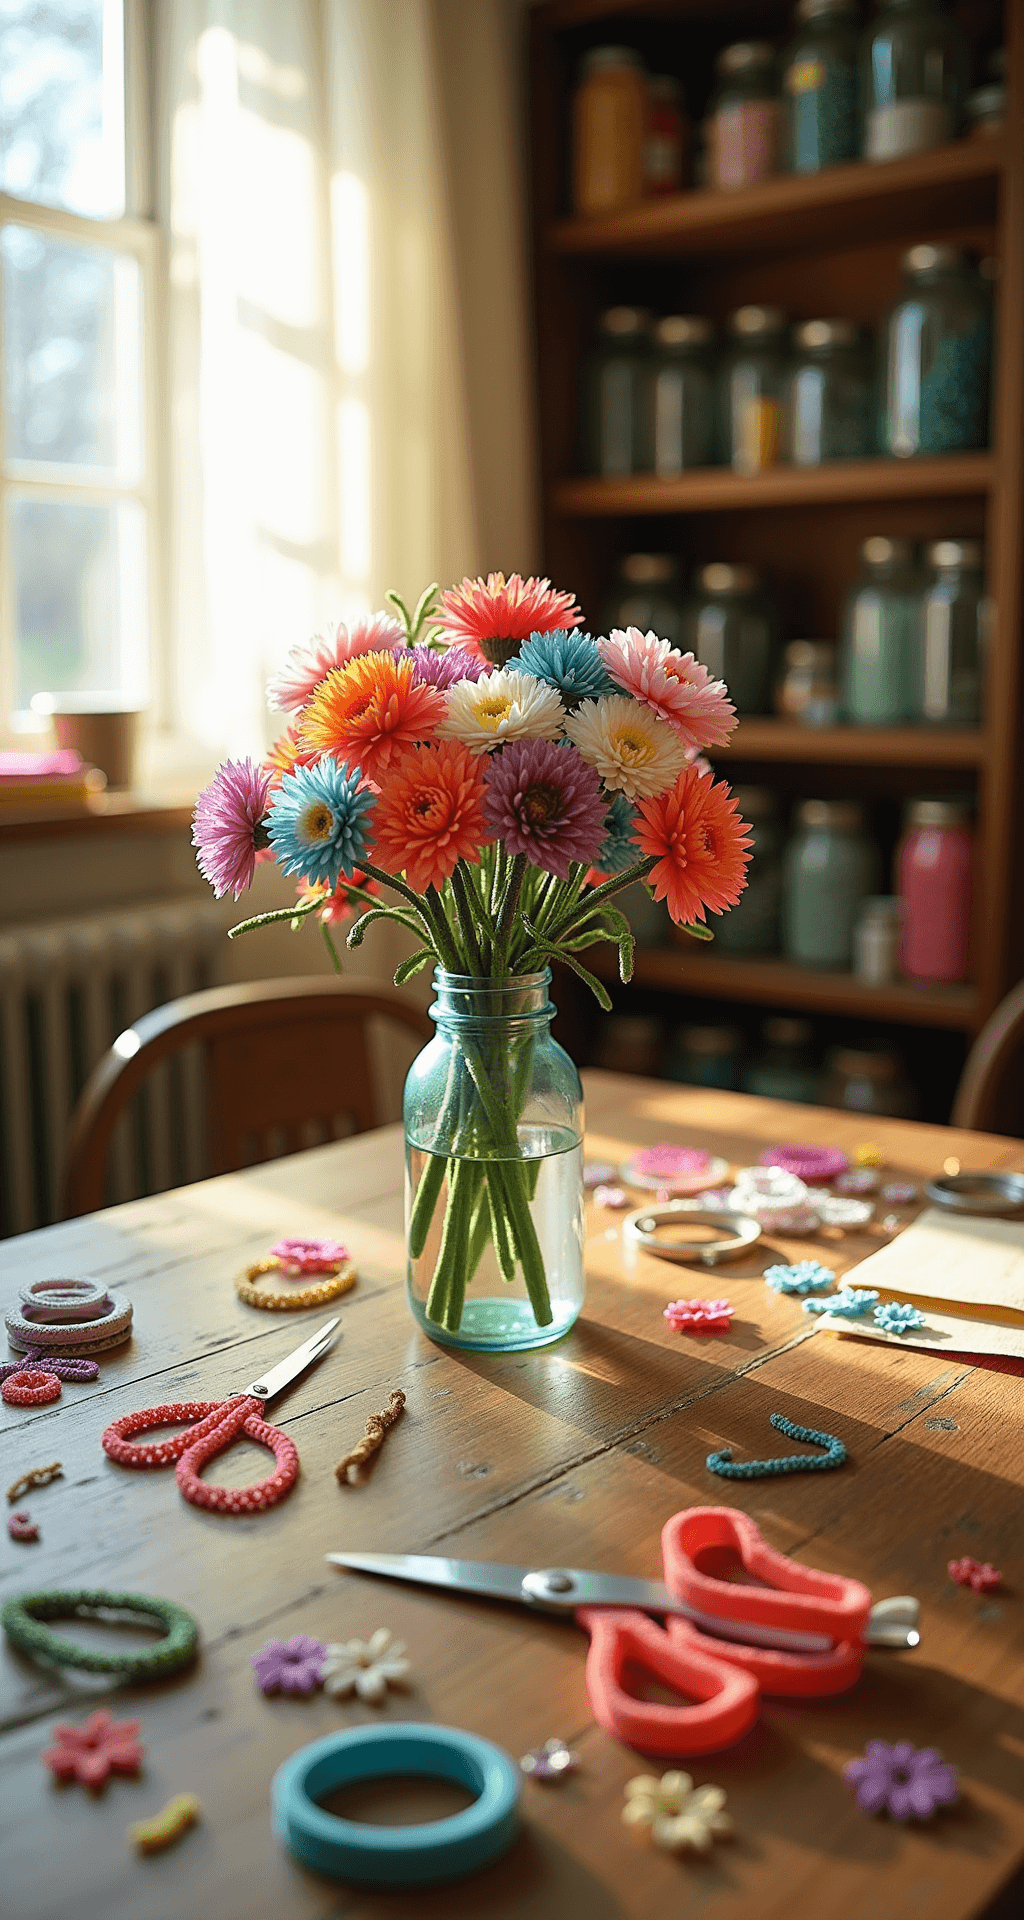
Now, don’t panic if you’re thinking, “But I can’t even draw a stick figure!” Trust me, if I can do this, you can too. It’s easier than trying to fold a fitted sheet, I promise.
Step 1: Choose Your Blooms
First things first – what kind of flowers are we making? Roses? Daisies? Something that looks vaguely floral but you’re not quite sure what to call it? The world’s your oyster here, folks.
- Roses: Twist and coil for that classic look
- Daisies: Simple loops around a center
- Tulips: Gentle curves and a pointed tip
- Wildcard: Go crazy and invent your own species!
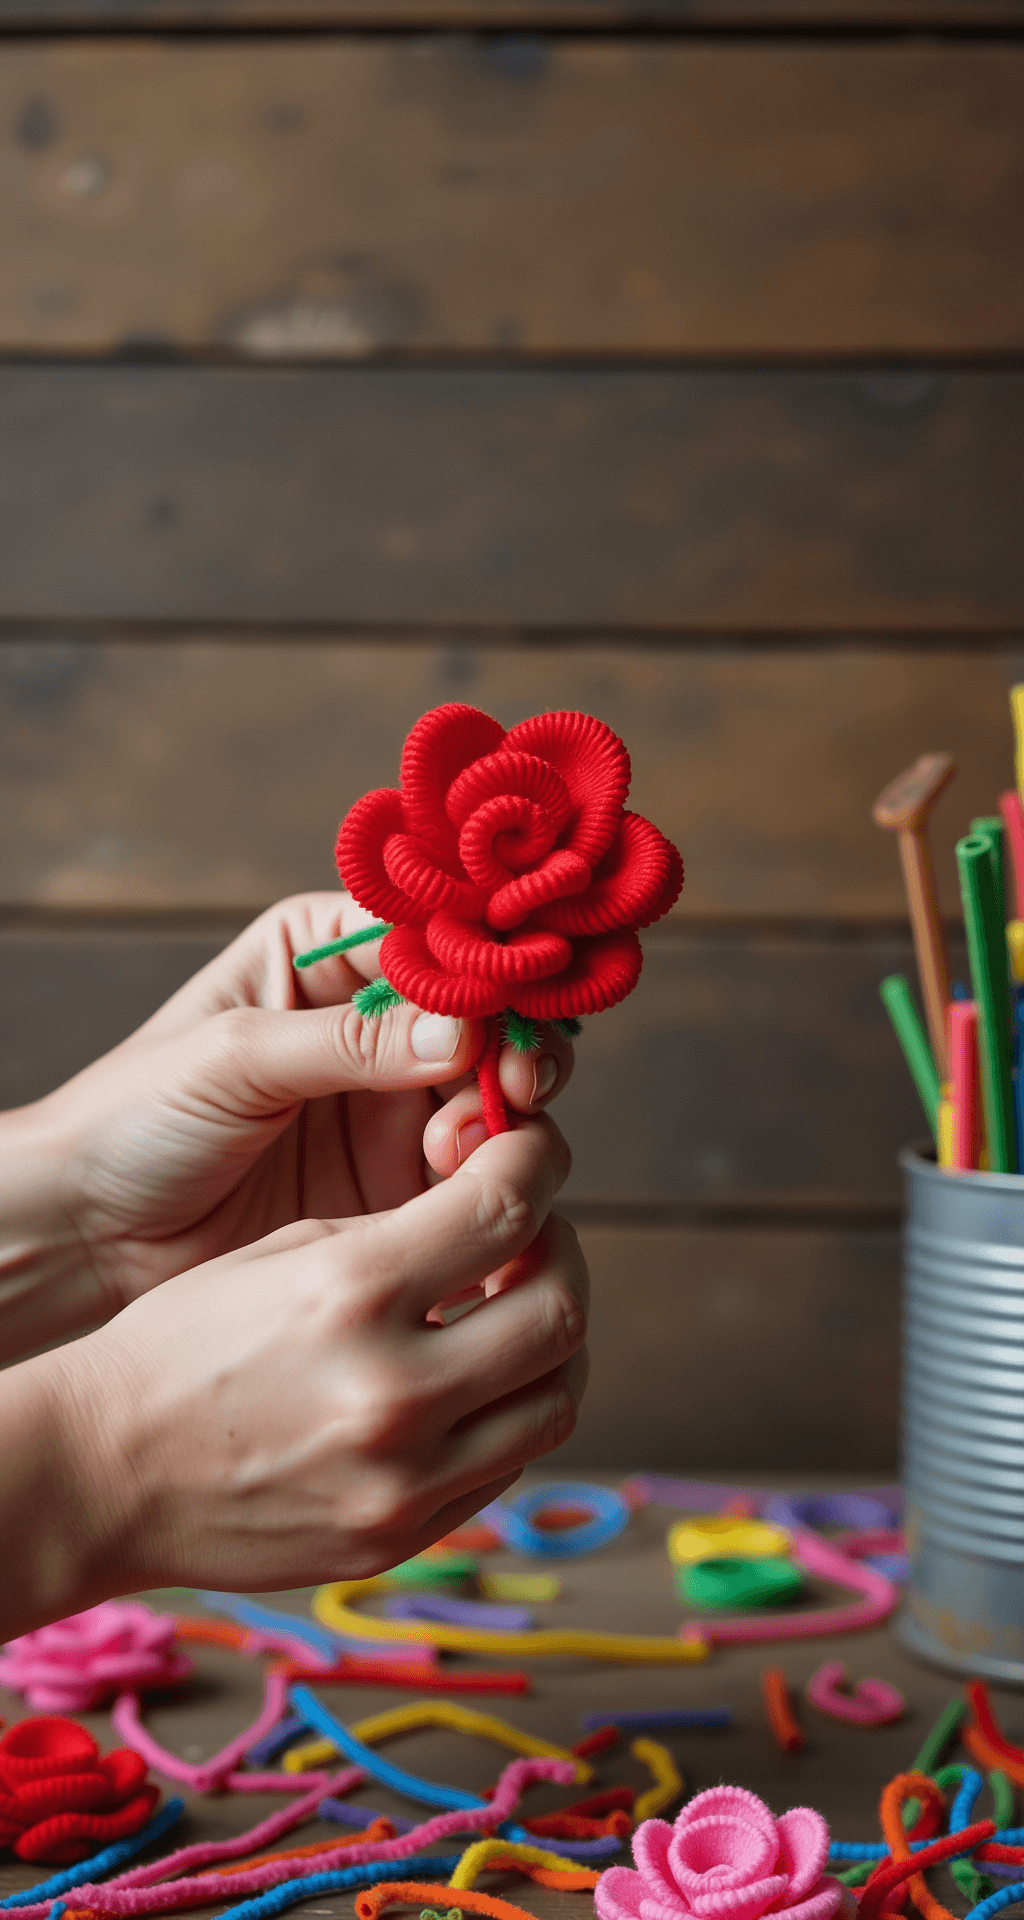
Step 2: The Twist and Shout
Now, here’s where the magic happens. Grab your first pipe cleaner and start twisting. For a rose:
- Fold one end over about an inch
- Start rolling tightly
- As you roll, twist the pipe cleaner
- Keep going until you’ve got a cute little swirl
Congrats! You’ve just birthed your first pipe cleaner rose. Feel free to do a little victory dance – I won’t judge.

Save this article
Enter your email and we'll send it straight to your inbox.
Step 3: Build Your Bouquet
Time to bring all these beauties together:
- Group your flowers by type or color
- Use floral tape to bind the stems together
- Add some green pipe cleaner leaves for that extra oomph
Pro tip: Stagger the heights of your flowers. We’re going for “effortlessly chic,” not “military parade.”
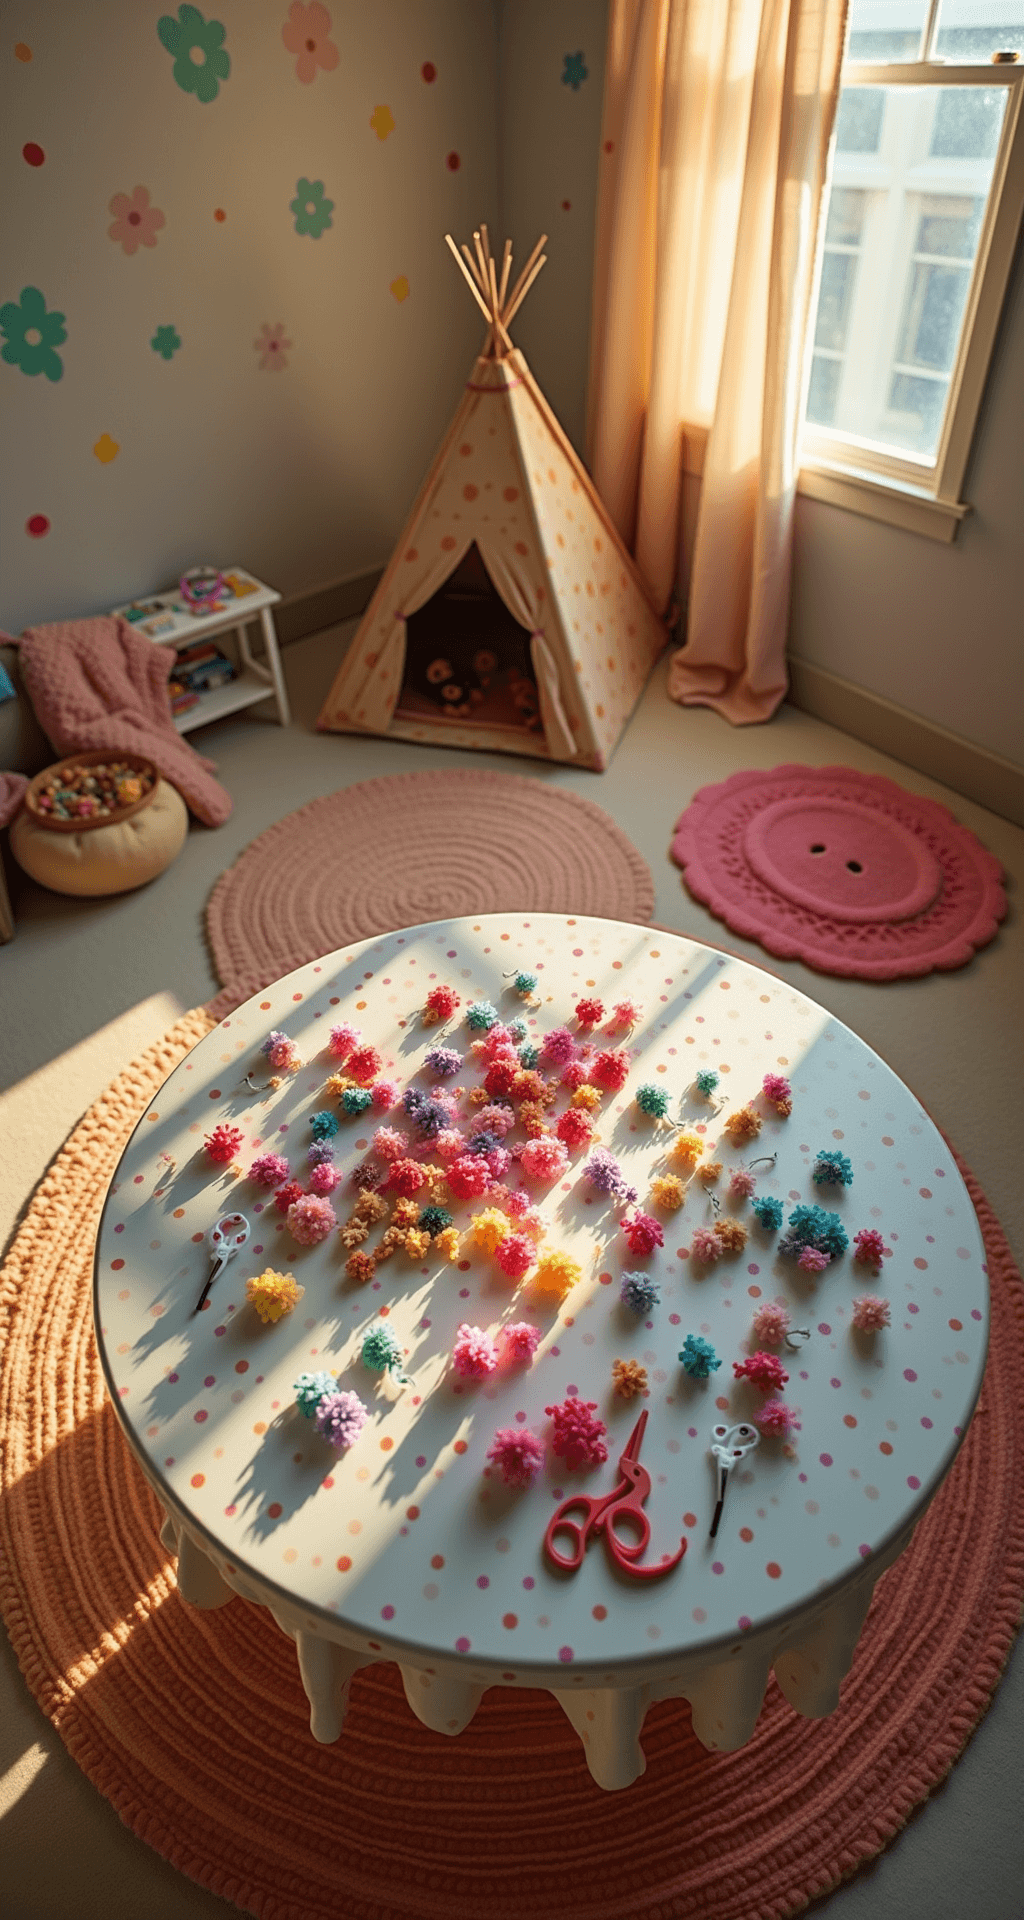
Step 4: The Finishing Touches
Now’s the time to really make it pop:
- Fluff out your petals
- Add a ribbon bow (if you’re feeling fancy)
- Stick it in a vase or tie it up with more floral tape
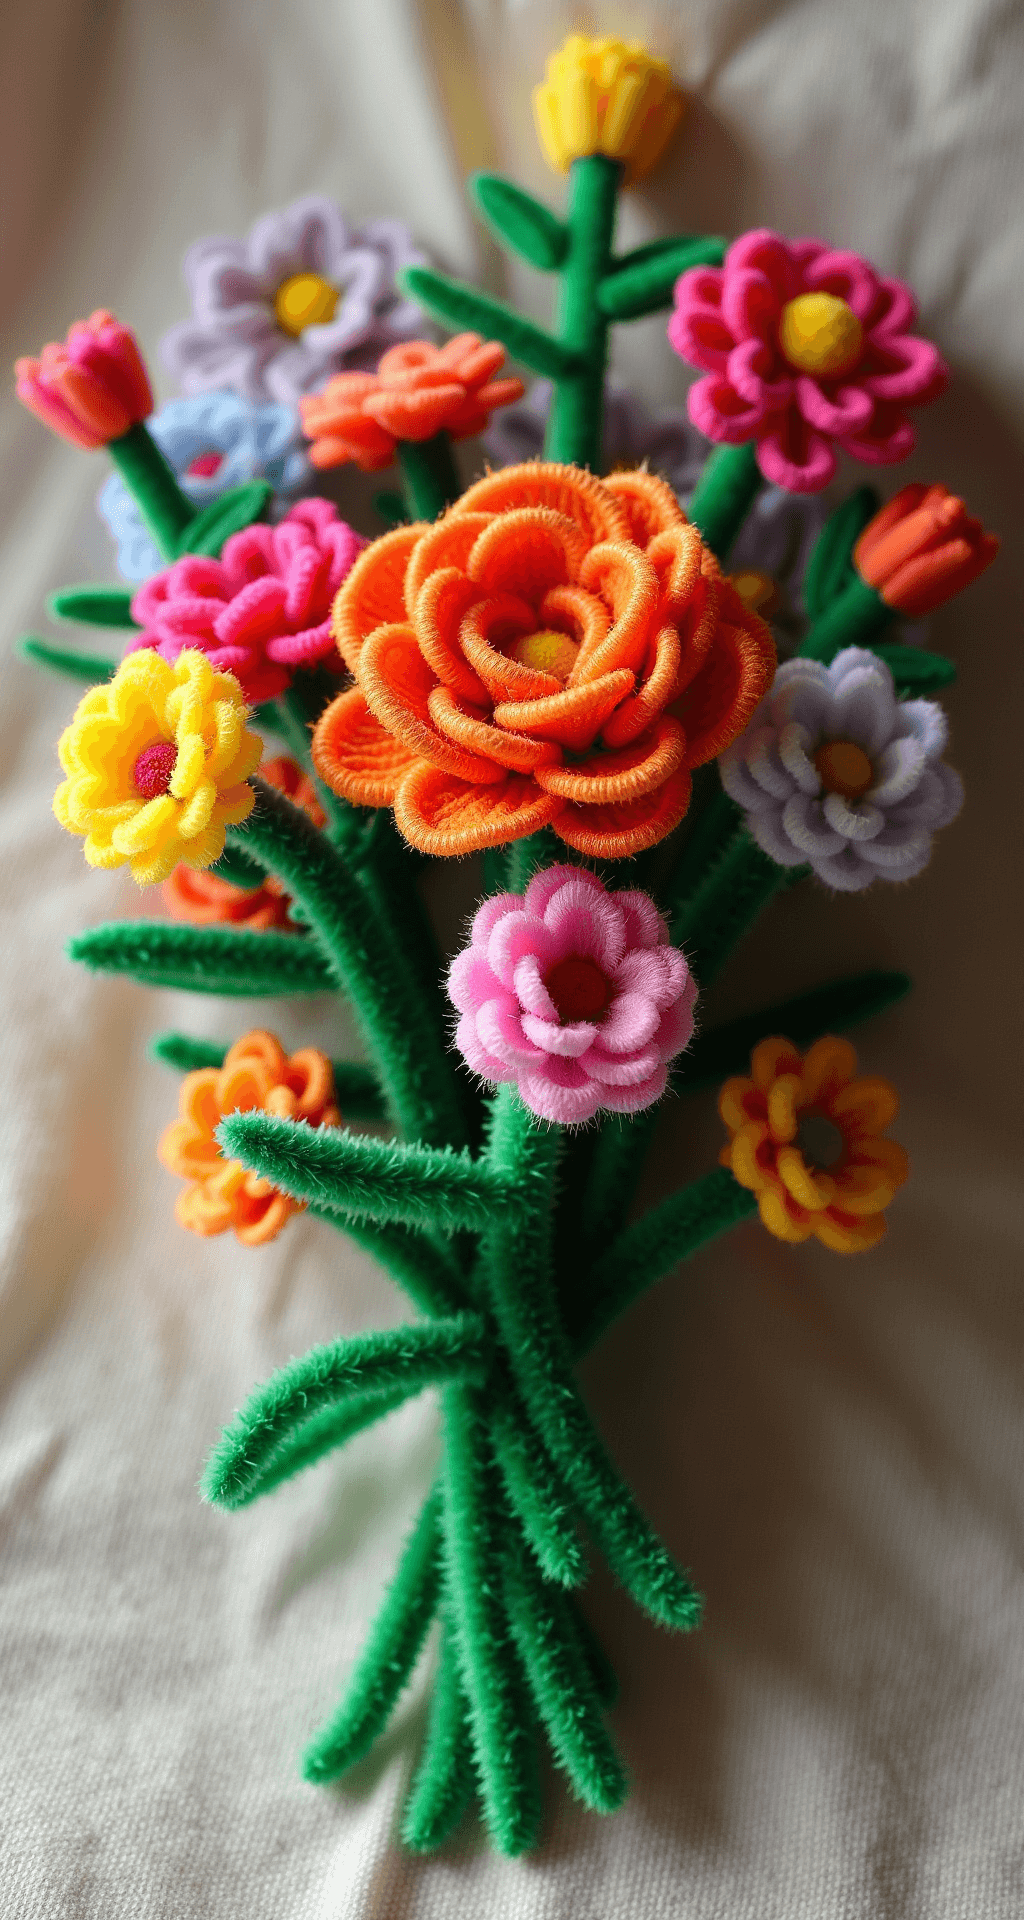
And voila! You’ve got yourself a bouquet that’ll never wilt, never need watering, and is 100% allergy-friendly. Take that, nature!
Why You’ll Love This Craft:
- It’s budget-friendly (unlike my coffee habit)
- Perfect for all ages (yes, even you, Grandpa)
- No green thumb required (plant killers, rejoice!)
- Makes a great gift (because who doesn’t love handmade?)
So there you have it, folks – your ticket to pipe cleaner flower fame. Remember, practice makes perfect, and even if your first attempt looks more like a colorful tumbleweed than a bouquet, it’s all part of the fun.

A pipe cleaner bouquet comes together once you stop aiming for perfect and let each flower be a little off. Twist the centers tight, fan the petals out, and group them by color so the bunch reads as intentional. It’s a small project that ends up looking better than the effort suggests.
Keep this one for later
We'll email you the link so you can come back to it.





[…] can make all sorts of flowers with pipe cleaners. Roses, tulips, daisies – you name it! Here’s a quick guide to some popular flower […]