

This post may contain affiliate links. Please see my disclosure policy for details.
Hey there, flower lovers!
The pipe cleaner bouquet I made with my niece lasted longer than any real bunch and cost less than a coffee, which is most of the appeal. The craft is forgiving enough for small hands but loose enough that no two flowers come out the same. A quiet afternoon is all it takes.
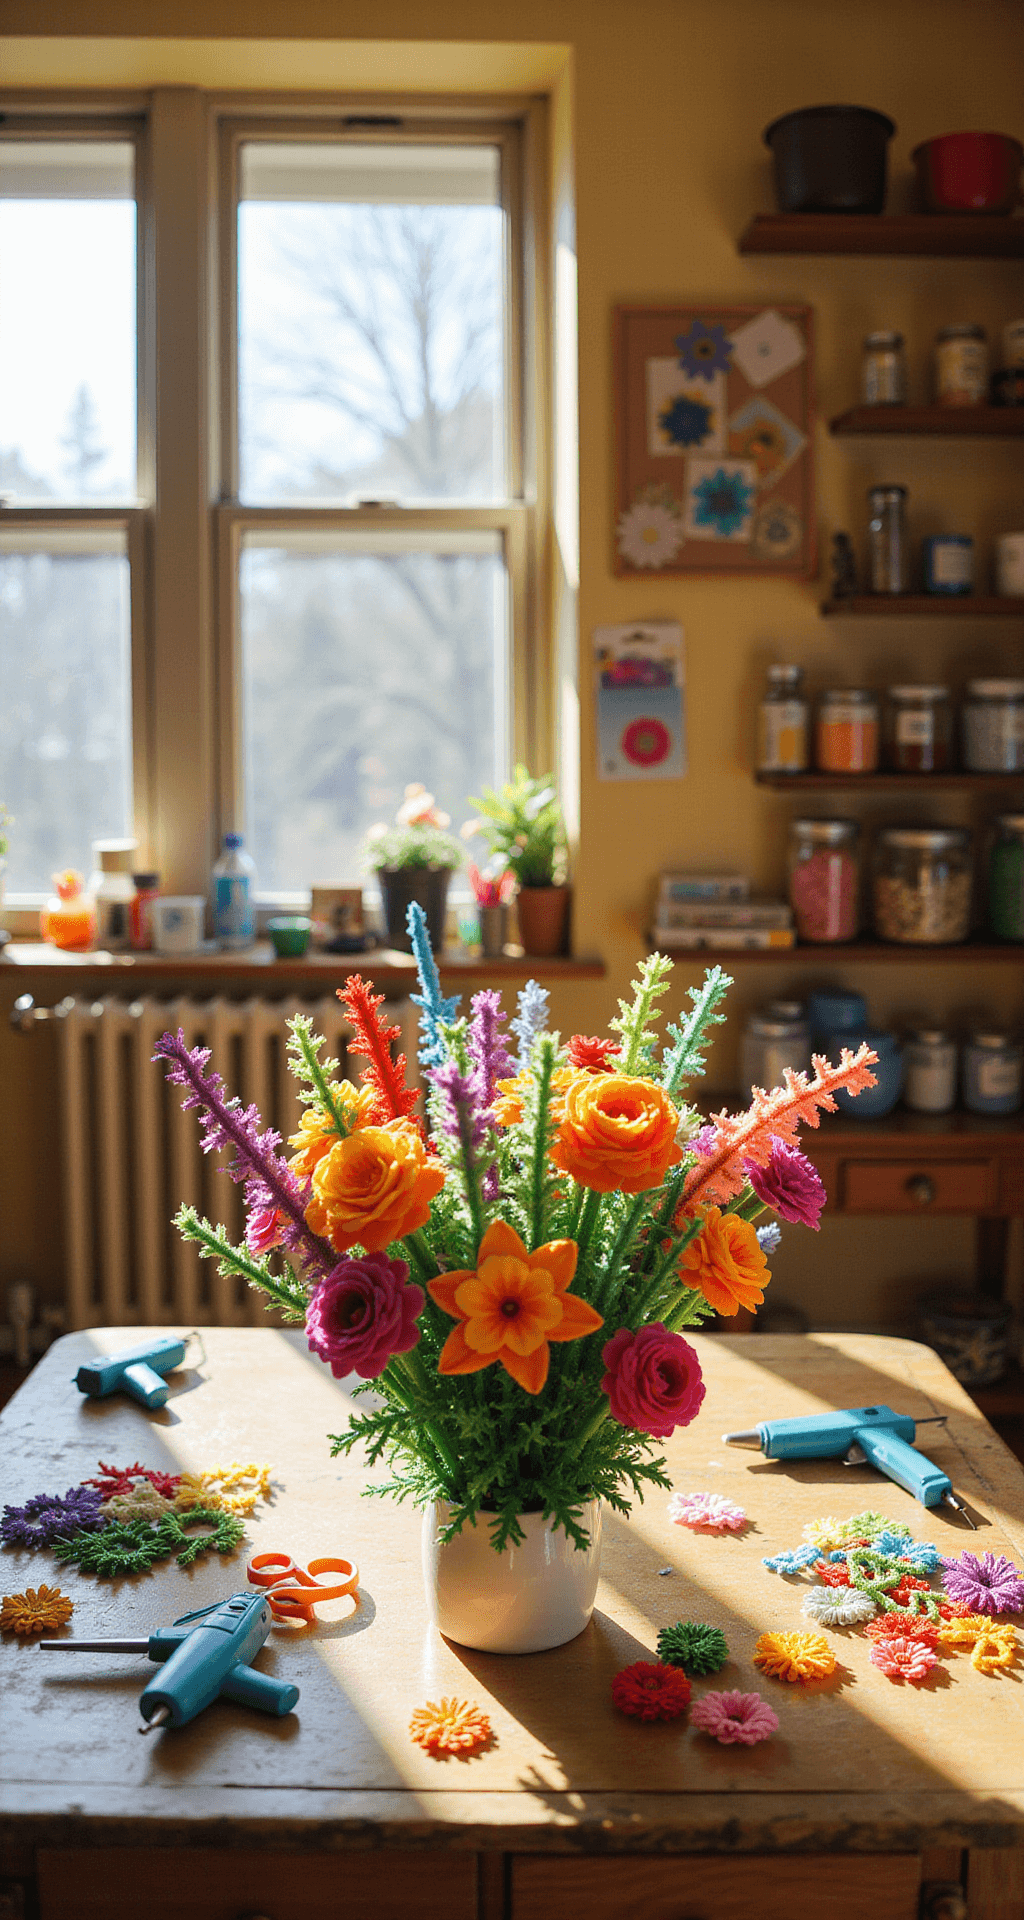
First things first, why pipe cleaner flowers?
They’re cheap, they’re easy, and they last forever! No more wilted bouquets or allergies acting up. Plus, you can make them in any color you want. Purple daisies? Sure! Blue roses? Why not! The sky’s the limit with these babies.
Now, let’s talk materials.
Here’s what you’ll need:
- Pipe cleaners (duh!)
- Scissors
- A hot glue gun
- Optional: mini clay pots and sand
That’s it! No fancy tools or expensive craft supplies needed. You probably have most of this stuff lying around already.
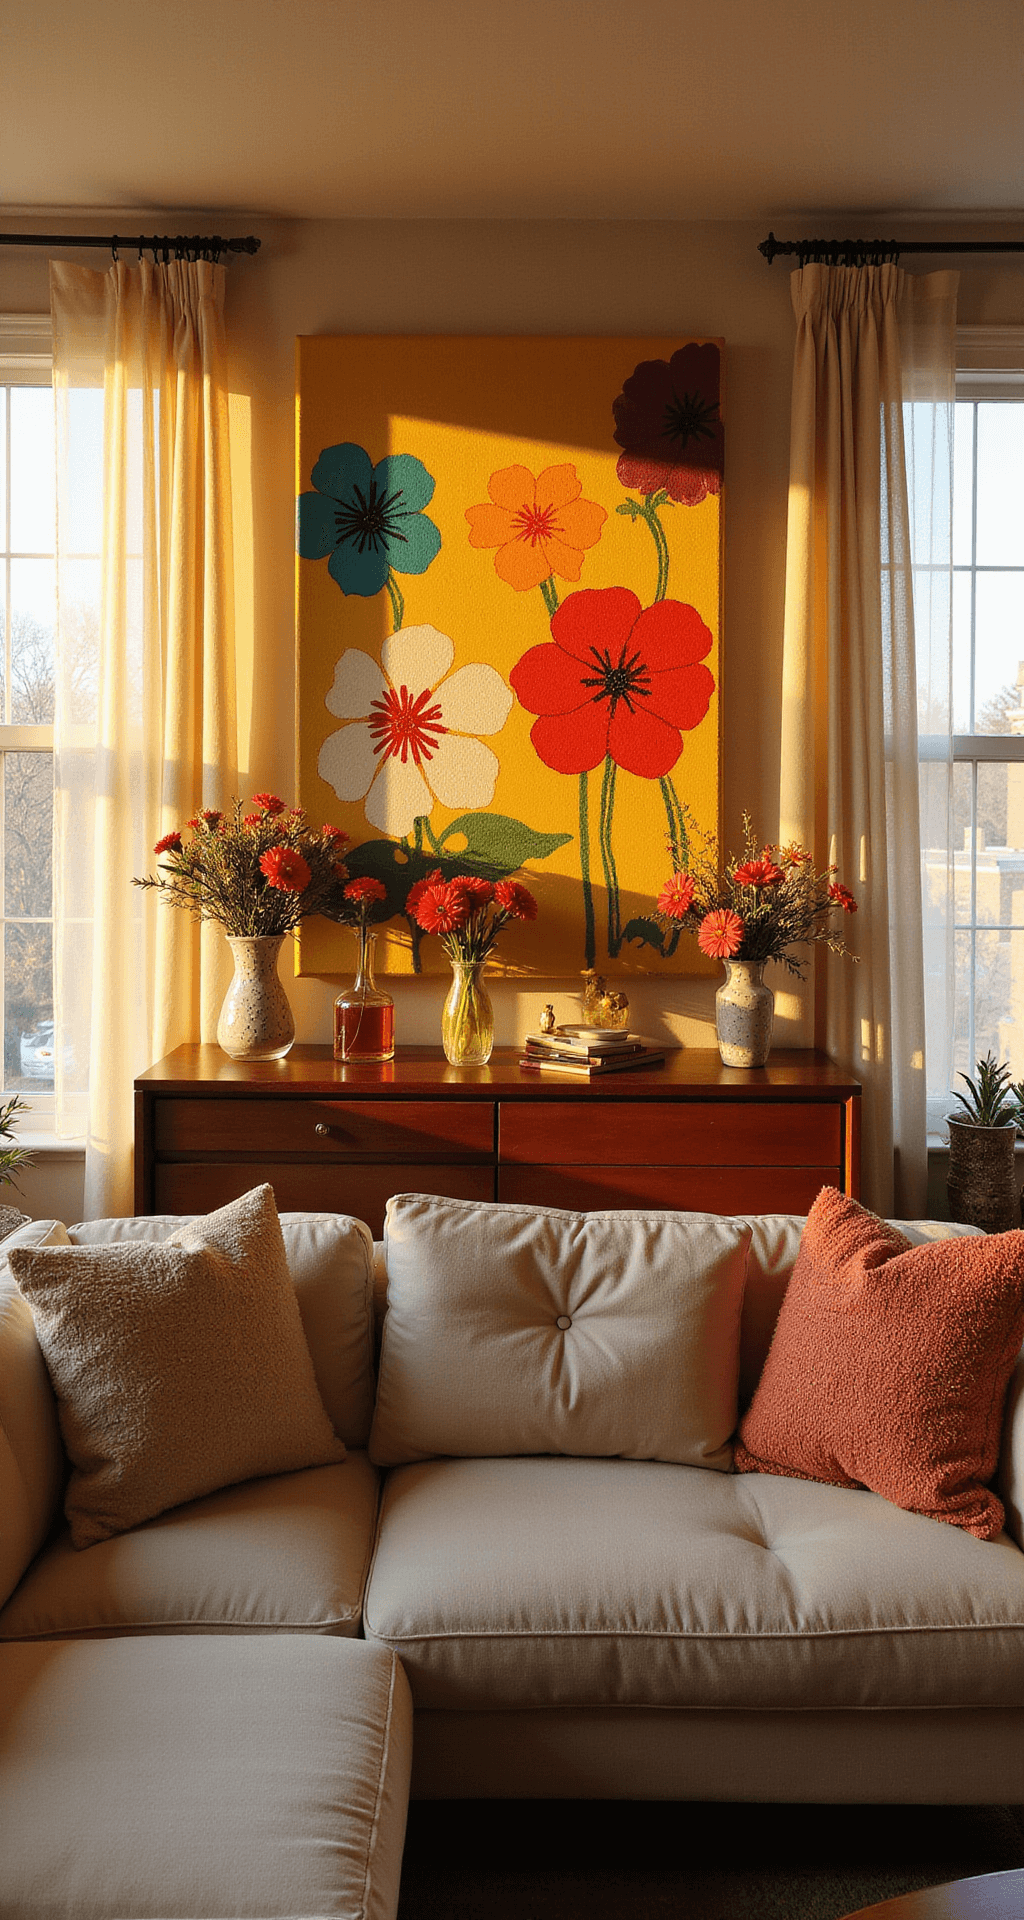
Let’s start with a classic: the daffodil.
Here’s how to make one:
- Grab 3 yellow pipe cleaners.
- Fold each one in half to find the middle.
- Arrange them in a star shape and twist in the center.
- Roll up each end towards the middle to form petals.
- Take a green pipe cleaner for the stem.
- Bend about an inch into a “J” shape.
- Loop it through the center of your yellow petals.
- Twist to secure it as the stem.
- For the center, wind an orange pipe cleaner into a tight coil.
- Shape it into a cup and pinch to compress.
- Glue it into the center of your yellow petals.
- For a leaf, fold half a green pipe cleaner into a point.
- Attach it to the stem.
Voila! You’ve got yourself a daffodil!
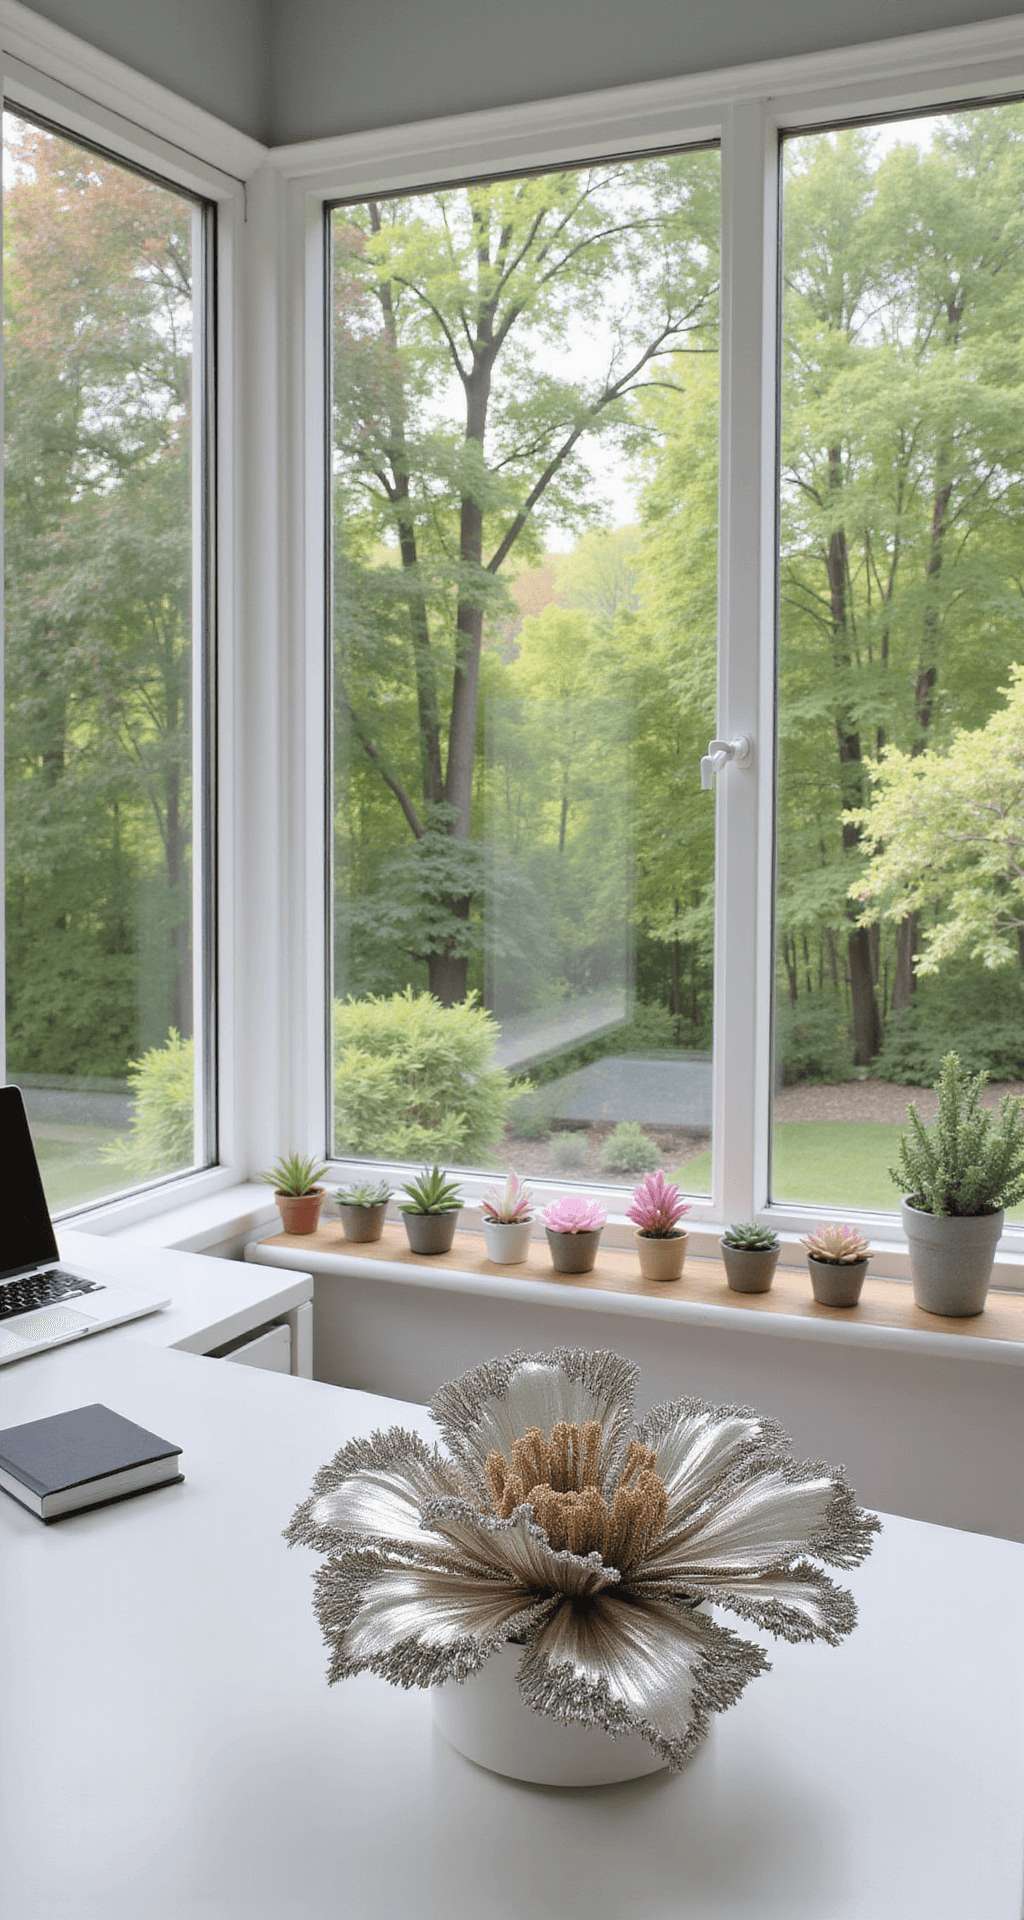
But why stop there?
You can make all sorts of flowers with pipe cleaners. Roses, tulips, daisies – you name it! Here’s a quick guide to some popular flower types:
Save this article
Enter your email and we'll send it straight to your inbox.
- Tulip: Simple rounded petals with a green stem.
- Rose: Spiral wound for that classic rose look.
- Gerbera Daisy: Layered petals with a flat or textured center.
- Lily of the Valley: Multiple small beads or clusters on a stem.
Mix and match colors to create your own unique bouquet.
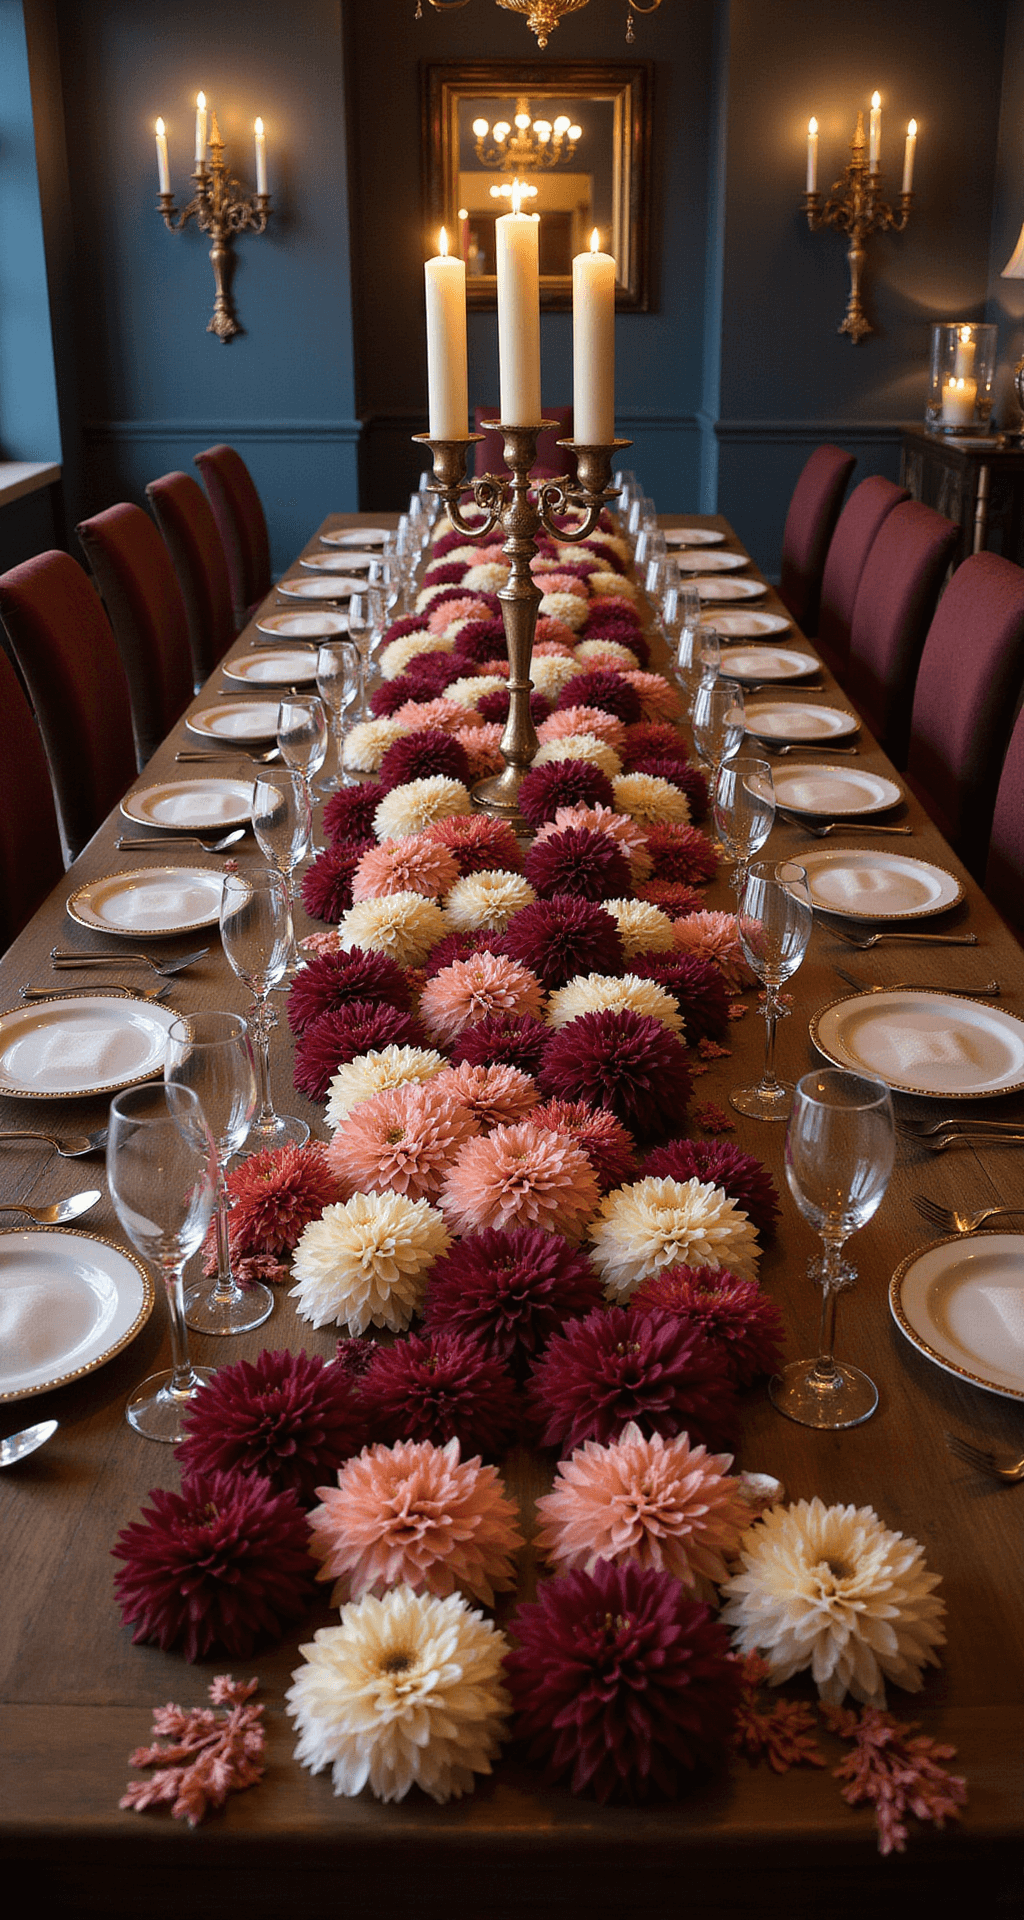
Now, let’s talk styling.
Want your flowers to look Instagram-worthy? Here are some pro tips:
- Use different textures: Mix shimmery and matte pipe cleaners.
- Play with color: Contrast petal and center colors for pop.
- Group in odd numbers: It looks more natural.
- Choose simple backgrounds: Let your flowers shine!
When it comes to displaying your creations, get creative! Stick them in mini clay pots filled with sand. Arrange them in a vase. Make a wreath. The possibilities are endless!
Oh, and if you’re into photography, here’s a hot tip: Natural light is your best friend. Shoot your flowers near a window for that perfect, soft glow.
Now, let’s address some common mistakes:
- Don’t skimp on structure: Make sure your stems are sturdy.
- Roll those petals tight: Loose petals look messy.
- Pay attention to color: Clashing colors can ruin the effect.
- Light it right: Poor lighting can make your photos look dull.
Remember, practice makes perfect. Your first flower might look a bit wonky, but keep at it! Before you know it, you’ll be a pipe cleaner flower pro.

A pipe cleaner bouquet comes together once you stop aiming for perfect and let each flower be a little off. Twist the centers tight, fan the petals out, and group them by color so the bunch reads as intentional. It’s a small project that ends up looking better than the effort suggests.
Happy flower making, folks!
Keep this one for later
We'll email you the link so you can come back to it.





[…] there you have it, folks – your ticket to pipe cleaner flower fame. Remember, practice makes perfect, and even if your first attempt looks more like a colorful […]