

This post may contain affiliate links. Please see my disclosure policy for details.
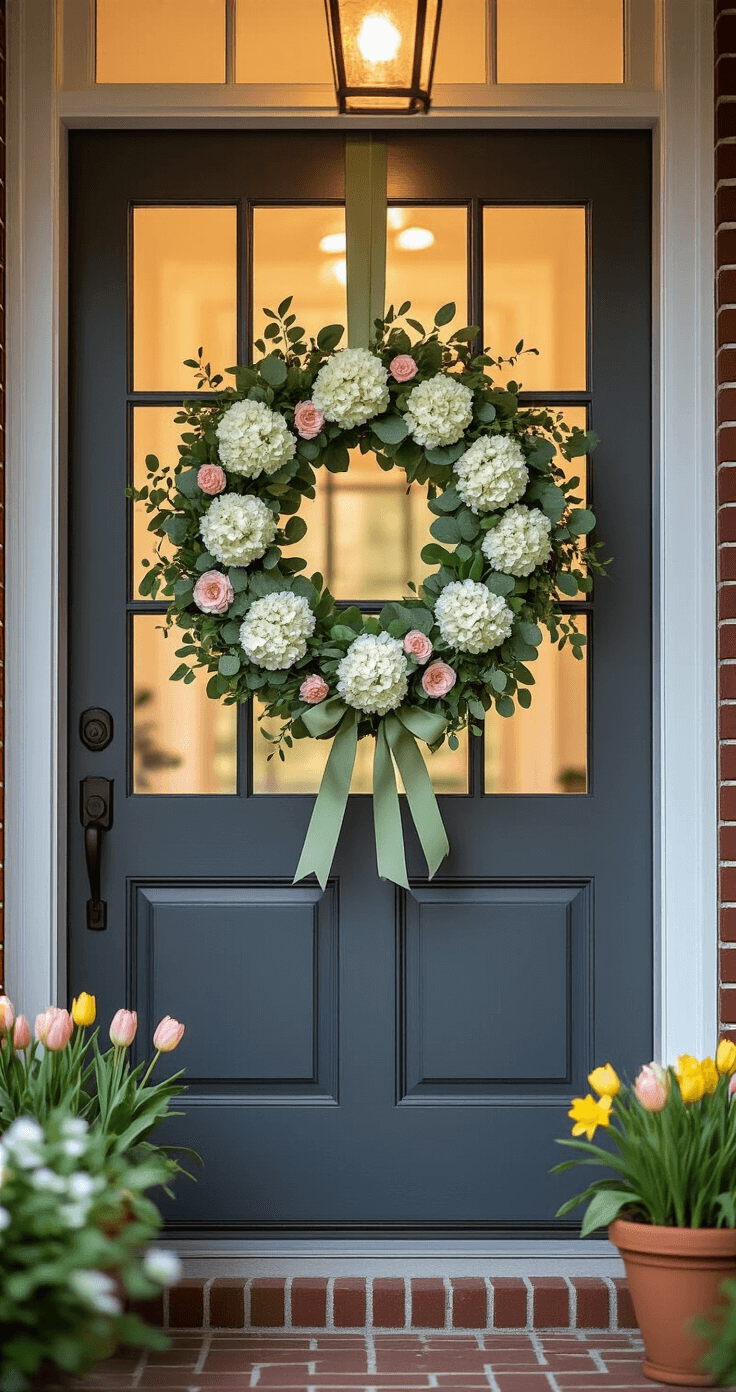
How to Make a Simple Spring Wreath in Under 30 Minutes (Yes, Really!)
Contents
Making a simple spring wreath sounds fancy, doesn’t it?
Like something your crafty neighbor whips up while simultaneously baking sourdough and alphabetizing her spice rack.
But here’s the truth I wish someone had told me years ago: you don’t need to be Martha Stewart’s protégé to create something gorgeous for your front door.
I made my first spring wreath on a Tuesday afternoon when I was supposed to be doing laundry.
It took me 27 minutes, cost about twenty bucks, and looked so good that my mail carrier complimented it three days in a row.
No joke.
Why You’re Probably Overthinking This
Look, I get it.
You see those elaborate wreaths on Pinterest with forty-seven types of flowers arranged in perfect color gradients, and you think, “Not for me.
But that’s like refusing to make scrambled eggs because French soufflés exist.
A spring wreath doesn’t need to be complicated to be beautiful.
It just needs to look fresh, feel seasonal, and make you smile when you come home.
That’s it.
Everything You Actually Need (And Nothing You Don’t)
Here’s what I grabbed for my first wreath, and what I still use today:
The Base:
- Grapevine wreath base (12-18 inches works perfectly)
The Pretty Stuff:
- Faux eucalyptus stems or boxwood sprigs
- Artificial spring flowers like ranunculus, tulips, or peonies
- Wired ribbon in a color that makes you happy
The Tools:
- Hot glue gun with glue sticks
- Wire cutters (or strong scissors in a pinch)
That’s the whole shopping list.
You can find everything at your local craft store, dollar store, or online.
I’ve even used flowers from the grocery store when they were on sale.
Nobody checks your receipts before admiring your wreath.
The Dead-Simple Process That Actually Works
Forget those twelve-step tutorials that require engineering degrees.
This is how real people make wreaths:
Step One: Clean Up Your Base
Take your grapevine wreath and trim off any weird, pokey bits that stick out awkwardly.
Think of it like giving the wreath a haircut.
You’re not trying to make it perfect—just presentable.
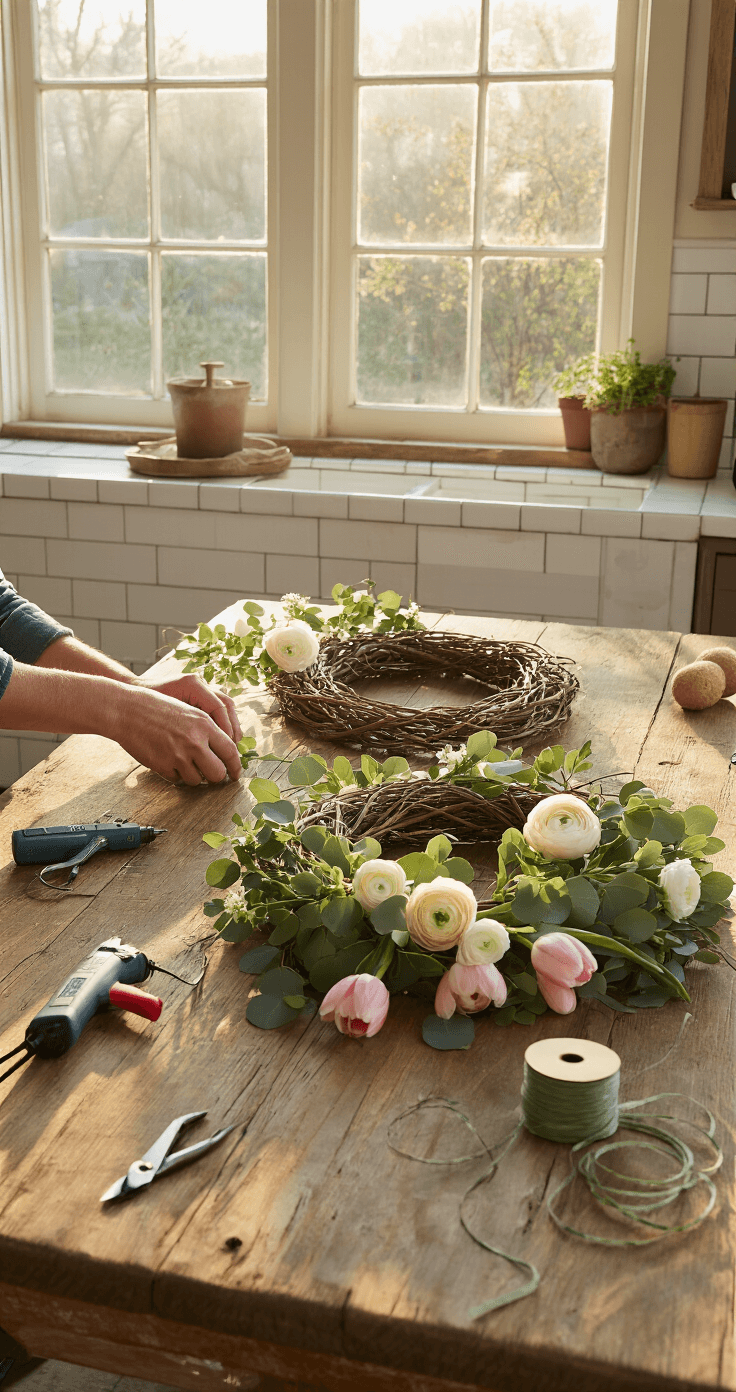
Step Two: Cut Your Flowers and Greenery
Grab your wire cutters and snip individual clusters from your greenery and flower stems.
Leave about 2 inches of stem attached.
This gives you something to grip and tuck into the wreath.
I usually cut everything first and lay it out on my kitchen table like a little assembly line.
Makes the whole process faster.
Step Three: Add the Greenery First
This is where your wreath starts looking legit.
Take your greenery pieces and arrange them around the wreath.
Don’t overthink the placement.
I usually work in a loose, asymmetrical pattern—denser on one side, lighter on the other.
Gives it that casual, “I just threw this together” vibe that somehow looks more expensive than perfectly symmetrical designs.
Secure each piece with hot glue.
Pro tip: Hold each piece in place for about five seconds before moving on.
I learned this after watching three eucalyptus sprigs slide off while I was congratulating myself on my progress.
Step Four: Layer In Your Flowers
Now comes the fun part.
Add your flower stems on top of the greenery, playing with different angles and overlapping them slightly.
I like to cluster flowers in groups of three or five—something about odd numbers looks more natural.
Dab hot glue on the stems and press them into the wreath.
If you hate your first attempt, pull it off (carefully—that glue is hot) and try again.
This isn’t surgery.
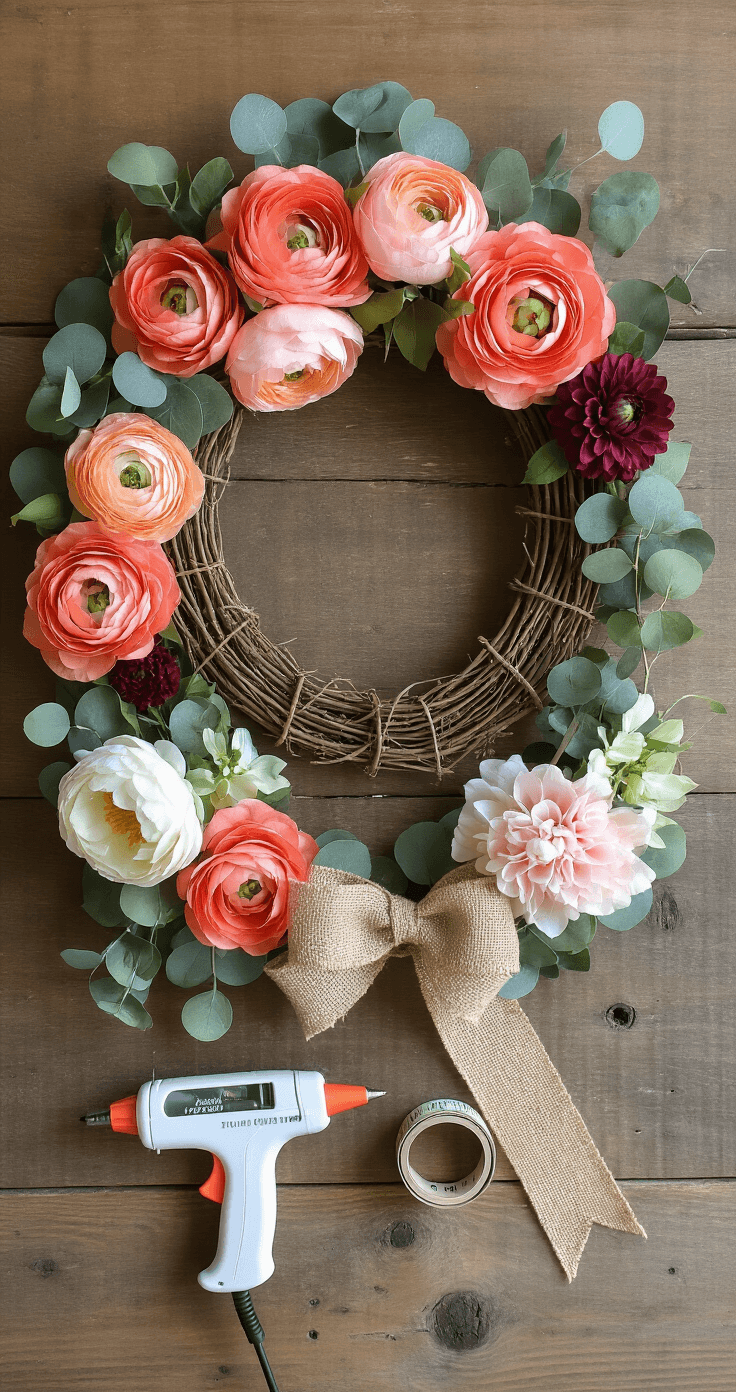
Step Five: Make a Ridiculously Easy Bow
Here’s my secret: I’m terrible at bows.
Absolutely terrible.
So I make the simplest version possible—two loops and two tails.
Cut about 24 inches of wired ribbon.
Make two loops at the top, pinch them in the middle, and secure with a small piece of wire or a dab of hot glue.
Let the ribbon tails hang down.
Attach it to your wreath wherever it looks good (usually at the top or slightly off to one side).
Fluff it a bit, and you’re done.
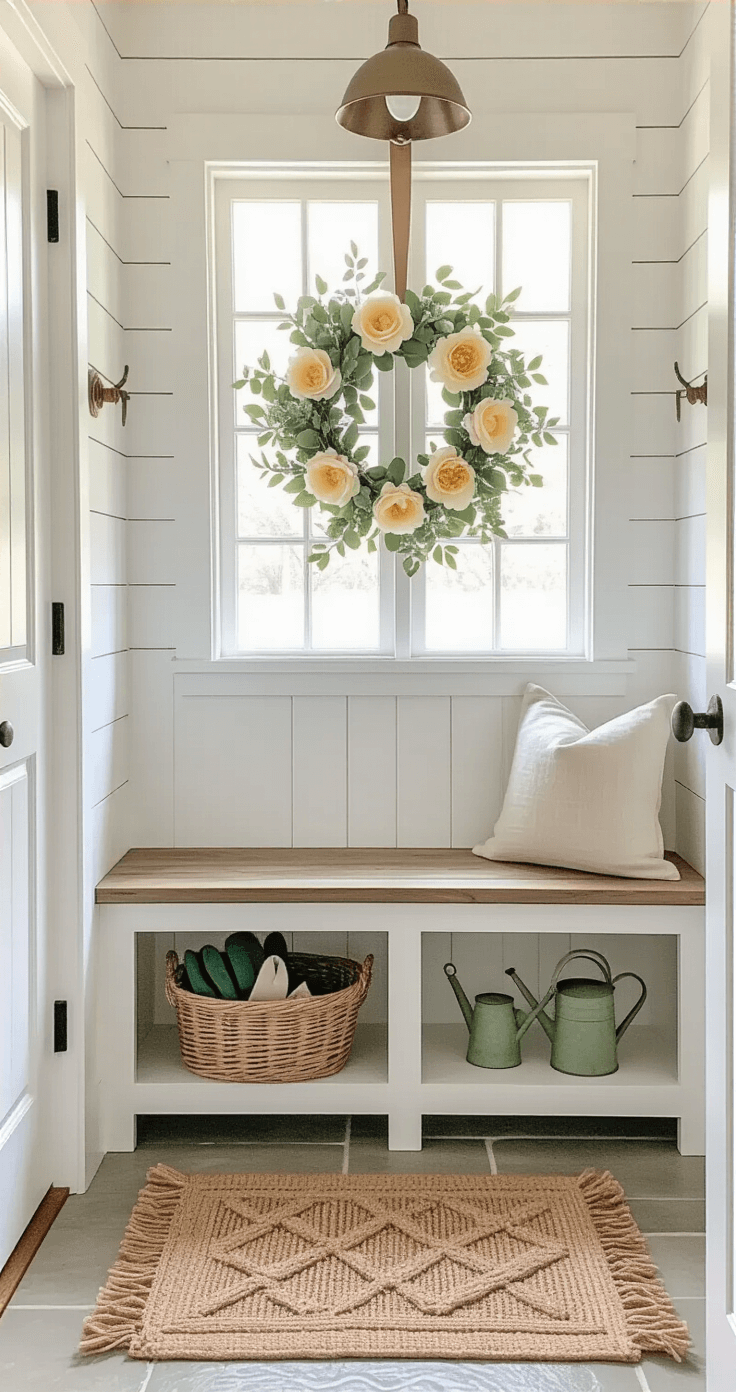
Step Six: Hang It and Stop Fussing
Use a wreath hanger on your door or loop some fishing line around the back.
Step back.
Admire your work.
Resist the urge to “fix” it.
I promise you’ll keep seeing tiny imperfections that literally nobody else will notice.
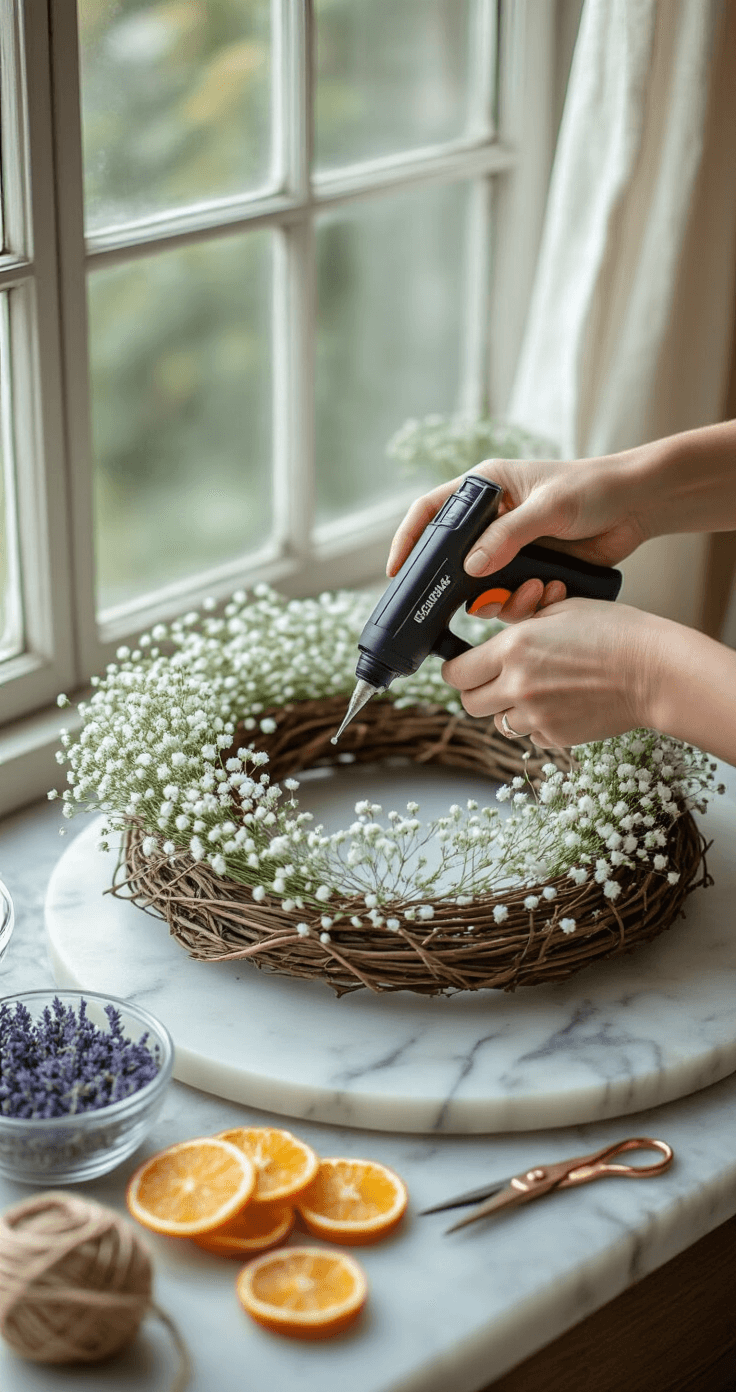
When You Want to Go the Natural Route
Maybe you’re not into the faux flower thing.
I respect that.
For a more organic spring wreath, try this approach:
Natural Materials:
-
<
")
")
")


