

This post may contain affiliate links. Please see my disclosure policy for details.
Creating a Magical Christmas Fairy Garden: A Festive DIY Guide
Contents
Winter whispers magic, and what better way to capture its enchantment than by crafting your own Christmas fairy garden? This tiny wonderland will transform your holiday decor from basic to breathtaking.
💡 Steal This Look
- Paint Color: Sherwin-Williams Rookwood Dark Green SW 2808
- Furniture: weathered wooden plant stand with multiple tiers
- Lighting: battery-operated copper wire fairy lights with warm white LEDs
- Materials: sheet moss, birch bark, miniature pinecones, frosted artificial greenery, tiny wooden crates, faux snow flocking
There’s something deeply nostalgic about crouching down to arrange tiny worlds—this project reconnects you with the wonder of childhood Christmases while giving you a creative escape from holiday stress.
Why You’ll Love Creating a Christmas Fairy Garden
Let’s be real – holiday decorating can feel overwhelming. But a fairy garden? It’s like creating a miniature world of pure Christmas joy. No stress, just pure creativity and whimsy.
What You’ll Need
Grab these essentials to start your magical miniature landscape:
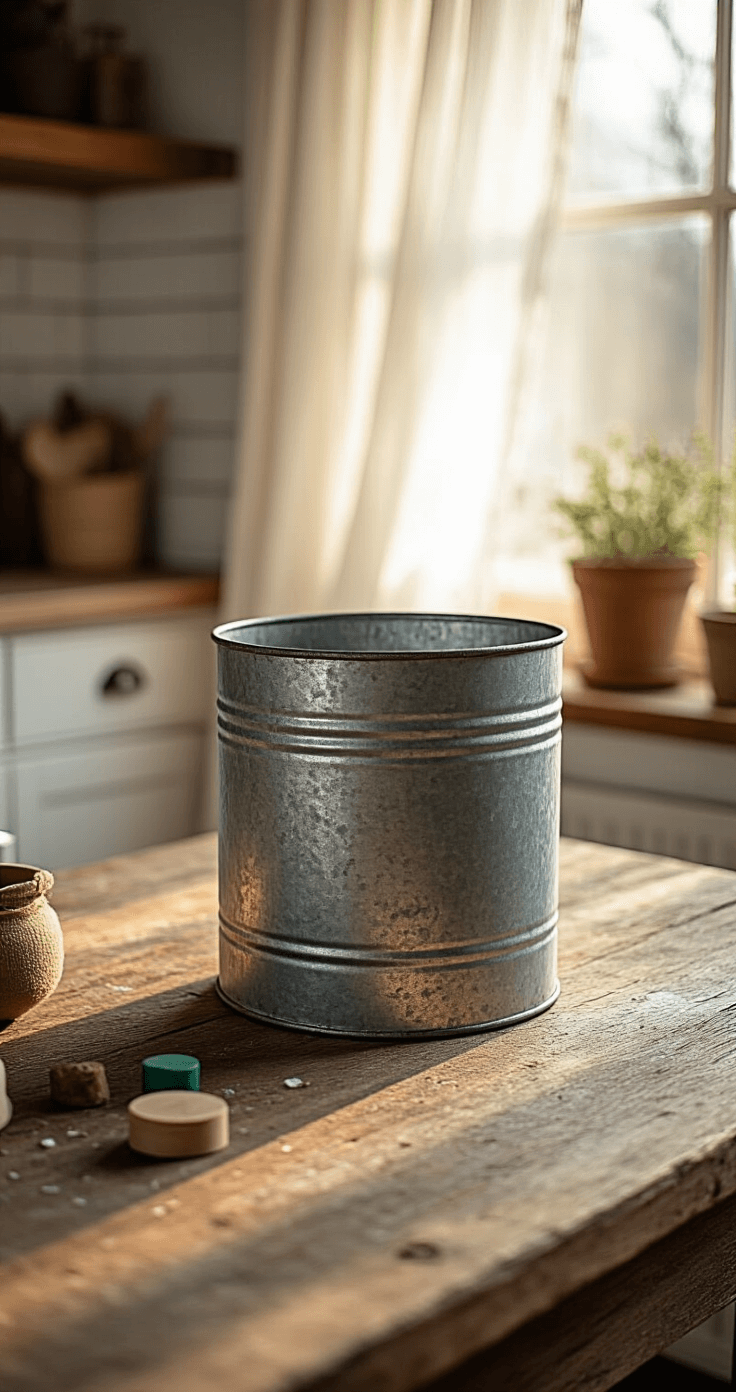
- Galvanized metal container
- Floral foam or potting soil
- Fake snow or cotton batting
- Miniature Christmas accessories
- Hot glue gun
- Tiny plants (optional)

✎ Steal This Look
- Paint Color: Benjamin Moore Simply White OC-117
- Furniture: galvanized metal trough or vintage wheelbarrow as your fairy garden base container
- Lighting: battery-operated copper wire fairy lights with warm white LEDs
- Materials: galvanized zinc, preserved moss, birch bark, miniature resin, frosted glass
There’s something deeply satisfying about building a world small enough to hold in your hands—it’s the opposite of holiday chaos, a quiet creative escape that slows you down.
Step-by-Step Fairy Garden Magic
1. Choose Your Base
Pick a container that speaks to your style. Rustic metal tins, ceramic planters, or even an old wooden box can work perfectly. Pro tip: wider containers give you more creative playground.
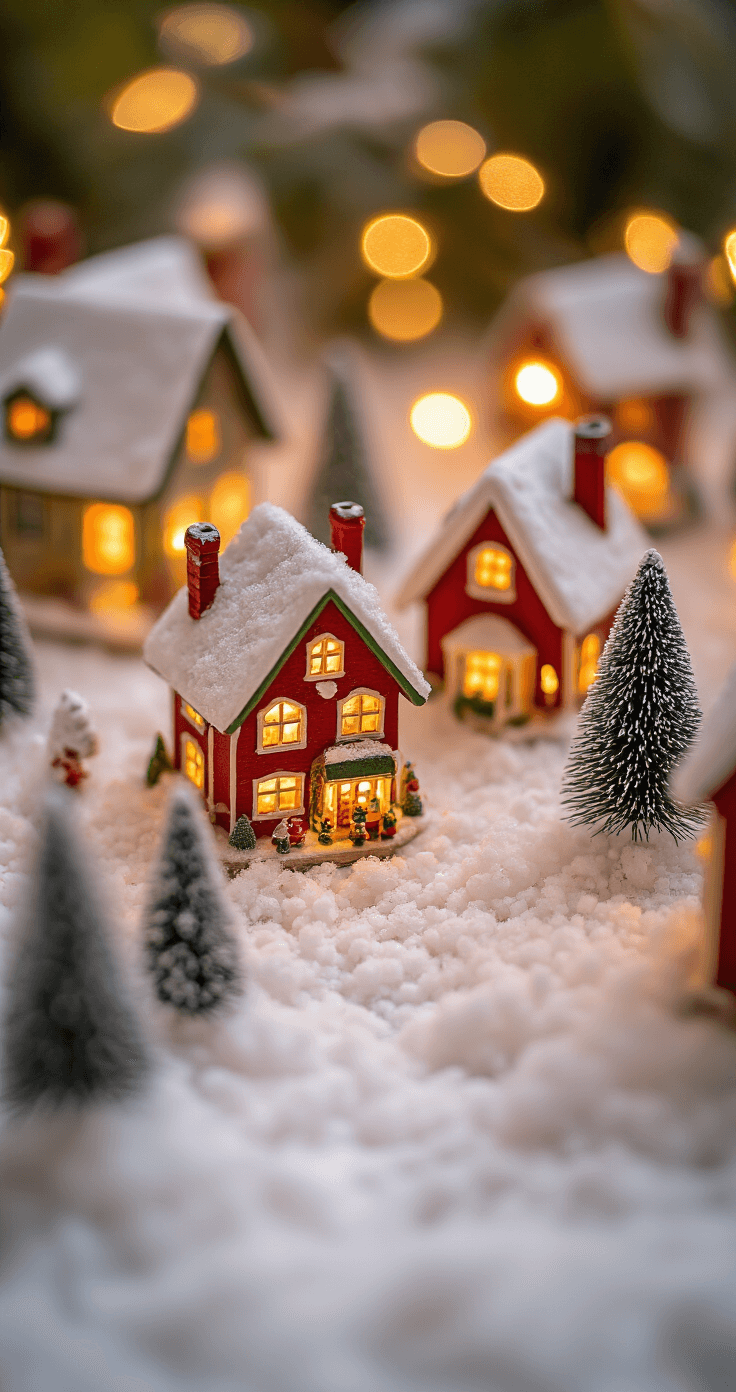
2. Create Your Snowy Landscape
Cover your base with a layer of fake snow or cotton. This transforms your garden from “meh” to “magical” instantly.
3. Add Miniature Wonderland Elements
Here’s where the fun begins! Layer in:
- Tiny snow-capped houses
- Bottle brush trees
- Miniature Santa figures
- Adorable snowmen
- Tiny wrapped presents
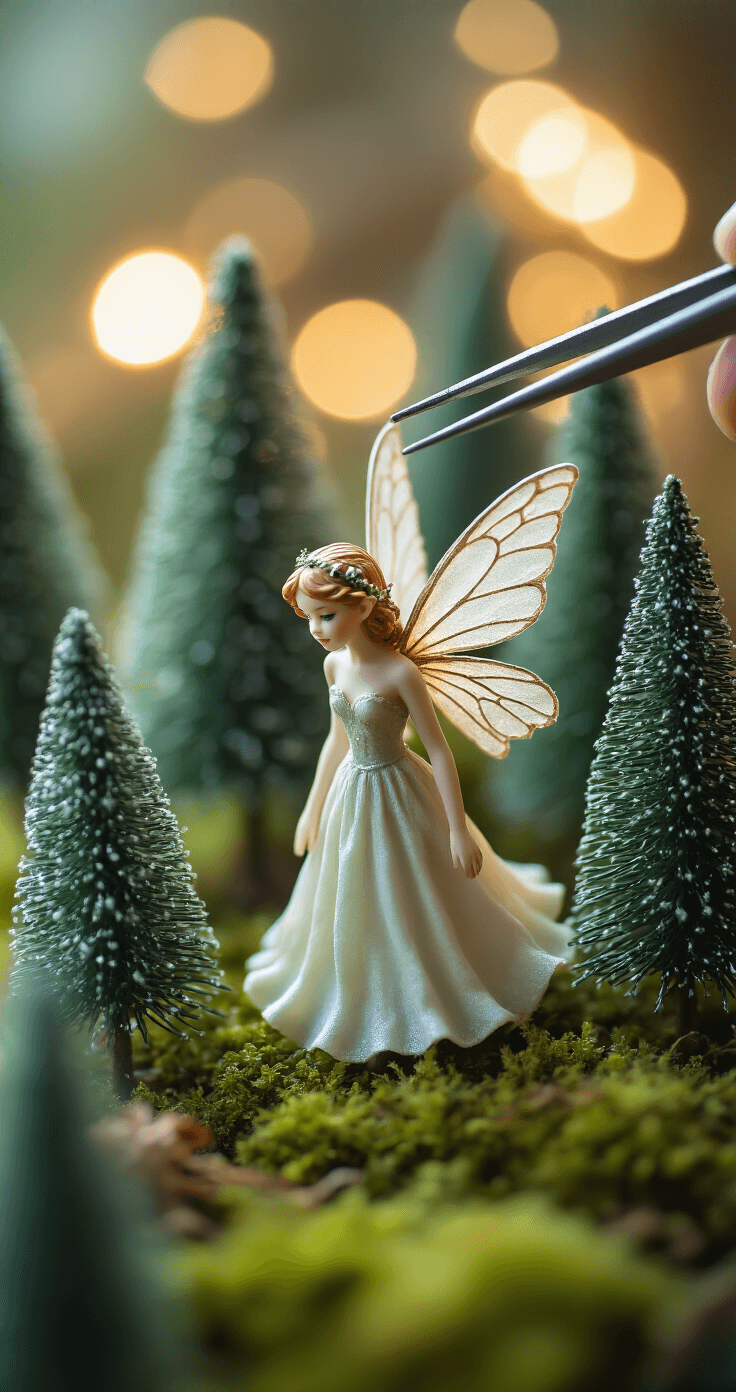
4. Bring in the Fairy Magic
No fairy garden is complete without its magical inhabitants:
- Tiny fairy figurines
- Miniature doors
- Twinkling fairy lights
- Itty-bitty garlands
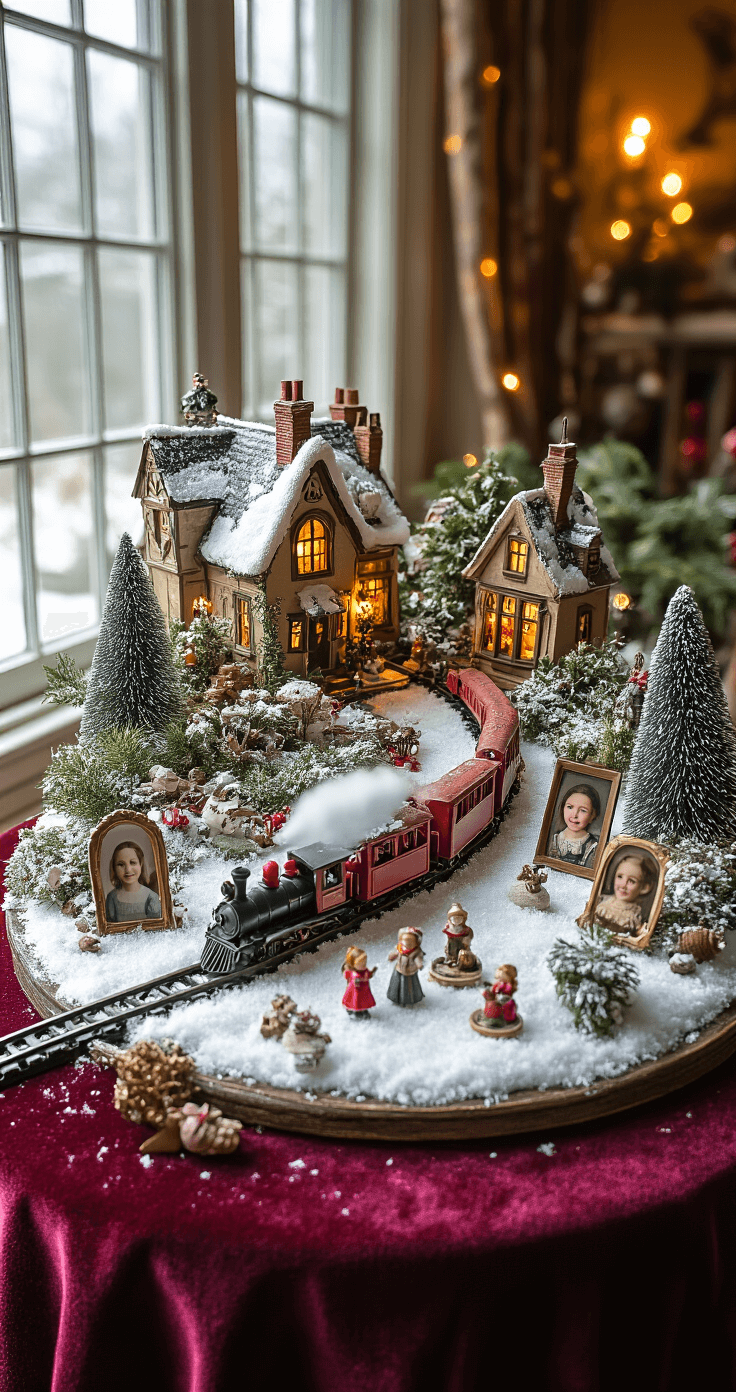
5. Personal Touches Matter
Make it yours! Add:
- Family heirloom miniatures
- Handmade accessories
- Personal themed elements
🎨 Steal This Look
- Paint Color: Farrow & Ball Oval Room Blue 85
- Furniture: vintage zinc-top potting table with distressed wood legs
- Lighting: battery-operated copper wire fairy lights with warm white LEDs
- Materials: aged galvanized metal, raw cotton batting, preserved moss, hand-painted resin miniatures, mercury glass votives
There’s something deeply satisfying about building a world small enough to hold in your hands, especially during the holidays when everything else feels oversized and overwhelming.
Pro Tips for Fairy Garden Success
Budget-Friendly Hack: Dollar stores are treasure troves for miniature accessories. Don’t be afraid to get creative and mix-and-match!
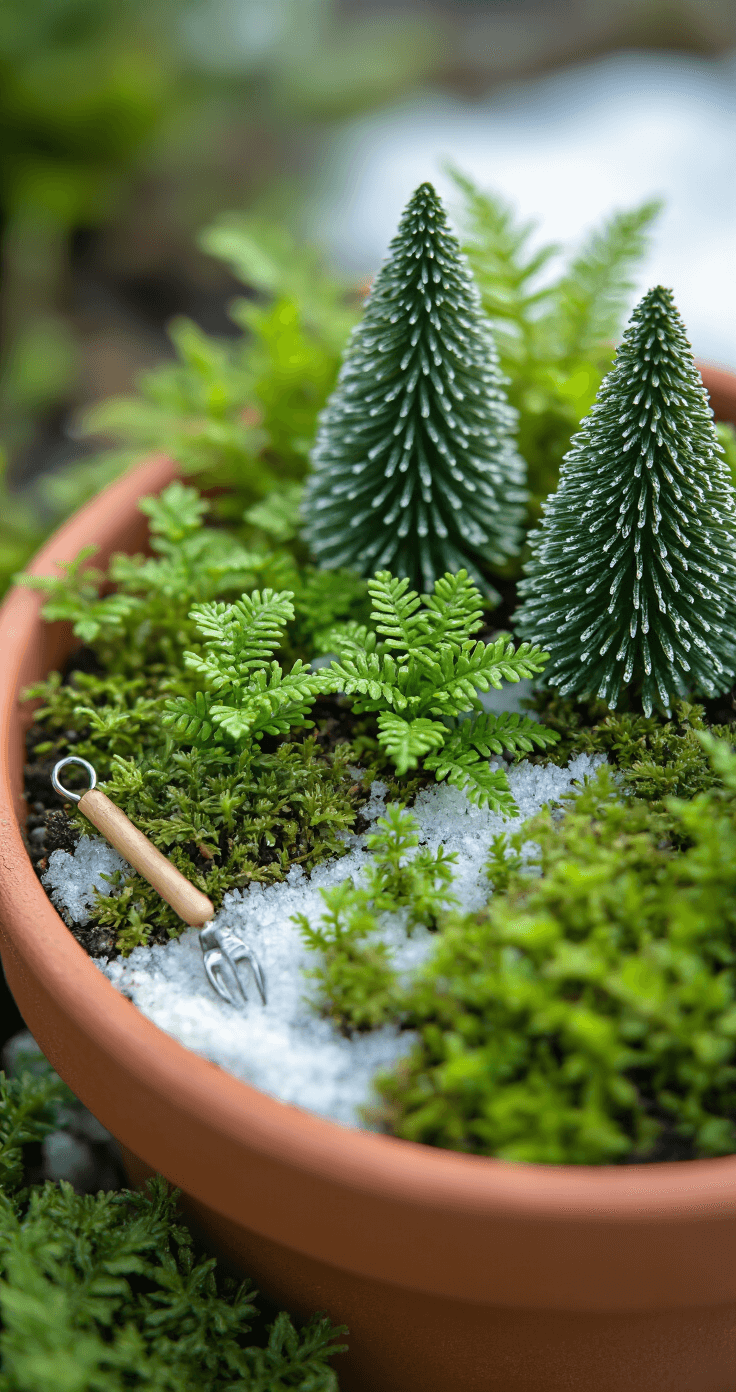
Plant Lovers’ Note: If using live plants, ensure they have similar care requirements. Most miniature gardens work best with:
- Small ferns
- Tiny conifers
- Polka dot plants
✎ Steal This Look
- Paint Color: Behr Garden Room S-H-430
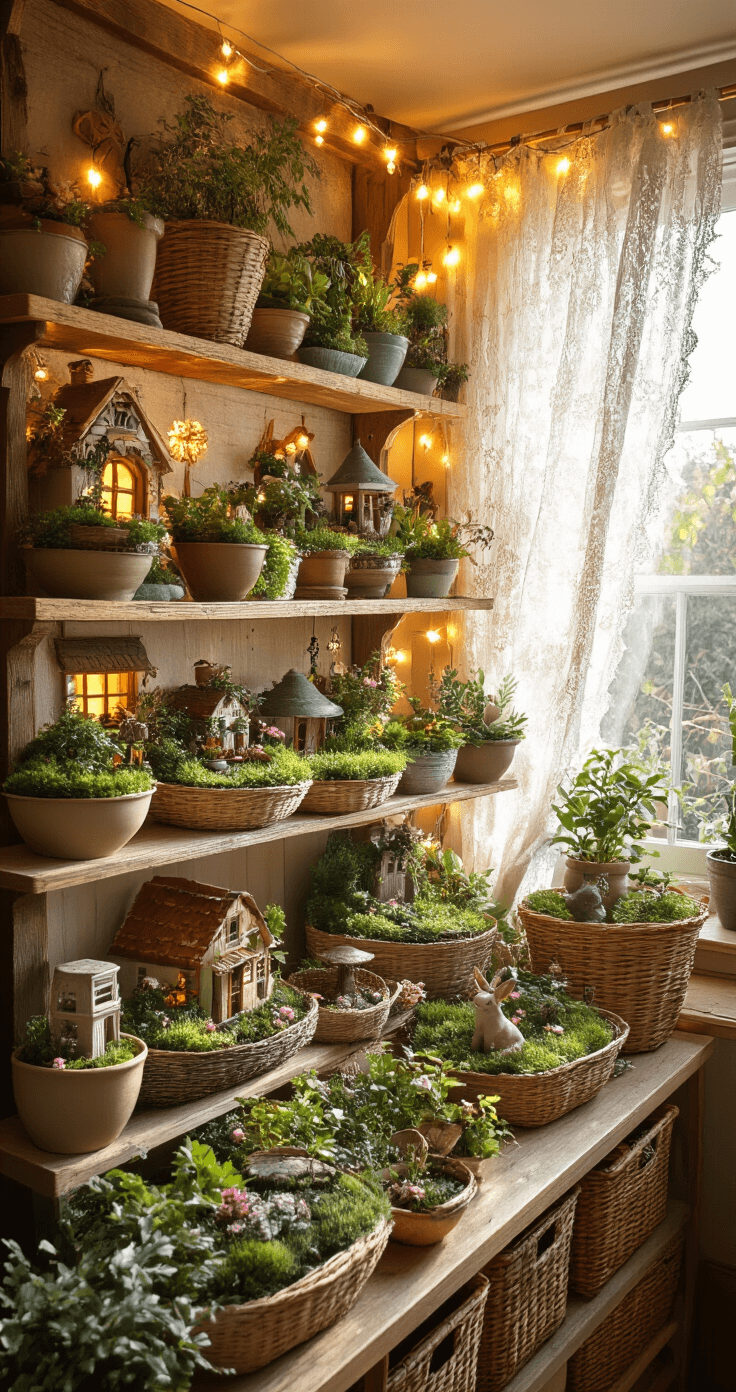
- Furniture: low-profile wooden plant stand with multiple tiers for displaying fairy gardens at varying heights
- Lighting: battery-operated copper wire fairy lights with warm white LEDs
- Materials: moss, river pebbles, untreated cedar wood, terracotta clay, aged galvanized metal
There’s something deeply satisfying about building a world small enough to hold in your hands—it’s the same creative impulse that drew you to dollhouses as a child, now refined with adult patience.
Maintenance and Storage
- Keep your fairy garden away from direct heat
- Store delicate pieces carefully after the season
- Consider taking photos to recreate next year
Where to Find Magical Accessories
- Craft stores
- Online marketplaces like Etsy
- Dollar Tree
- Target holiday sections
- Online specialty shops
🎨 Steal This Look
- Paint Color: use PPG brand. Match the ACTUAL wall color in the image. Format: PPG Winter’s Breath PPG1161-1
- Furniture: low-profile wooden display shelf with multiple tiers for arranging fairy garden vignettes at varying heights
- Lighting: battery-operated copper wire fairy lights with warm white LEDs and timer function
- Materials: moss-covered foam, miniature resin figurines, weathered wood slices, mercury glass votive holders, velvet ribbon in deep emerald and burgundy
There’s something deeply satisfying about hunting down that perfect tiny brass lantern or hand-painted mushroom at an unexpected source—it transforms decorating from task to treasure hunt, and guests always notice those one-of-a-kind discoveries.
Final Enchantment
A Christmas fairy garden isn’t just decor – it’s a tiny world of wonder. Each miniature tells a story, each tiny tree holds a memory.
Quick Shopping Links
Pro Tip: Take your time, have fun, and let your inner child design the most magical miniature world possible!


—Here's How You Can Too")
")
