

This post may contain affiliate links. Please see my disclosure policy for details.
Cozy Dorm Room: Your Ultimate Guide to Creating a Stylish and Functional Space
Contents
- Cozy Dorm Room: Your Ultimate Guide to Creating a Stylish and Functional Space
- Getting Started: The Basics
- Step 1: Choose Your Vibe
- Step 2: The Bed (AKA Your Everything Space)
- Step 3: Wall Decor (Without Losing Your Security Deposit)
- Step 4: Lighting is Everything
- Step 5: Storage Solutions (Because Clutter is Not Cute)
- Step 6: Add Some Life (Literally)
- Step 7: Personal Touches
- Bringing It All Together
Hey there, fellow dorm dwellers! Let’s face it, transforming that bland, box-like room into a cozy haven can feel like a real challenge. But fear not! I’m here to walk you through creating a dorm space that’s not just Instagram-worthy, but also practical for all your studying (and let’s be honest, Netflix-binging) needs.
Getting Started: The Basics
First things first, let’s talk about what we’re working with:
- Space: Typically 100-200 square feet (yeah, it’s snug)
- Time needed: 2-4 hours for styling, 4-6 hours total including setup and photography
- Difficulty: Beginner to intermediate (no power tools required, promise!)
- Budget: $100-$500 (depending on how bougie you want to get)
Now, before you start panic-buying every cute thing you see, let’s break this down step-by-step.
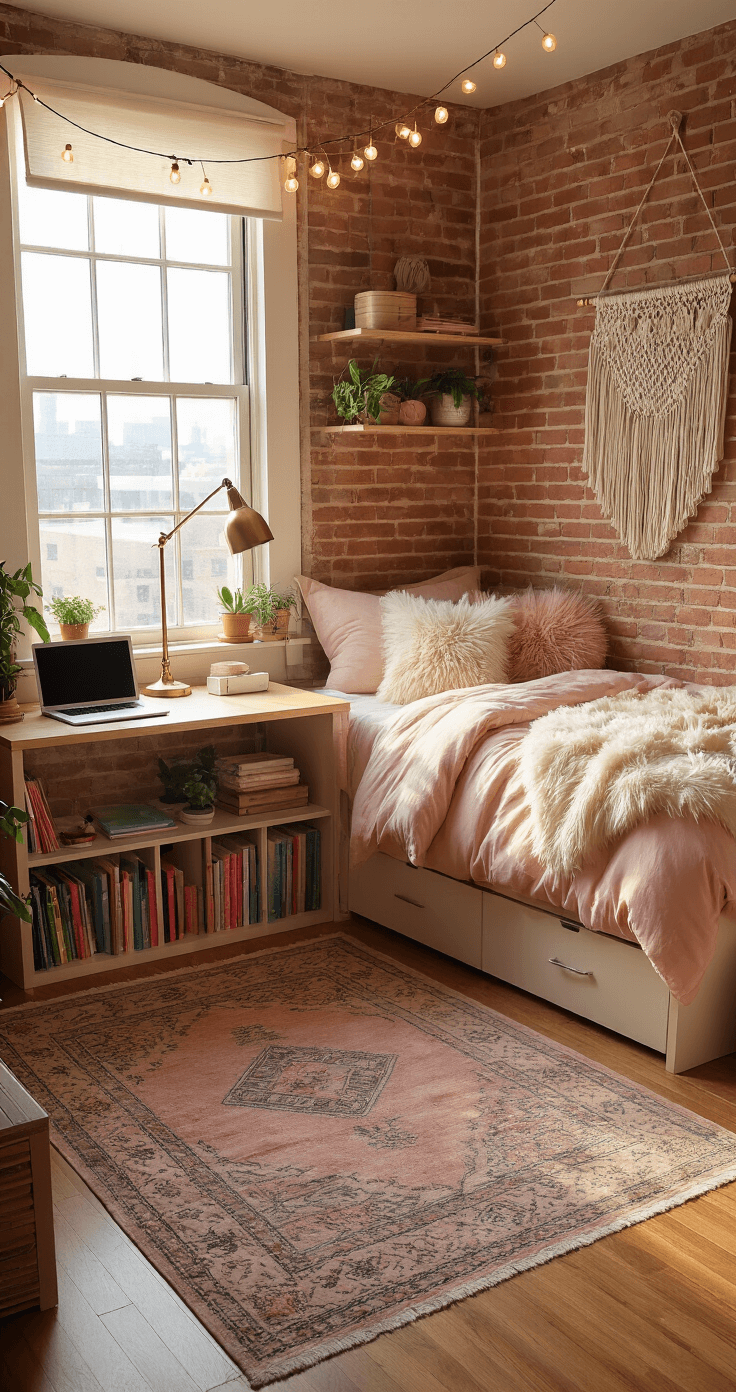
Step 1: Choose Your Vibe
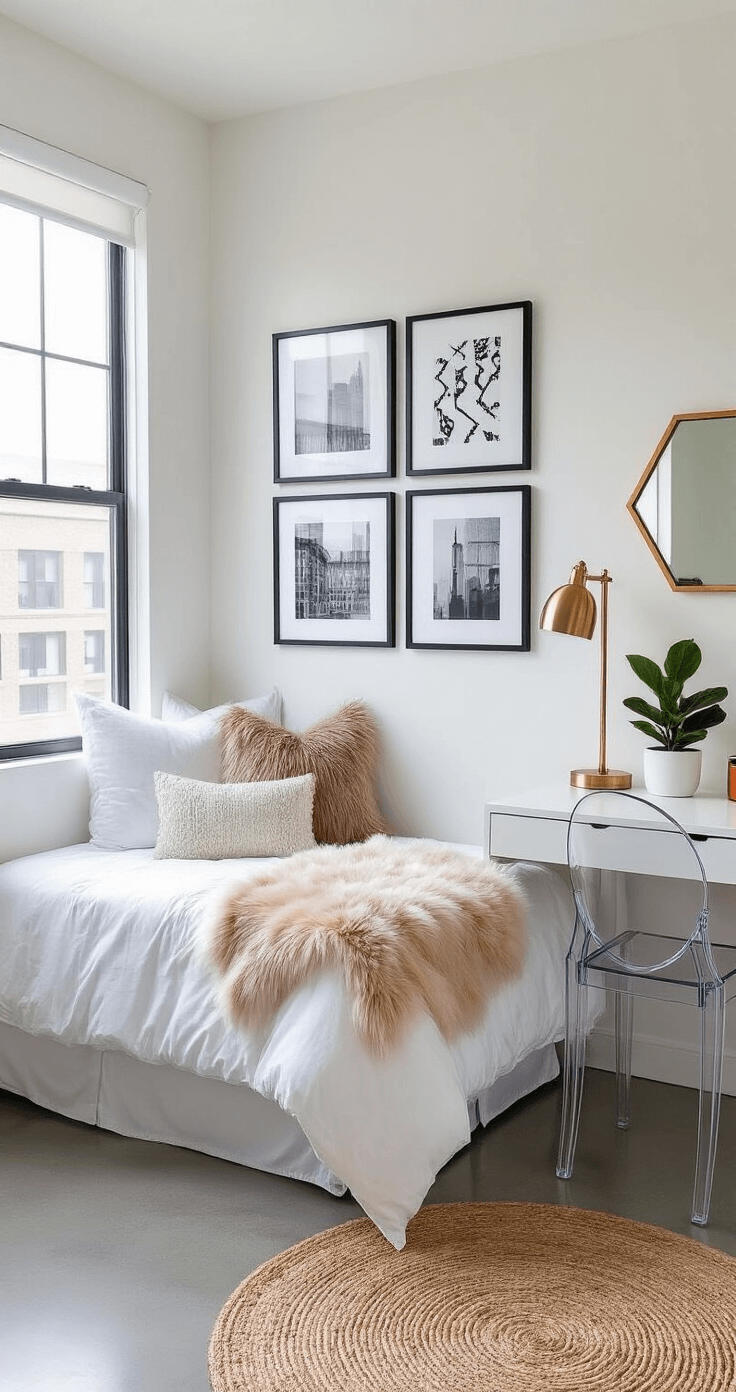
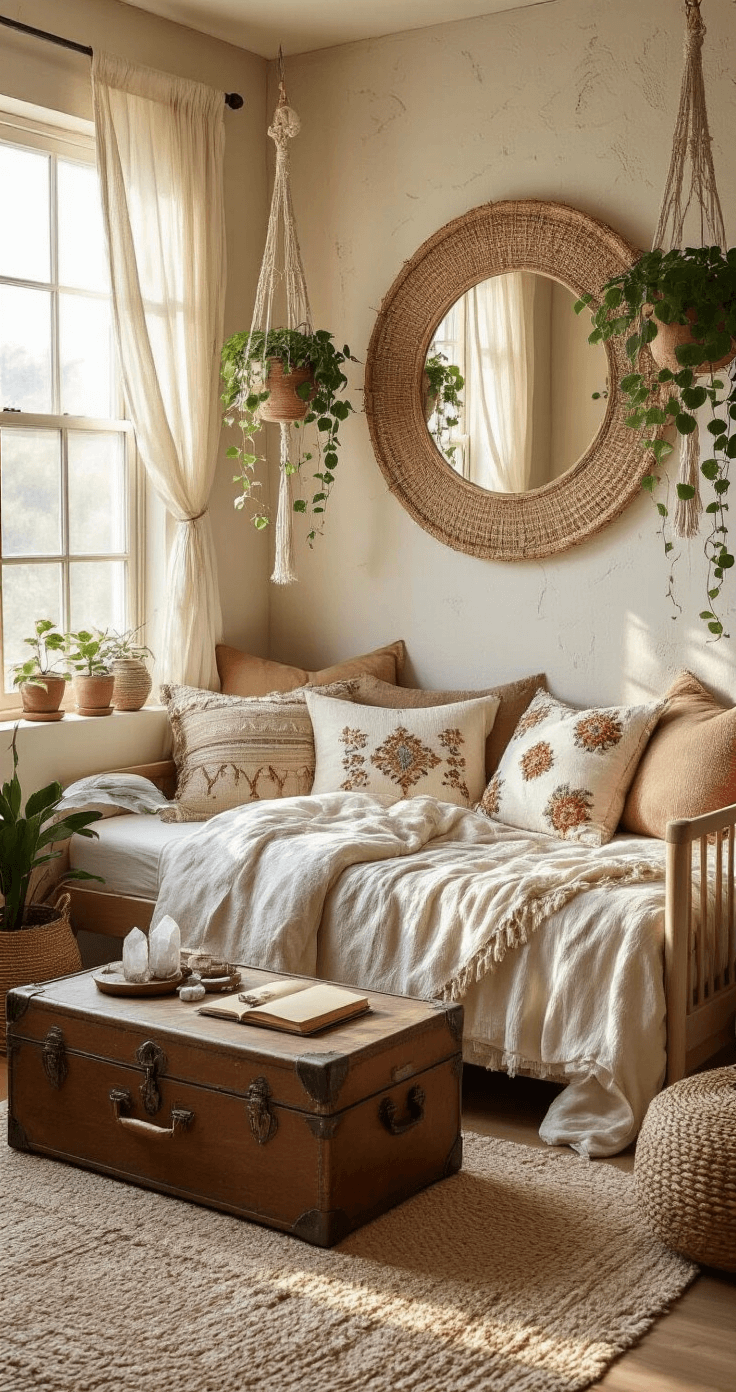
The beauty of dorm decor? It’s totally customizable. Whether you’re into cozy boho, minimalist chic, or dark academia, there’s a style for you. My personal fave? A mix of cozy and minimalist with a touch of cottagecore. Think soft neutrals, earthy tones, and pops of blush or sage.
Pro tip: Stick to 2-3 main colors with 1-2 accent shades. This keeps things cohesive without being boring.
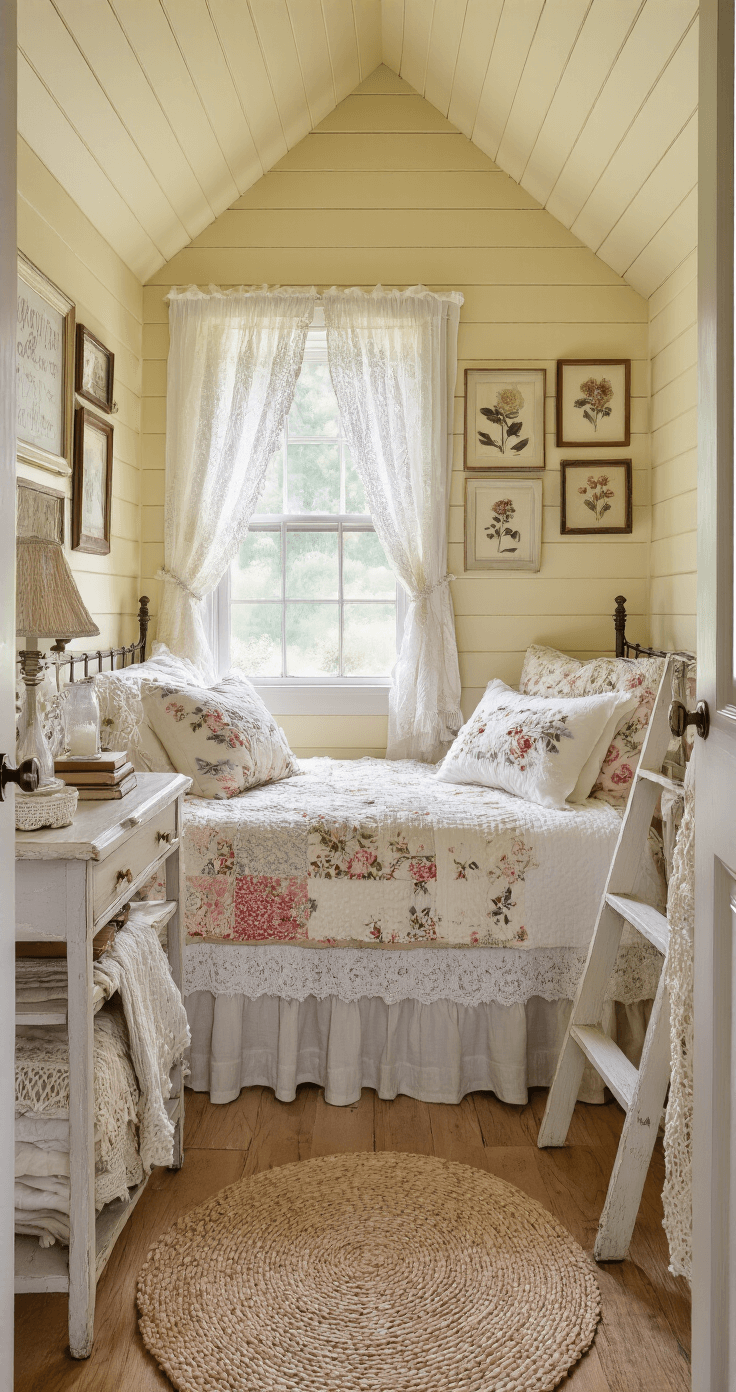
Step 2: The Bed (AKA Your Everything Space)
Your bed is the star of the show here. It’s not just for sleeping – it’s your sofa, study nook, and probably where you’ll eat most of your meals (no judgment).
- Start with cozy bedding in your chosen color palette
- Layer, layer, layer! Add throw blankets and pillows for extra coziness
- Consider a bed shelf for your laptop or midnight snacks
Step 3: Wall Decor (Without Losing Your Security Deposit)
Blank walls are a bummer, but holes are a no-no. Here’s how to add personality without breaking the rules:
- Removable wallpaper or decals for an accent wall
- Tapestries or fabric wall hangings for instant coziness
- Command strips are your best friend for hanging lighter art pieces
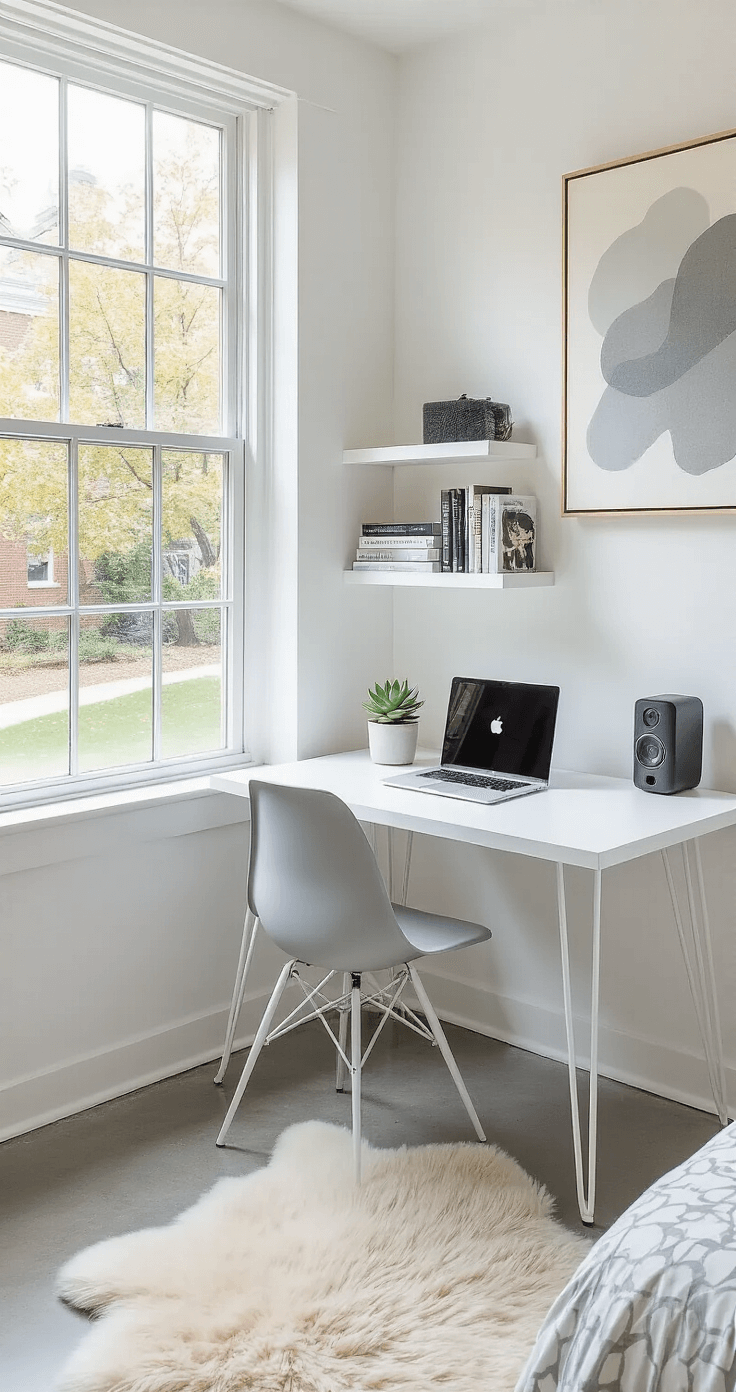
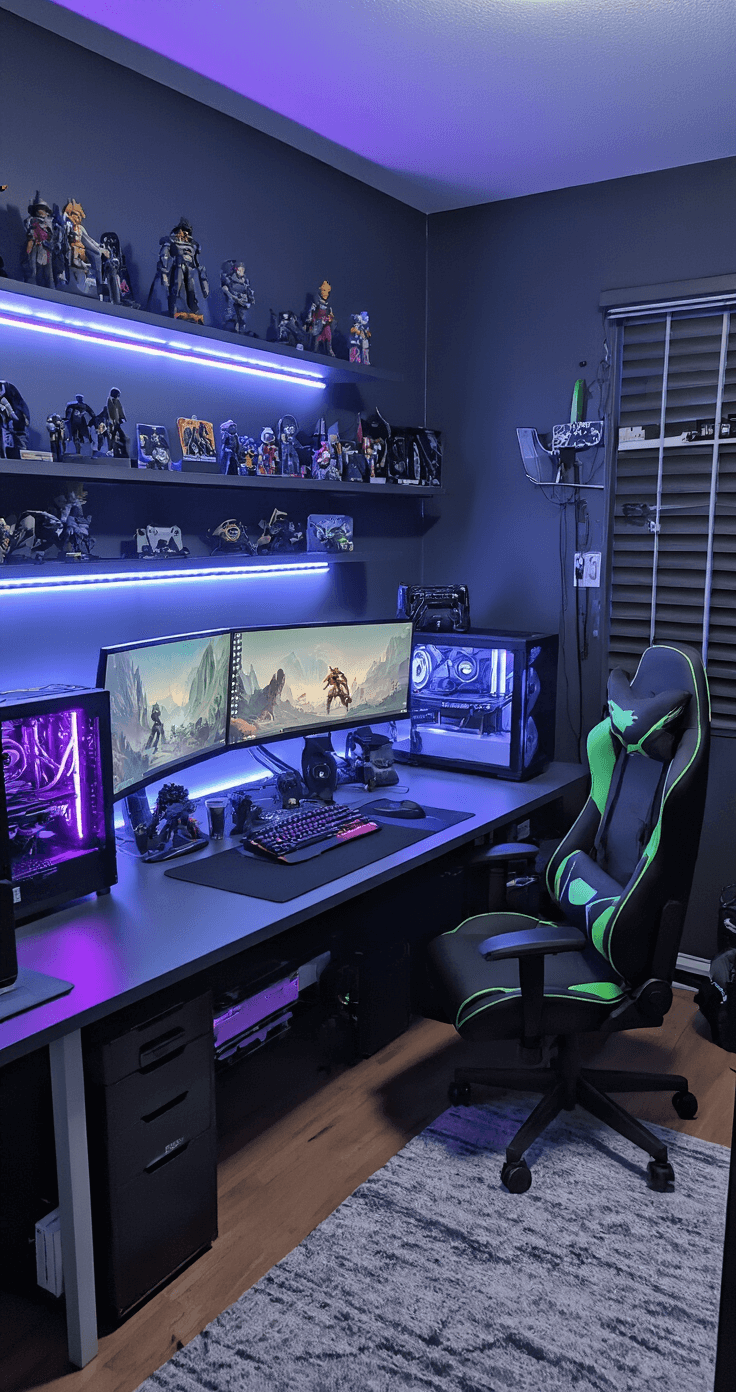
Step 4: Lighting is Everything
Trust me, those harsh overhead fluorescents aren’t doing anyone any favors. Create ambiance with:
- String lights (classic for a reason)
- A stylish desk lamp for late-night study sessions
- LED strips for that TikTok-worthy glow

Step 5: Storage Solutions (Because Clutter is Not Cute)
Let’s be real, dorms aren’t known for their spacious closets. Get creative with:
- Under-bed storage bins (roll-out ones are game-changers)
- Over-the-door organizers for shoes, accessories, or snacks
- A cute rolling cart for art supplies, beauty products, or whatever floats your boat
Step 6: Add Some Life (Literally)
Plants can make even the most sterile dorm feel like home. If you’re not blessed with a green thumb:
- Try low-maintenance options like succulents or snake plants
- Fake plants are totally acceptable (I won’t tell if you don’t)
Step 7: Personal Touches
This is where you make the space truly yours:
- Frame photos of friends and family
- Display mementos from travels or special events
- Create a gallery wall with a mix of art prints and personal photos
Bringing It All Together
Once you’ve got all your elements in place, step back and assess. Does it feel balanced? Cozy? Like you? Don’t be afraid to move things around until it feels just right.
Remember, your dorm room is your home away from home for the next year. It should be a space that makes you feel comfortable, inspired, and ready to take on whatever college throws your way (yes, even those 8 AM classes).


")
")
")
