

This post may contain affiliate links. Please see my disclosure policy for details.
Kawaii Halloween Magic: How to Create the Ultimate Hello Kitty Pumpkin Carving
Contents
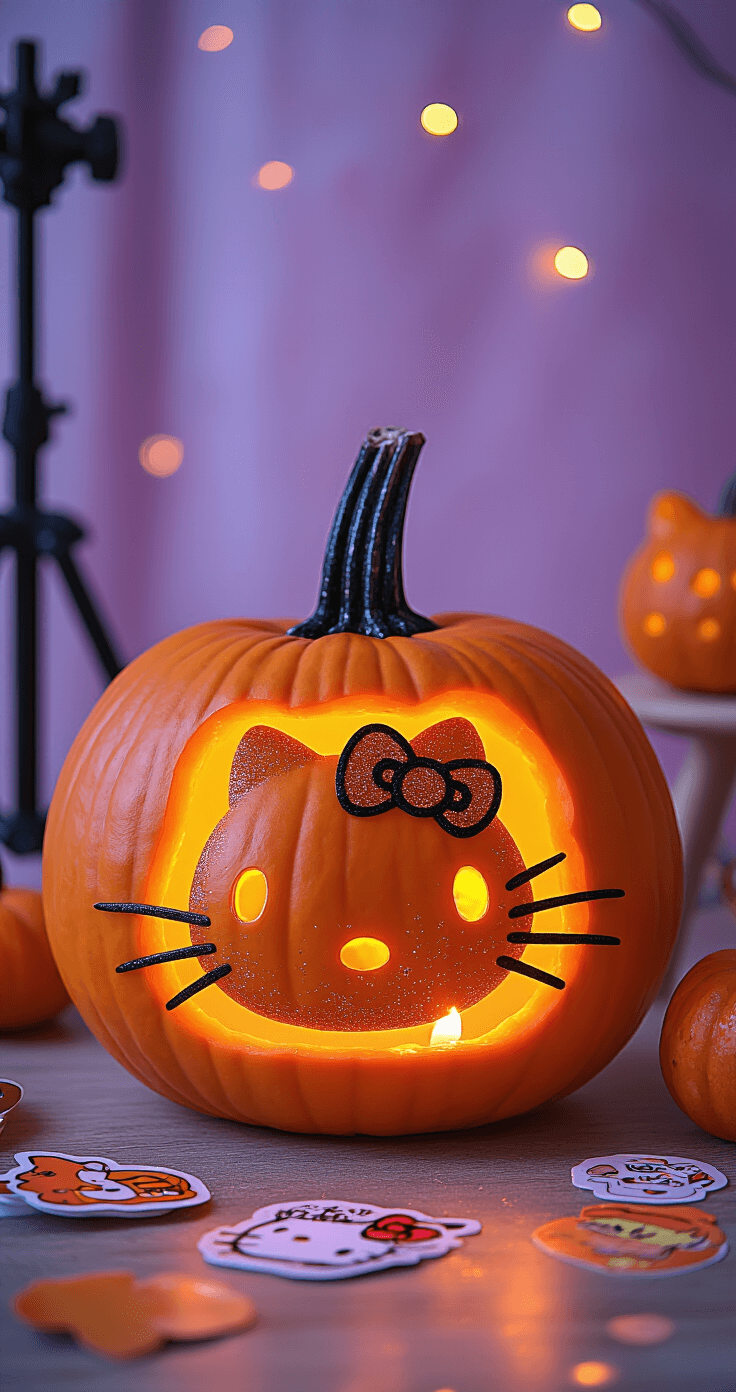
Halloween just got a massive cuteness upgrade, and I’m here to show you how to transform an ordinary pumpkin into a Sanrio-inspired masterpiece that’ll make every Hello Kitty fan squeal with delight!
Why Hello Kitty Pumpkin Carving is Your Next Awesome DIY Project
Listen up, Sanrio lovers and Halloween enthusiasts! This isn’t just a pumpkin carving – it’s a creative adventure that combines two of the most exciting worlds: spooky Halloween vibes and adorable kawaii culture.
Quick Project Stats
- Difficulty: Beginner to Intermediate
- Time Required: 1-2 hours
- Budget: $5-$20
- Skill Level: Perfect for crafty teens and creative adults
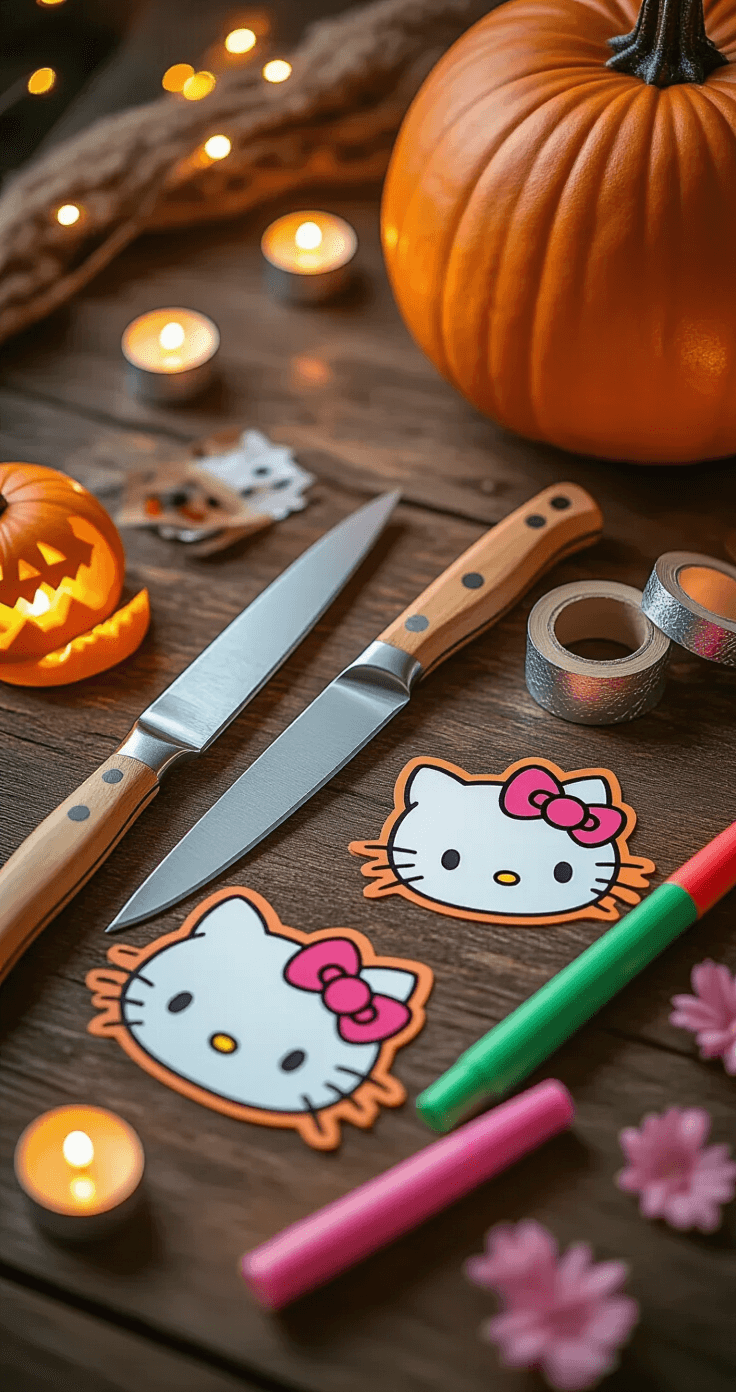
Essential Tools You’ll Need
Carving Supplies
- Pumpkin carving kit
- Medium-sized round pumpkin
- Hello Kitty stencil
- Marker or pencil
- Tape
- LED tea lights
Pro Tip Extras
- Sanrio stickers
- Glitter (optional but recommended!)
- Halloween themed backdrop
Step-by-Step Hello Kitty Pumpkin Carving Magic
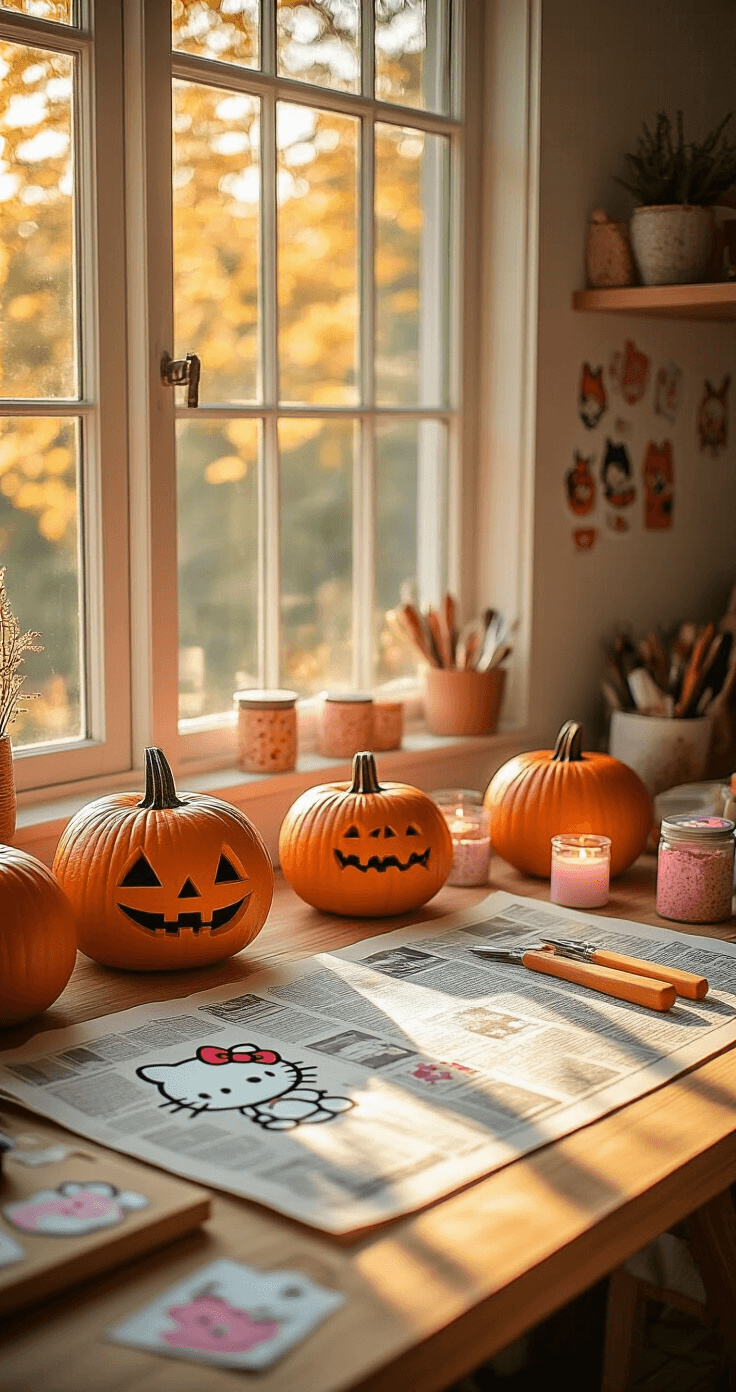
1. Prep Your Workspace
- Clear a large, clean surface
- Lay down newspaper or a disposable tablecloth
- Gather all your tools
- Put on a cute Halloween playlist (mandatory!)
2. Pumpkin Preparation
- Wash the pumpkin thoroughly
- Cut a circular lid at the top
- Scoop out seeds and stringy bits
- Pro hack: Save those seeds for roasting!
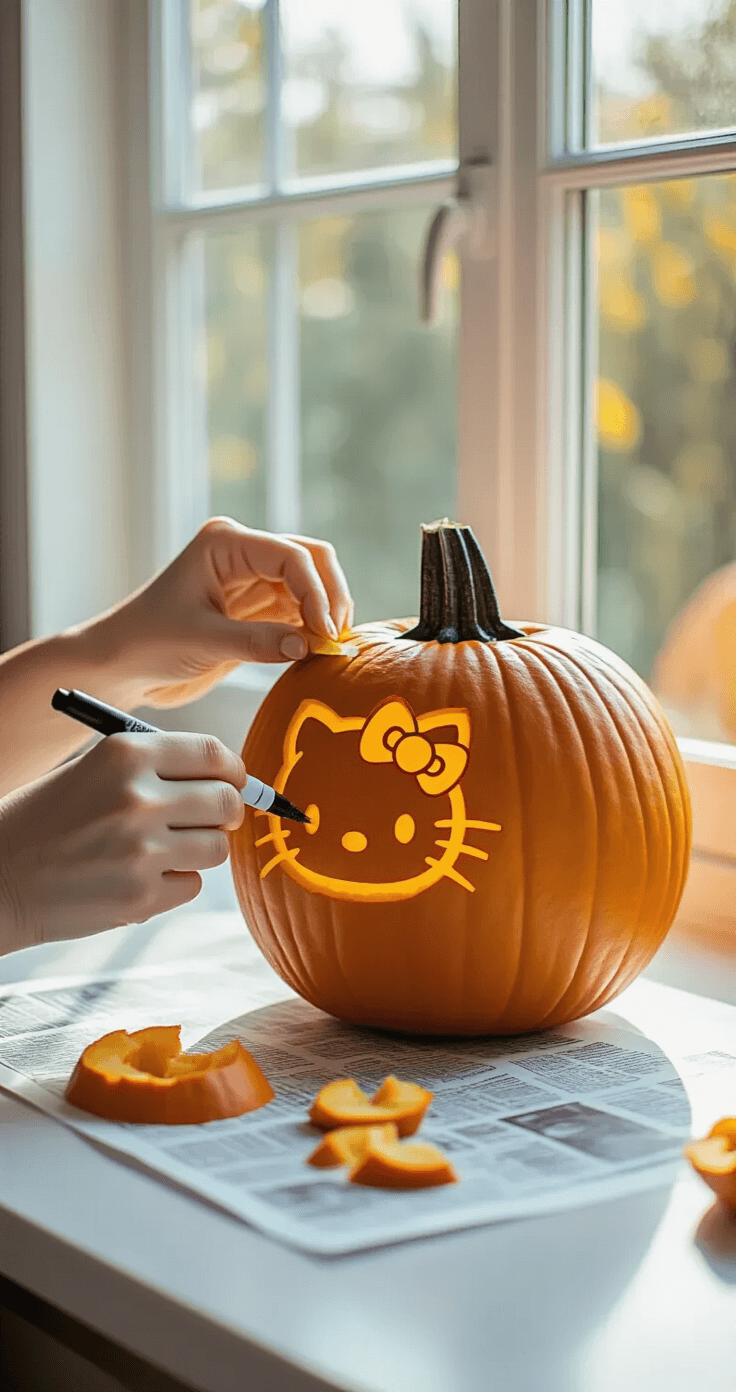
3. Transfer the Hello Kitty Design
- Print or download a Hello Kitty stencil
- Tape the stencil securely to the pumpkin
- Trace the design with a marker
- Use transfer paper for ultra-crisp lines
4. Carving Technique
- Start with larger areas first
- Use gentle, consistent pressure
- Work from the center outwards
- Take breaks to avoid hand fatigue
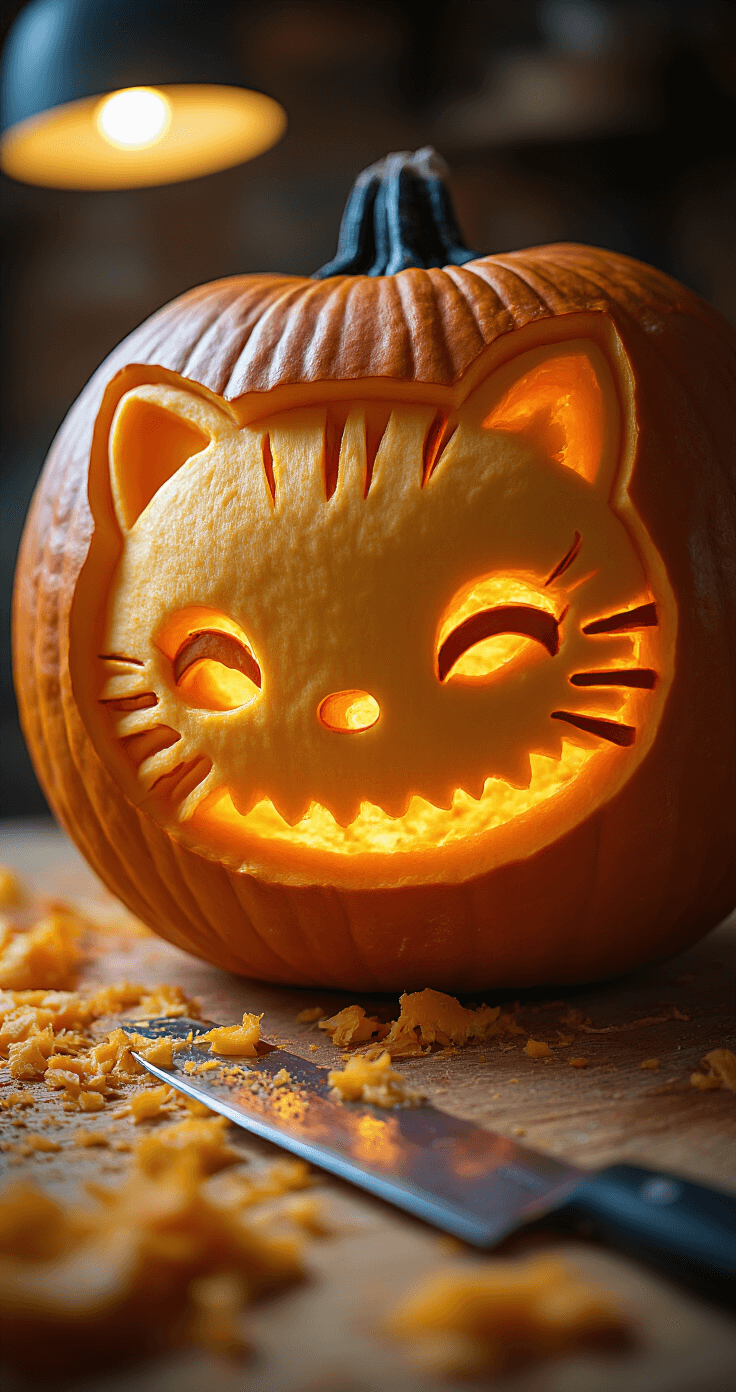
5. Finishing Touches
- Clean up carved edges
- Insert LED tea light
- Add optional glitter or Sanrio stickers
- Photograph your masterpiece!
Pro Photography Tips
Lighting Matters
- Natural daylight works best
- Use soft, diffused light
- Shoot near a window
- Avoid harsh shadows
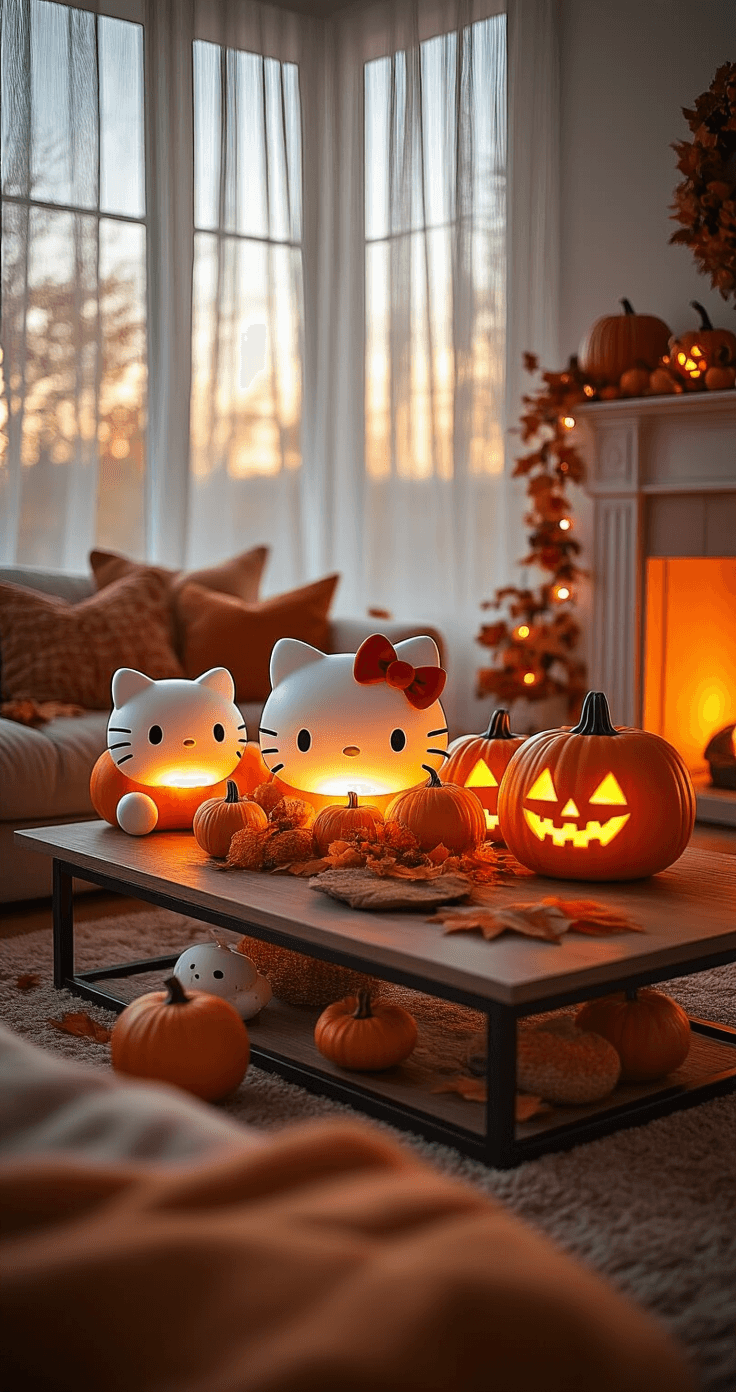
Styling Your Shot
- Use a Halloween themed backdrop
- Add Sanrio toys as props
- Create a cute Halloween vignette
Common Mistakes to Avoid
- Don’t rush the carving process
- Keep tools clean and sharp
- Use stencils as a guide, not a strict rule
- Have fun and embrace imperfections!
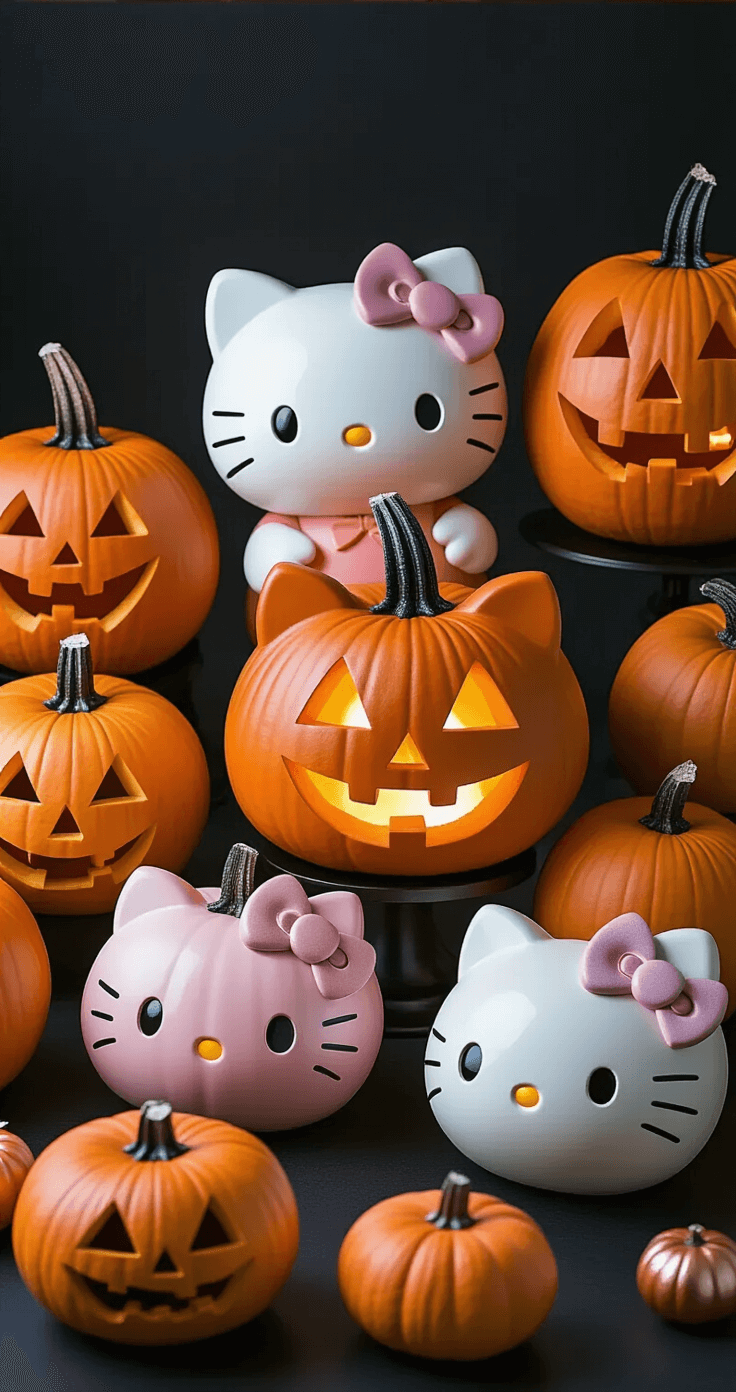
Bonus Style Variations
- Try pastel pumpkins
- Mix Hello Kitty with other Sanrio characters
- Add glitter or metallic accents
- Create a whole Sanrio Halloween scene
Safety First
- Supervise kids during carving
- Use child-safe carving tools
- Work in a well-lit area
- Take your time and enjoy the process
Final Thoughts
Your Hello Kitty pumpkin isn’t just a decoration – it’s a statement. It screams “I’m creative, I love Sanrio, and Halloween is my playground!”
Pro Tip: Share your creation on social media with #HelloKittyPumpkin and inspire other kawaii Halloween lovers!
")
")
")


