

This post may contain affiliate links. Please see my disclosure policy for details.
Easy Pumpkin Face Ideas: Carve Your Perfect Halloween Jack-o’-Lantern
Contents
- Easy Pumpkin Face Ideas: Carve Your Perfect Halloween Jack-o’-Lantern
- Big Eyes, Big Impact: The Beginner’s Favorite
- Triangle Eyes: Simplicity at Its Best
- The Drunkard: Comedy in Carving
- Monkey Business: Creative Pumpkin Transformation
- Marker Magic: Plan Before You Carve
- Paint: The Carving Alternative
- Stencil Success
Pumpkin carving can feel intimidating, but with the right techniques, anyone can create a show-stopping Halloween decoration. Whether you’re a total beginner or looking to up your jack-o’-lantern game, I’ve got you covered with foolproof design ideas that’ll make your front porch the talk of the neighborhood.

Classic Simple Designs for Pumpkin Carving Newbies
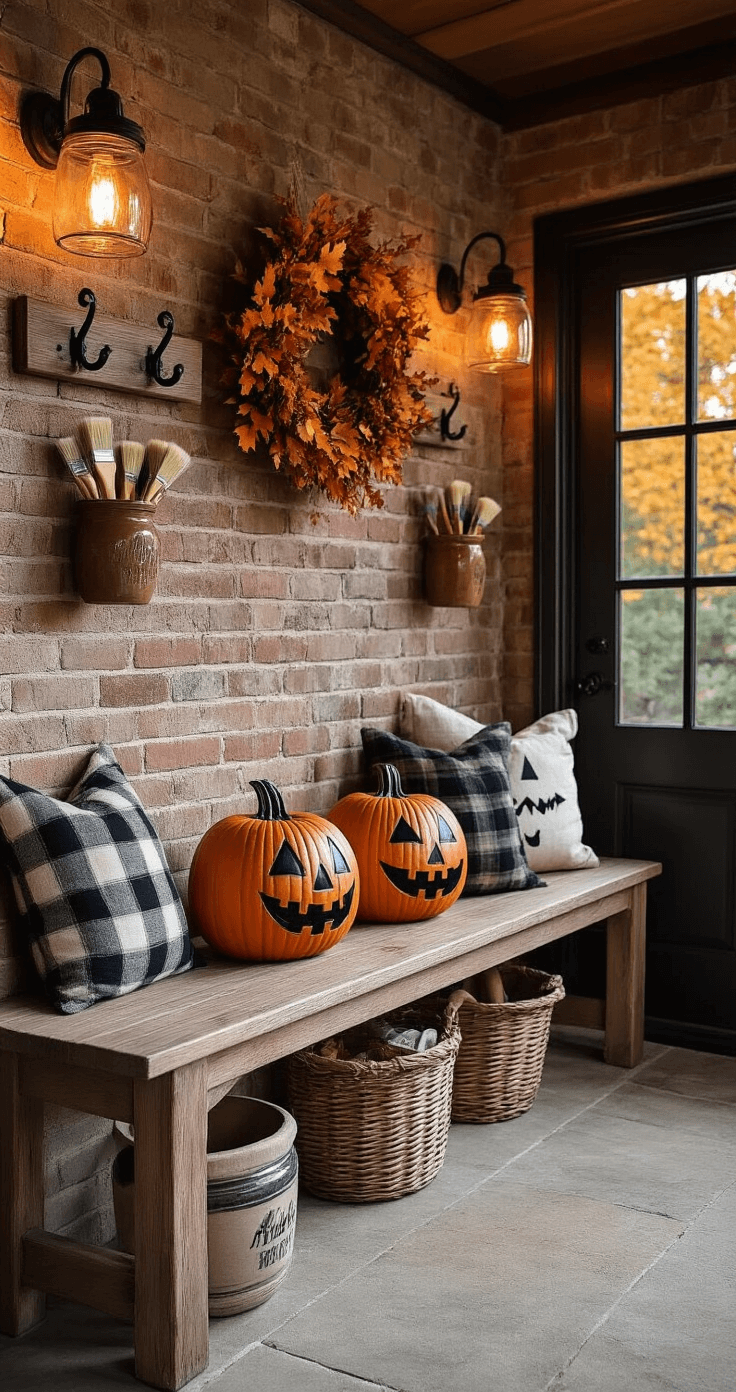
🏠 Steal This Look
- Paint Color: Sherwin-Williams Tricorn Black SW 6258
- Furniture: weathered farmhouse porch bench with galvanized metal legs
- Lighting: oversized black iron lantern with flickering LED candle inserts
- Materials: rough-hewn cedar, aged galvanized steel, natural jute rope, dried corn husks
There’s something deeply satisfying about a lopsided grin you carved yourself—it’s the imperfection that makes your porch feel genuinely welcoming, not magazine-staged.
Big Eyes, Big Impact: The Beginner’s Favorite
Let’s start with the most forgiving design: big eyes, nose, and mouth. This approach is perfect for carving rookies because:
- Large features are easier to cut
- Minimal detail means less chance of mistakes
- Looks fantastic when illuminated from within
- Creates a classic jack-o’-lantern vibe
Pro tip: Grab a pumpkin carving kit to make this process smoother. Trust me, those special tools are game-changers.
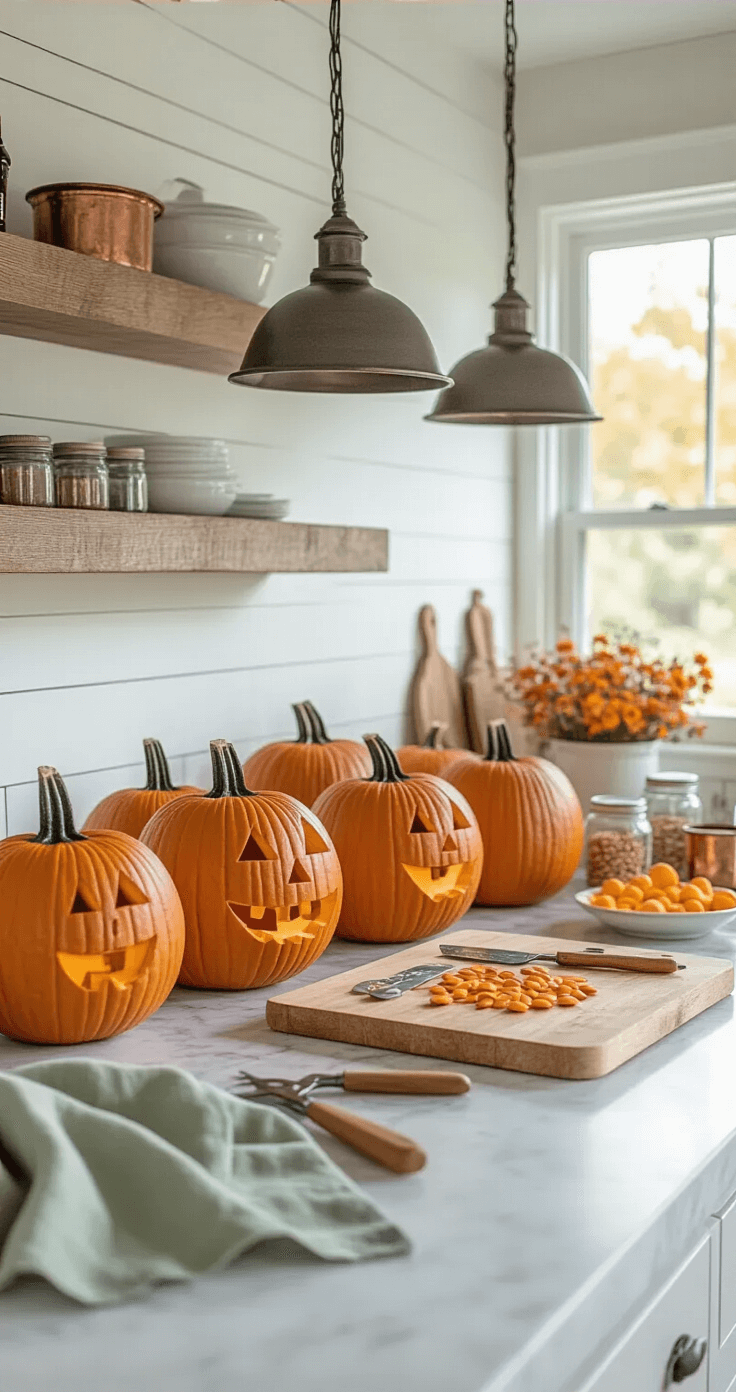
★ Steal This Look
- Paint Color: Benjamin Moore October Mist 1495
- Furniture: distressed white farmhouse dining table with turned legs
- Lighting: oversized black iron lantern pendant with flickering LED candles
- Materials: raw burlap, weathered barn wood, matte ceramic, hand-thrown pottery
There’s something deeply satisfying about this design because it reminds us that perfection isn’t the goal—presence is. This is the pumpkin that gets passed down to kids learning their first knife skills, the one that forgives wobbly cuts and still grins back at you.
Triangle Eyes: Simplicity at Its Best
Triangle eyes are another beginner-friendly option. They’re:
- Quick to cut
- Instantly recognizable
- Create a traditional Halloween look
- Require minimal artistic skill
Playful and Humorous Pumpkin Faces
The Drunkard: Comedy in Carving
Want to make people laugh? The “Drunkard” design is hilarious and surprisingly simple.
How to create it:
- Carve a large, off-center mouth near the bottom
- Let pumpkin “guts” spill out for comedic effect
- Use a sturdy carving scoop to remove innards cleanly
🏠 Steal This Look
- Paint Color: Behr Pumpkin Cream PPU3-12
- Furniture: distressed farmhouse console table with lower shelf for displaying multiple pumpkins
- Lighting: battery-operated LED puck lights with warm amber glow placed inside carved pumpkins
- Materials: raw burlap, weathered wood, dried corn husks, and matte ceramic vases
This is the pumpkin that breaks the ice at every autumn gathering—I’ve watched grown adults double-take and then genuinely belly-laugh, which makes the messy carving process absolutely worth it.
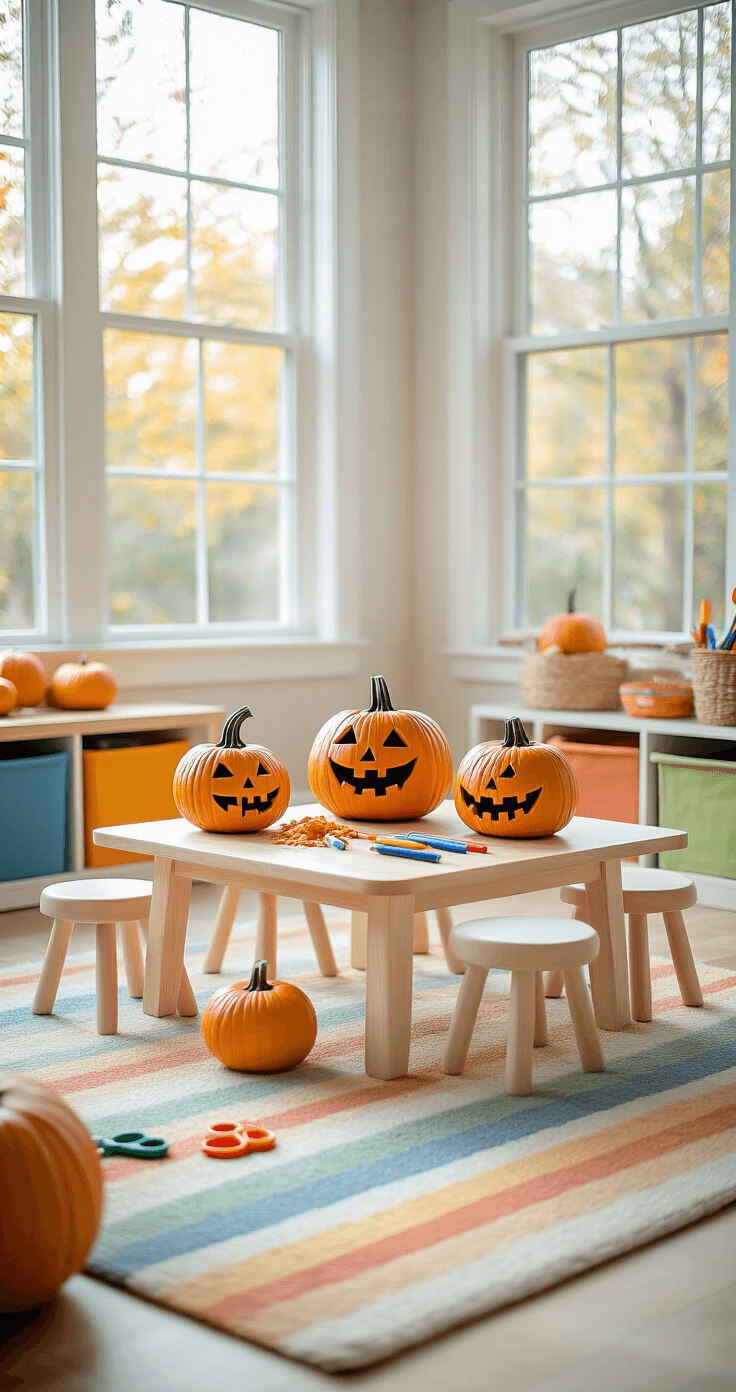
Monkey Business: Creative Pumpkin Transformation
Turn your pumpkin into a playful monkey with this clever hack:
- Cut out eye shapes
- Use toothpicks to attach eye cutouts as ears
- Creates a 3D, whimsical effect
- Perfect for keeping kids entertained
Pro Beginner Techniques
Marker Magic: Plan Before You Carve
Always sketch your design first:
- Use a washable marker
- Wipe pumpkin with damp cloth for clear lines
- Test designs before committing to cuts
- Washable markers are your friend here

★ Steal This Look
- Paint Color: use PPG brand. Match the ACTUAL wall color in the image. Format: PPG ColorName CODE
- Furniture: specific furniture for this room
- Lighting: specific lighting fixture
- Materials: key textures and materials
1-2 sentences of human framing about this room
🔔 Get The Look
Paint: The Carving Alternative
Not confident with a knife? No problem!
- Use white and black acrylic paint
- Create faces without cutting
- Less messy than traditional carving
- Great for kids and adults alike
Stencil Success
For professional-looking results:
- Use pre-made pumpkin carving stencils
- Ensures clean, crisp lines
- Available in various difficulty levels
- Pumpkin carving stencil book is a great investment

Final Tips
- Choose a fresh, firm pumpkin
- Work in a well-lit area
- Keep safety scissors nearby for kids
- Have fun and don’t stress perfection!
Remember, the best jack-o’-lantern is the one that makes you smile. Happy carving!
★ Steal This Look
- Paint Color: Clare Paint Current Mood CW-08
- Furniture: farmhouse-style kitchen island with butcher block top for carving prep station
- Lighting: adjustable-arm architect desk lamp with daylight LED bulb
- Materials: matte black chalkboard vinyl for stencil backing, natural linen drop cloth, unfinished wood carving tools caddy
There’s something deeply satisfying about peeling back a stencil to reveal those razor-sharp edges—it’s the moment your kitchen table transforms from chaotic craft zone to legitimate pumpkin studio, and you finally feel like that Pinterest board was worth the scroll.


[…] Carve a “hungry” pumpkin eating a smaller pumpkin […]
[…] pumpkin carving isn’t just a Halloween activity—it’s a memory-making experience. Whether you’re a parent looking to […]