
This post may contain affiliate links. Please see my disclosure policy for details.
Minion Pumpkin Carving: Create the Most Adorable Halloween Decoration Ever!
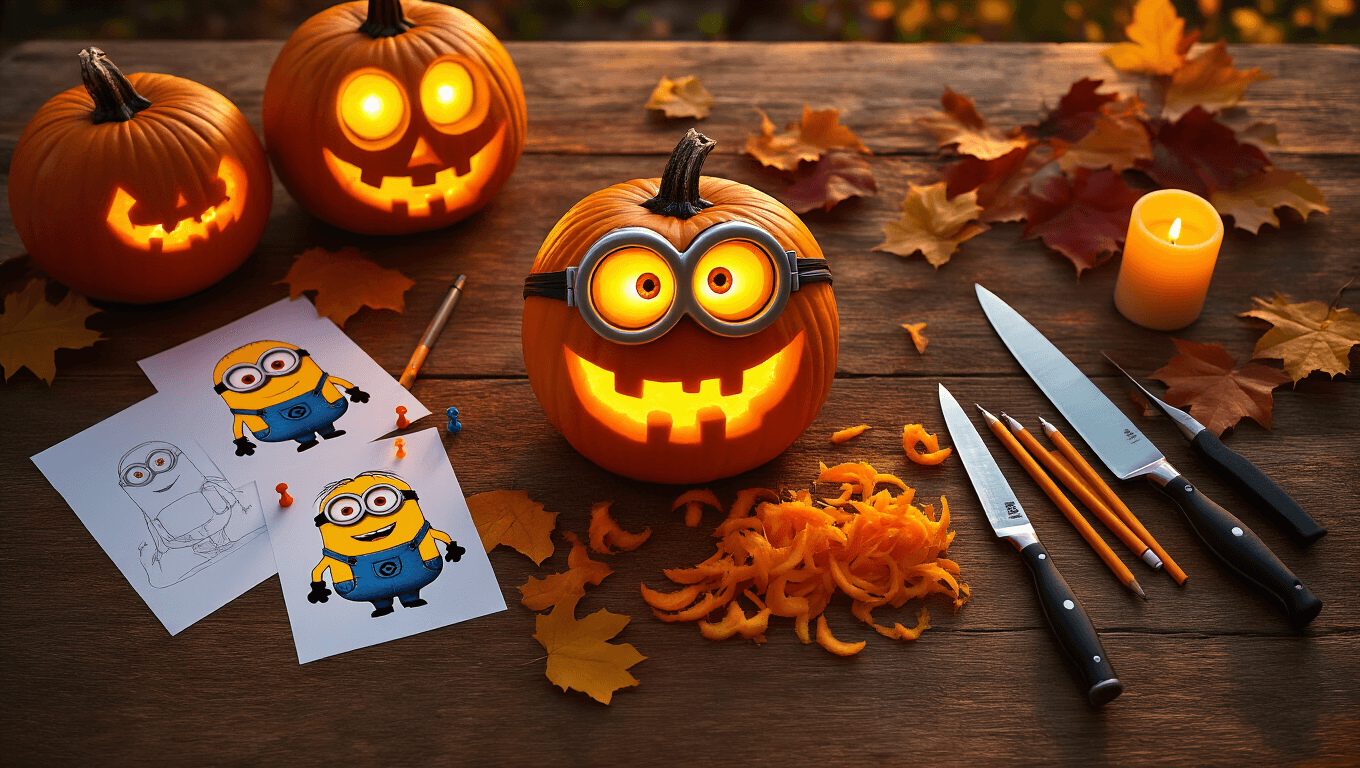
Ever wondered how to turn a simple pumpkin into the most adorable Halloween decoration that’ll make everyone smile? Let me walk you through the ultimate Minion pumpkin carving guide that’ll transform your ordinary Halloween into a despicably awesome experience!
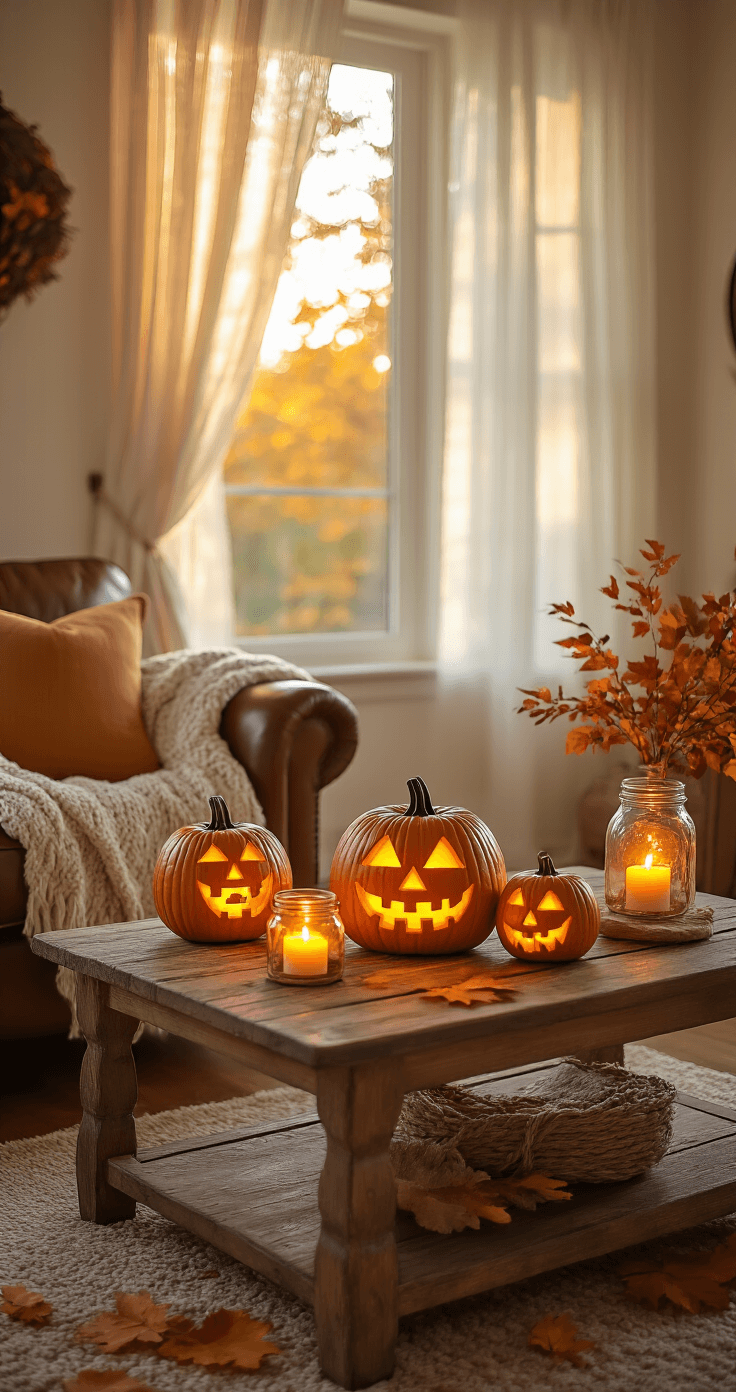
🖼 Steal This Look
- Paint Color: Sherwin-Williams Illusive Green SW 9164
- Furniture: A distressed white farmhouse console table with open shelving for displaying carved pumpkins at varying heights
- Lighting: Battery-operated LED puck lights with warm white glow to illuminate pumpkins from within without fire hazard
- Materials: Natural burlap runners, weathered wood crates, matte black metal lanterns, and dried corn husks
There’s something irresistibly nostalgic about these little yellow troublemakers peeking from your entryway—they bridge the gap between spooky and sweet, making your home feel welcoming to trick-or-treaters of every age.
Why Minion Pumpkins Are the Ultimate Halloween Craft
Forget boring traditional jack-o’-lanterns. A Minion pumpkin is the coolest way to showcase your creativity this Halloween. These little yellow characters are guaranteed to make everyone from kids to adults burst into laughter.
What You’ll Need to Get Started
Essential Tools:
- Sharp carving knife set
- Pencil
- Spoon
- Stencil or printed template
- Small flashlight or battery-operated candle
Pro Tip: Pumpkin Selection Matters!
Choose a pumpkin that’s:
- Tall and round
- Smooth surface
- No major bumps or bruises
- Stands upright easily
🖼 Steal This Look
- Paint Color: Benjamin Moore Sunburst Yellow 2023-30
- Furniture: small craft table with storage bins for organizing carving tools
- Lighting: adjustable LED desk lamp with magnifying glass attachment
- Materials: smooth craft foam sheets for stencil backing, washable craft mat, and non-slip tool grips
This is the room where holiday memories get made—sticky fingers, scattered seeds, and the satisfied silence when someone finally frees their Minion’s goggle from the pumpkin flesh.
Carving Your Minion: Step-by-Step Breakdown
Step 1: Preparation is Key
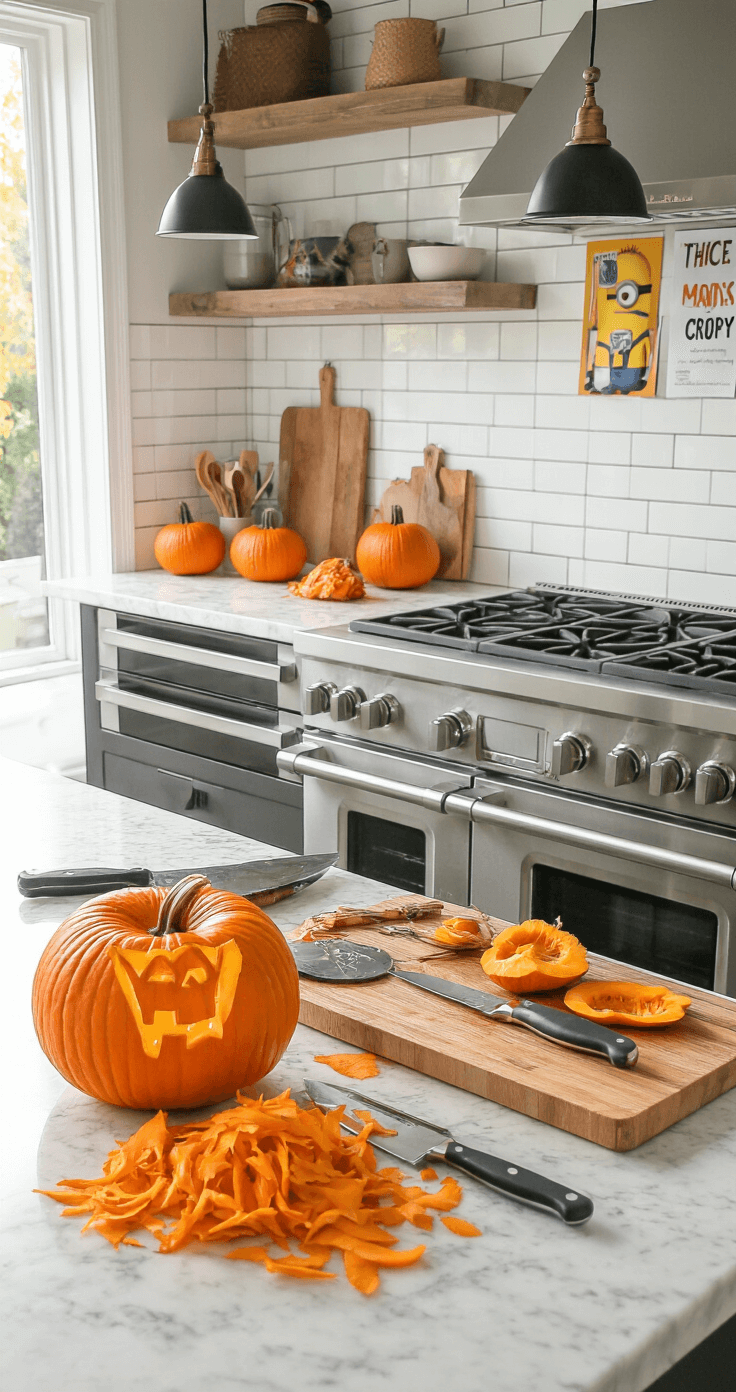
Clean your workspace and lay down newspaper. This gets messy, but that’s half the fun! Grab your pumpkin carving kit and let’s dive in.
Step 2: Design Transfer
Trick of the Trade:
- Print a Minion template
- Tape it to your pumpkin
- Use a pushpin to create dotted outlines
- Connect the dots with a pencil
Step 3: Carving Magic
Focus on these critical areas:
- Goggle outlines
- Facial expressions
- Dungaree details
- Hair strands
Warning: Take your time around thin sections. Patience prevents accidental breaks!
Step 4: Lighting It Up
Pro tip: Use a battery-operated LED candle instead of traditional candles. They’re safer and create a more consistent glow.
Save this article
Enter your email and we'll send it straight to your inbox.
💡 Steal This Look
- Paint Color: Farrow & Ball Hague Blue 30
- Furniture: craft table with built-in storage drawers and wipeable laminate surface
- Lighting: adjustable swing-arm architect lamp with daylight LED bulb
- Materials: kraft paper roll dispenser, galvanized metal tool caddy, cork board pin wall for template display
This is the room where holiday memories get made, where you’ll laugh at lopsided goggles and proudly display your slightly wonky first attempts before graduating to showstopper pumpkins.
Bonus Design Variations
Want to mix it up? Try:
- One-eyed Minion
- Angry Minion
- Laughing Minion
- Multiple Minion pumpkins in different poses
Common Mistakes to Avoid
- Rushing the carving process
- Using dull tools
- Not cleaning your workspace
- Forgetting to take progress photos!
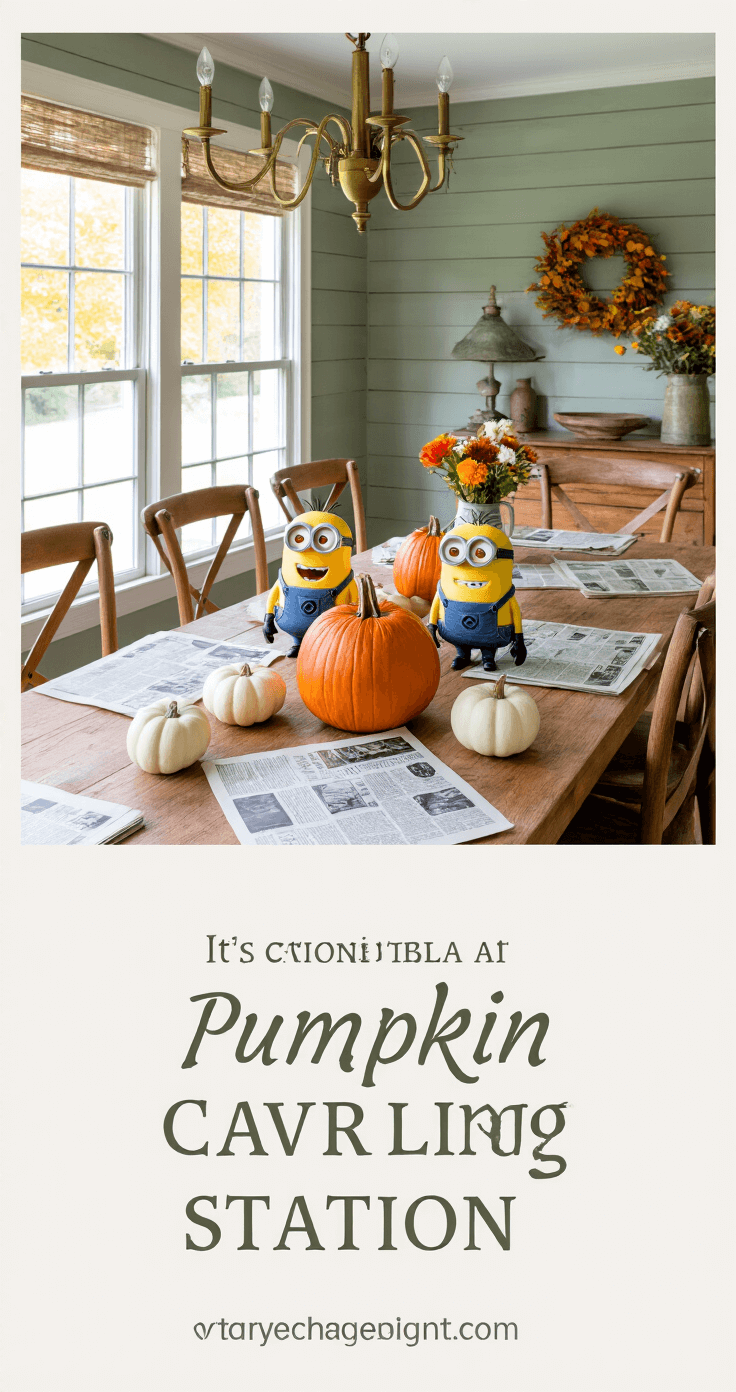
🎨 Steal This Look
- Paint Color: use Valspar brand. Match a clean, bright workshop aesthetic with Valspar Ultra White 7006-24
- Furniture: sturdy folding work table with easy-wipe laminate surface
- Lighting: adjustable LED task lamp with magnifying attachment
- Materials: oilcloth drop cloths, silicone carving mats, stainless steel tool caddies
I’ve learned the hard way that a cluttered workspace steals your creative flow—there’s nothing more defeating than finishing a perfect Stuart eye, only to knock over your coffee onto your Minion masterpiece.
Cleanup and Preservation
Quick Preservation Tip:
- Spray carved pumpkin with bleach solution
- Store in cool place
- Keeps your masterpiece looking fresh longer
Final Thoughts
Minion pumpkin carving isn’t just a Halloween activity—it’s a memory-making experience. Whether you’re a parent looking to create family fun or a Halloween enthusiast wanting something unique, this project checks all the boxes.
Remember: Perfection isn’t the goal. Having fun and laughing is what matters most!
Happy carving, you adorable little Minion creators! 🎃👻
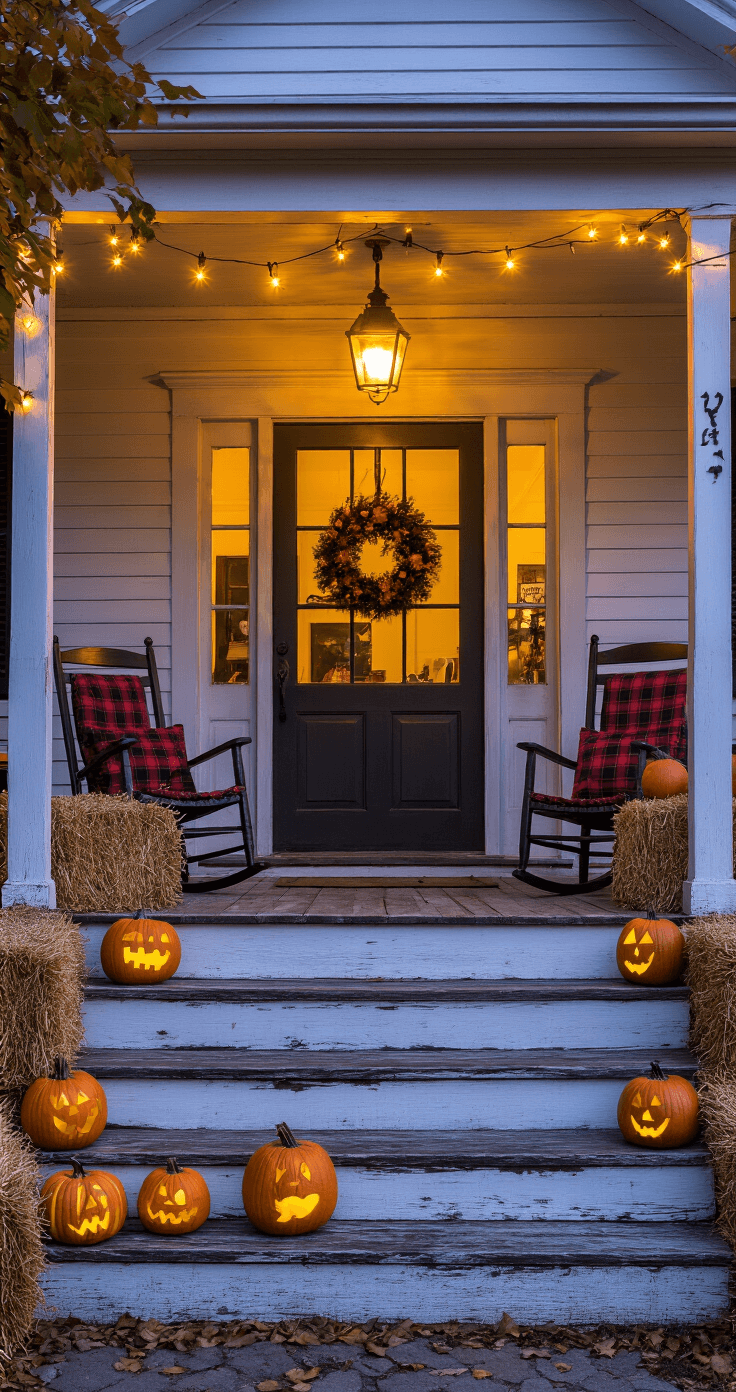
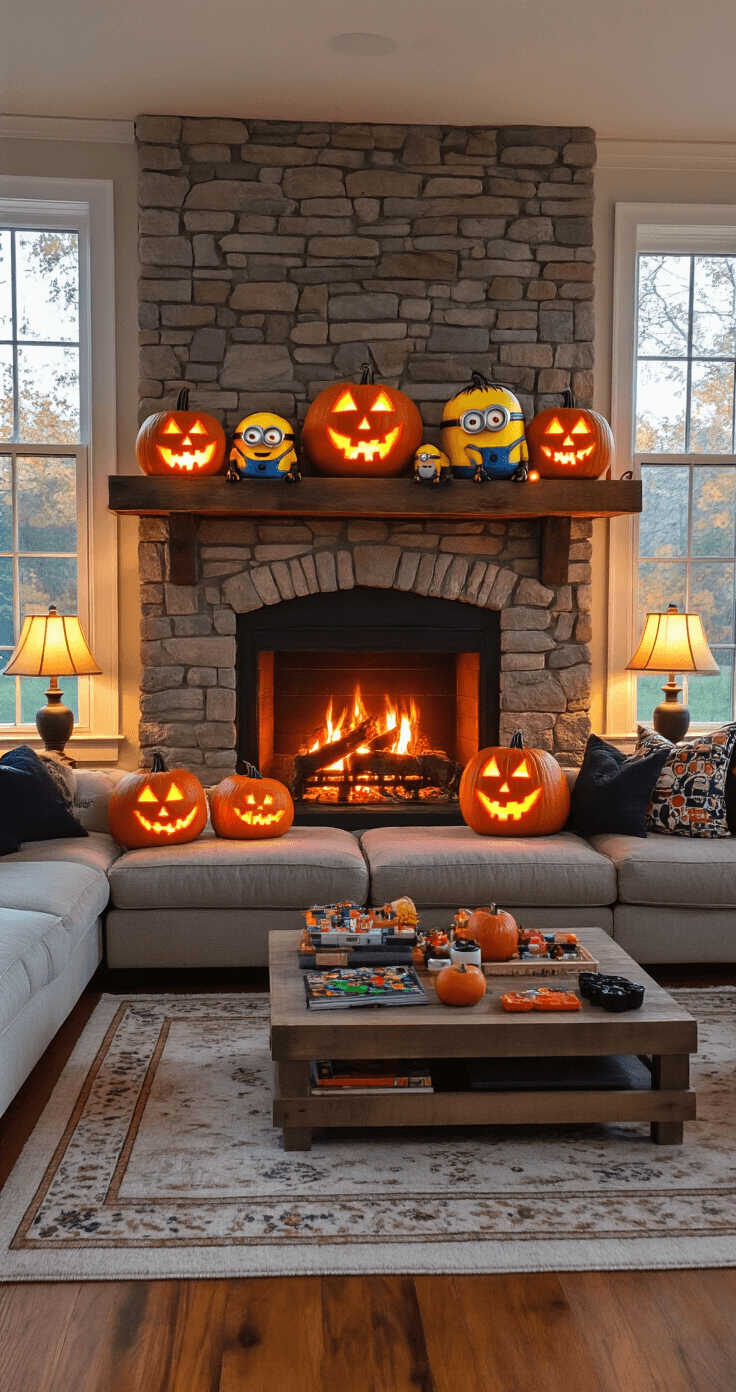
🖼 Steal This Look
- Paint Color: use Dunn-Edwards brand. Match a warm, inviting family room atmosphere. Format: Dunn-Edwards Warm Butterscotch DE5354
- Furniture: large L-shaped sectional in durable performance fabric for family gatherings, paired with a rustic reclaimed wood coffee table with storage for carving supplies
- Lighting: oversized woven rattan pendant with dimmable Edison bulbs to create adjustable ambiance for cozy memory-making moments
- Materials: chunky knit wool throws, natural jute rugs, weathered wood accents, and matte ceramic pumpkins for year-round seasonal display
This is the room where flour gets on the floor and laughter echoes off the walls; it’s not about the pumpkins you carve but the stories you’ll retell for years.
Keep this one for later
We'll email you the link so you can come back to it.


[…] and fun. Whether you’re a carving champion or a total beginner, these ideas will help you create a Halloween decoration that’ll make your neighbors green with envy (pun totally […]
[…] Create a traditional Halloween look […]