
This post may contain affiliate links. Please see my disclosure policy for details.
What Exactly Are Stepping Stones?
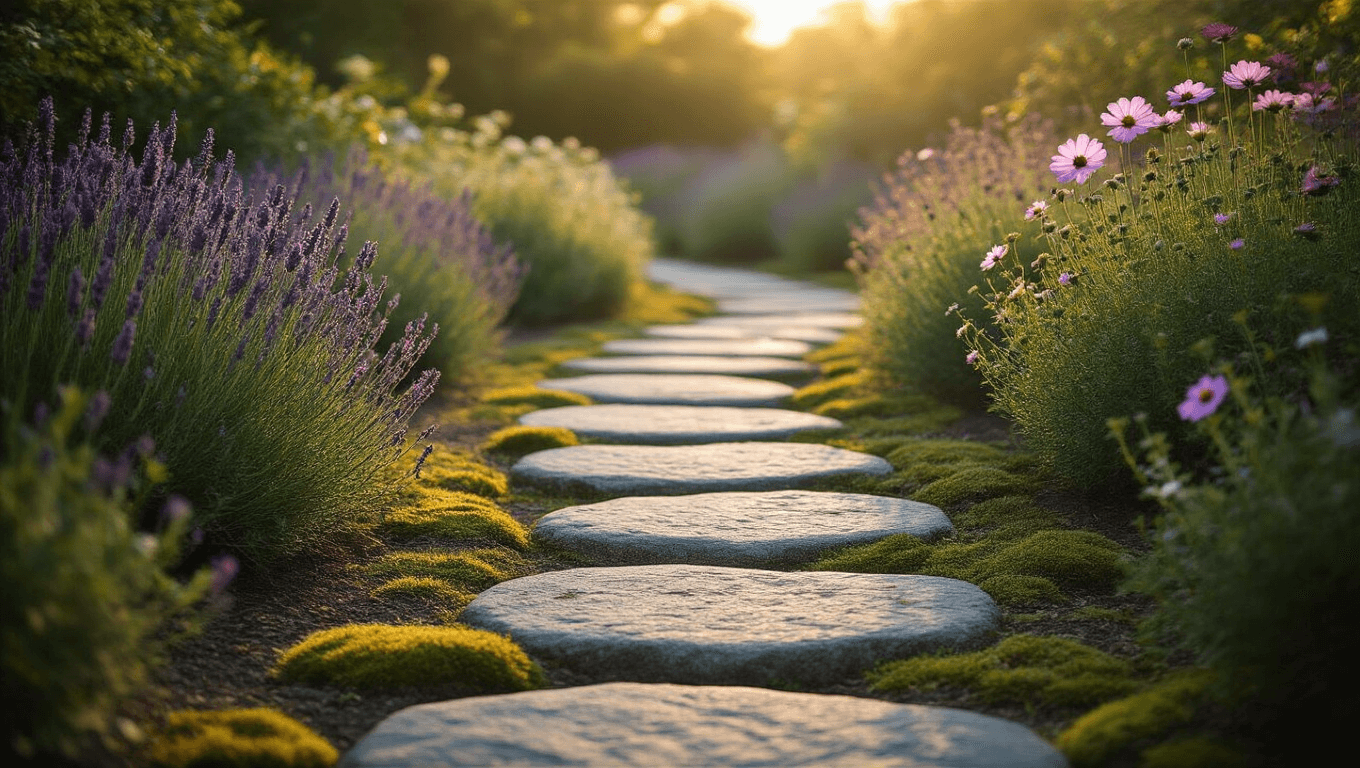
Stepping stones aren’t just rocks you toss on the ground. They’re the secret weapon of landscape design that can turn a boring yard into an Instagram-worthy outdoor sanctuary. With the right shapes, textures, and placements, these simple stones can guide your guests through your garden, define cozy corners, and add a touch of personality to your outdoor space. Think of them as the jewelry of your yard – subtle, stylish, and transformative.
Whether you’re dreaming of a whimsical path or a sleek modern walkway, you can explore different stepping stone sets to find styles that fit your garden’s personality. Want to get creative and DIY your own? Check out these stepping stone molds that let you pour, shape, and customize your path. To add even more charm, consider mixing in garden pathway lights for a magical glow after sunset. And don’t forget the details—decorative gravel and pebbles can fill the spaces between stones, pulling your whole design together.
Two Incredible Meanings:
Contents
- Literal Meaning: Flat stones strategically placed to create walkable paths
- Metaphorical Meaning: A progression tool for achieving bigger goals

Why Stepping Stones Are Your Garden’s Best Friend
Practical Uses:
- Navigate wet or uneven terrain
- Create beautiful garden paths
- Define outdoor living spaces
- Add visual interest to your landscape
Design Styles to Explore:
- Rustic Charm: Irregular, natural stone arrangements
- Modern Minimalist: Precisely cut geometric pavers
- Whimsical Garden: Colorful, artistic stepping stones

DIY Stepping Stone Installation: The Ultimate Weekend Project
What You’ll Need:
- Stepping stones
- Gravel
- Sand
- Shovel
- Level
- Landscape fabric (optional)
Step-by-Step Installation:
- Plan Your Layout
- Measure your space
- Sketch a design
- Consider traffic flow
- Prepare the Ground
- Remove grass/weeds
- Excavate about 2-3 inches deep
- Lay landscape fabric to prevent weed growth
- Create a Stable Base
- Add gravel sub-base
- Top with fine sand
- Ensure level surface
- Place Your Stones
- Use a rubber mallet to set stones
- Check alignment with level
- Backfill around stones for stability

Pro Design Tips
Mix and Match Styles:
- Combine different stone sizes
- Play with stone colors
- Create interesting patterns
Maintenance Hacks:
- Seal stones annually
- Remove moss/weeds
- Adjust stones as needed

Budget-Friendly Options
You don’t need to break the bank to create a stunning path:
- Use local stone
- DIY installation
- Start small and expand

Common Mistakes to Avoid
- Improper base preparation
- Uneven stone placement
- Ignoring drainage issues

Inspiration Gallery
Imagine walking through your garden on a beautiful set of stepping stones, each step telling a story of creativity and design.

Final Thoughts
Stepping stones are more than just functional – they’re an art form. Whether you’re creating a literal path or metaphorically stepping towards your dreams, these magical stones can transform your space.
Quick Recap:
- Versatile design element
- Easy DIY project
- Adds value to your outdoor space
Ready to start your stepping stone journey? Your dream garden awaits!


")

 In Freezing Weather")

[…] Slim Design: Measuring less than 5 inches wide, this coffee maker fits effortlessly into tight spaces. […]