This post may contain affiliate links. Please see my disclosure policy for details.
Brick Edging for Flower Beds: The Ultimate DIY Guide to Transforming Your Garden
Contents
- Brick Edging for Flower Beds: The Ultimate DIY Guide to Transforming Your Garden
- Why Brick Edging is a Game-Changer
- Materials You’ll Need
- Step-by-Step Installation (No Pro Skills Required!)
- Design Inspiration: Beyond Basic Borders
- Maintenance Hacks
- Pro Tips for Stunning Results
- Common Mistakes to Avoid
- Cost Breakdown
- Final Thoughts
Hey there, garden enthusiasts! Ready to give your flower beds a rockstar makeover that’ll make your neighbors stop and stare? Brick edging is your secret weapon.
Why Brick Edging is a Game-Changer
Imagine a crisp, clean line that transforms messy garden borders into a professional-looking masterpiece. That’s brick edging in a nutshell.
Quick Pro Facts
- Project Time: Weekend warrior special (2-6 hours)
- Difficulty: Beginner-friendly
- Cost: Around $185 for an average garden bed
- Style Versatility: Works with ANY garden design
Materials You’ll Need
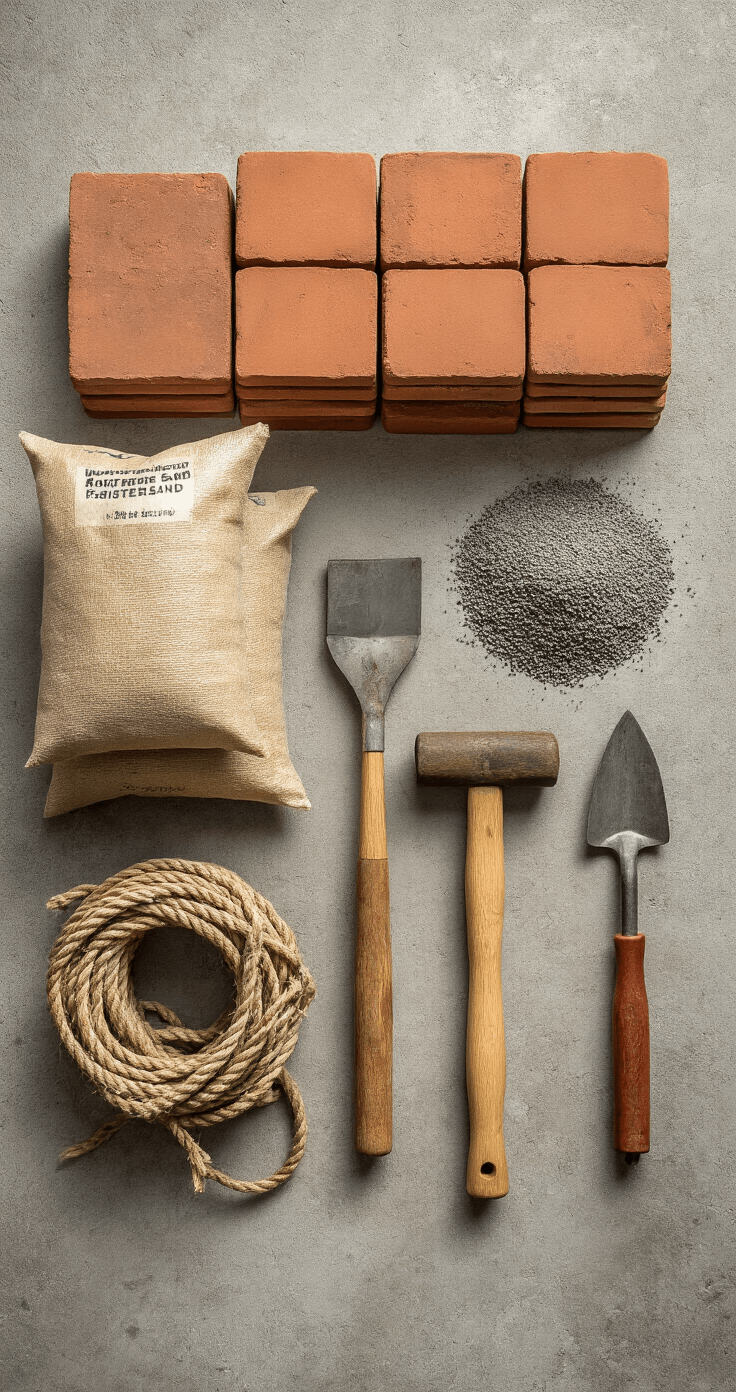
Shopping List
- Clay pavers (weather-resistant)
- Polymeric sand
- Rubber mallet
- Shovel
- Measuring tape
- Garden rope
Step-by-Step Installation (No Pro Skills Required!)
1. Plan Your Battlefield
- Grab your garden rope and outline the bed
- Pro Tip: Add 10% extra bricks for unexpected breaks
2. Dig Like a Pro
- Create a trench along your marked line
- Key Moves:
- Make it wide and deep
- Level the base thoroughly
- Compact the soil for stability
3. Brick Placement Magic
- Arrange bricks tightly
- Styling options:
- Single row
- Double-stack
- Upright placement
- Staggered pattern
4. Finishing Touches
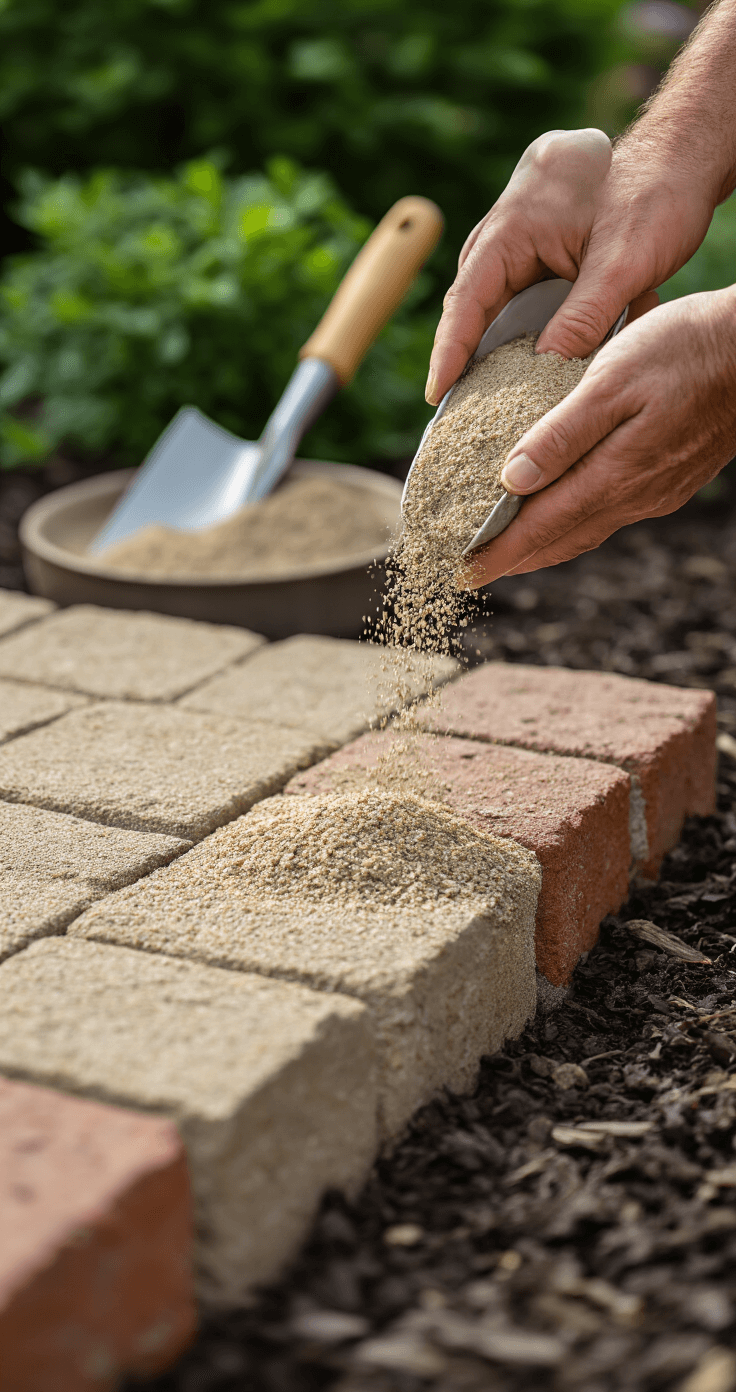
- Fill gaps with polymeric sand
- Use rubber mallet to settle bricks
- Hose down to set the sand
- Mulch and style your new border
Design Inspiration: Beyond Basic Borders
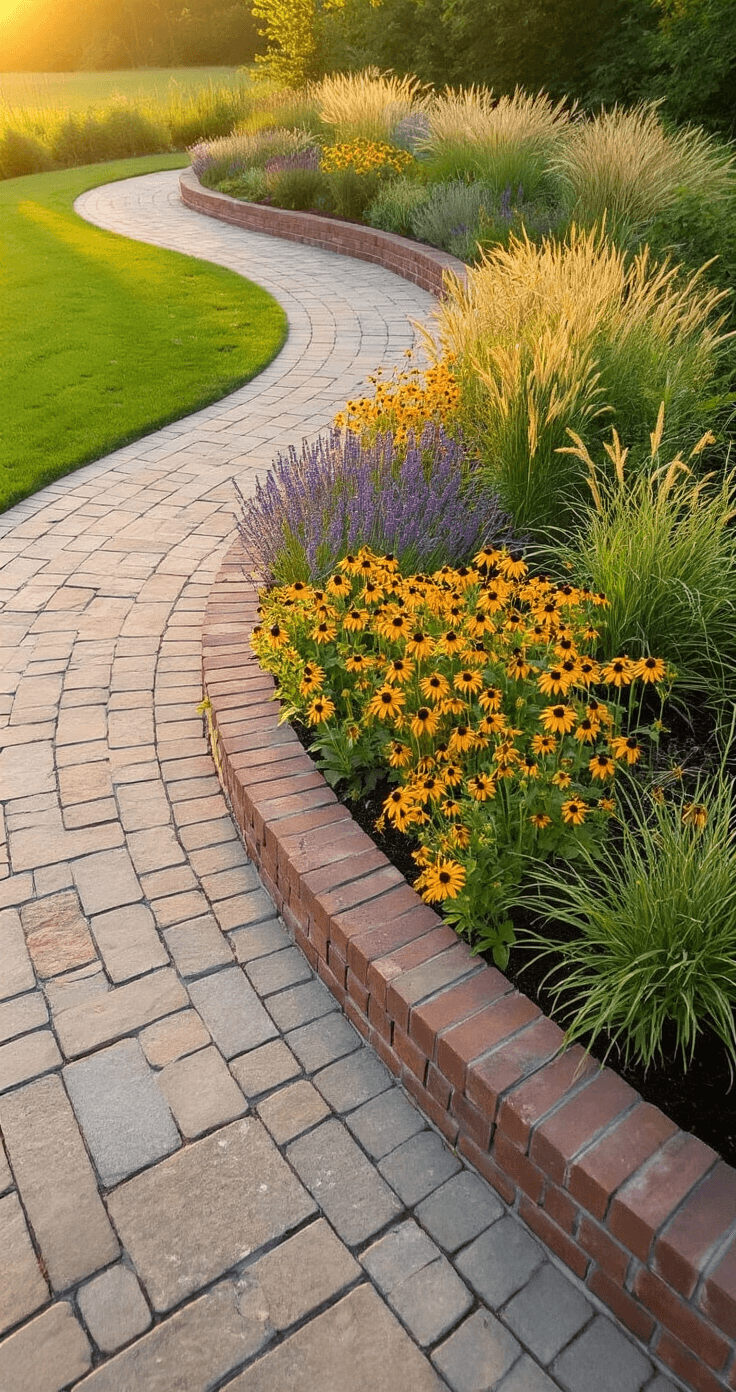
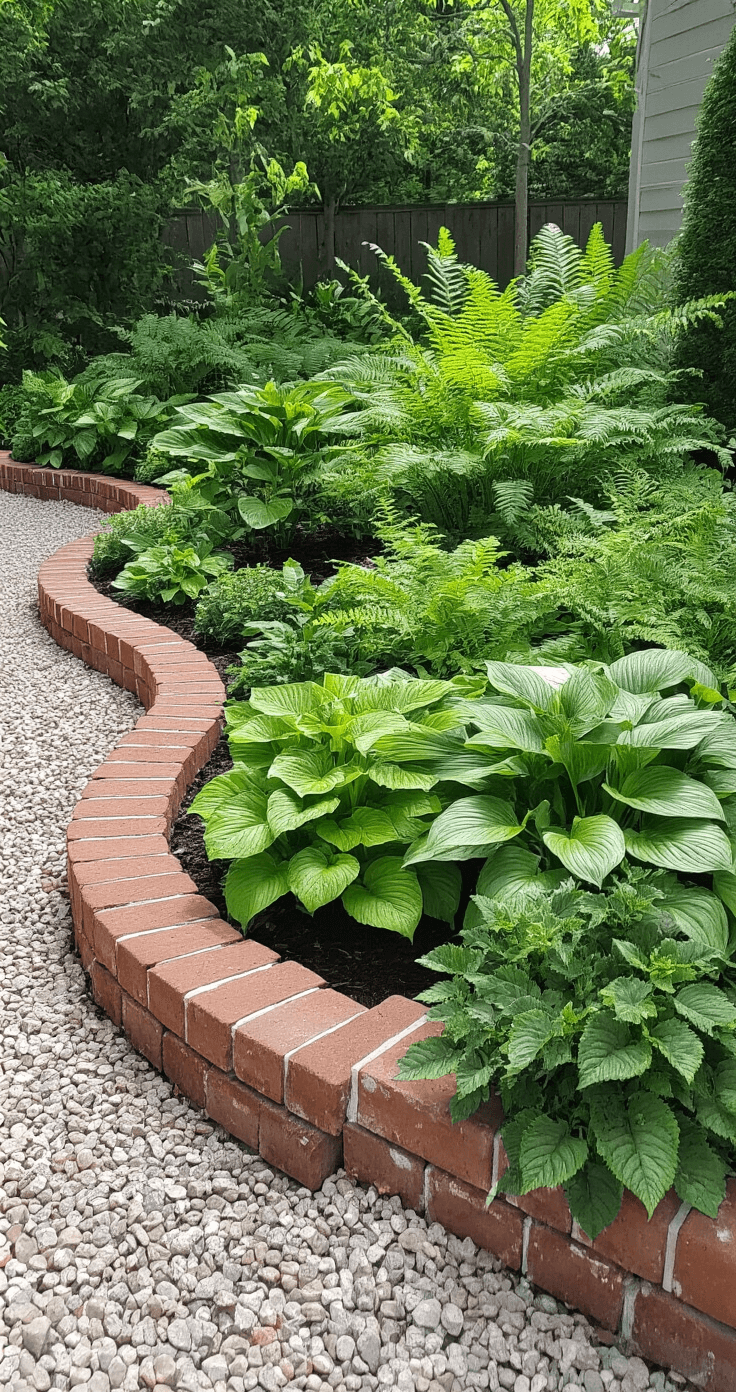
Creative Brick Edging Styles
- Classic red brick (timeless!)
- Vertical brick for height
- Mixed material combinations
- Curved layouts for organic flow
Maintenance Hacks
Quick Maintenance Checklist:
- Check sand levels after heavy rain
- Inspect for brick shifting
- Replenish sand as needed
- Mow easily over flush-installed edges
Pro Tips for Stunning Results
- Mix brick colors for visual interest
- Consider faux brick for budget-friendly options
- Pinterest is your design inspiration playground
- Experiment with different patterns
Common Mistakes to Avoid
- Skipping sand filling
- Uneven base preparation
- Forgetting to account for landscape curves
- Ignoring weather-resistant materials
Cost Breakdown
| Option | Cost Range | Complexity |
|---|---|---|
| DIY Basic | $100-$250 | Low |
| Professional Install | $500-$1500 | High |
| Faux Brick | $50-$150 | Very Low |
Final Thoughts
Brick edging isn’t just a border—it’s a statement. It transforms ordinary flower beds into extraordinary garden spaces with minimal effort and maximum impact.
Pro Gardener’s Promise: Follow these steps, and you’ll create a garden border that screams “I know what I’m doing” without breaking a sweat.
Happy gardening, design warriors! 🌿🧱✨


