This post may contain affiliate links. Please see my disclosure policy for details.
Fall Urn Planter Ideas That’ll Make Your Neighbors Jealous
Contents
- Fall Urn Planter Ideas That’ll Make Your Neighbors Jealous
- Why Your Current Fall Planters Look… Meh
- The Formula That Actually Works
- Building Your Perfect Fall Urn: The No-Fail Approach
- Choosing Your Thriller Plant
- Selecting Your Filler Plants
- Adding Your Spiller Elements
- The DIY Approach: Creating Custom Arrangements
- The Spray-Painted Branch Technique
- Using Floral Foam for Arrangements
Fall urn planter ideas can transform your front porch from boring to absolutely stunning in just an afternoon.
I’ve spent years experimenting with seasonal containers, and I’ll be honest—my first attempts looked like I’d just dumped whatever was on clearance at the garden center into a pot and called it a day.
But here’s what I’ve learned: creating gorgeous fall urns doesn’t require a degree in horticulture or a massive budget.
You just need to understand a few basic principles and know which materials actually work.
Why Your Current Fall Planters Look… Meh
Let me guess.
You grabbed some mums, stuck them in a pot, maybe added a decorative pumpkin, and called it done.
Three weeks later, everything’s dead or drooping, and you’re wondering why your display doesn’t look like those magazine-worthy porches you see on Pinterest.
I’ve been there.
The problem isn’t you—it’s that most people don’t understand the layering technique that professional landscapers use.
The Formula That Actually Works
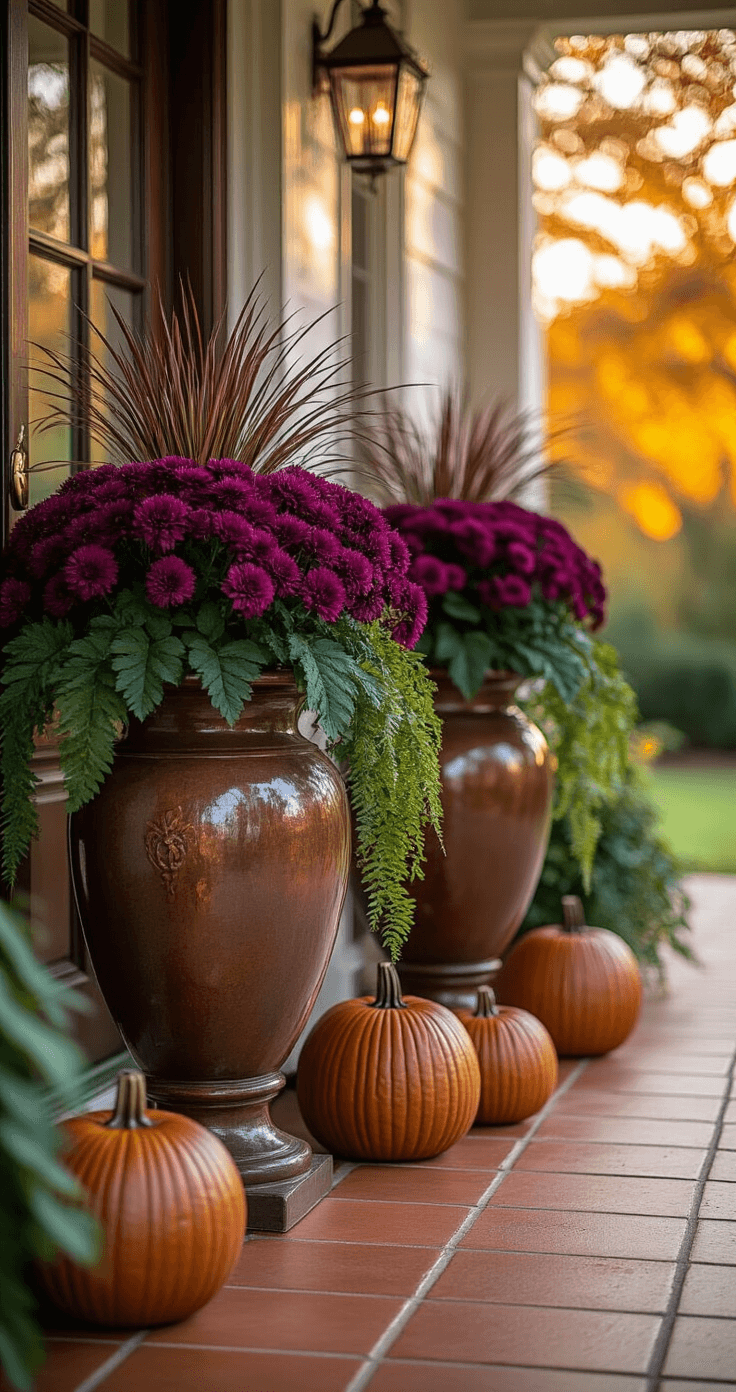
Professional designers use what’s called the “thriller, filler, spiller” method.
Sounds fancy, but it’s dead simple.
Thriller: Your tall, dramatic centerpiece that catches attention
Filler: Medium-height plants that create volume and color
Spiller: Trailing elements that soften edges and add movement
Once I understood this framework, my fall urns went from “nice try” to “wait, you did that yourself?”
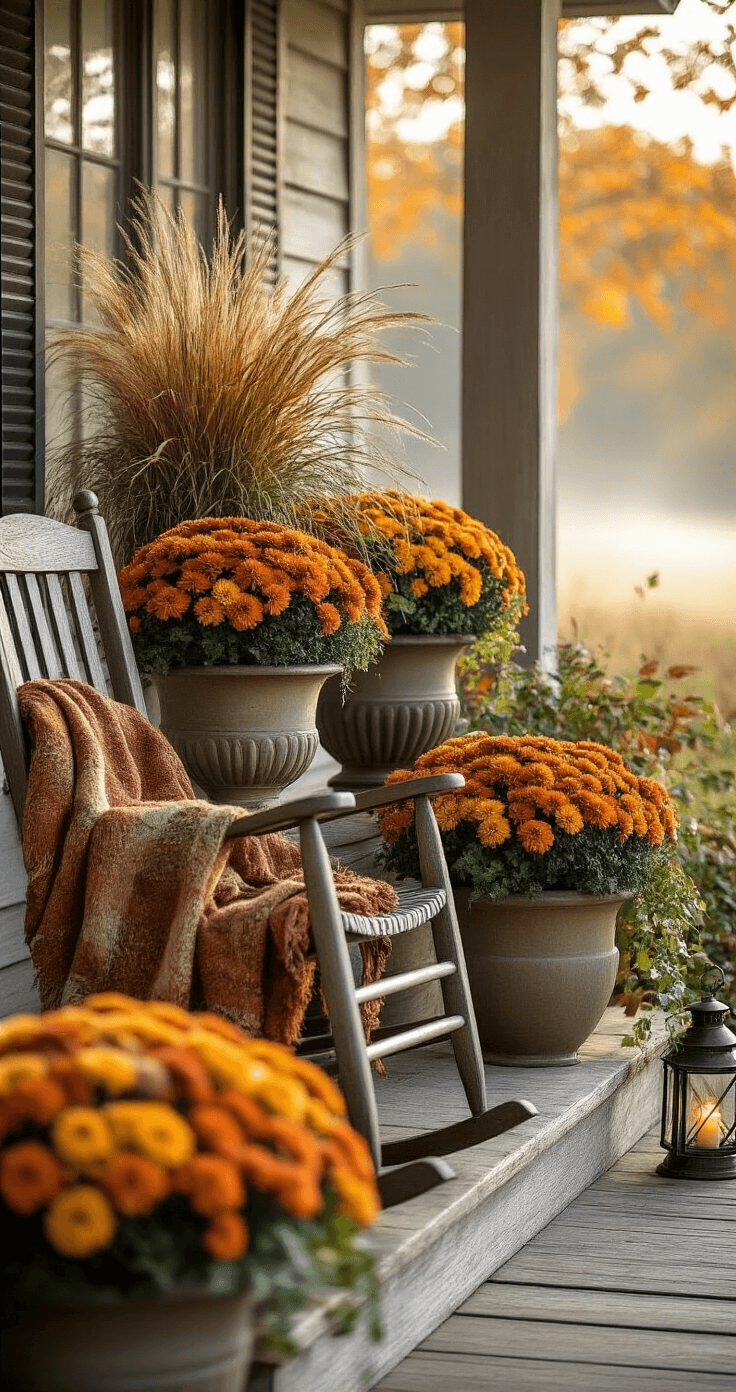
Building Your Perfect Fall Urn: The No-Fail Approach
Start with your container.
I prefer working with large outdoor planters because they give you more room to create dramatic arrangements and they won’t dry out as quickly.
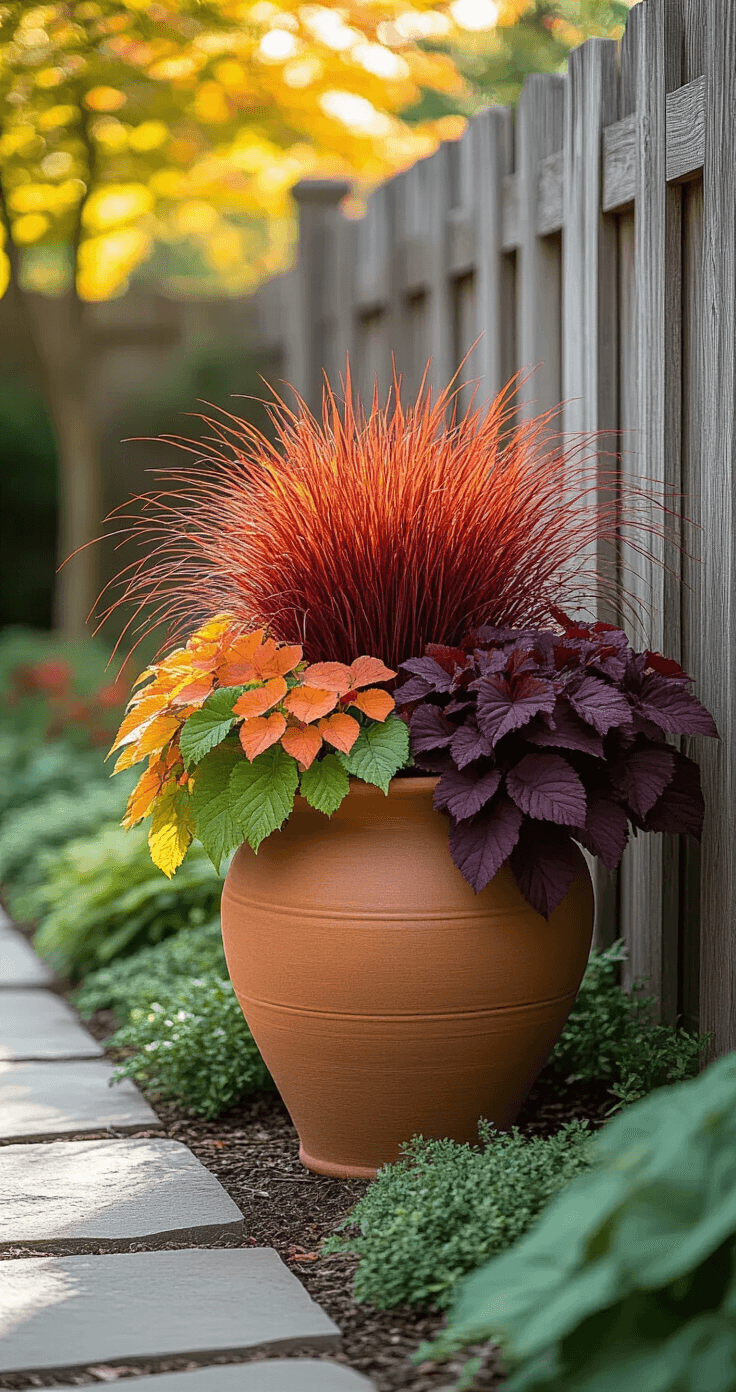
Choosing Your Thriller Plant
This is your showstopper.
For fall, I love these options:
Ornamental Grasses
- Fountain grass (Pennisetum) with those gorgeous feathery plumes
- Japanese blood grass for intense red-orange color
- Miscanthus varieties for height and movement
Dramatic Foliage
- Purple fountain grass creates moody, sophisticated vibes
- Tall kale varieties (yes, really) provide architectural interest
- Burgundy-toned cordyline adds tropical flair with autumn colors
I planted a Desert Plains Pennisetum in my metal urn last September, and watching it sway in the breeze all season long never got old.
The movement adds life to your arrangement that static plants simply can’t match.
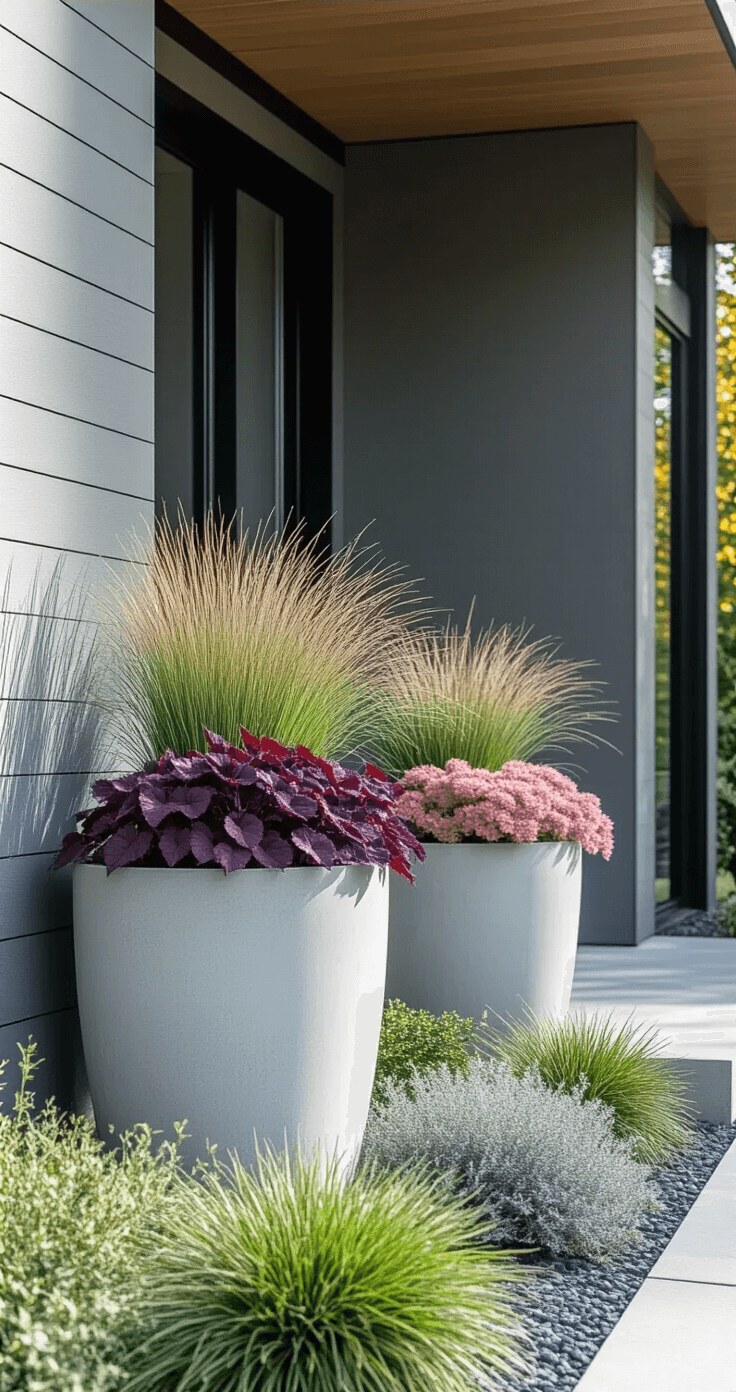
Selecting Your Filler Plants
This is where color and texture come alive.
Mums (But Make Them Interesting)
Everyone uses mums, but here’s the trick: layer different bloom sizes and colors.
I combine:
- Large decorative mums in burnt orange
- Smaller button mums in deep burgundy
- Daisy-type mums in golden yellow
This creates depth instead of that flat, one-note look.
Unexpected Options
- Coral bells (Heuchera) in caramel or plum tones
- Ornamental kale in deep purple with pink centers
- Sedum ‘Autumn Joy’ with those chunky pink flower heads
- Black-eyed Susans for pops of cheerful yellow
- Echinacea (coneflowers) in rust and orange tones
Last year, I used caramel-colored heuchera throughout my arrangement, and the way it caught the afternoon light was absolutely magical.
Nobody expects foliage plants to steal the show, but trust me—they can.
Adding Your Spiller Elements
These soften everything and make your arrangement look professionally designed.
- Sweet potato vine in chartreuse or deep purple
- Trailing verbena in burgundy or coral
- Ivy for classic elegance
- Creeping Jenny for bright contrast
I drape these over the edges so they cascade down the sides of the urn.
It makes the whole arrangement feel generous and abundant rather than stiff and contained.
The DIY Approach: Creating Custom Arrangements
Some seasons, I want complete creative control.
That’s when I go full DIY.
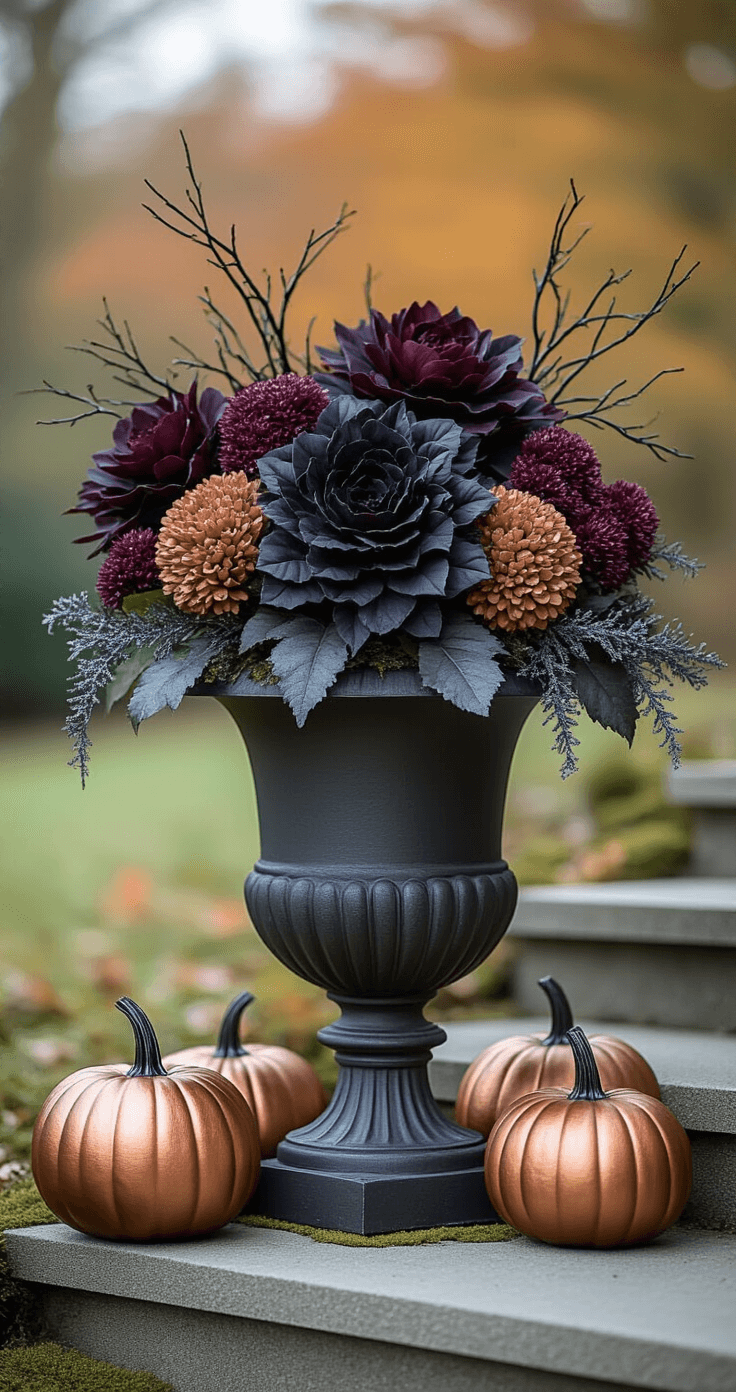
The Spray-Painted Branch Technique
This is my secret weapon for creating high-end looks on a budget.
I collect manzanita branches (or any interesting twisty branches from my yard), spray paint them in metallics or matte autumn tones, and use them as my thriller element.
Surround them with:
- Preserved oak leaves
- Dried hydrangea blooms
- Artificial berries in jewel tones
- Textured grasses
These arrangements last the entire season without watering, which is perfect for my urns that sit in spots without easy hose access.
Using Floral Foam for Arrangements
For a purely decorative (non-living) approach, floral foam blocks become your foundation.
Here’s my process:
Step 1: Secure foam in your urn (I use several blocks stacked if needed)
Step 2: Insert your tallest elements first—painted branches, tall decorative stems, dried grasses
Step 3: Add medium-height components at varying angles
Step 4: Fill gaps with shorter, bushier elements
Step 5: Tuck

")

 In Freezing Weather")