A bright contemporary kitchen with two-tone cabinets—white upper and navy blue lower—featuring marble countertops, a farmhouse sink, brushed gold hardware, and terracotta herb pots, all bathed in warm morning light.

Painting Kitchen Cabinets: My Ultimate Guide to a Stunning Kitchen Makeover

This post may contain affiliate links. Please see my disclosure policy for details.

The Color Revolution: Picking Your Perfect Palette

Tired of staring at dull, lifeless kitchen cabinets? I’ve been there, and let me tell you, painting your cabinets is like giving your kitchen a complete personality transplant—without the massive renovation price tag.

Hot Color Trends That’ll Make Your Kitchen Pop
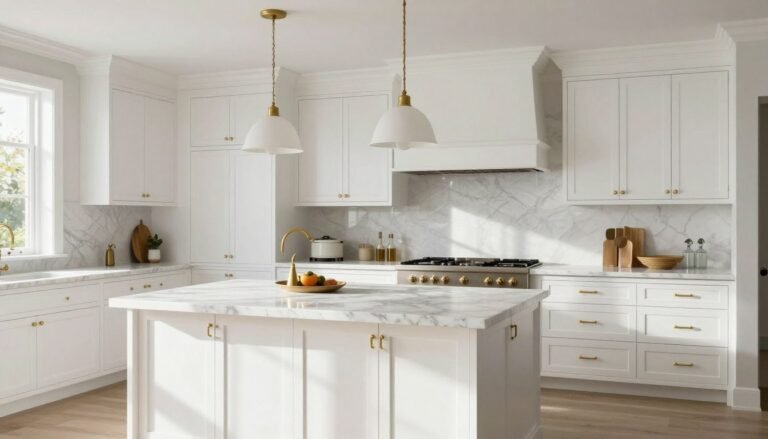
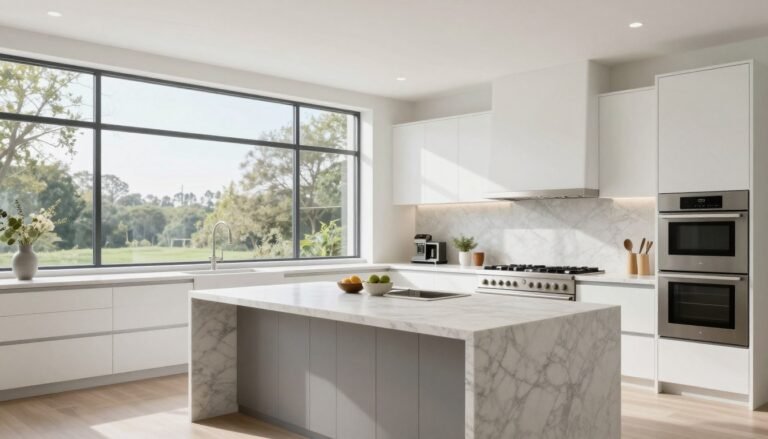
  • Crisp white (never goes out of style)
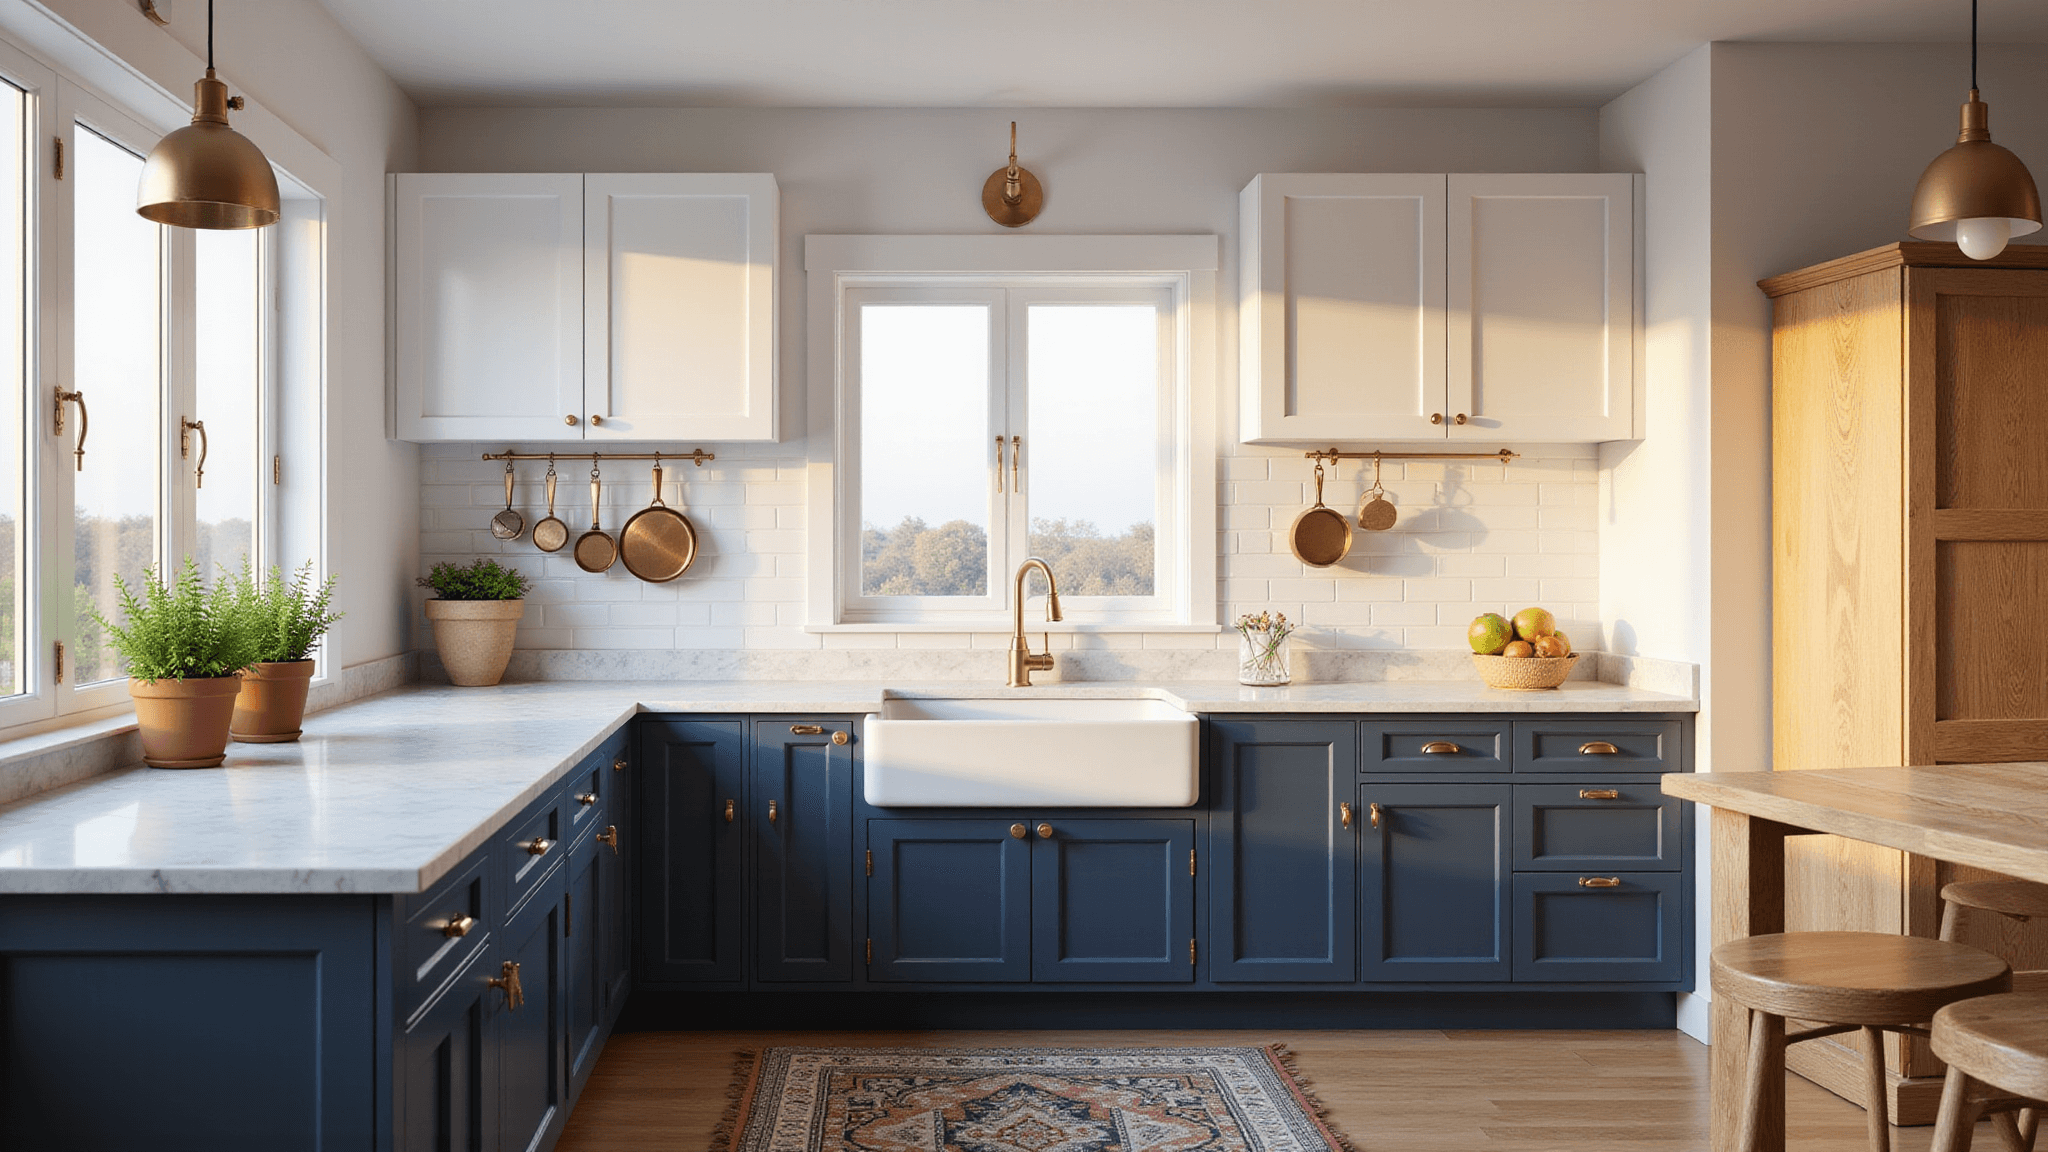
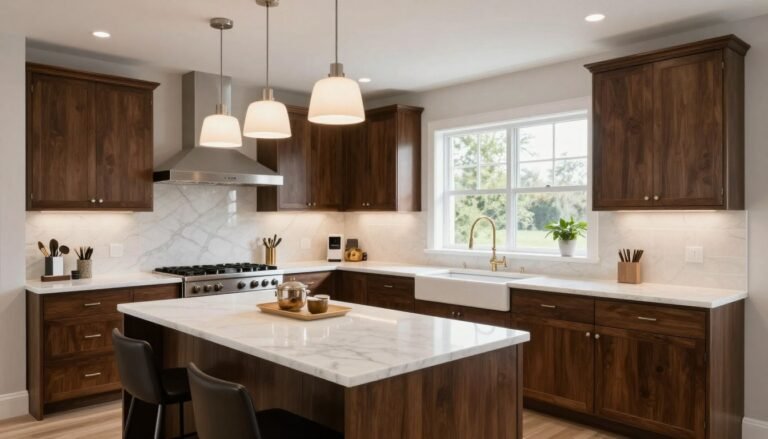
  • Moody navy blues
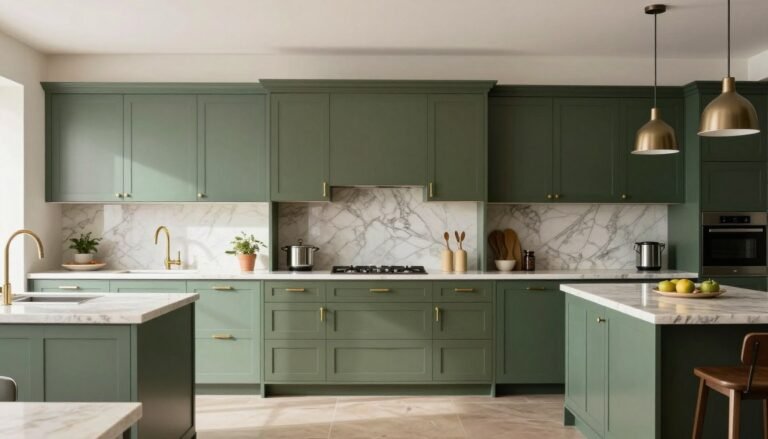
  • Sage green for that calm, organic vibe
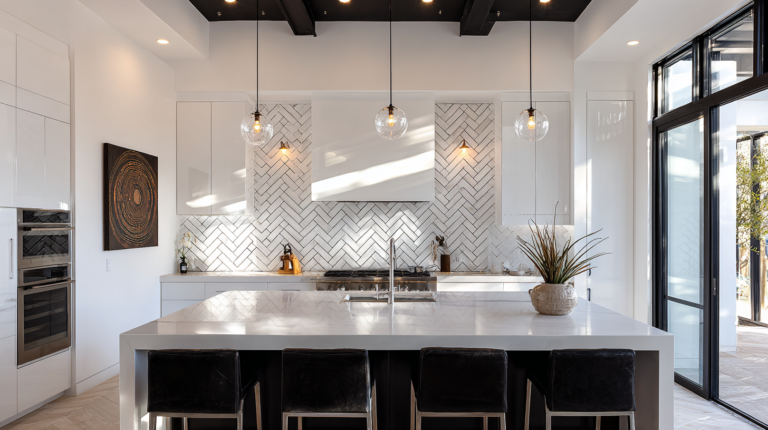
  • Bold charcoal for drama queens
  • Two-tone magic: mix and match colors

Pro Tip: Always test paint samples in your actual kitchen lighting. That trendy gray might look like a muddy mess under your fluorescents.

Interior shot of a contemporary kitchen showcasing white upper cabinets and navy blue lower cabinets, with natural light illuminating the space through a large window above a farmhouse sink. Features include marble countertops, a subway tile backsplash, weathered oak bar stools, and styled elements like copper cookware and terracotta pots with herbs.

⚡ Pro Tip: Paint your upper cabinets in Sherwin-Williams Pure White SW 7005 and lower cabinets in Sherwin-Williams Hale Navy HC-154 for instant designer impact without overwhelming the space.
⚠ Avoid This: Avoid choosing cabinet colors based solely on Pinterest photos—your kitchen’s natural light direction and existing undertones in flooring and countertops will dramatically shift how colors read.

I learned this the hard way after painting my own kitchen cabinets a trendy greige that turned institutional beige under my north-facing windows—now I always tape up large samples and live with them for three days before committing.

The Real Deal: DIY Cabinet Painting Process

This isn’t your weekend hobby—it’s a strategic mission. Here’s how I tackle it:

Prep Like a Pro
  • Strip those cabinets naked (remove hardware)
  • Clean like your mother-in-law is visiting
  • Sand everything (goodbye, old finish!)
  • Tape and cover everything
Priming: The Unsung Hero
  • Use a high-quality primer
  • Think of primer as the foundation garment for your cabinets
  • Let it dry completely (patience, young grasshopper)
Painting Technique
  • Thin, even coats are your best friend
  • Use quality brushes/rollers
  • Sand lightly between coats
  • Minimum two coats for a pro finish

Dramatic close-up of sage green kitchen cabinets with matte black hardware, styled with a minimalist vase of eucalyptus, captured in soft morning light to highlight texture and paint depth.

★ Pro Tip: Work in a clean, dust-free environment and paint cabinet doors horizontally on sawhorses—gravity becomes your ally for eliminating drips and achieving that glass-smooth factory finish that makes guests ask who you hired.
🚫 Avoid This: Avoid rushing the cure time between coats or painting over slightly tacky primer; impatience here guarantees fingerprint smudges, brush drag marks, and a finish that chips within months of daily use.

I learned this process the hard way after my first kitchen project developed a sticky, uneven surface that caught every crumb—now I treat each cabinet like a piece of furniture worthy of museum care, because you live with these surfaces every single day.

Paint Shopping: Not All Heroes Wear Capes

What to look for in cabinet paint:

  • Low VOC
  • Furniture-grade durability
  • Easy cleaning properties
  • Smooth finish

My Top Recommendations:

  • Benjamin Moore Advance
  • Sherwin-Williams ProClassic
  • Behr Urethane Alkyd

Overhead view of an L-shaped kitchen showcasing charcoal gray upper cabinets and white lower cabinets, featuring industrial pendant lights, white marble countertops, and brushed gold hardware, styled with geometric backsplash and black and white accessories.

✨ Pro Tip: Request a sample pot and brush it onto a cabinet door you can live with for a week—cabinet paint looks dramatically different under morning coffee light versus evening dinner prep, and you’ll spot brush marks or leveling issues long before committing to the full kitchen.
⚠ Avoid This: Avoid choosing paint based solely on the chip under fluorescent store lighting; the color temperature of your actual kitchen bulbs will shift the undertone significantly, and what reads as warm white in the aisle can turn sterile gray on your cabinets.

I’ve stood in too many paint aisles watching homeowners panic between fifty shades of white, and here’s what I’ve learned: the right cabinet paint isn’t the one that looks perfect in the can, it’s the one that still looks beautiful when you’re wiping tomato sauce off it for the third time that week.

👑 Get The Look

DIY vs. Professional: The Real Cost Breakdown

DIY Route
  • Cost: $200-$500 in supplies
  • Time Investment: 3-5 full days
  • Skill Level: Intermediate
  • Bragging Rights: Priceless
Professional Route
  • Cost: $2,400-$4,600
  • Time: 1-2 days
  • Zero personal labor
  • Guaranteed professional finish

Intimate kitchen detail shot showcasing a freshly painted cabinet door with a classic white upper and deep navy lower section, featuring natural lighting, a brass pull handle, and a small potted succulent on a marble countertop, with a shallow depth of field emphasizing the paint texture.

💡 Pro Tip: Buy 20% more paint than calculated to account for touch-ups and learning-curve mistakes that inevitably happen on your first cabinet project.
✋ Avoid This: Avoid skimping on deglosser and primer to save money—poor adhesion leads to peeling within months and costs triple to fix.

Most homeowners underestimate the physical toll of bending, crouching, and sanding for days; budget for knee pads and take stretch breaks to avoid abandoning the project halfway through.

Insider Tricks I’ve Learned

  • Always remove cabinet doors
  • Label each door/drawer for easy reassembly
  • Invest in good quality painter’s tape
  • Use a paint sprayer for ultra-smooth finish
  • Consider new hardware to complete the transformation

A sunlit kitchen with professional-grade cabinets in Benjamin Moore Advance Pearl finish, featuring 10ft ceilings, crown molding, and floor-to-ceiling cabinetry, styled with copper pots and a marble pastry station, captured with a 35mm lens at f/5.6.

💡 Pro Tip: Number your cabinet doors with painter’s tape and sketch a quick floor plan showing their locations—what feels obvious during disassembly becomes a puzzle three weeks later when you’re ready to reinstall.
🛑 Avoid This: Avoid skipping the labeling step or assuming you’ll remember which door goes where; even identical-looking cabinets often have subtle sizing differences that cause maddening gaps if swapped.

I’ve painted enough kitchens to know that the prep work nobody sees determines the finish everybody notices—these small rituals save hours of frustration and separate amateur results from professional ones.

Common Mistakes to Dodge

  • ❌ Skipping thorough cleaning
  • ❌ Forgetting to sand
  • ❌ Using cheap brushes
  • ❌ Rushing between coats
  • ❌ Painting over grease/grime

Close-up of a cabinet door receiving a final coat of paint, showcasing expert application and texture, captured with macro lens under dual softbox lighting at f/11 for maximum detail.

🌟 Pro Tip: Invest in a dedicated cabinet cleaning solution like TSP substitute before you even open a paint can—residue from cooking oils will repel paint and cause fisheye defects that ruin your finish.
🛑 Avoid This: Avoid cutting corners with dollar-store brushes that shed bristles into your wet paint; the $15 you save will cost you hours of sanding out embedded hairs and re-coating.

I’ve watched too many weekend warriors weep over cabinets that looked perfect until the morning light hit—this is the section where I save you from becoming another cautionary tale in my inbox.

Budget-Friendly Alternatives

Not ready for full paint? Try:

  • Painting just lower cabinets
  • Changing hardware
  • Using contact paper for temporary refresh
  • Partial cabinet painting

Final Wisdom: Painting kitchen cabinets isn’t just a project—it’s an investment in your home’s soul. Do it right, and you’ll fall in love with your kitchen all over again.

Ready to transform your space? Let’s make some magic happen! 🎨🏠

A lifestyle kitchen featuring a budget-friendly partial cabinet makeover with lower cabinets painted sage green, original wood upper cabinets with updated hardware, and natural afternoon lighting. The space is styled with new pendant lights, a vintage rug, open shelving filled with plants, captured at eye level for a realistic perspective.

✨ Pro Tip: Paint lower cabinets in a moody navy like Dunn-Edwards Starry Night DEA152 and leave uppers Whisper White DEW340—this two-tone trick costs half the paint but delivers full designer impact.
⛔ Avoid This: Avoid using cheap contact paper on cabinet doors that get daily handling; the edges will lift within weeks. Instead, apply it to cabinet interiors or the sides of islands where wear is minimal.

I’ve guided hundreds of homeowners through this exact crossroads—whether to commit fully or test the waters—and the ones who start with lower cabinets often tell me they wish they’d done it years sooner; there’s something deeply satisfying about that first dramatic shift without the overwhelm.

✓ Get The Look

2 Comments

Leave a Reply

Your email address will not be published. Required fields are marked *