
This post may contain affiliate links. Please see my disclosure policy for details.
How to Paint Kitchen Cabinets: Transform Your Space on a Budget
Contents
Are your kitchen cabinets looking tired and worn out? Sick of spending thousands on a full kitchen renovation?
Painting kitchen cabinets is your secret weapon to a stunning kitchen makeover without breaking the bank.

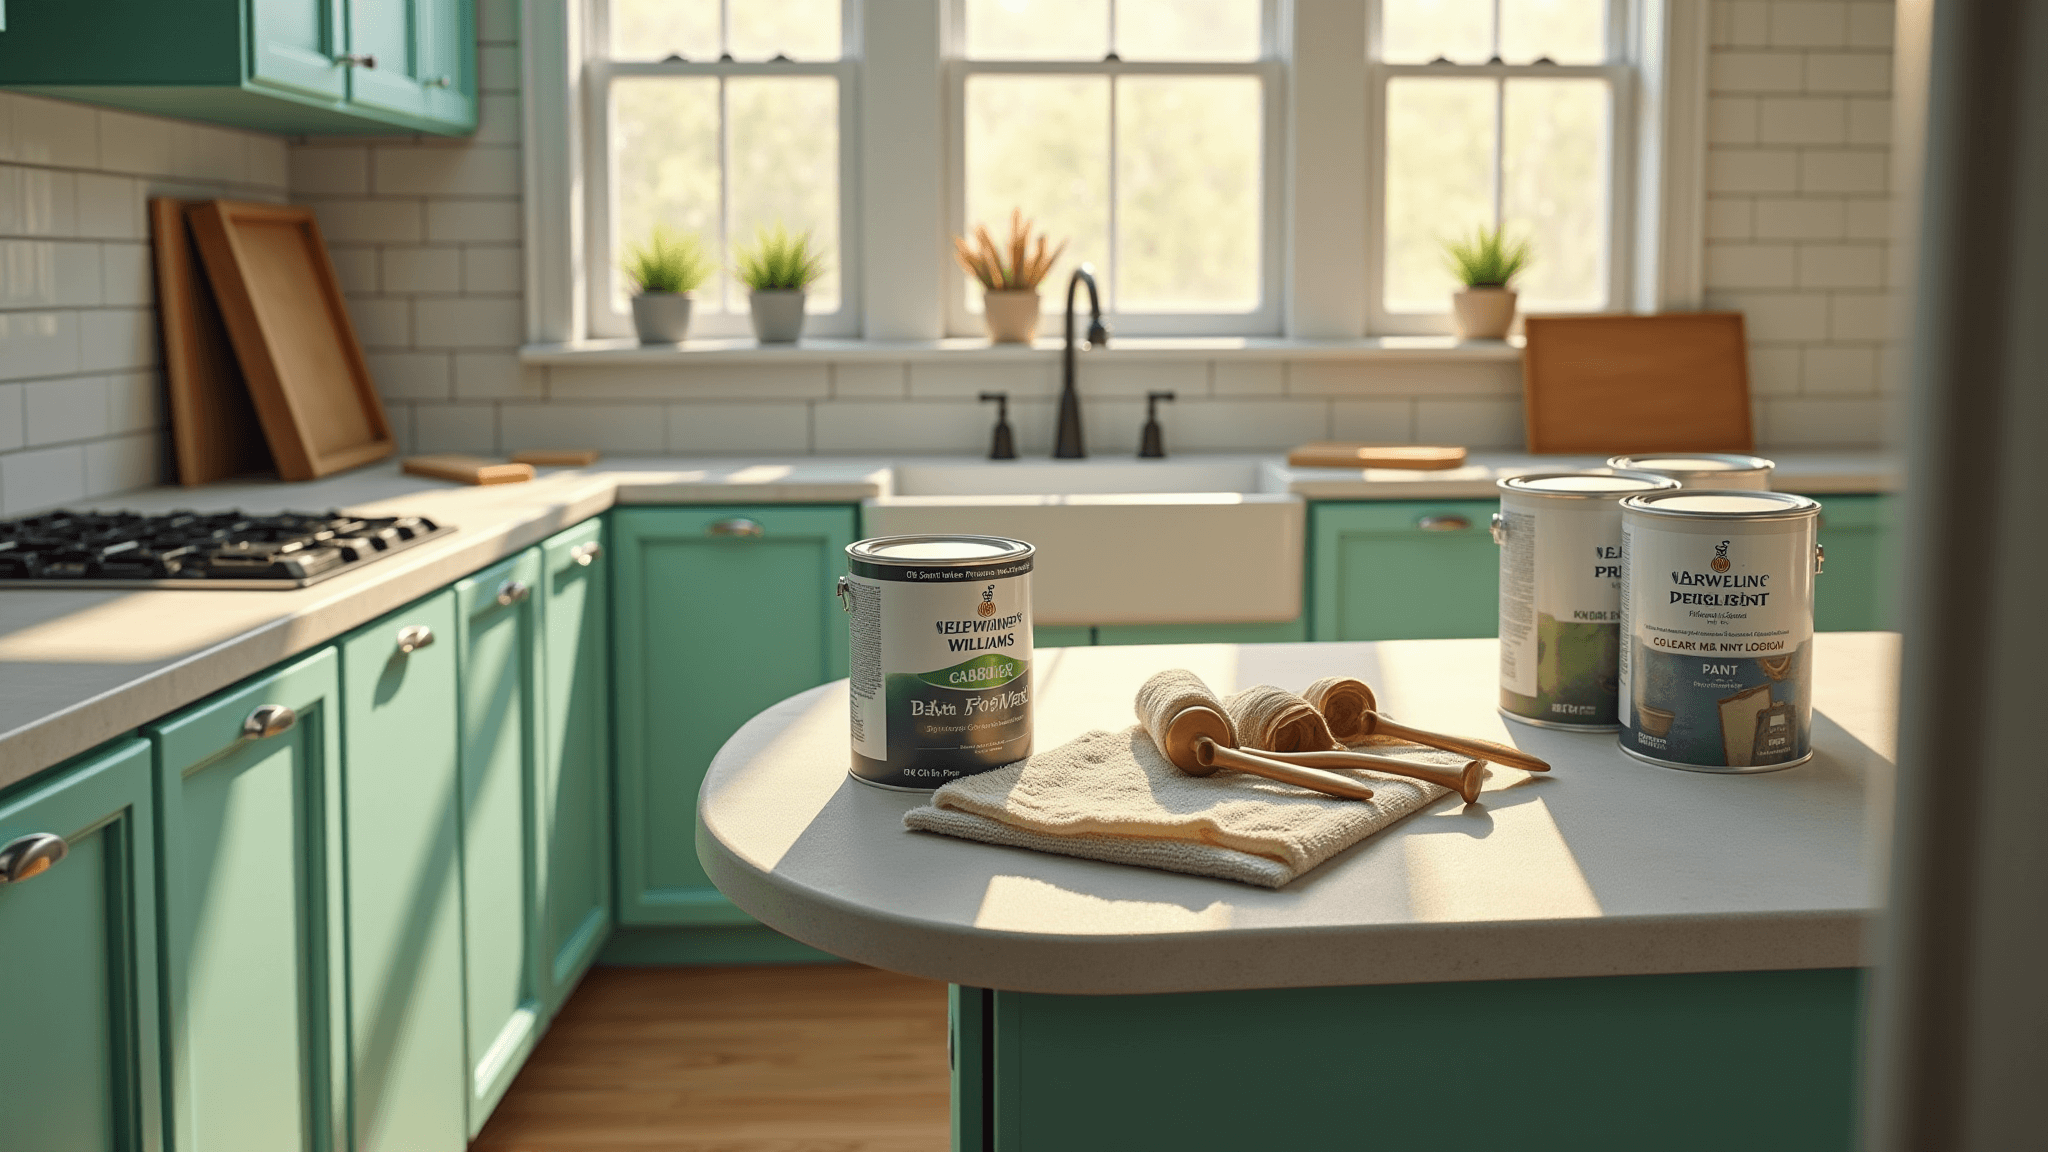
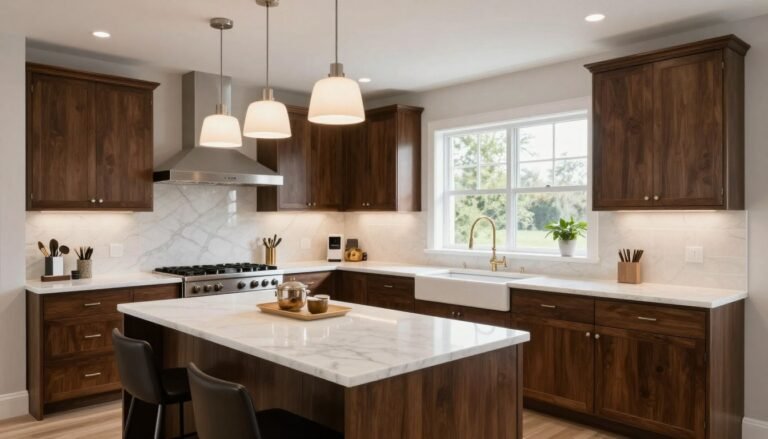
🏠 Steal This Look
- Paint Color: Sherwin-Williams Pure White SW 7005
- Furniture: Shaker-style base and wall cabinets with soft-close hinges
- Lighting: Schoolhouse glass pendant lights with brushed brass hardware
- Materials: Satin enamel cabinet paint, deglosser, foam roller covers, natural bristle brush, marble-look quartz countertop, matte black cabinet pulls
Kitchens are the heart of the home where you start mornings and gather with family, so investing a weekend into cabinet painting pays off every single day you walk into that refreshed, brighter space.
Why Paint Your Kitchen Cabinets?
Kitchen cabinet painting isn’t just a home improvement project. It’s a total room transformation that:
- Costs a fraction of full cabinet replacement
- Allows complete color customization
- Increases your home’s aesthetic appeal
- Provides a weekend DIY challenge
What You’ll Need: Your Kitchen Cabinet Painting Toolkit
Essential Supplies:
- Premium cabinet paint
- High-quality primer
- Foam rollers
- Angled paintbrushes
- 220-grit sandpaper
- Degreaser (TSP or Krud Kutter)
- Drop cloths
- Painter’s tape
- Screwdriver
- Clean microfiber cloths

Pro Paint Recommendations:
- Sherwin-Williams Emerald Urethane Trim Enamel
- Benjamin Moore Advance (satin finish)
- Heirloom Traditions All-in-One Paint
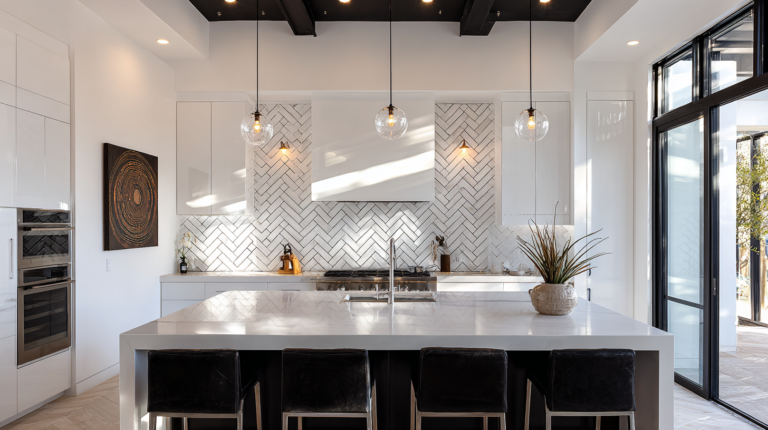
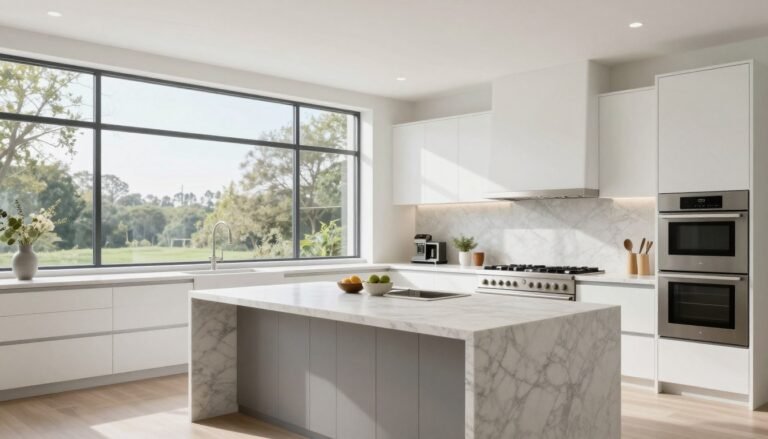
🌟 Steal This Look
- Paint Color: Sherwin-Williams Emerald Urethane Trim Enamel in Pure White SW 7005
- Furniture: open shelving with brass brackets to replace upper cabinets
- Lighting: schoolhouse pendant lights over the island
- Materials: brushed brass hardware, butcher block countertops, handmade ceramic tile backsplash
Kitchen cabinets take more abuse than any other painted surface in your home, so this is where cutting corners costs you twice: once in frustration, once in redoing the work.
Preparation: The Key to a Flawless Finish
1. Strategic Planning
Before diving in, consider:
- Project timeline (3-5 days)
- Kitchen downtime
- Workspace with good ventilation
- Proper lighting
2. Cabinet Disassembly
Step-by-Step Breakdown:
- Remove all cabinet doors and drawers
- Take off hardware (hinges, knobs)
- Label each component meticulously
- Create a diagram or numbered system for reassembly

3. Deep Cleaning: No Grease Left Behind
Cleaning isn’t optional – it’s critical.
Cleaning Protocol:
- Use heavy-duty degreaser
- Scrub every surface thoroughly
- Rinse completely
- Allow full drying
4. Sanding: Creating the Perfect Paint Canvas
Sanding Essentials:
- Use 220-grit sandpaper
- Create slight surface roughness
- Remove all dust with damp cloth
- Focus on creating paint adhesion points

5. Priming: The Foundation of Greatness
Primer Selection:
- Wood cabinets: Bonding primer
- Laminate cabinets: Specialized laminate primer
- Apply with brush and roller
- Ensure complete, even coverage
6. Painting: The Transformation Begins
First Coat Technique:
- Use angled brush for details
- Foam roller for large surfaces
- Follow wood grain
- Maintain wet edge
- Allow 24-48 hours drying

Second Coat:
- Repeat first coat application
- Ensure complete coverage
- Allow full drying
7. Reassembly: Bringing It All Together
- Reattach hardware
- Hang doors precisely
- Double-check alignment
- Optional: Add new hardware for extra refresh

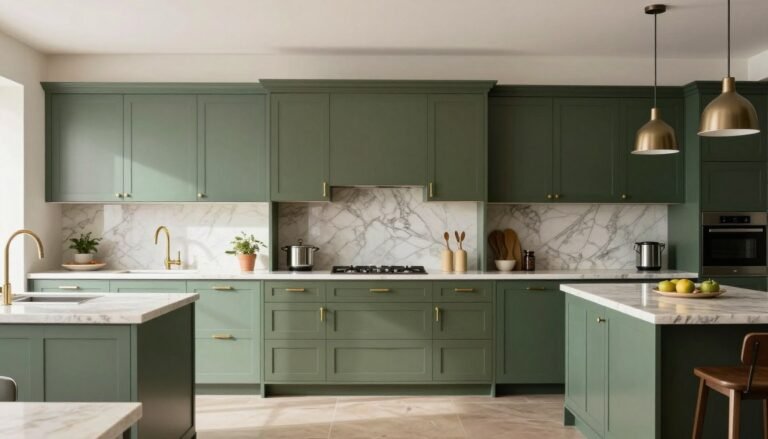
✎ Steal This Look
- Paint Color: use Behr brand. Match the ACTUAL wall color in the image. Format: Behr ColorName CODE
- Furniture: rolling metal utility cart for portable tool and supply storage during cabinet painting
- Lighting: LED work light with tripod stand for illuminating cabinet interiors and undersides
- Materials: tack cloth, painter’s pyramids, foam sanding blocks, disposable drop cloths, FrogTape painter’s tape
Kitchen cabinet painting is where patience pays dividends—every hour spent in prep saves three in correction, and there’s genuine satisfaction in opening a smoothly operating drawer that you personally restored from sticky and grimy to pristine.
✅ Get The Look
Pro Tips and Warnings
Surface Compatibility:
- Best on wood surfaces
- Possible on good condition laminate
- Test adhesion before full application
Finish Selection:
- Semi-gloss recommended
- Satin works well
- Avoid high-gloss (shows imperfections)
Safety First:
- Ventilate workspace
- Wear protective gear
- Be cautious with lead paint potential
Common Mistakes to Avoid
- Skipping thorough cleaning
- Rushing between coats
- Neglecting proper sanding
- Using wrong type of paint
- Improper hardware removal

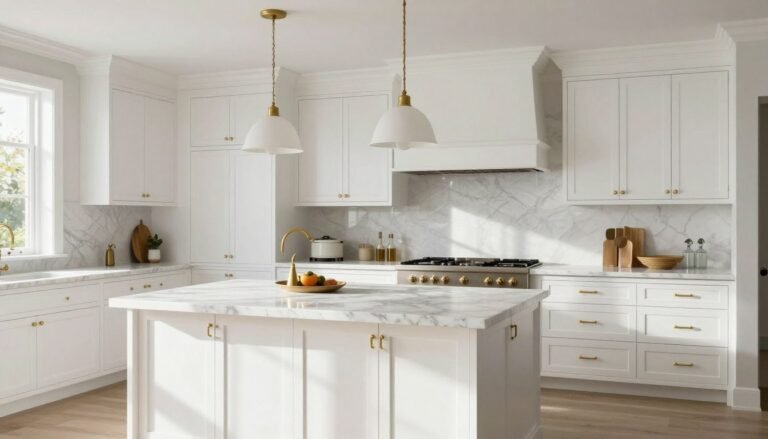
★ Steal This Look
- Paint Color: use PPG brand. Match soft warm white kitchen cabinets. Format: PPG Delicate White PPG1001-1
- Furniture: Shaker-style maple base cabinets with brushed nickel cup pulls
- Lighting: schoolhouse pendant lights with milk glass shades over island
- Materials: satin enamel cabinet paint, 220-grit sanding sponge, tack cloth, deglosser solution
We’ve all been tempted to rush a weekend cabinet project, but your future self will thank you for the extra day of prep—there’s nothing quite like the disappointment of watching your fresh paint job fail because you skipped the deglosser.
Final Thoughts
Painting kitchen cabinets isn’t just a project. It’s an opportunity to breathe new life into your kitchen without emptying your wallet.
Take your time. Follow the steps. Enjoy the transformation.
Happy painting!

[…] be real. Kitchen renovations can cost a fortune. But what if I told you that you could dramatically transform your kitchen for as little as $100? Yep, you heard that […]
[…] Use a high-quality primer […]
[…] Painting is like the superhero of budget renovations. Here’s how to nail it: […]
[…] Use high-density foam rollers […]
[…] cut to the chase. Painting kitchen cabinets […]
[…] to transform your kitchen? Wood cabinets are waiting to tell your […]