This post may contain affiliate links. Please see my disclosure policy for details.
How I Learned to Propagate Christmas Cactus (And You Can Too)
Contents
Propagating Christmas cactus is one of those gardening wins that makes you feel like an absolute genius, even though it’s genuinely one of the easiest plants to multiply.
I’m talking about taking one plant and turning it into five, ten, or however many you want—without spending a dime.
The best part? You don’t need fancy equipment or a green thumb.
Why You’d Want to Propagate This Thing in the First Place
Maybe your Christmas cactus has gotten leggy and weird-looking. Perhaps you want to gift plants to friends without emptying your wallet. Or you broke off a chunk while moving it and refuse to let it go to waste (been there).
Whatever your reason, I’ve got you covered.
The Dead-Simple Soil Method (My Personal Favorite)
This is how I propagate Christmas cactus every single time, and I’ve successfully created over thirty plants using this exact method.
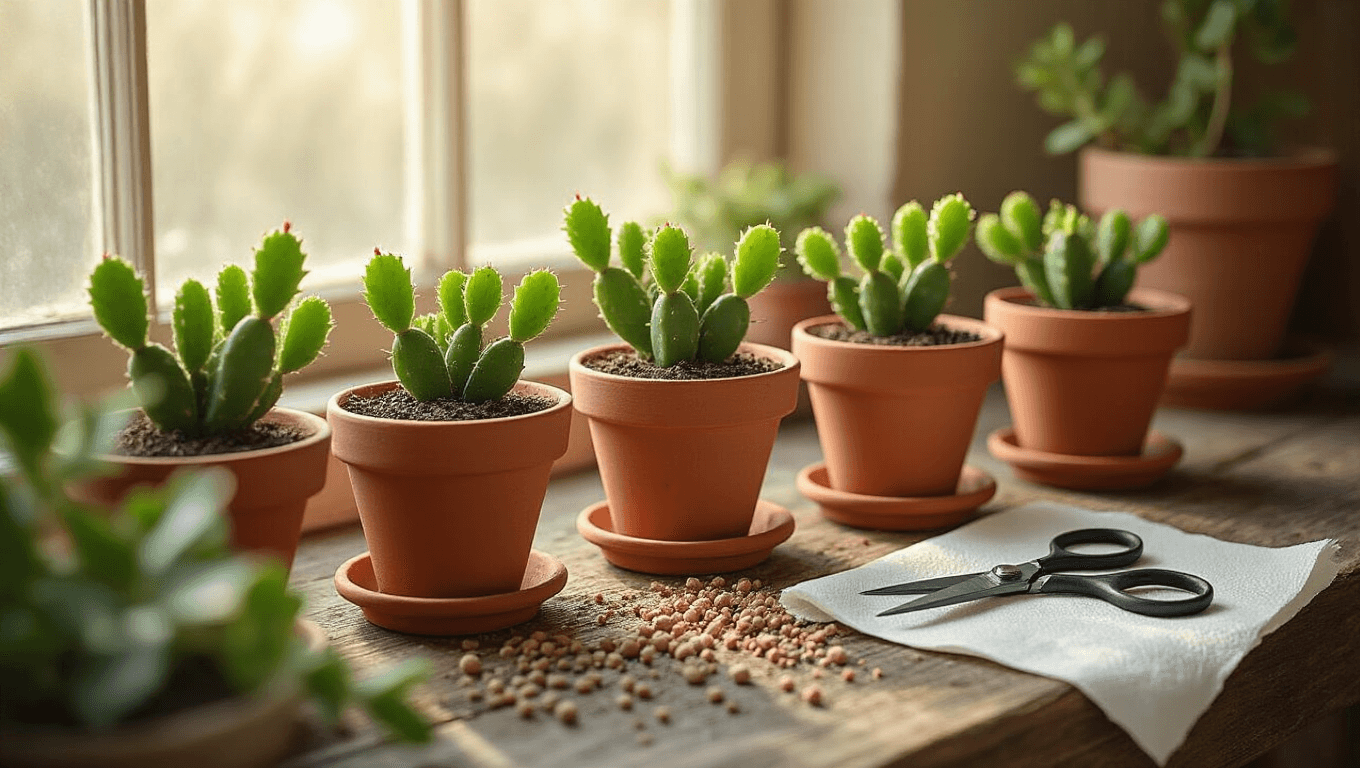
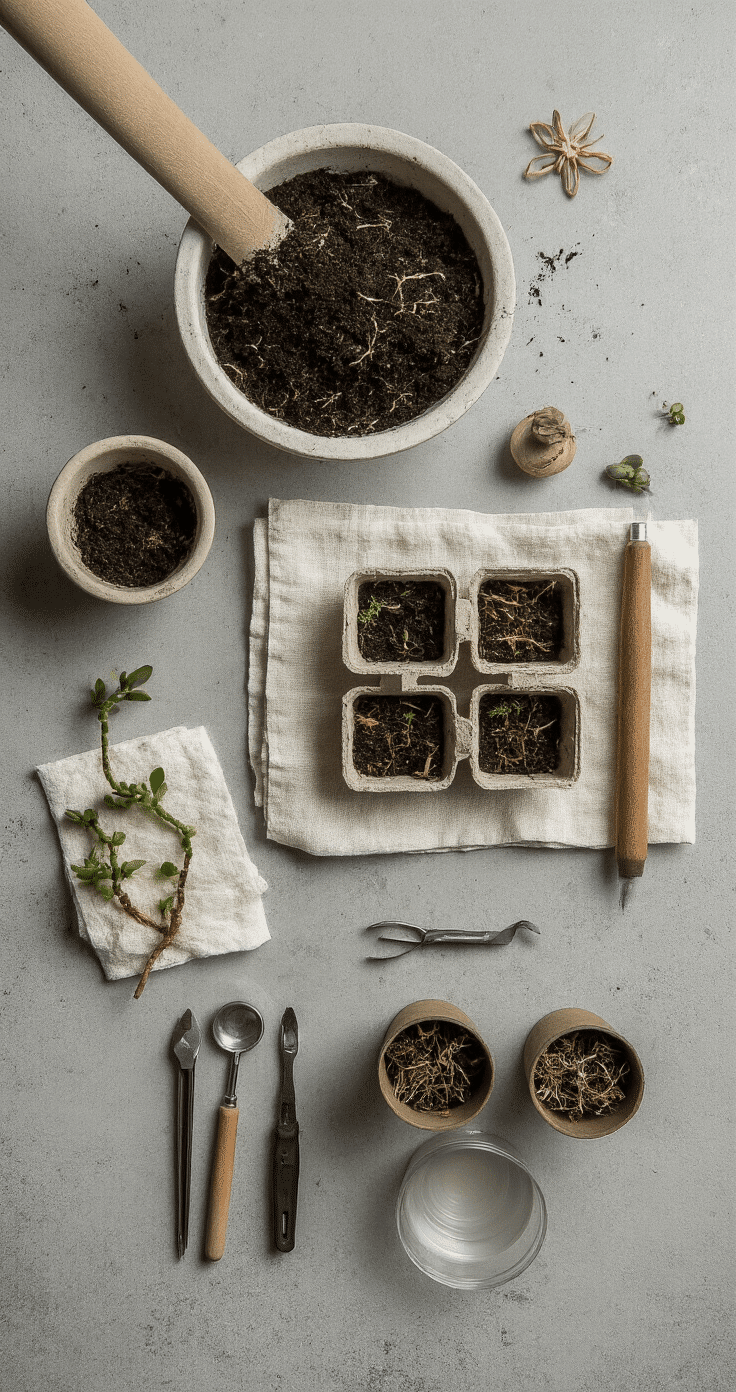
Step 1: Grab Your Cuttings
Look at your Christmas cactus. See those flattened, segmented stems?
You need segments that are 2-5 sections long.
Just twist or snip them off at the joint where segments connect. Use clean scissors or just your hands—I’ve done both with equal success.
Pick healthy-looking segments. Skip anything that looks shriveled, discolored, or sad.
Step 2: Let Them Chill Out
Here’s where beginners mess up.
Do not immediately stick your cuttings into soil.
Lay them on a paper towel in a cool, dry spot for 1-2 days. The cut end needs to callus over (basically form a little scab).
This prevents rot, which is the number one killer of Christmas cactus cuttings.
I usually toss mine on the kitchen counter and forget about them for two days.
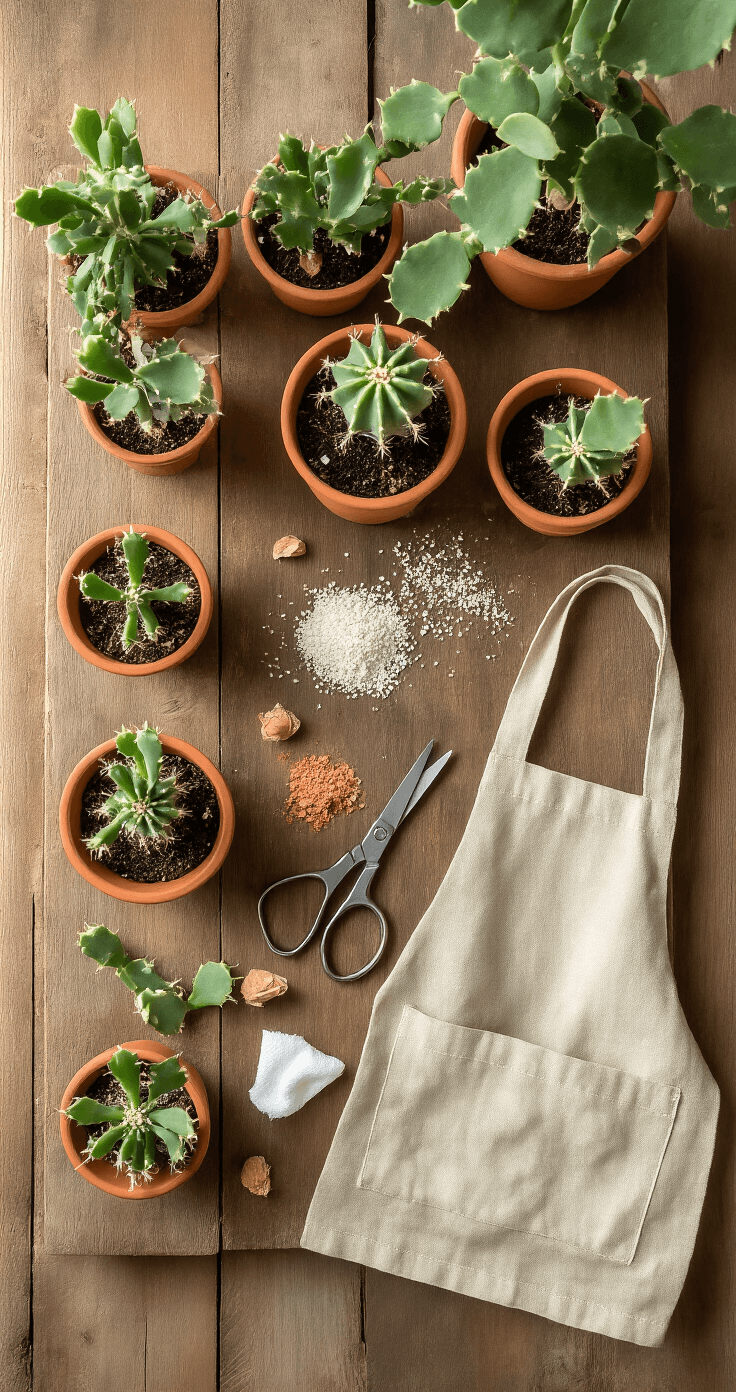
Step 3: Get Your Soil Ready
You need well-draining soil. Period.
I use cactus potting mix because it’s specifically designed for plants that hate wet feet.
If you’re using regular potting soil, mix in some perlite to improve drainage—about one part perlite to two parts soil.
Fill a small pot (3-4 inches works great) with your soil mix and moisten it slightly.
Step 4: Plant the Little Buggers
Push each cutting about an inch deep into the soil.
Make sure at least one full segment is buried. Firm the soil around it so it stands upright.
I’ve crammed multiple cuttings into one pot before, and they do just fine—just give them a bit of space.
Step 5: Create the Right Environment
Put your pot somewhere with bright, indirect light.
Not full sun (that’ll fry them). Not a dark corner (they’ll sulk and refuse to root).
I keep mine on a shelf about six feet from an east-facing window.
Temperature matters too. Aim for 65-75°F—basically normal room temperature.
Here’s a trick I learned from my grandmother: loosely drape a clear plastic bag over the pot to trap humidity, but don’t let it touch the cutting. Remove it every few days to let air circulate.
Step 6: Water (But Not Too Much)
This is where people either drown their cuttings or turn them into plant jerky.
Water when the top inch of soil feels dry. That’s it.
The soil should be slightly moist, never soggy. Think of a wrung-out sponge—damp but not dripping.
The Waiting Game
Roots typically show up in 6-8 weeks.
I know, I know—it feels like forever.
You can gently tug on the cutting after a month. If it resists, congratulations—you’ve got roots.
Once roots are about an inch long, you can transplant into a larger decorative pot with regular potting mix.
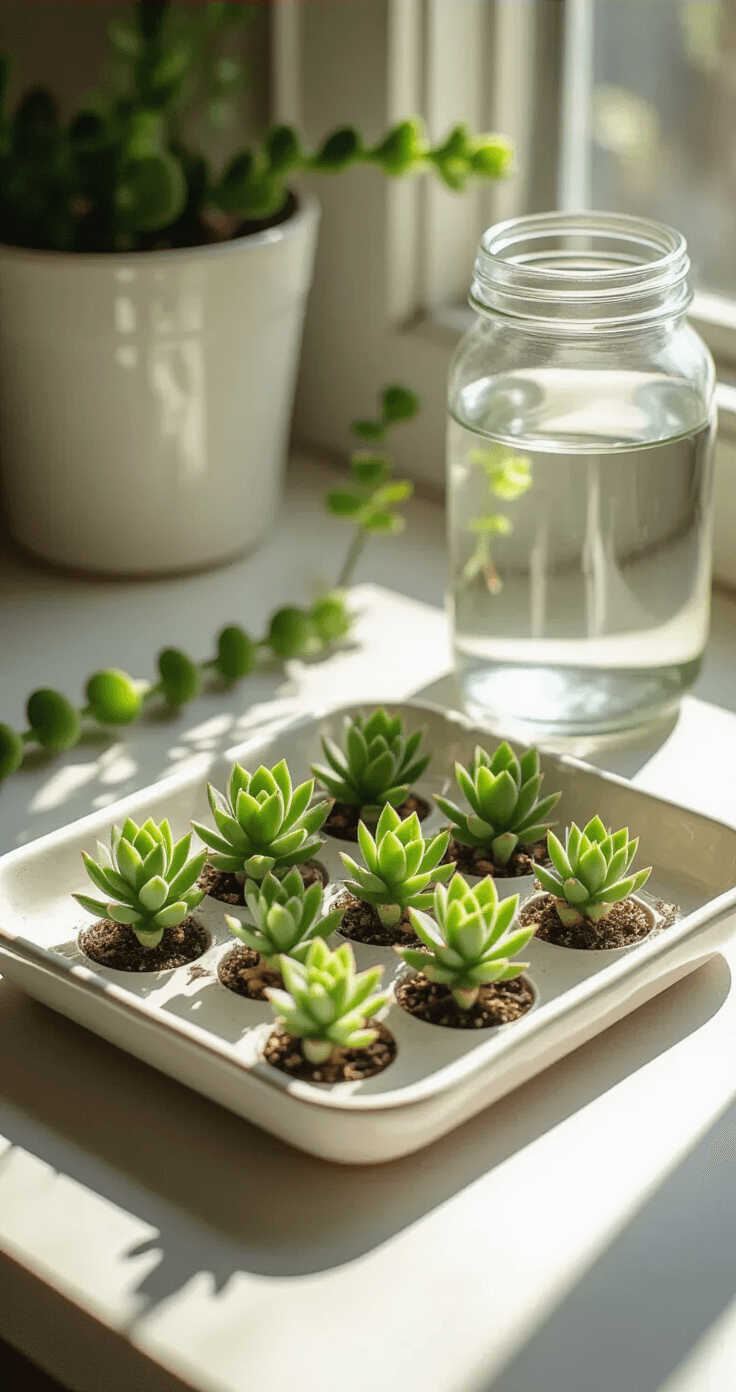
The Water Method (For the Impatient Among Us)
I’ll be honest—I prefer soil propagation because it creates stronger roots.
But water propagation has its perks:
- You can watch the roots develop (oddly satisfying)
- It’s faster initially
- You don’t need any supplies beyond a glass
Here’s how:
Take your callused cutting and stick it in a small glass or jar with about an inch of water. Make sure only the bottom segment touches water.
Change the water every 3-5 days to prevent bacterial growth.
Place in bright, indirect light.
Roots usually appear in 2-4 weeks.
The catch? These water-grown roots are more delicate. When you transfer to soil, you’ll need to be extra careful and keep the soil consistently moist for the first week while the roots adapt.
Some cuttings struggle with this transition, which is why I usually skip this method unless I want to watch root development for my own nerves.
Division: The Lazy Person’s Method
Got an overgrown Christmas cactus that’s bursting out of its pot?
Just divide it.
Unpot the entire plant and gently separate sections that already have roots attached. It’s like pulling apart dinner rolls.
Replant each section in its own pot. Done.
This gives you instant plants without waiting for roots to develop, plus it refreshes the parent plant.
I did this with a massive Christmas cactus I inherited from my aunt, and now I have three thriving plants instead of one unruly monster.
My Hard-Learned Pro Tips
Sterilize your tools. Wipe scissors or knives with rubbing alcohol before cutting. Prevents spreading diseases between plants.
Skip the rooting hormone (probably). Christmas cactus roots so easily that rooting hormone is overkill. I’ve used it exactly once and noticed zero difference.
Propagate in spring or summer. The plant’s naturally growing during these months, so cuttings root faster. I’ve successfully propagated in fall and winter too, but it takes longer.
Use broken pieces. Knocked off a stem while watering? Let it call


")

 In Freezing Weather")