

This post may contain affiliate links. Please see my disclosure policy for details.
Transform Your Kitchen: The Ultimate Guide to Painting Kitchen Cabinets Like a Pro
Contents
Tired of staring at outdated kitchen cabinets that scream “renovation needed”? I’ve been there, and I’m about to show you how to completely transform your kitchen without breaking the bank.
Why Paint Your Kitchen Cabinets?
Let’s cut to the chase – painting kitchen cabinets is the most budget-friendly makeover trick in home design. For just a few hundred dollars and some weekend elbow grease, you can:
- Instantly update your kitchen’s look
- Save thousands compared to full replacement
- Express your personal style
- Boost your home’s resale value

Before You Start: What You Need to Know
Real Talk Checklist:
- This isn’t a one-afternoon project
- Expect 3-5 days from start to finish
- Patience is your best tool
- Prep work is 80% of your success
Your Foolproof Cabinet Painting Roadmap
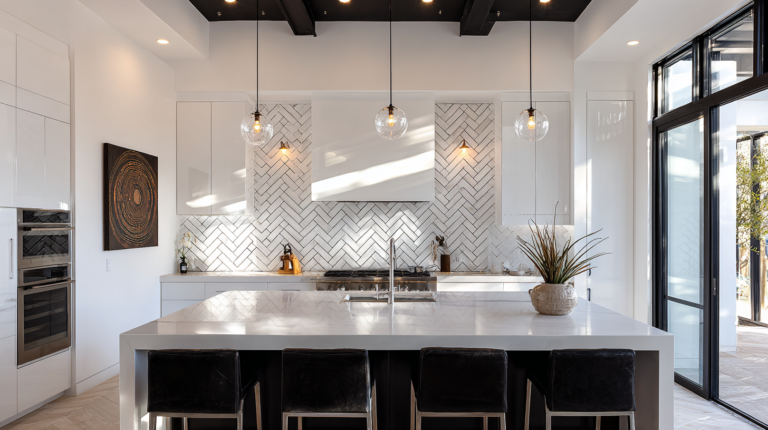
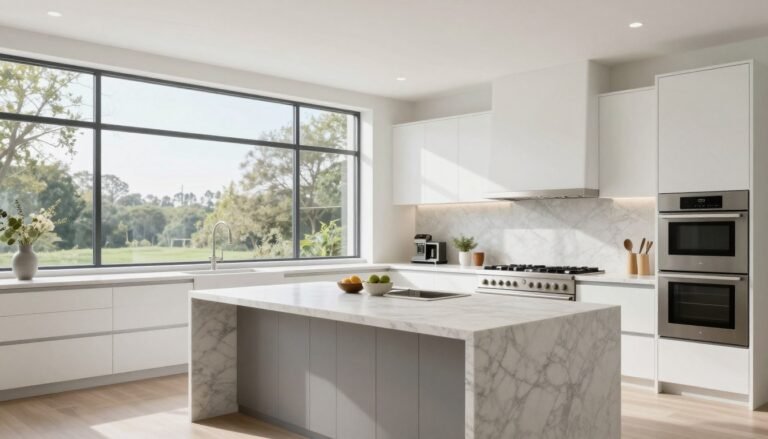
🖼 Steal This Look
- Paint Color: Sherwin-Williams Alabaster SW 7008
- Furniture: tapered leg bar stools with woven rush seats in natural oak finish
- Lighting: schoolhouse pendant lights with aged brass hardware and milk glass shades
- Materials: brushed brass hardware, honed Carrara marble-look quartz, open grain oak shelving, matte ceramic subway tile
There’s something deeply satisfying about opening a freshly painted cabinet door months later and remembering that weekend you transformed the heart of your home with your own two hands.
1. Prep Like a Professional
Stripping Down to Basics
- Remove ALL hardware
- Clean surfaces ruthlessly
- Sand everything (yes, EVERYTHING)
- Create a dust-free workspace

🖼 Steal This Look
- Paint Color: Benjamin Moore Chantilly Lace OC-65
- Furniture: sturdy folding work table with protective surface cover
- Lighting: adjustable LED shop light with 5000K daylight temperature
- Materials: 220-grit sanding sponges, TSP substitute cleaner, painter’s tape, plastic sheeting
This is the stage where most DIYers lose patience and rush, but I’ve learned that every hour spent in prep saves three hours of fixing mistakes later—your future self will thank you when that first coat goes on buttery smooth.
2. Priming: The Secret Sauce
Why Primer Matters
- Creates a sticky surface for paint
- Covers existing colors
- Prevents future chipping
Pro Tip: Not all primers are created equal. Choose based on your cabinet material:
- Wood: Standard bonding primer
- Laminate: Specialized adhesion primer
- Metal: Rust-preventing primer

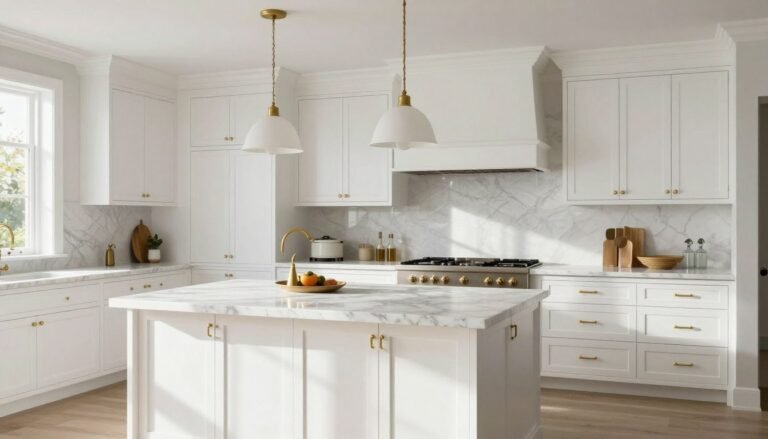
★ Steal This Look
- Paint Color: Farrow & Ball Strong White 2001
- Furniture: custom Shaker-style cabinet fronts with soft-close hinges
- Lighting: under-cabinet LED strip lighting with warm 2700K temperature
- Materials: sanded birch plywood, oil-based bonding primer, microfiber foam rollers, natural bristle brushes
This is where weekend warriors either become kitchen heroes or call in the pros for rescue—I’ve seen too many beautiful paint jobs fail because someone tried to save forty minutes and skip proper priming.
3. Paint Application: The Magic Moment
Choosing Your Paint
- Durability is king
- Recommended brands:
- Sherwin-Williams Emerald Urethane
- Benjamin Moore Advance
- Best finishes: Satin or semi-gloss
Application Technique
- Thin, even coats
- Use high-quality foam rollers
- Angled brushes for detailed areas
- 2-3 coats for professional finish

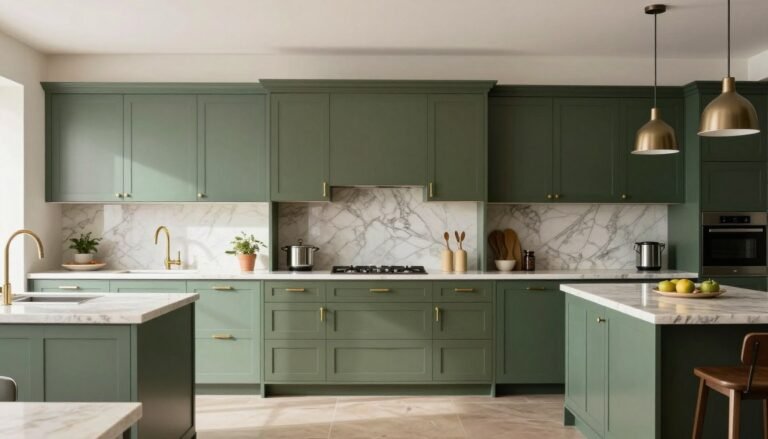
🎨 Steal This Look
- Paint Color: Sherwin-Williams Emerald Urethane Trim Enamel in Extra White SW 7006
- Furniture: pull-out cabinet organizer with soft-close glides
- Lighting: under-cabinet LED strip lighting in warm white 2700K
- Materials: smooth birch plywood cabinet boxes with solid maple door frames
There’s something almost meditative about this stage—after all the sanding and prep, watching that first coat transform tired wood into something fresh reminds you why you didn’t just replace everything.
4. Finishing Touches
Hardware Decisions
- Replace or refresh?
- Consider modern, complementary styles
- Budget-friendly update option

Common Pitfalls to Dodge
Rookie Mistakes:
- Skipping primer
- Painting over dirty surfaces
- Using cheap brushes
- Rushing between coats

Design Inspiration
Color Trends
- Classic white (timeless)
- Navy blue (bold statement)
- Sage green (natural vibe)
- Charcoal gray (modern elegance)

Budget Breakdown
Estimated Costs:
- Paint & Primer: $100-$200
- Brushes & Rollers: $50
- Hardware: $50-$150
- Total: $200-$500 DIY vs. $2000-$5000 professional
Final Thoughts
Painting kitchen cabinets isn’t just a project—it’s a transformation. With the right approach, you’ll create a space that feels brand new without the brand-new price tag.
Remember: Preparation is 80% of your success. Take your time, follow the steps, and your kitchen will thank you.
Ready to turn those dated cabinets into a stunning focal point? Let’s do this!
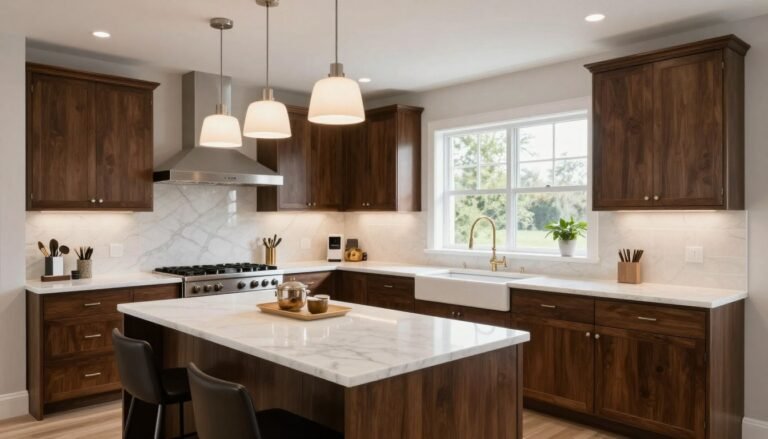
🌟 Steal This Look
- Paint Color: Valspar Ultra White 7006-24
- Furniture: brass bar stools with leather seats
- Lighting: matte black pendant lights with clear glass shades
- Materials: brushed brass hardware, honed marble countertops, natural wood open shelving
This is where your kitchen finally feels like yours again—after weeks of sanding and waiting, standing back to see those pulls catch the morning light makes every cramped hour worth it.

[…] Pro Tip: Your kitchen is more than a room. It’s the heart of your home. Choose cabinets that tell YOUR story. […]
[…] models like the Cuisinart 14-Cup Food Processor include a comprehensive set of accessories that transform the appliance into a multi-functional kitchen tool. When evaluating options, consider which functions you’ll use most frequently. If you […]
[…] Pro Tip: Wood cabinets are ideal, but don’t worry if you have laminate – special primers make it totally doable! […]