A split-screen view of a modern kitchen renovation, showcasing before and after cabinet painting; left side shows original wood cabinets with prep materials, while the right side displays newly painted white shaker cabinets, all enveloped in natural light with a focus on professional painting tools and detailed textures.

How to Paint Kitchen Cabinets: A DIY Transformation Guide

This post may contain affiliate links. Please see my disclosure policy for details.

How to Paint Kitchen Cabinets: A DIY Transformation Guide

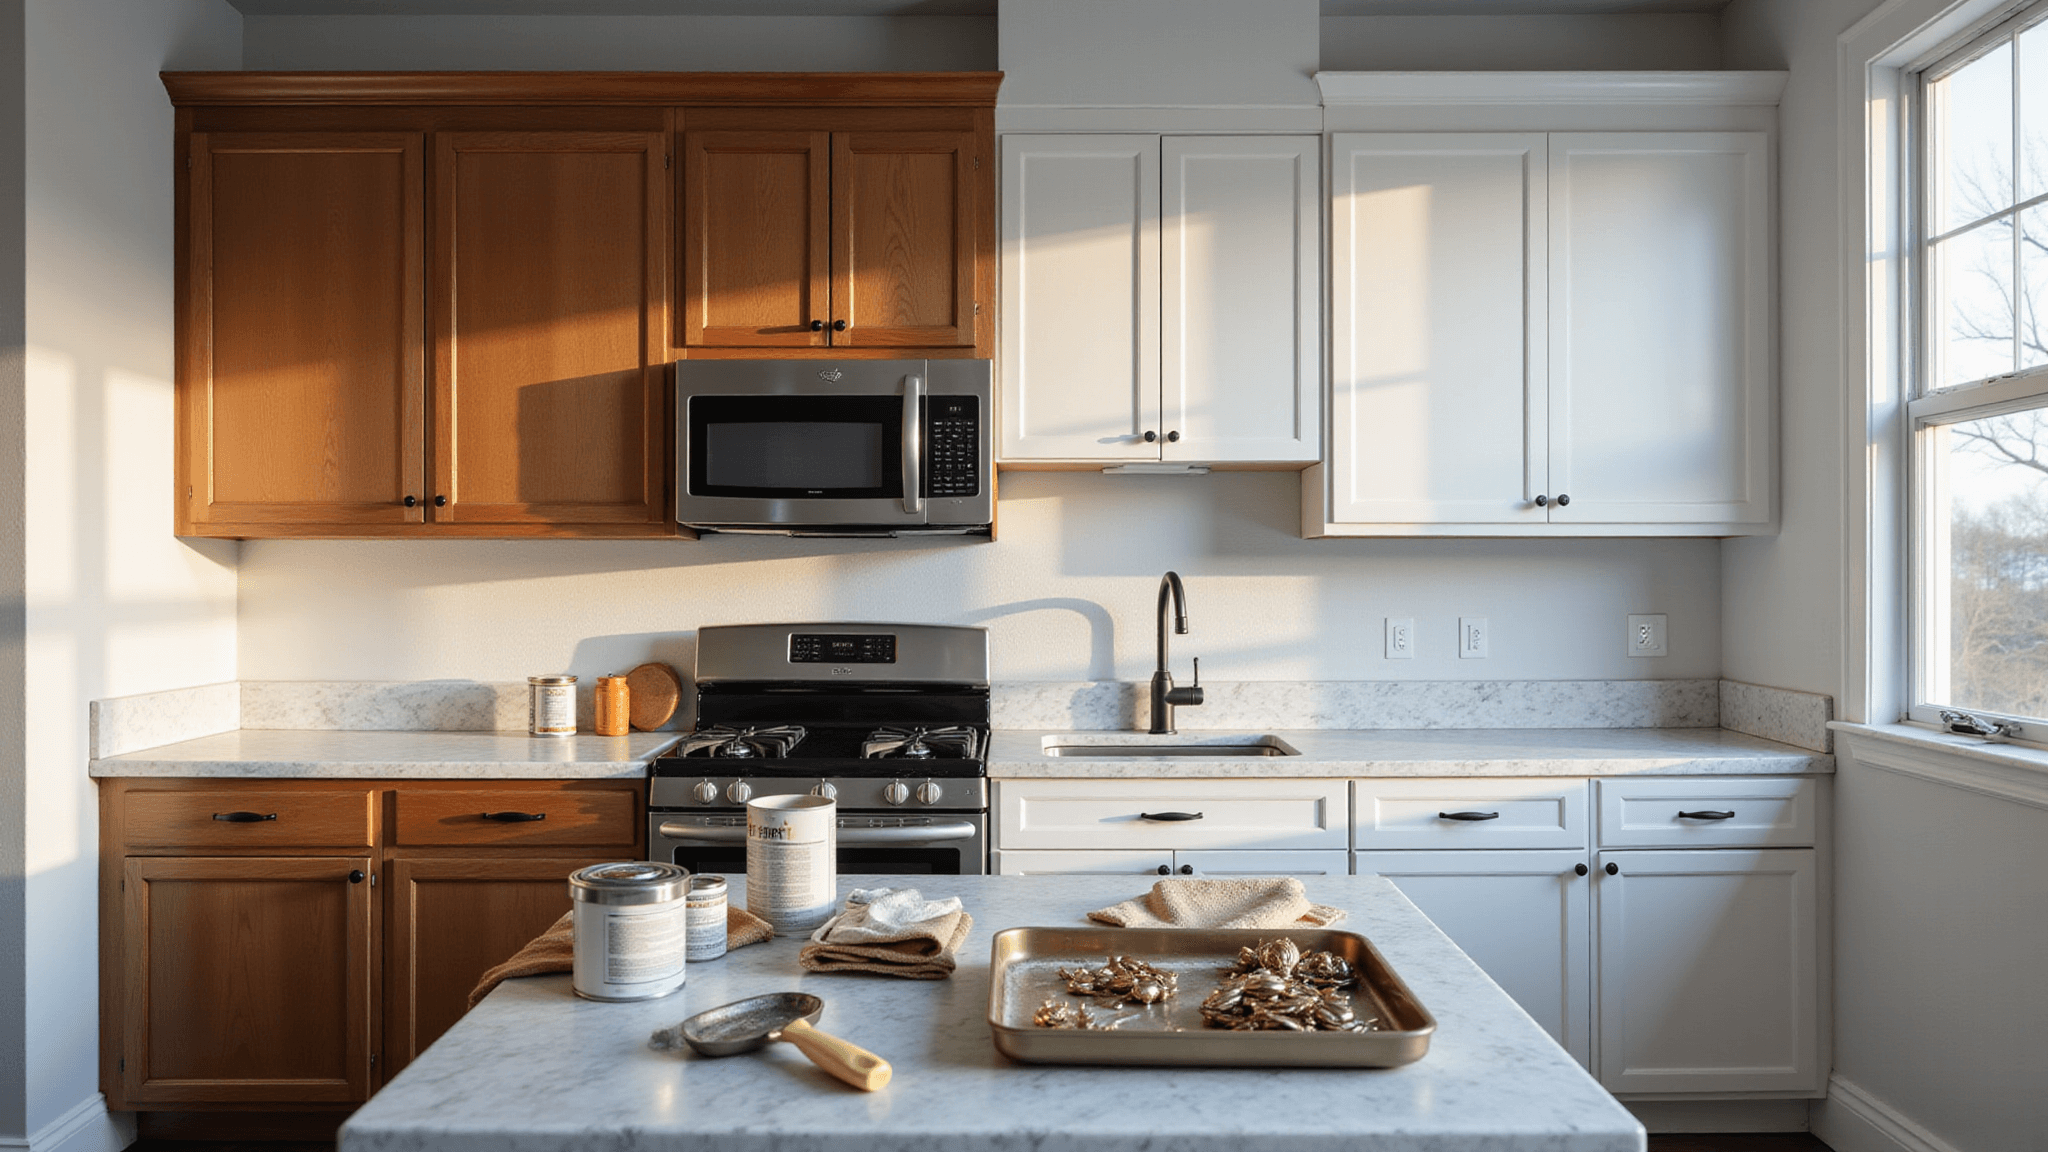
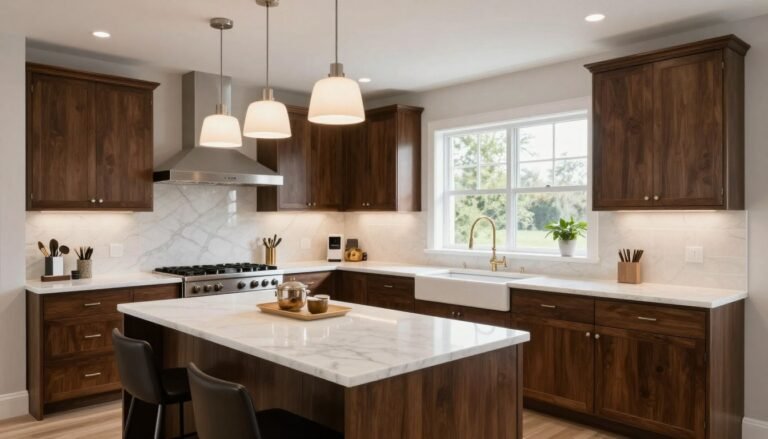
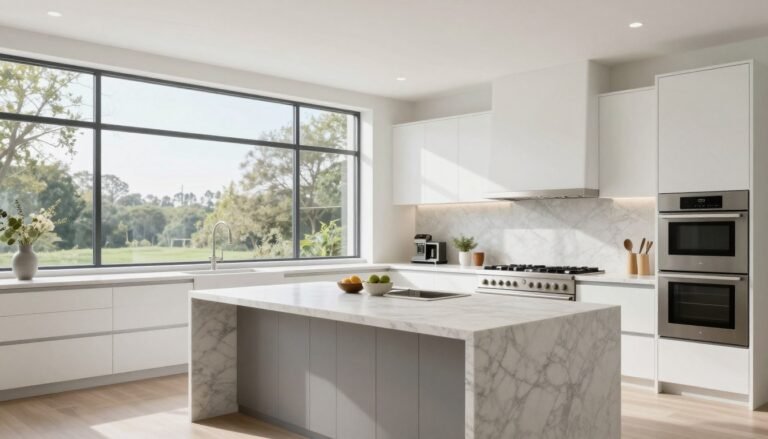
Breathing new life into your kitchen doesn’t require a full renovation. Painting kitchen cabinets is the ultimate budget-friendly makeover that can completely transform your space.

Why Paint Your Kitchen Cabinets?

Let’s be real – kitchen renovations are expensive. A full cabinet replacement can cost thousands, but a paint job? We’re talking about a weekend project that can save you serious cash while delivering stunning results.

Bright minimalist kitchen undergoing renovation, featuring white shaker cabinets mid-painting, organized workspace with drop cloths and paint supplies on an island, large window allowing morning light, and a professional atmosphere highlighting clean lines and attention to detail.

💡 Pro Tip: Paint upper cabinets in a lighter shade like Chantilly Lace OC-65 and lower cabinets in a grounding mid-tone like Kendall Charcoal HC-166 to add visual weight and hide scuffs where hands touch most.
🛑 Avoid This: Avoid painting cabinets without removing doors and hardware first—rushing this step leads to drips, visible brush marks, and paint failure around hinges that will haunt you every morning.

Your kitchen cabinets take a beating—greasy hands, steam, splattered sauces—so choosing to paint isn’t just about aesthetics, it’s about reclaiming a space you actually want to cook in without the gut-renovation price tag that keeps you up at night.

👑 Get The Look

Preparation: The Secret to a Professional Finish

What You’ll Need to Know Before Starting

Realistic Expectations:

  • Total project time: 3-5 days
  • Skill level: Intermediate DIY
  • Budget: $200-$500 (depending on kitchen size)

Pro Tip: Wood cabinets are ideal, but don’t worry if you have laminate – special primers make it totally doable!

The Ultimate Step-by-Step Cabinet Painting Process

Step 1: Workspace Preparation

Safety First:

  • Ventilate your workspace
  • Wear protective gear (safety glasses, dust mask)
  • Cover countertops and floors

An overhead view of an intimate workspace showcasing a recently sanded oak cabinet door on a folding work table, with organized tools like 220-grit sandpaper, tack cloths, and labeled hardware bags, illuminated by afternoon light that casts subtle shadows, highlighting the rich wood grain and craftsmanship details.

Step 2: Demolition and Labeling

Dismantling Process:

  • Remove all hardware
  • Take off cabinet doors and drawers
  • CREATE A LABELING SYSTEM
    • Use numbered masking tape
    • Take photos for reference
    • Keep hardware in labeled bags
Step 3: Deep Cleaning

Cleaning is Non-Negotiable:

  • Use a heavy-duty degreaser
  • Remove all grease and grime
  • Let surfaces dry completely

A corner kitchen vignette in progress, featuring 8ft tall upper cabinets with exposed frames, half primed to showcase a dramatic before/after. The golden hour light casts shadows through the window, illuminating a close-up of a foam roller applying a stipple-free finish. Primer cans and quality brushes are neatly arranged on protected counters, all captured from a chest height angle with technical lighting emphasizing the surface preparation.

Step 4: Sanding Technique

Sanding Secrets:

  • Use 220-grit sandpaper
  • Light, even sanding
  • Goal: Create a slightly rough surface for paint adhesion
  • IMPORTANT: No need to sand to bare wood
Step 5: Priming Like a Pro

Primer Selection:

  • Choose a high-quality bonding primer
  • Use foam rollers for flat surfaces
  • Brushes for detailed areas
  • Allow complete drying between coats

A wide-angle view of a modern farmhouse kitchen featuring exposed beams, multiple cabinet doors in various painting stages on a drying rack near a window, and a professional spray setup in the corner, with cool gray walls contrasting warm wood elements under afternoon light.

Step 6: Painting Techniques

Paint Application Rules:

  • Use semi-gloss or satin paint
  • Apply thin, even coats
  • 2-3 coats recommended
  • Use high-density foam rollers
  • Allow complete drying between coats
Step 7: Finishing Touches

Final Steps:

  • Let paint cure for 48-72 hours
  • Reattach hardware
  • Rehang doors and drawers carefully

Detail shot of a vintage enamel tray with labeled zip bags containing brass handles and hinges, organized with a numbered tape system, set against a white marble surface with natural light creating metallic highlights.

★ Pro Tip: Invest in a paint sprayer for cabinet doors and drawer fronts—it delivers the factory-smooth finish that brushes and rollers simply cannot replicate, even with expert technique.
🛑 Avoid This: Avoid skipping the labeling system or tossing hardware into one communal bag; mismatched hinges and mystery screws will turn your weekend project into a month-long frustration.

Kitchen cabinets endure more daily abuse than nearly any other surface in your home—grease, steam, fingerprints, and constant handling—so cutting corners on prep work here guarantees peeling paint within a year.

Common Mistakes to Avoid

Painting Pitfalls:

  • Skipping cleaning stage
  • Applying thick paint coats
  • Not allowing proper drying time
  • Using low-quality tools

A kitchen peninsula workspace, 8ft long, showcases a systematic painting progression with five cabinet doors showing each step: cleaned, sanded, primed, first coat, and final coat. A north-facing window provides natural light. Professional-grade tools and materials are neatly arranged by order of use, captured at a 30-degree angle in bright, clean lighting to create an instructional atmosphere.

✨ Pro Tip: Always degrease cabinets with TSP substitute before sanding, and apply three thin coats of paint rather than one thick coat to prevent drips and ensure a factory-smooth finish.
⛔ Avoid This: Avoid rushing the drying process between coats or painting in high humidity, as this traps moisture and causes premature chipping and peeling within months.

Kitchen cabinets endure daily grease, steam, and finger oils that most painted furniture never faces, so cutting corners here means you’ll be repainting again while your neighbor’s cabinets still look pristine.

Pro Tools Checklist

Must-Have Supplies:

  • Degreasing cleaner
  • 220-grit sandpaper
  • Painter’s tape
  • Drop cloths
  • High-quality primer
  • Semi-gloss cabinet paint
  • Foam rollers
  • Quality brushes
  • Tack cloths

Budget Breakdown

Estimated Costs:

  • Paint: $50-$100
  • Primer: $30-$50
  • Tools: $50-$100
  • Total: $130-$250

Final Thoughts

Painting kitchen cabinets is totally achievable for anyone willing to invest time and patience. The result? A kitchen that looks like it just stepped out of a design magazine – without the hefty price tag.

Pro Tip: Take your time, follow each step carefully, and don’t rush the process. Your patience will pay off in a stunning kitchen transformation.

A freshly painted open-concept kitchen featuring navy blue lower cabinets and white upper cabinets with brass hardware, illuminated by warm early evening light. The countertops are styled with minimal decor, showcasing a professional finish. The image is captured at waist height from the kitchen entrance, highlighting the dramatic transformation of the space.

🌟 Pro Tip: Once your cabinets are freshly painted, edit everything that lives inside them—matching storage containers and intentionally chosen display pieces on open shelves make the paint job feel like part of a complete design story rather than a standalone update.
🚫 Avoid This: Avoid reinstalling old, mismatched hardware on your newly painted cabinets; dated pulls and hinges will undermine your hard work and make the space feel like a budget compromise rather than a thoughtful refresh.

There’s something deeply satisfying about opening a cabinet door you painted yourself, knowing every brushstroke represents hours of patience and the kitchen finally feels like yours—not the previous owner’s.

2 Comments

Leave a Reply

Your email address will not be published. Required fields are marked *