
This post may contain affiliate links. Please see my disclosure policy for details.
DIY Christmas Decor Ideas That’ll Make Your Neighbors Actually Jealous (Without Breaking the Bank)
Contents
- DIY Christmas Decor Ideas That’ll Make Your Neighbors Actually Jealous (Without Breaking the Bank)
- Why DIY Christmas Decor Actually Makes Sense
- Giant Outdoor Ornaments That Stop Traffic
- Rustic Wood Magic: Pallet Trees That Actually Look Intentional
- Upcycled Centerpieces That Spark Conversations
- Christmas Village from Cardboard Castoffs
DIY Christmas decor ideas can transform your home into a winter wonderland without maxing out your credit cards or requiring a Pinterest PhD.
Look, I get it. You walk into Target in November and suddenly your cart is full of $200 worth of decorations that look identical to everyone else’s house on the block. Your wallet screams, your creativity dies a little, and you’re stuck with the same mass-produced holiday cheer as the rest of suburbia.
But what if I told you that some of my favorite holiday decorations cost less than a fancy coffee and came from materials I already had lying around?
Why DIY Christmas Decor Actually Makes Sense
I used to be that person who spent hundreds on store-bought decorations. Then I had kids, a mortgage, and a reality check.
Here’s what changed my mind about making my own holiday magic:
- Your money stays in your pocket – Most projects cost under $10
- Nobody else has your exact decorations – Custom beats cookie-cutter every time
- It’s actually therapeutic – Like meditation, but with glitter
- Kids can help – Family bonding that doesn’t involve screens
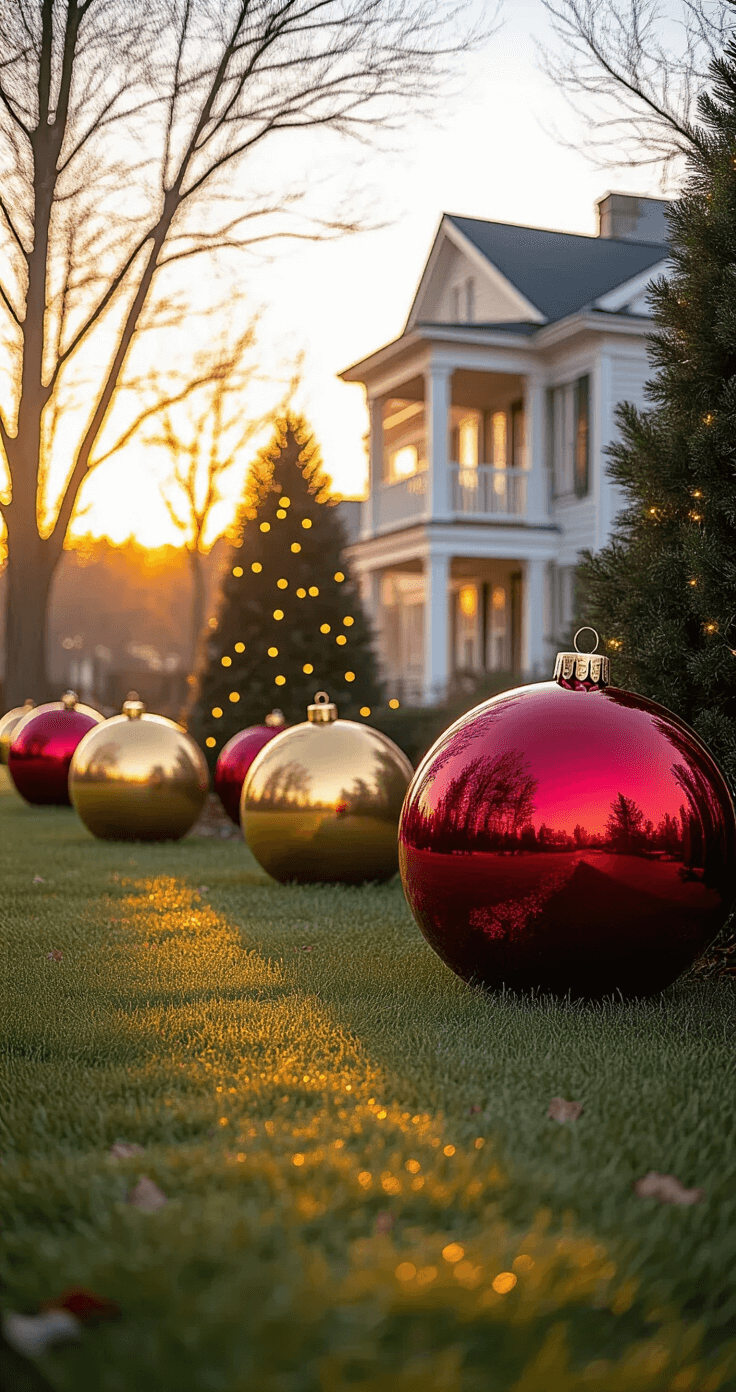
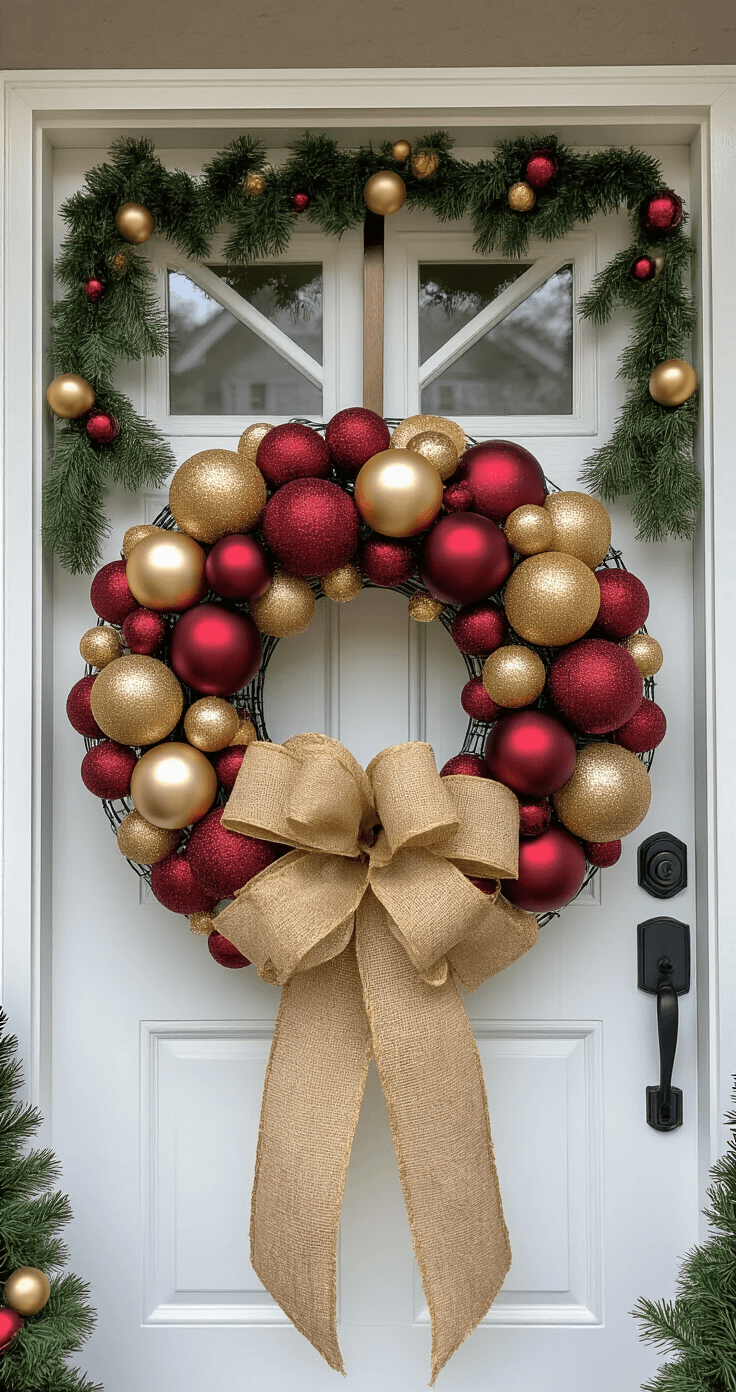
Giant Outdoor Ornaments That Stop Traffic
Want to be that house everyone drives by to see? Start with oversized outdoor ornaments that look like you hired a professional decorator.
I discovered this trick by accident when my regular outdoor decorations looked pathetic next to my neighbor’s elaborate display.
What you’ll need:
- Large plastic exercise balls or beach balls
- Metallic spray paint
- Hot glue gun and sticks
- Wide ribbon for the “cap”
- Outdoor extension cord and lights (optional)
The process:
- Spray paint your balls in classic ornament colors – gold, silver, red, or deep green work best
- Let dry completely (trust me on this one)
- Hot glue ribbon around the “top” to create that ornament cap look
- For extra wow factor, wrap battery-powered LED strings inside clear balls before painting
Pro tip: Secure these babies to the ground with landscape stakes unless you want to chase runaway ornaments down the street during the first windstorm.
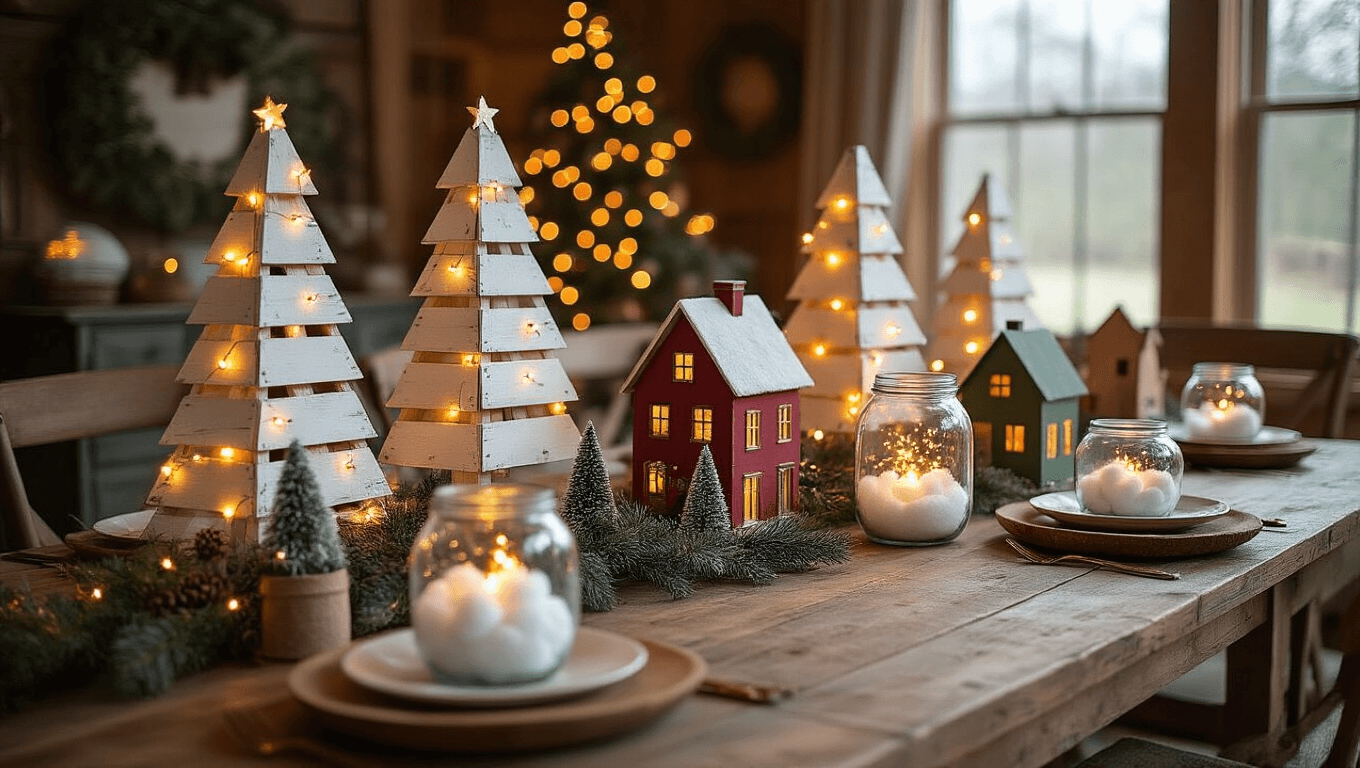
Rustic Wood Magic: Pallet Trees That Actually Look Intentional
Pallet projects can look amazing or like complete garbage. The difference is in the details.
I’ve made three pallet Christmas trees over the years, and only the last one didn’t make me want to hide it in the garage.
Materials for success:
- Wooden pallets (check Facebook Marketplace first)
- Sandpaper or electric sander
- Wood stain or paint
- Jigsaw for shaping
- Star tree topper
- Battery-powered string lights
The game-changing steps:
- Sand everything – Skip this and your tree looks like driftwood found behind a gas station
- Cut your pallet boards into decreasing lengths for that tree shape
- Stain or paint with intention – weathered white, classic green, or natural wood all work
- Attach boards to a backing piece of plywood
- Drill small holes for threading lights
- Add your star and step back to admire
The key is making it look rustic on purpose, not accidentally shabby.
Upcycled Centerpieces That Spark Conversations
Your dining table deserves better than a plastic Santa from 1987.
Last year, I created centerpieces using materials I already owned, and guests literally asked where I bought them.
Wine glass snow globes:
- Fill wine glasses with fake snow or cotton batting
- Add tiny figurines or ornaments inside
- Flip upside down on a decorative plate
- Surround with battery-powered tea lights
Mason jar winter wonderlands:
- Layer cotton batting, miniature trees, and figurines
- Add battery-powered fairy lights
- Tie rustic twine or ribbon around the rim
- Group in odd numbers for visual appeal
Wine bottle candlesticks:
- Remove labels (heat with hair dryer first)
- Cut bottles using the string-and-flame method
- Sand rough edges smooth
- Insert taper candles
- Arrange with greenery and pinecones
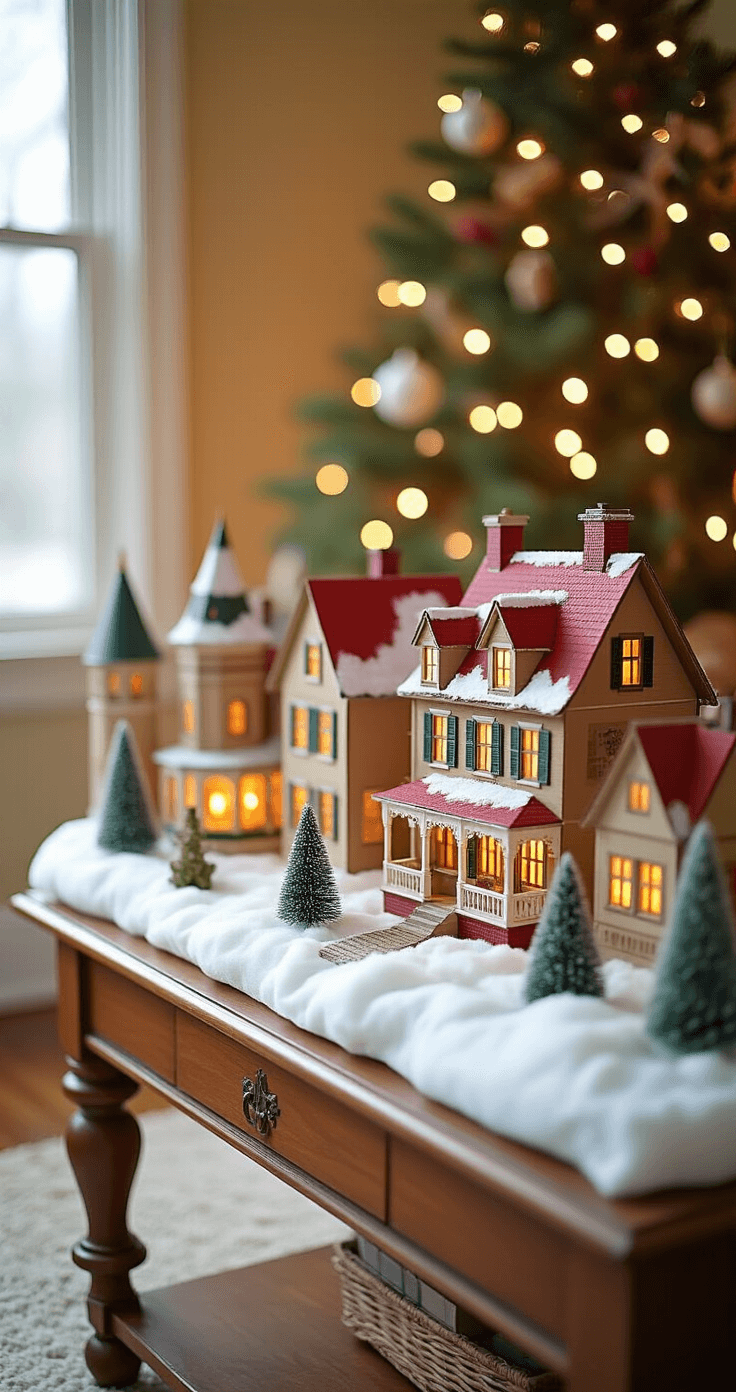
Christmas Village from Cardboard Castoffs
This project started because my kids begged for one of those expensive ceramic Christmas villages. Instead, we built our own magical town from boxes headed for recycling.
Your supply list:
- Various sized cardboard boxes
- Acrylic paint sets in white, brown, red, and green
- Small brushes
- Cotton batting for snow
- Battery-powered LED strips
- Clear tape and scissors
- Markers for details
Building your village:
- Plan your layout first – Sketch it out or you’ll end up with houses that don’t fit together
- Cut doorways and windows before painting
- Paint base colors and let dry completely
- Add details like window frames, doors, and roof shingles with smaller brushes
- Install LED strips inside boxes before sealing
- Create snow-covered roofs with cotton batting
- Add tiny details like wreaths on doors or icicles
")


[…] these focal points don’t have to break the bank. A little elbow grease and some creative thrifting can work […]
[…] Soft-sided models: Won’t break the bank […]