This post may contain affiliate links. Please see my disclosure policy for details.
Transforming Your Garden: Creating Stunning Borders with Sleepers
Contents
- Transforming Your Garden: Creating Stunning Borders with Sleepers
- What You’ll Need for Your Sleeper Border Project
- Step-by-Step Sleeper Border Installation
- Design Inspiration: Sleeper Border Styles
- Maintenance and Longevity Tips
- Common Challenges (And How to Solve Them)
- Cost Breakdown
- Photography Tips for Showcasing Your Project
- Final Thoughts
Every garden tells a story, and mine began with a pile of weathered wooden sleepers sitting in my backyard, just waiting to be transformed.
Why Garden Sleeper Borders Are a Game-Changer
Gardens can feel chaotic and undefined. Sleeper borders are the secret weapon that brings structure, elegance, and a touch of rustic charm to any outdoor space.
What You’ll Need for Your Sleeper Border Project
Essential Tools
- Garden shovel
- Measuring tape
- Spirit level
- Saw for cutting
- Drill and galvanized screws
- Landscape fabric
Pro Tip: Budget-Friendly Options
Not all sleepers are created equal. You can choose:
- Reclaimed wood (cheapest)
- New timber (mid-range)
- Treated hardwood (most durable)
Step-by-Step Sleeper Border Installation
1. Prepare Your Space
- Clear the area of grass and debris
- Level the ground meticulously
- Mark your border outline with stakes
2. Choose Your Sleeper Layout
Design Options:
- Horizontal stacking
- Vertical placement
- Diagonal arrangements
- Mixed height configurations
3. Secure Your Sleepers
Fastening Techniques:
- Use galvanized screws
- Add metal stakes for extra stability
- Consider concrete footing for permanent installations
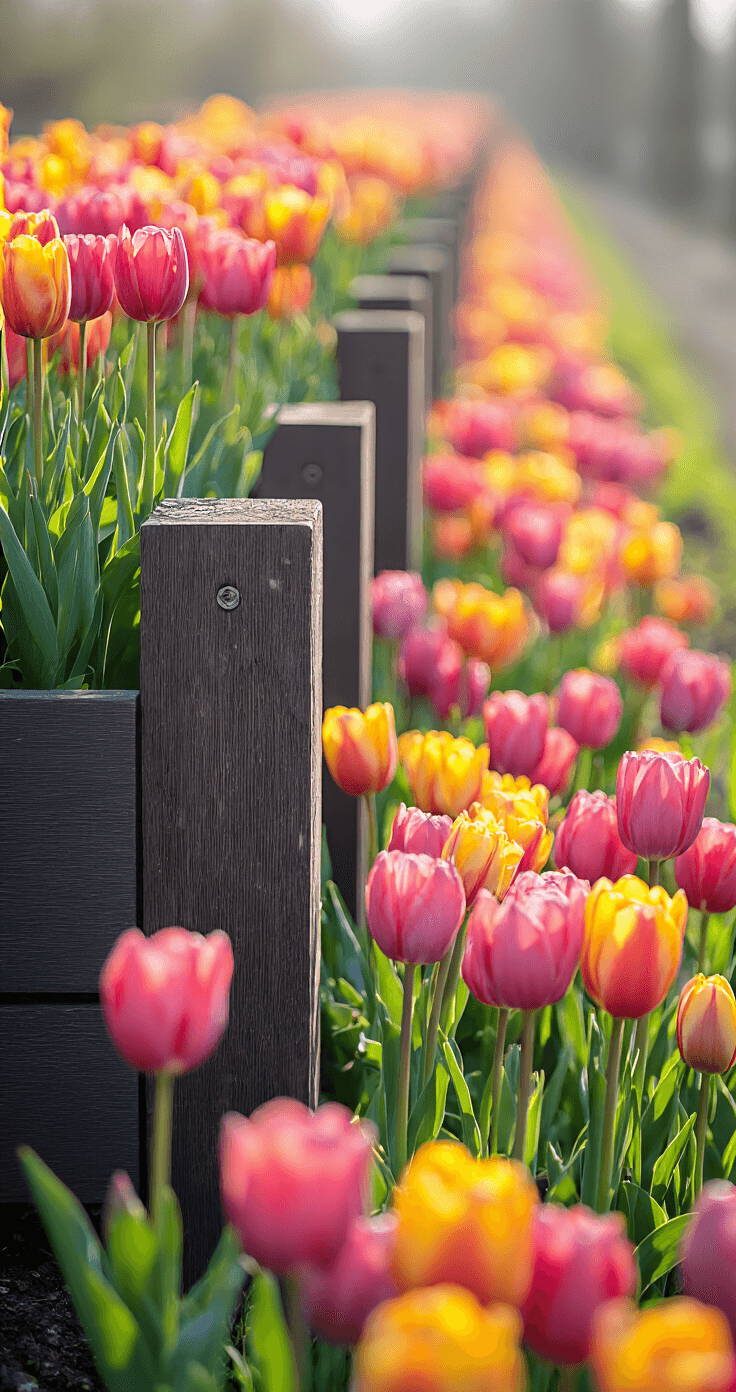
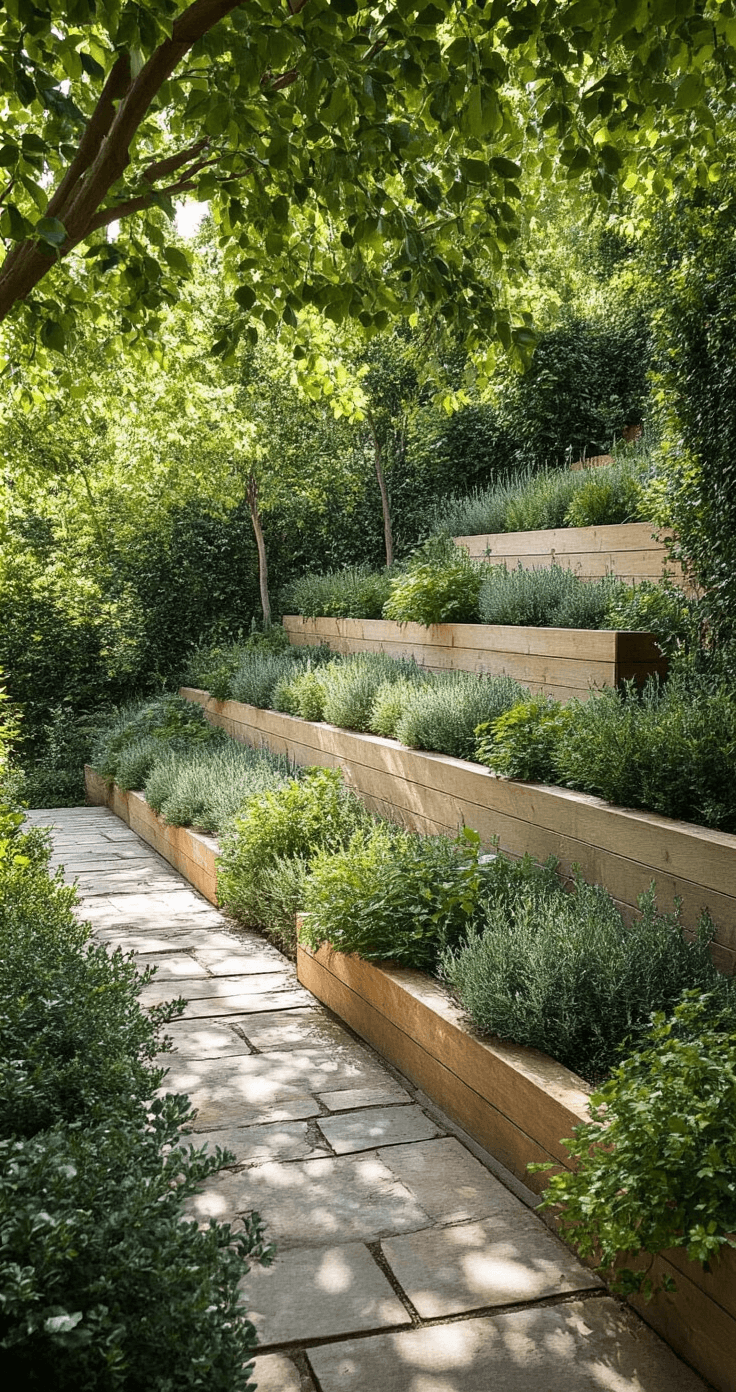
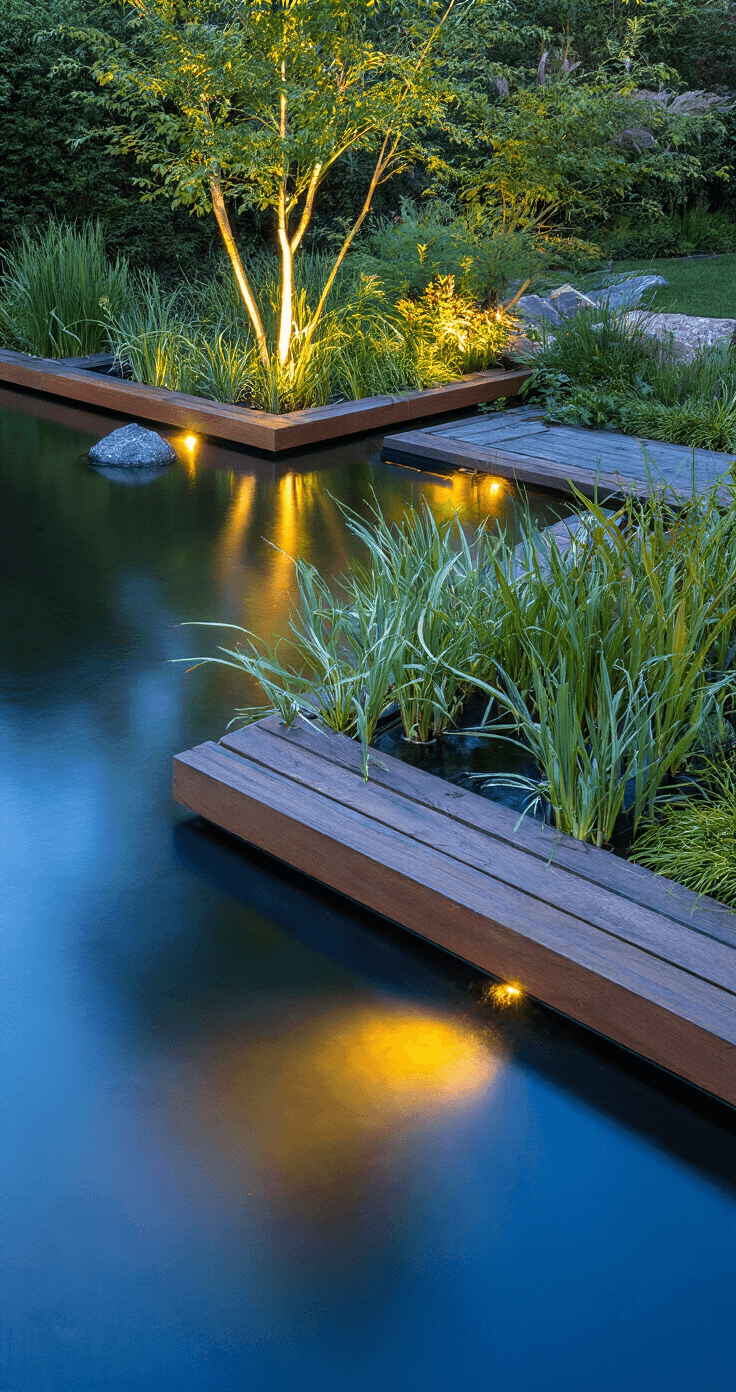
Design Inspiration: Sleeper Border Styles
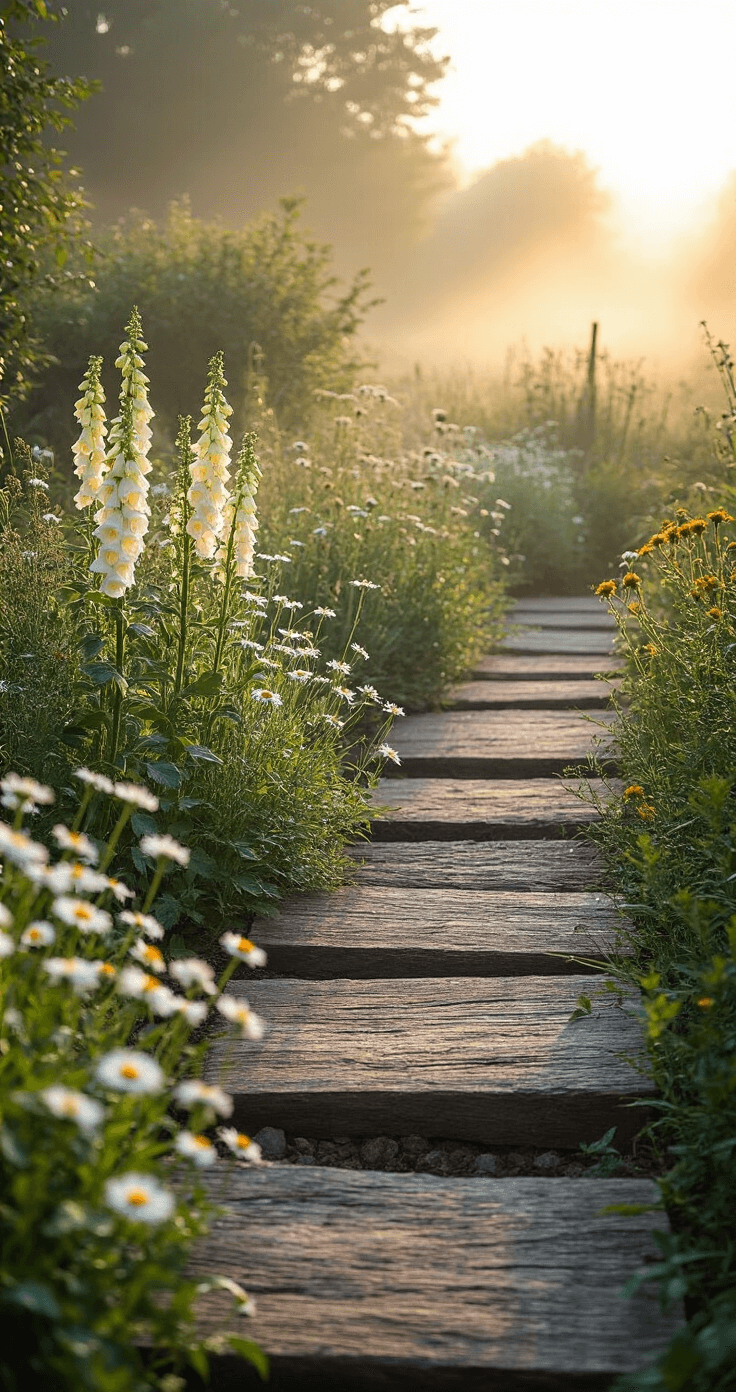
Rustic Farmhouse
- Natural wood tones
- Irregular placement
- Incorporate wildflowers
Modern Minimalist
- Uniform cut sleepers
- Clean, straight lines
- Monochromatic color scheme
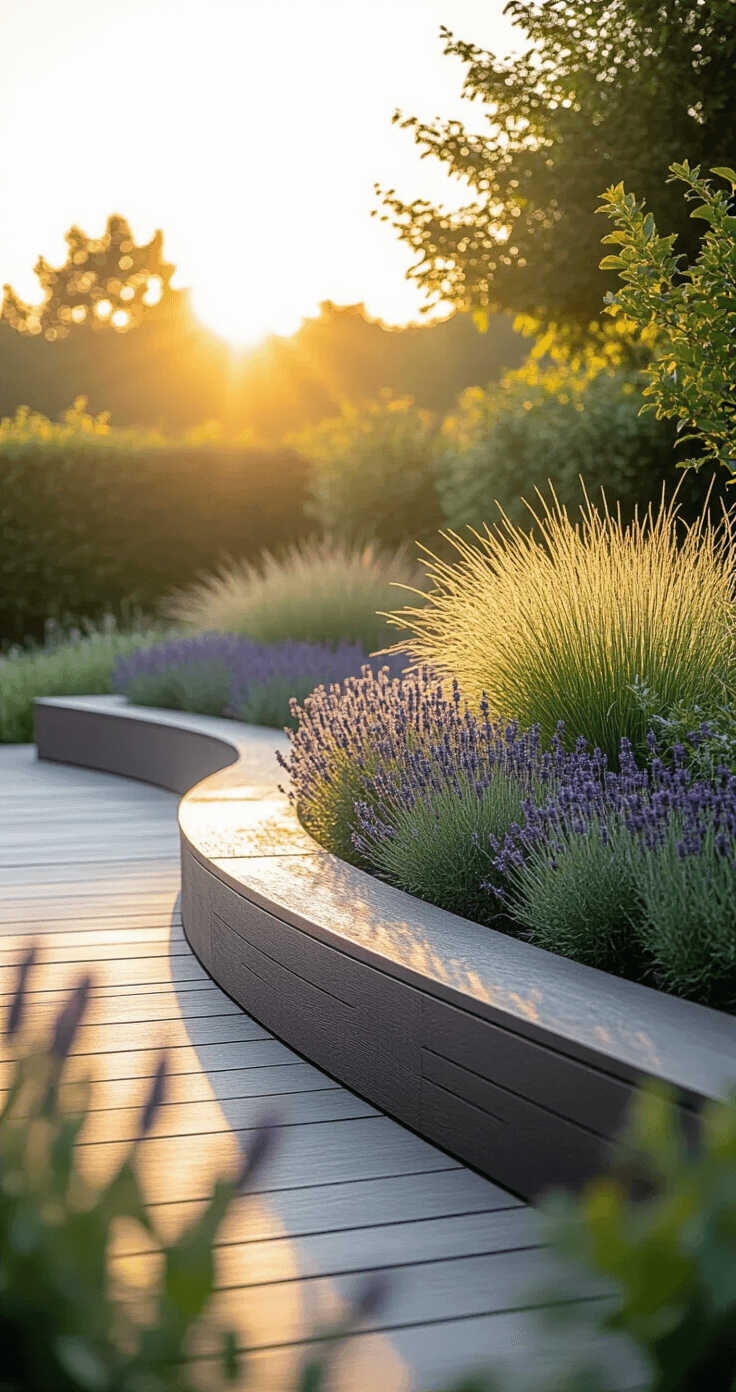
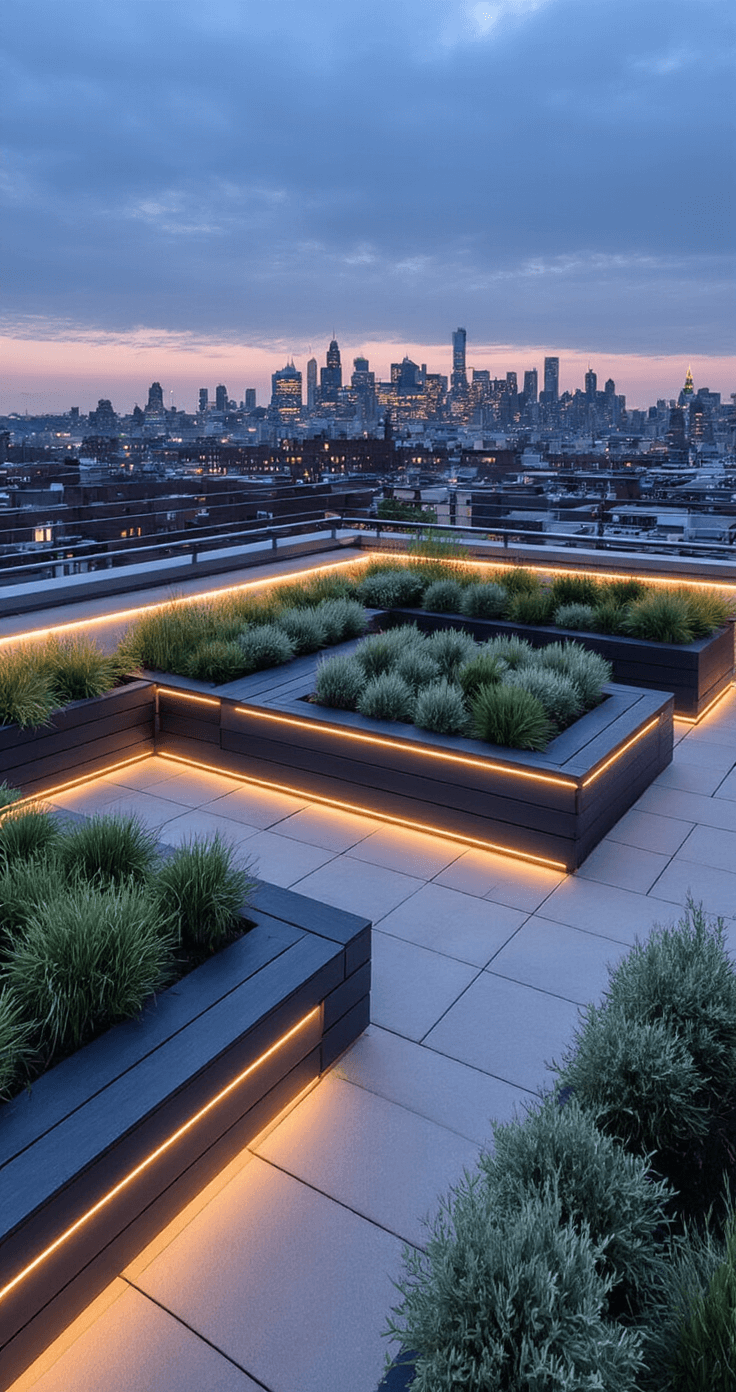
Urban Garden Chic
- Dark-stained sleepers
- Geometric planting patterns
- Integrated lighting elements
Maintenance and Longevity Tips
Protecting Your Sleeper Borders
- Apply wood preservative annually
- Check for rot or damage
- Retouch paint or stain as needed
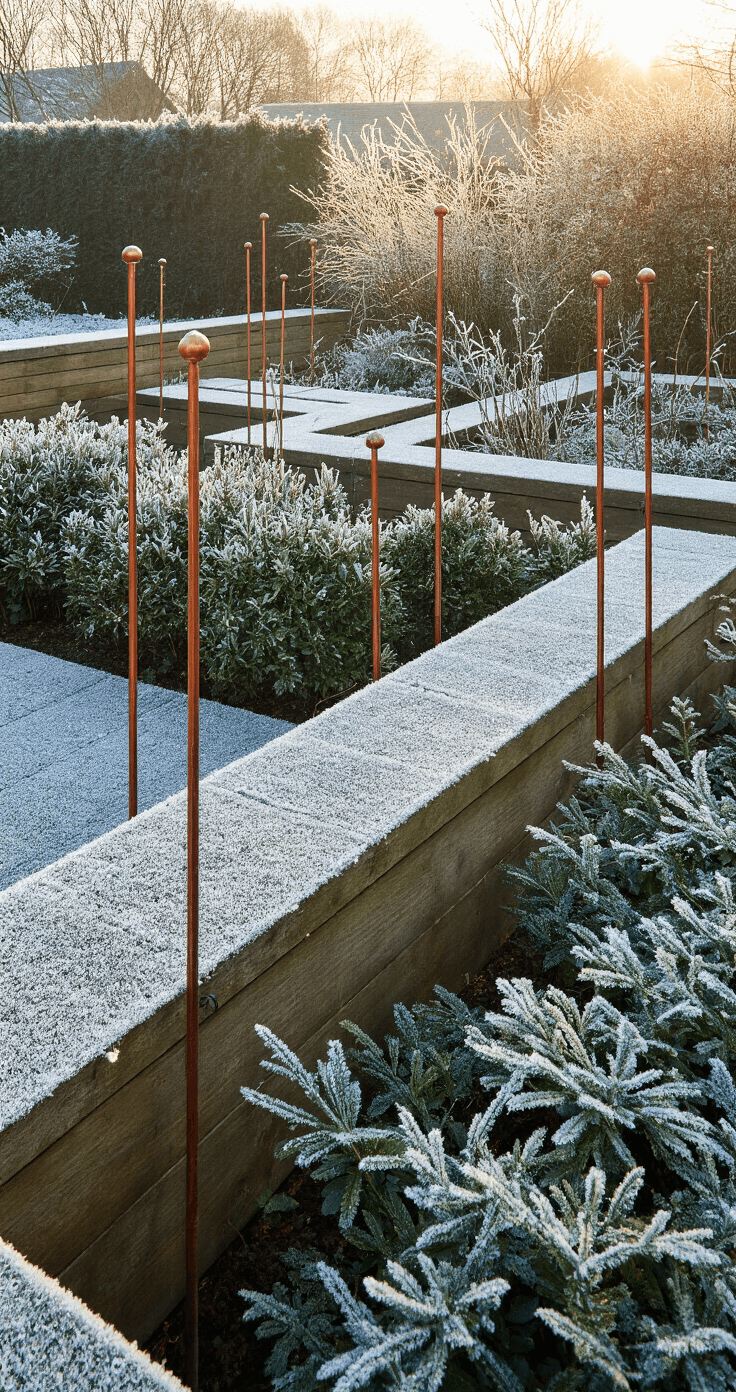
Seasonal Styling
- Spring: Add colorful bulbs
- Summer: Plant drought-resistant herbs
- Autumn: Incorporate ornamental grasses
- Winter: Use evergreen plantings
Common Challenges (And How to Solve Them)
Preventing Wood Decay
- Use pressure-treated sleepers
- Create drainage gaps
- Avoid direct ground contact
Leveling Uneven Terrain
- Use gravel base
- Build slight gradient for water runoff
- Consider terracing for steep areas
Cost Breakdown
Budget Ranges:
- Small project (5-10 sleepers): $100-$250
- Medium project (10-20 sleepers): $250-$500
- Large landscape transformation: $500-$1500
Photography Tips for Showcasing Your Project
- Shoot during golden hour
- Use wide-angle lens
- Capture before and after images
- Include close-up texture details
Final Thoughts
Sleeper borders aren’t just garden boundaries—they’re sculptural elements that transform outdoor spaces. With creativity and careful planning, you can design a landscape that reflects your personal style.
Your Garden, Your Canvas
Remember: Every sleeper tells a story. What will yours say?

")

 In Freezing Weather")