
This post may contain affiliate links. Please see my disclosure policy for details.
Transforming Your Garden: Creating Stunning Borders with Sleepers
Contents
- Transforming Your Garden: Creating Stunning Borders with Sleepers
- What You’ll Need for Your Sleeper Border Project
- Step-by-Step Sleeper Border Installation
- Design Inspiration: Sleeper Border Styles
- Maintenance and Longevity Tips
- Common Challenges (And How to Solve Them)
- Cost Breakdown
- Photography Tips for Showcasing Your Project
- Final Thoughts
Every garden tells a story, and mine began with a pile of weathered wooden sleepers sitting in my backyard, just waiting to be transformed.
Why Garden Sleeper Borders Are a Game-Changer
Gardens can feel chaotic and undefined. Sleeper borders are the secret weapon that brings structure, elegance, and a touch of rustic charm to any outdoor space.
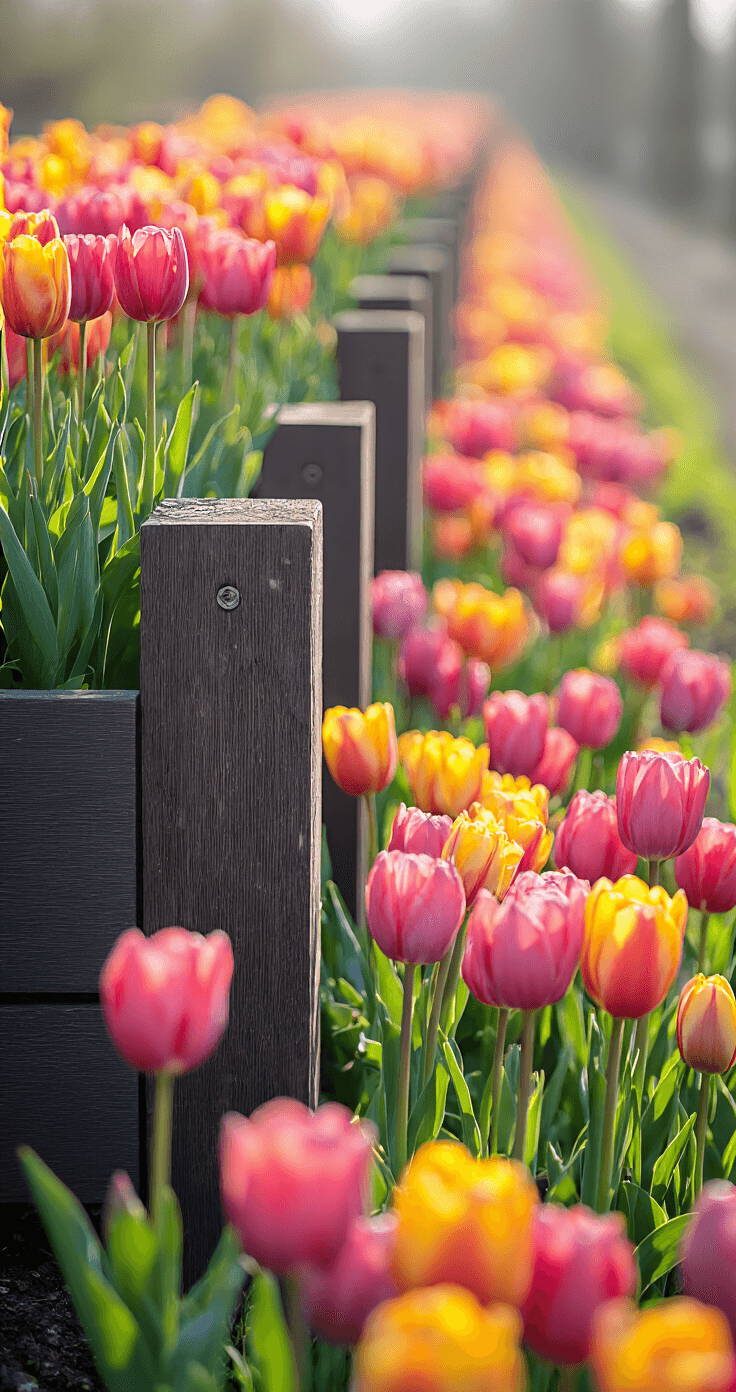
✎ Steal This Look
- Paint Color: Sherwin-Williams Rookwood Dark Red SW 2802
- Furniture: weathered teak Adirondack chair with wide slats
- Lighting: solar-powered copper pathway stake lights with warm 2700K output
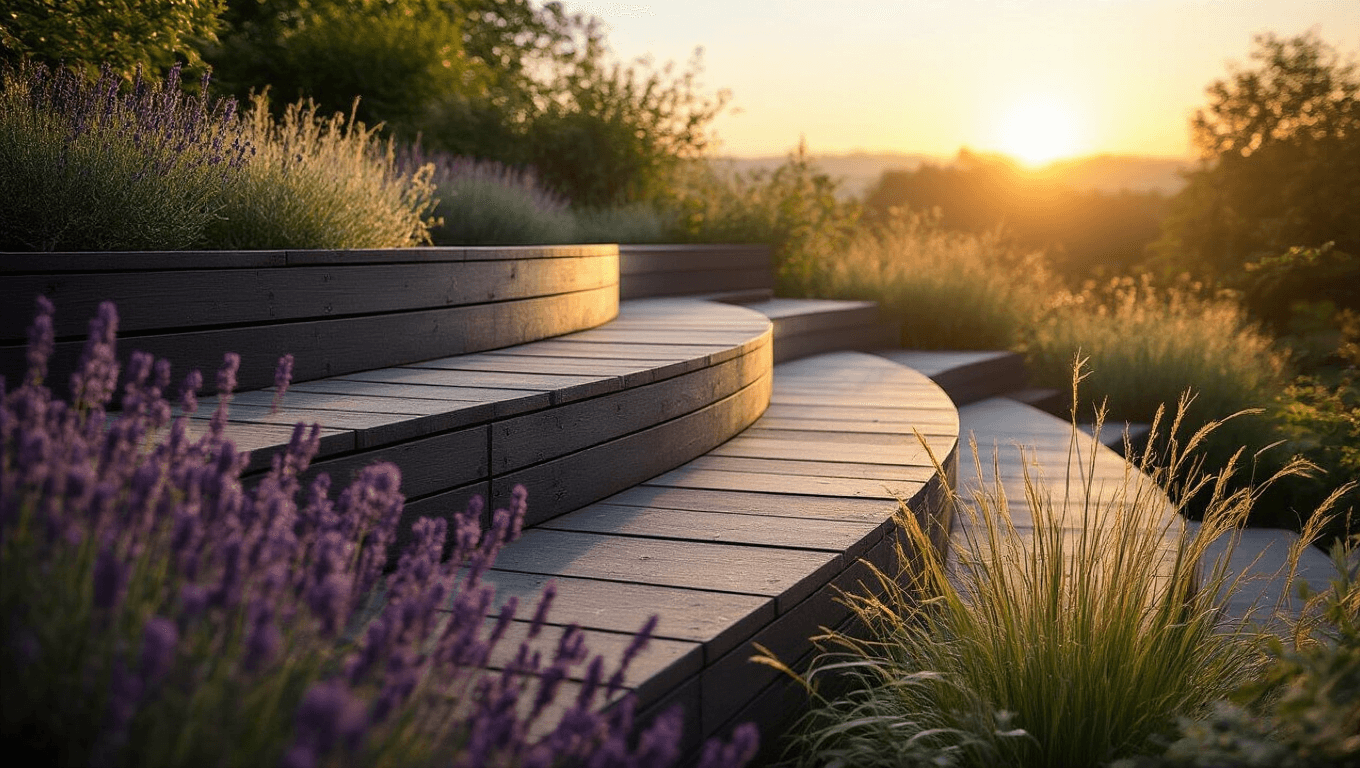
- Materials: reclaimed oak railway sleepers with silver-gray patina, crushed Cotswold stone gravel, English lavender hedging, corten steel edging strips
There’s something deeply satisfying about running your hand along a sleeper that’s been softened by decades of weather—these aren’t factory-perfect pieces, they’re history you can plant tomatoes against.
What You’ll Need for Your Sleeper Border Project
Essential Tools
- Garden shovel
- Measuring tape
- Spirit level
- Saw for cutting
- Drill and galvanized screws
- Landscape fabric
Pro Tip: Budget-Friendly Options
Not all sleepers are created equal. You can choose:
- Reclaimed wood (cheapest)
- New timber (mid-range)
- Treated hardwood (most durable)
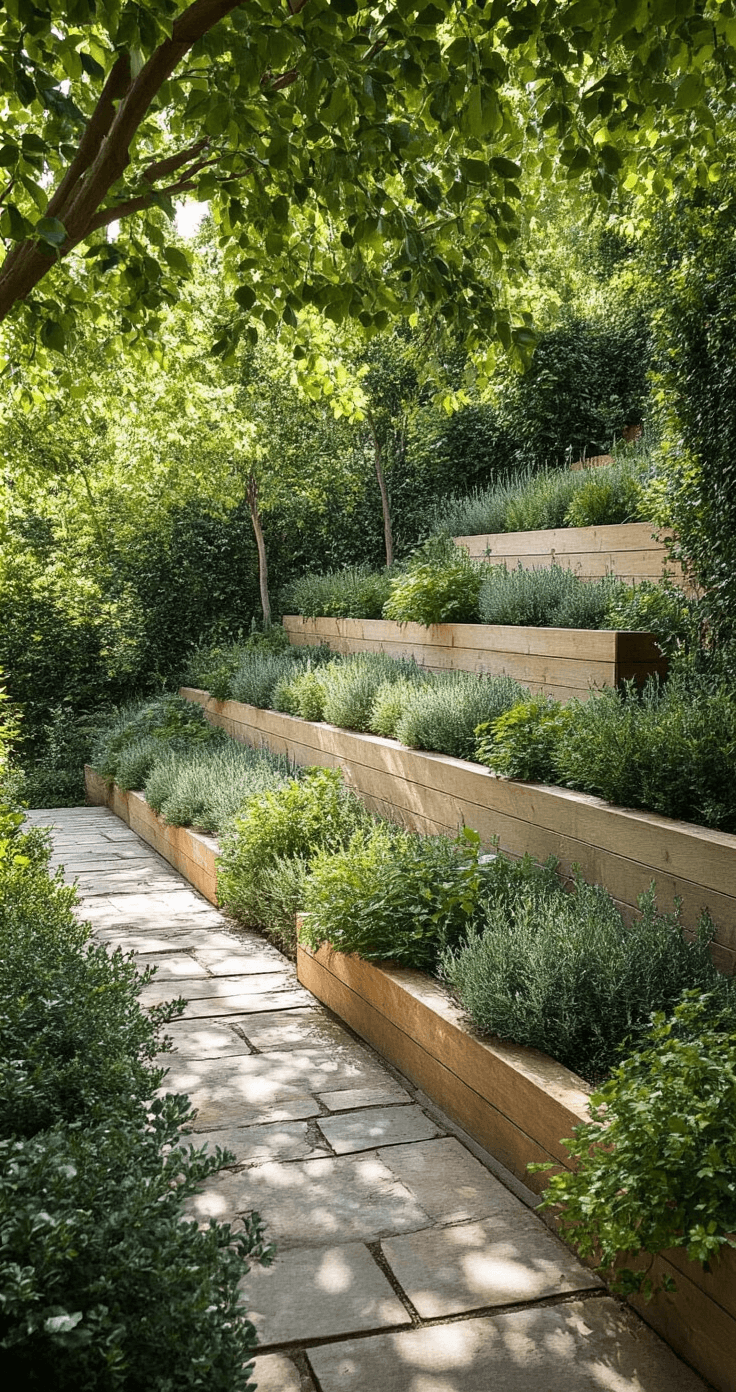
🌟 Steal This Look
- Paint Color: Benjamin Moore Kendall Charcoal HC-166
- Furniture: weathered teak potting bench with galvanized steel top
- Lighting: solar-powered LED bollard lights in matte black finish
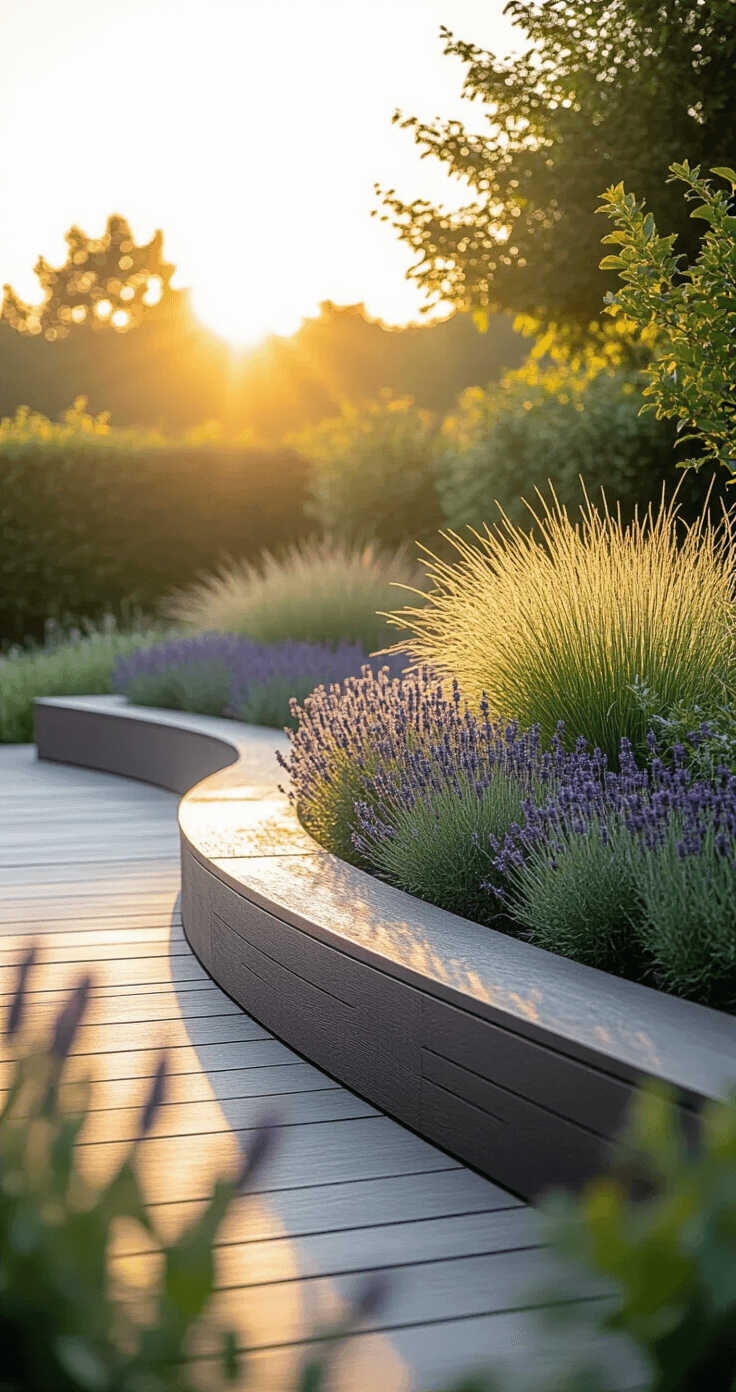
- Materials: rough-sawn railway sleepers, crushed slate chippings, corten steel edging strips
There’s something deeply satisfying about building a sleeper border with your own hands—it’s the rare project where beginners can achieve professional-looking results on their first attempt, and every uneven cut just adds character.
Step-by-Step Sleeper Border Installation
1. Prepare Your Space
- Clear the area of grass and debris
- Level the ground meticulously
- Mark your border outline with stakes
2. Choose Your Sleeper Layout
Design Options:
- Horizontal stacking
- Vertical placement
- Diagonal arrangements
- Mixed height configurations
3. Secure Your Sleepers
Fastening Techniques:
- Use galvanized screws
- Add metal stakes for extra stability
- Consider concrete footing for permanent installations
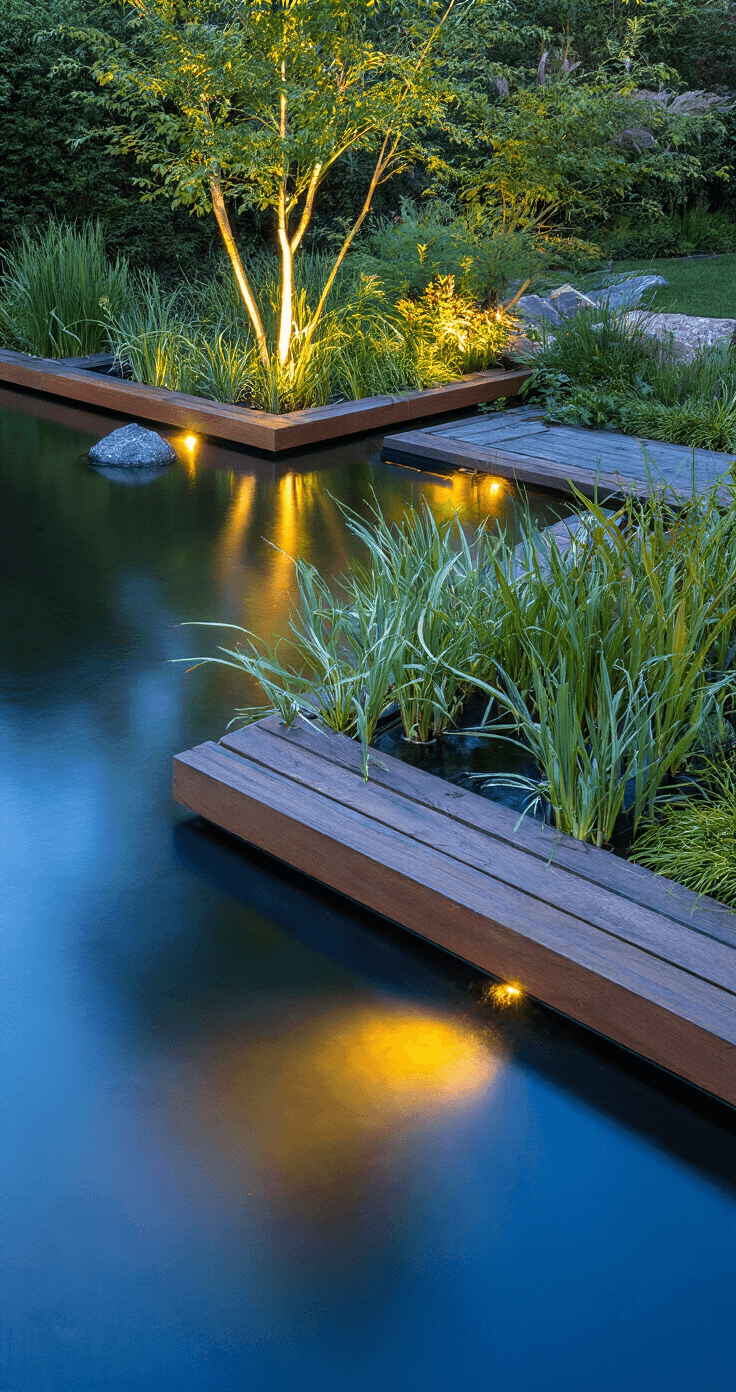
🎨 Steal This Look
- Paint Color: Farrow & Ball Green Smoke 47
- Furniture: weathered teak garden bench with slatted back
- Lighting: solar-powered bollard lights with warm 2700K output
- Materials: rough-sawn oak sleepers, horticultural membrane, 20mm gravel, galvanized steel brackets
There’s something deeply satisfying about the physicality of this project—the weight of each sleeper, the smell of cut timber, the immediate transformation of a messy bed edge into crisp geometry.
Design Inspiration: Sleeper Border Styles
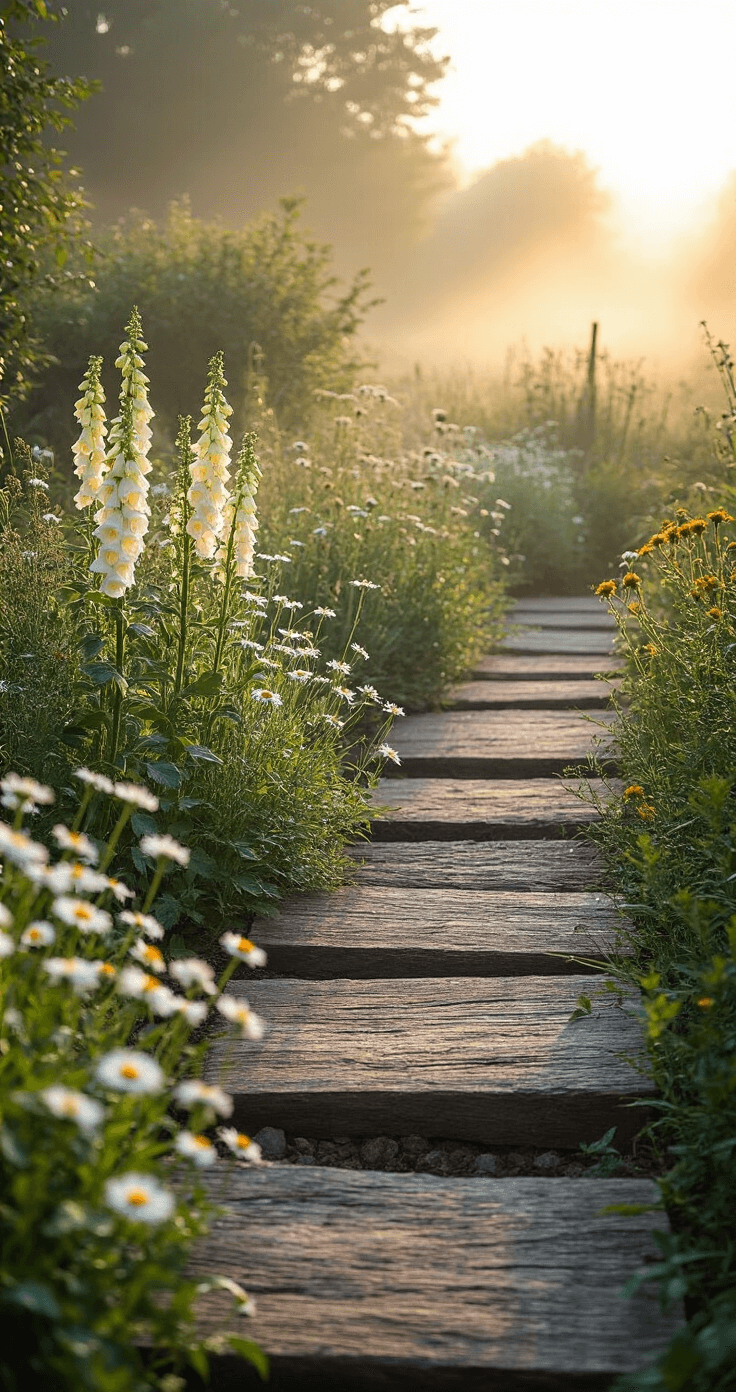
Rustic Farmhouse
- Natural wood tones
- Irregular placement
- Incorporate wildflowers
Modern Minimalist
- Uniform cut sleepers
- Clean, straight lines
- Monochromatic color scheme
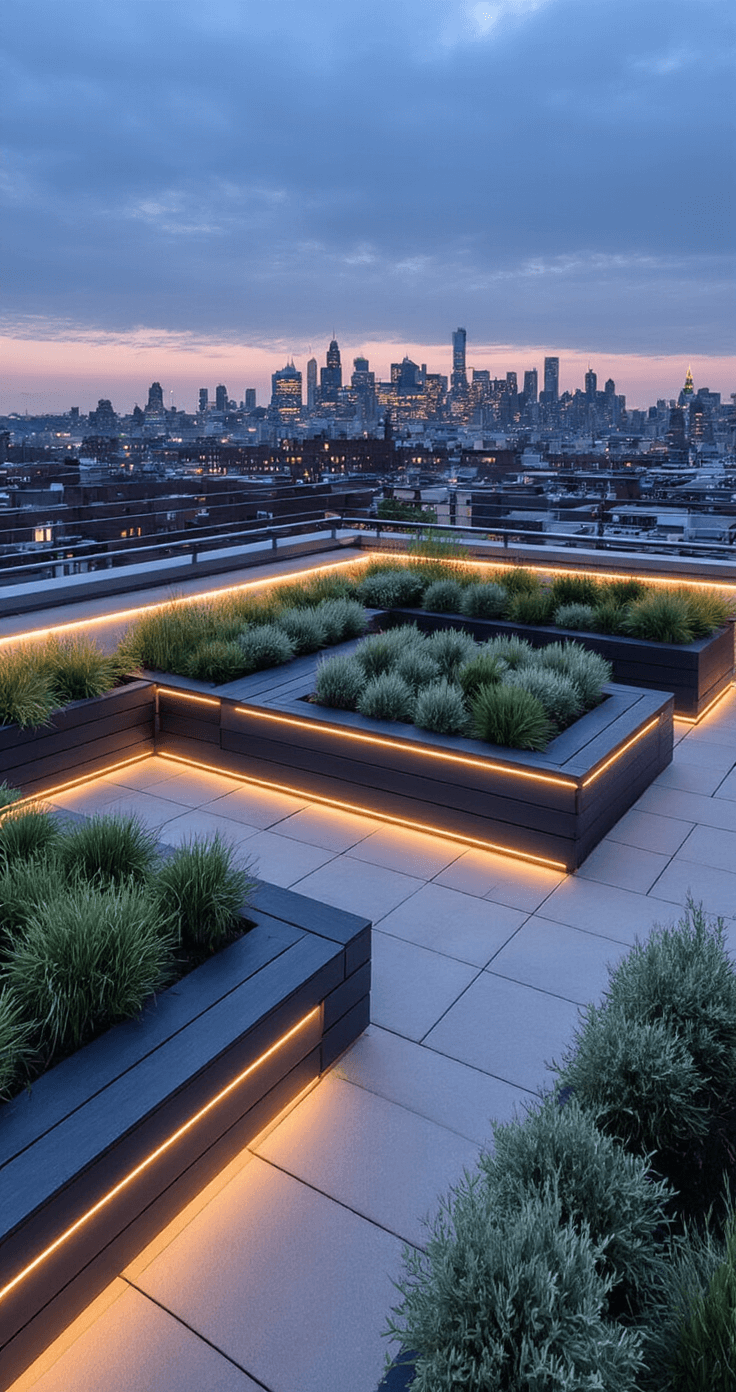
Urban Garden Chic
- Dark-stained sleepers
- Geometric planting patterns
- Integrated lighting elements
🎨 Steal This Look
- Paint Color: use Behr brand. Match the ACTUAL wall color in the image. Format: Behr ColorName CODE
- Furniture: weathered cedar Adirondack chair with raw linen cushion
- Lighting: solar-powered bollard lights with warm 2700K output
- Materials: rough-sawn Douglas fir sleepers, untreated cedar mulch, galvanized steel edging strips, crushed granite pathways
There’s something deeply satisfying about building sleeper borders with your own hands; the weight of each timber grounds you in the process, and the imperfections become the story you’ll notice every time you walk your garden path.
Maintenance and Longevity Tips
Protecting Your Sleeper Borders
- Apply wood preservative annually
- Check for rot or damage
- Retouch paint or stain as needed
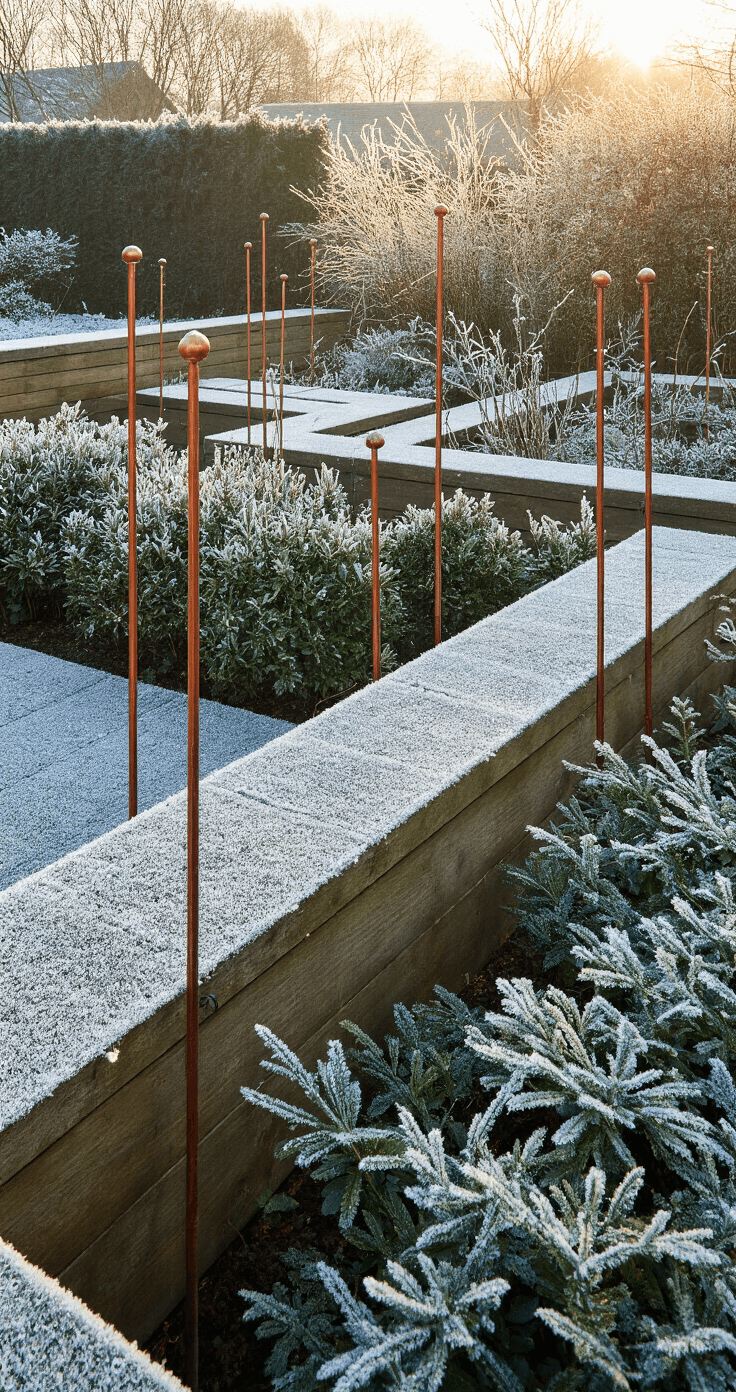
Seasonal Styling
- Spring: Add colorful bulbs
- Summer: Plant drought-resistant herbs
- Autumn: Incorporate ornamental grasses
- Winter: Use evergreen plantings
🖼 Steal This Look
- Paint Color: use Valspar brand. Match the ACTUAL wall color in the image. Format: Valspar ColorName CODE
- Furniture: weathered teak potting bench with galvanized steel top for tool storage and workspace
- Lighting: solar-powered LED bollard lights in matte black finish for pathway illumination
- Materials: pressure-treated oak sleepers, marine-grade wood preservative, brushed stainless steel hardware, coarse horticultural grit for drainage
There’s something deeply satisfying about maintaining sleeper borders yourself—each annual treatment becomes a ritual that connects you to your garden’s evolution, and well-cared-for sleepers develop a silvered patina that no manufactured product can replicate.
Common Challenges (And How to Solve Them)
Preventing Wood Decay
- Use pressure-treated sleepers
- Create drainage gaps
- Avoid direct ground contact
Leveling Uneven Terrain
- Use gravel base
- Build slight gradient for water runoff
- Consider terracing for steep areas
🎨 Steal This Look
- Paint Color: PPG Olive Grove PPG1121-6
- Furniture: low-profile corten steel fire pit with river stone surround
- Lighting: bollard-style LED path lights with warm 2700K output
- Materials: pressure-treated pine sleepers, 20mm gravel drainage layer, geotextile fabric, corten steel edging strips
Every garden border I’ve built that failed came down to drainage shortcuts I thought I could skip—taking an extra afternoon to grade properly saves years of rebuilding.
Cost Breakdown
Budget Ranges:
- Small project (5-10 sleepers): $100-$250
- Medium project (10-20 sleepers): $250-$500
- Large landscape transformation: $500-$1500
Photography Tips for Showcasing Your Project
- Shoot during golden hour
- Use wide-angle lens
- Capture before and after images
- Include close-up texture details
Final Thoughts
Sleeper borders aren’t just garden boundaries—they’re sculptural elements that transform outdoor spaces. With creativity and careful planning, you can design a landscape that reflects your personal style.
Your Garden, Your Canvas
Remember: Every sleeper tells a story. What will yours say?


—Here's How You Can Too")
")
