

This post may contain affiliate links. Please see my disclosure policy for details.
Why Fall Timing Matters More Than You Think
Contents
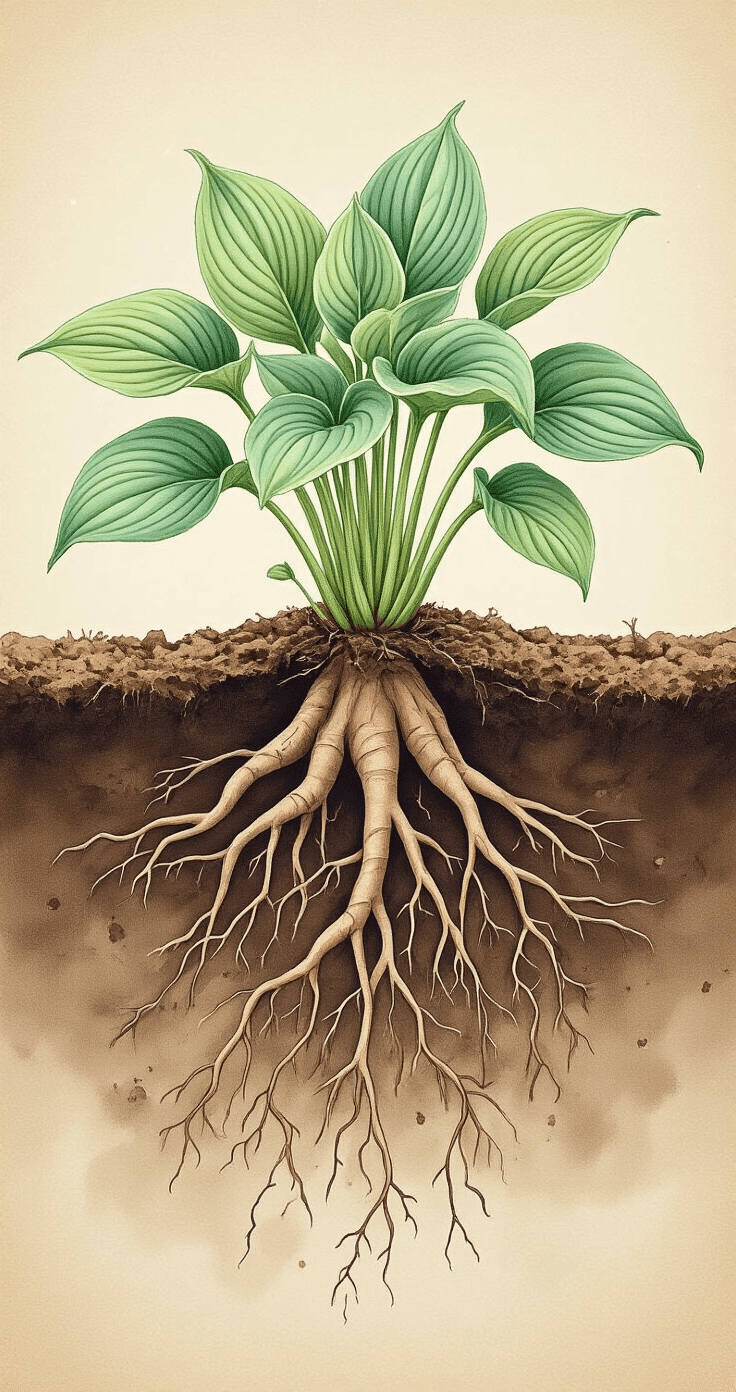
Your hostas aren’t just sitting there looking pretty in late summer. They’re working hard, moving carbohydrates from those leaves down into the crown where they’ll fuel next spring’s growth.
Cut too early, and you’re basically stealing from your plant’s savings account.
The magic moment? Wait until after the first hard frost hits your area, when leaves turn completely yellow or brown. This usually happens late September through early October depending on where you garden.
I learned this the hard way after cutting mine back in late August one year—the following spring, my hostas emerged noticeably smaller and took weeks longer to fill out.

✎ Steal This Look
- Paint Color: Sherwin-Williams Ripe Olive SW 6209
- Furniture: weathered teak potting bench with zinc top
- Lighting: gooseneck barn sconce in aged bronze
- Materials: raw linen, terracotta, galvanized steel, moss-covered stone
There’s something deeply satisfying about that post-frost morning when you finally step outside with shears in hand, knowing you’ve waited long enough to do right by your plants.
The Two Times You Must Cut in Fall
Most of the time, fall pruning is optional. But these two situations make it absolutely necessary:
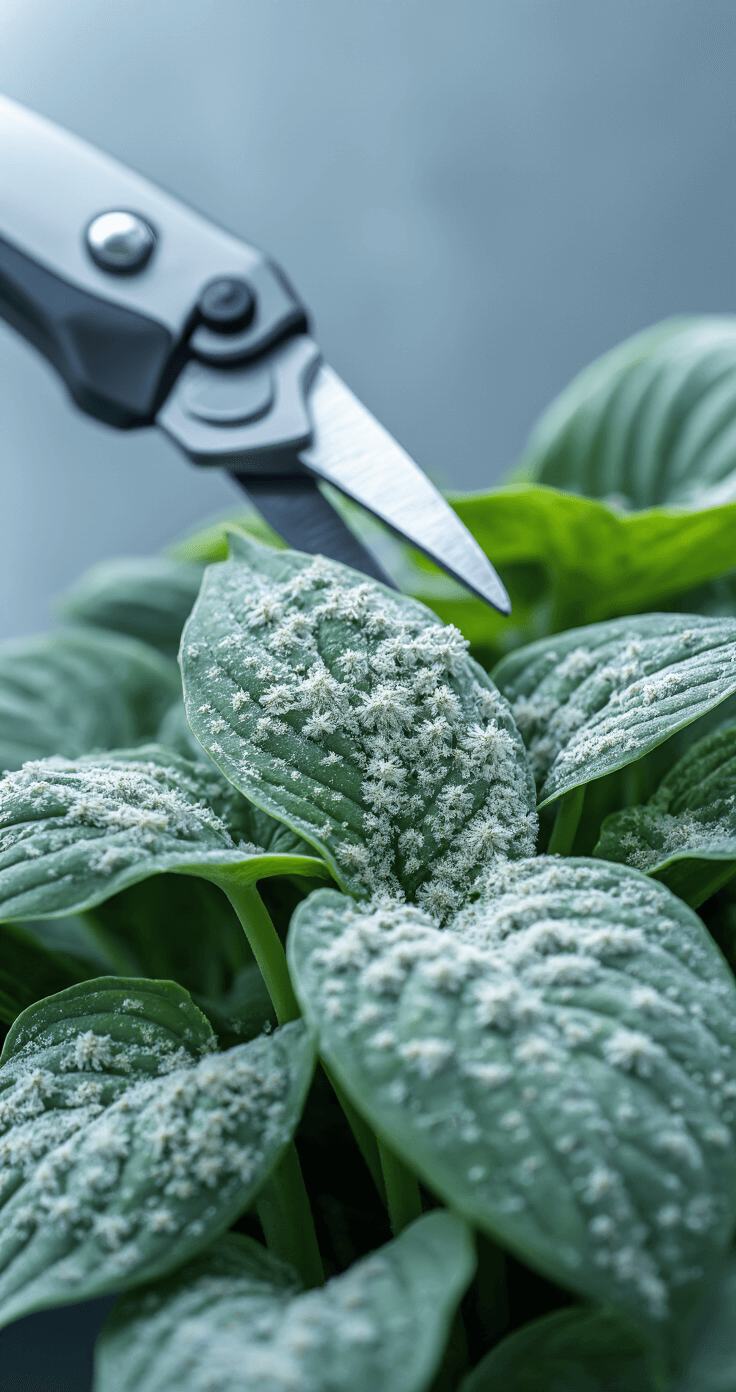
When disease shows up:
- Powdery mildew coating the leaves
- Fungal spots spreading across foliage
- Any suspicious discoloration or decay
- Bacterial issues causing wilting
If you spot disease, every single leaf, stem, and flower stalk needs to go after that hard frost. Don’t compost this material—bag it up and throw it in the garbage. Those fungal spores will happily overwinter in your compost pile and reinfect next year’s growth.
When weeds have taken over:
Cutting hostas to the ground makes weeding infinitely easier. You can actually see what you’re pulling, and you prevent weeds from dropping thousands of seeds into your beds. After clearing everything, spread a quality mulch around the crowns (not on them).
🌟 Steal This Look
- Paint Color: Benjamin Moore October Mist 1495
- Furniture: weathered teak potting bench with galvanized steel top
- Lighting: gooseneck barn sconce in oil-rubbed bronze with frosted glass
- Materials: raw cedar mulch, aged terracotta, hand-forged iron tools, linen garden aprons
There’s something deeply satisfying about a clean garden bed before winter sets in—this is the room where your hands get dirty so your spring self can breathe easier.
How to Actually Cut Them Back
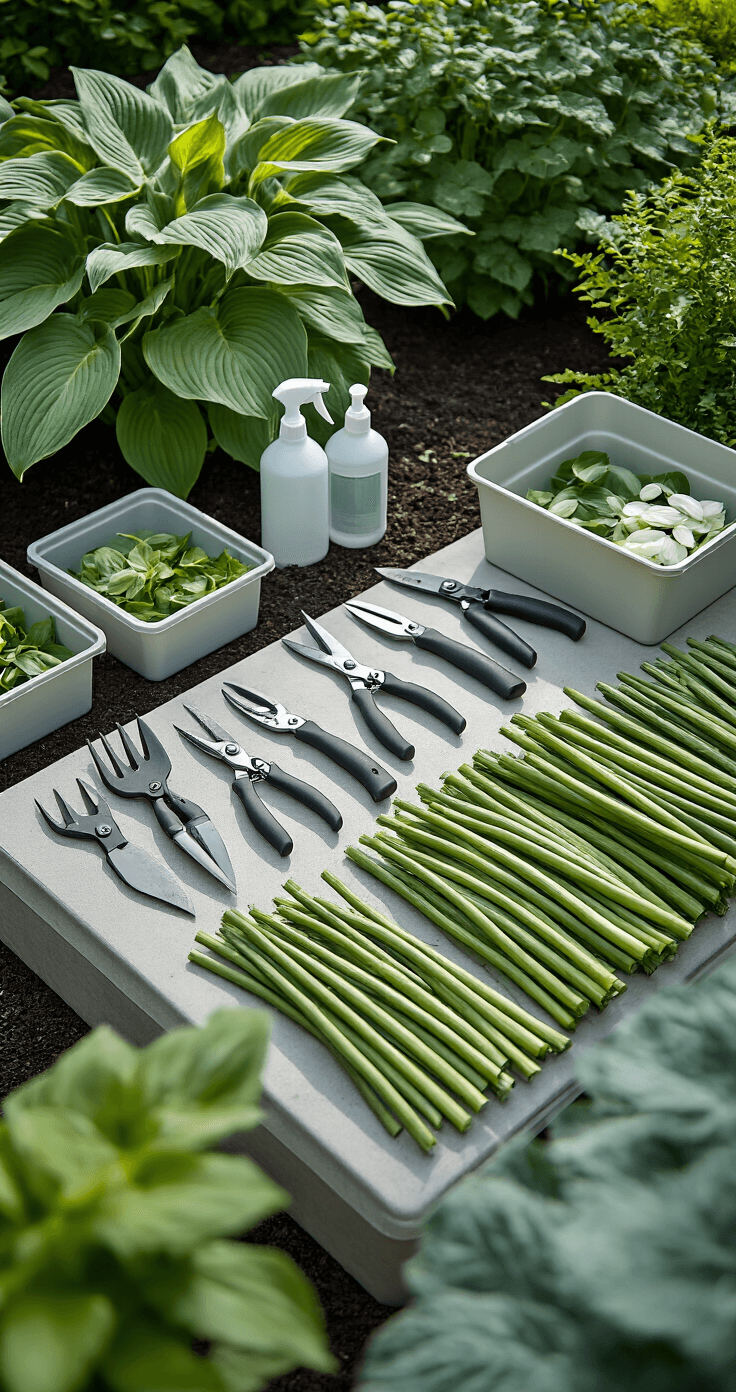
The process is straightforward, but your tool choice matters based on how many plants you’re tackling.
For a few plants:
Use sharp hand pruners and cut each stem individually at the base.
For multiple hostas:
Long-bladed hedge shears speed things up considerably without sacrificing precision.
For large hosta collections:
An electric hedge trimmer saves your back and shoulders.
For late-fall cleanup:
By mid to late October, dead leaves often pull away with your bare hands—no tools needed.
Cut right down to ground level, following stems to where they emerge from the soil. Don’t worry about cutting “too low”—crown rot is extremely rare in hostas unless you bury the crown under heavy mulch.

🎨 Steal This Look
- Paint Color: Farrow & Ball Green Smoke 47
- Furniture: vintage potting bench with zinc top for tool organization and workspace
- Lighting: industrial gooseneck barn light with warm LED bulb
- Materials: weathered cedar shiplap, aged galvanized metal, worn leather tool grips, hessian storage sacks
There’s something deeply satisfying about a well-organized cutting station when the air turns crisp—having the right tool within arm’s reach transforms fall cleanup from a chore into a ritual you actually look forward to.
The Sterilization Step Everyone Skips
Here’s what separates careful gardeners from those who accidentally spread problems throughout their beds.
Between each plant, dip your pruner blades in rubbing alcohol. Not diluted, not some garden spray—straight rubbing alcohol at full strength.
Keep a small container next to you while working. Dip, shake off excess, cut the next plant.
This single step prevents transferring fungal spores, bacterial issues, or viral diseases from plant to plant. I keep rubbing alcohol in a spray bottle right in my garden shed for quick access.

🎨 Steal This Look
- Paint Color: Behr Garden Shed Green PPU11-18
- Furniture: wall-mounted stainless steel utility shelf with integrated tool hooks
- Lighting: battery-operated motion-sensing LED strip light for shed interiors
- Materials: galvanized metal, reclaimed barn wood, wire mesh storage baskets, rubberized work mat flooring
There’s something deeply satisfying about a garden shed that works as hard as you do—this is the room where messy becomes methodical, where a quick dip in alcohol saves months of regret.
What I Actually Do With My Hostas
In my own garden, I take a mixed approach.
Hostas near walkways and visible from the house get cut back in fall after the first hard frost—usually mid-October here. The clean look through winter matters in those high-visibility spots.
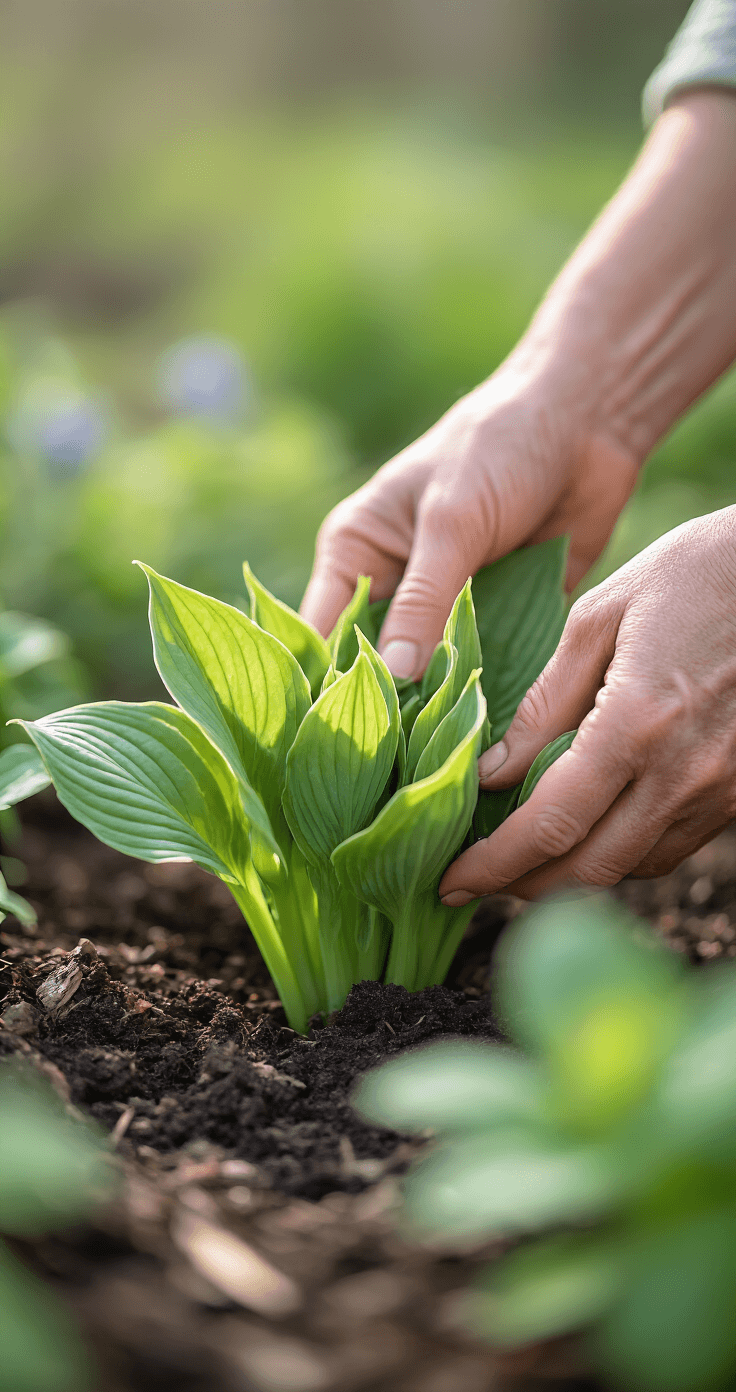
Hostas in back borders and woodland areas? I leave them standing. That dead foliage provides winter interest when snow collects on the dried leaves, and it offers some root insulation during brutal cold snaps.
Come early April, I spend a morning pulling away the dead material, which by then separates easily from the emerging new growth.
🏠 Steal This Look
- Paint Color: Valspar Garden Pathway 5006-2B
- Furniture: weathered teak potting bench with galvanized steel top
- Lighting: gooseneck barn sconce in oil-rubbed bronze with frosted glass
- Materials: rough-hewn cedar, aged terracotta, hand-forged iron, moss-covered stone
There’s something deeply satisfying about that April morning ritual—coffee in hand, kneeling in cold damp soil, watching the year’s first hosta spears push through the papery remains of last season’s choices.
The Hidden Benefits Nobody Mentions
Cutting hostas to the ground in fall does more than tidy your beds.
Slug egg exposure:
Those slimy garden pests lay eggs in the debris around hosta crowns. Removing all foliage exposes eggs to predators and winter weather.
Fertilizer access:
With a clear bed, you can easily apply slow-release fertilizer in early spring exactly where plants need it—right at the crown.
Weed identification:
Spring weeds are obvious against bare soil instead of hiding among dead hosta leaves.
Division planning:
You can actually see your hosta crowns and identify which ones need dividing next season.
🎨 Steal This Look
- Paint Color: PPG Glade Green PPG1131-5
- Furniture: weathered teak potting bench with galvanized steel top
- Lighting: gooseneck barn sconce in matte black with seeded glass
- Materials: raw cedar raised beds, crushed limestone paths, aged terracotta pots, hand-forged iron garden hooks
There’s something quietly satisfying about stepping into a garden shed that feels like a proper workshop—where every tool has its place and the space itself invites you to linger, even when the work is done.
When Spring Pruning Makes More Sense
If you live where winters are brutal—I’m talking zone 4 and colder—leaving dead foliage through winter provides legitimate insulation value.
The dried leaves trap snow around the crown, and that snow layer protects roots from temperature fluctuations that cause frost heaving.
Spring cleanup takes a bit more effort since you’re dealing with soggy, decomposing material rather than crispy fall leaves, but it’s a worthwhile trade-off in harsh climates.
🌟 Steal This Look
- Paint Color: Dunn-Edwards Whisper DEW341
- Furniture: weathered teak potting bench with galvanized steel top
- Lighting: industrial gooseneck barn light in matte black
- Materials: raw linen, reclaimed barn wood, cast iron, terracotta with moss patina
There’s something deeply honest about a mudroom that acknowledges the mess of real gardening—this space celebrates the soggy boots and decomposing leaf matter as badges of northern resilience.
My Fall Hosta Pruning Checklist
Here’s exactly what


—Here's How You Can Too")
")

[…] Step back and admire your work! […]