
This post may contain affiliate links. Please see my disclosure policy for details.
Simple Christmas Table Decorations That’ll Make Your Guests Go “Wow!” (Without Breaking a Sweat)
Simple Christmas table decorations don’t require a degree in interior design or a second mortgage on your house.
I’m talking about the kind of decorating that takes less time than scrolling through Pinterest and costs about as much as your morning coffee run.
You know that panic when guests are arriving in an hour and your table looks like a sad Tuesday? I’ve been there more times than I care to admit.
Why Your Christmas Table Doesn’t Need to Be Instagram-Perfect
Here’s what nobody tells you: the most memorable Christmas tables aren’t the ones with $200 centerpieces.
They’re the ones where everyone actually feels comfortable sitting down and enjoying the meal.
I learned this the hard way after spending three hours creating an elaborate centerpiece that was so tall, my aunt couldn’t see the person sitting across from her.
We ended up moving the whole thing to the sideboard fifteen minutes into dinner.
The real goal? Create something festive that doesn’t get in the way of conversation, wine glasses, or passing the potatoes.
")
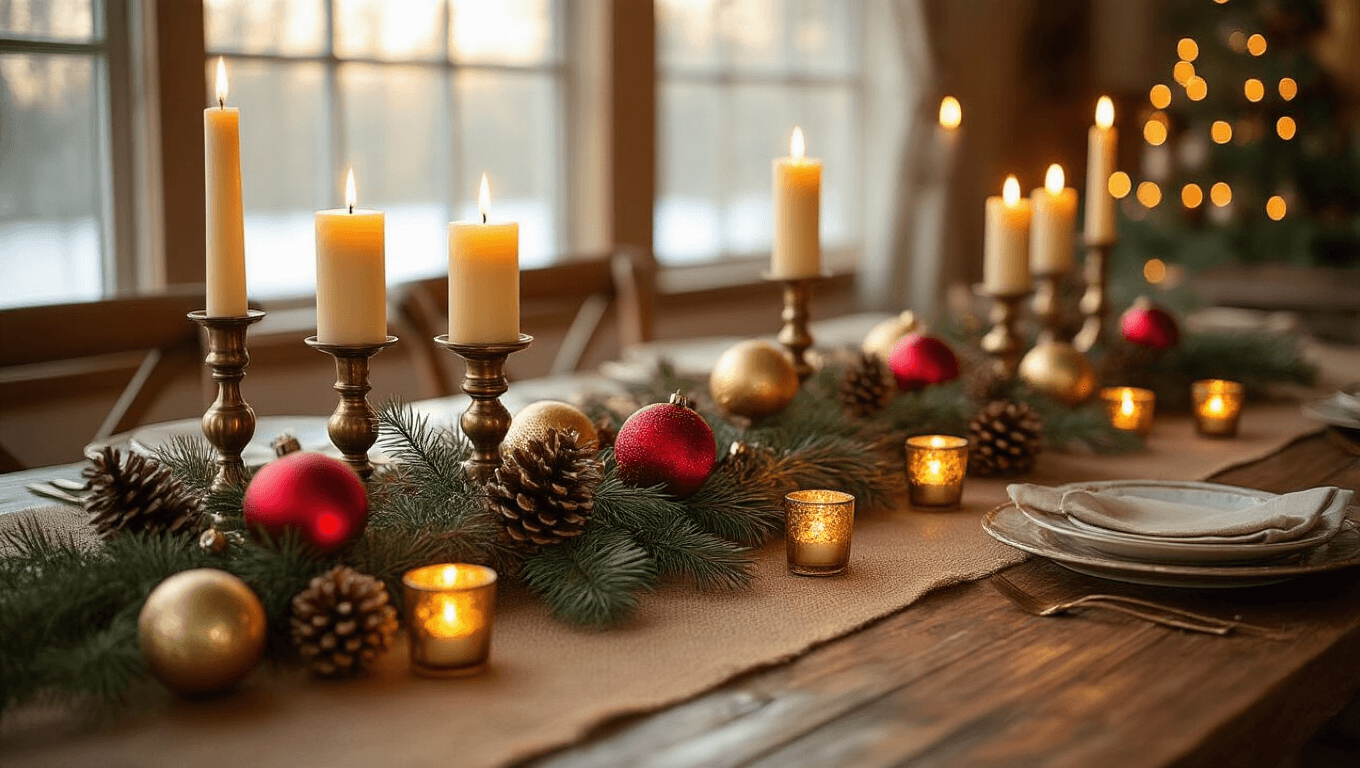
The 10-Minute Centerpiece That Actually Works
Candles are your secret weapon.
I’m not talking about a single boring candle in the middle of the table.
Grab every candlestick you own—mismatched is better, trust me.
Here’s what you do:
- Place taller candlesticks at the center
- Work your way down to shorter ones at the edges
- Fill the gaps with tea light candles scattered along the table
- Add a handful of ornaments between them
Done.
The whole thing takes ten minutes, and the flickering light does half your decorating work for you.
I use this exact setup every year now, and people always ask how long it took me. They never believe me when I say “less time than it took to preheat the oven.”
")
The Ornament Dump Method (Yes, Really)
You know those boxes of Christmas ornaments you’ve been collecting for years?
Just dump them out.
I’m serious:
- Find any bowl, basket, or decorative dough bowl you have
- Fill it with ornaments until it looks pleasantly full
- Place it in the center of your table
That’s it.
No hot glue gun required. No Pinterest tutorial needed. No craft supplies to buy and never use again.
Pro move: Use ornaments in just two or three colors instead of every color in your collection.
Red and white looks classic. Gold and cream looks elegant. Silver and blue looks modern.
I once used only the gold ornaments from my collection, and my mother-in-law asked where I bought my “gorgeous new centerpiece.”
Those ornaments were from Target in 2015.
")
The Nature Walk Centerpiece (Free and Fresh)
Last year, I forgot to buy any decorations until December 23rd.
Everything decent was sold out.
So I grabbed my kid, went to the park, and collected pine cones and branches.
Best decision ever:
- We spent 20 minutes outside getting fresh air
- Cost: absolutely nothing
- The pine cones smelled amazing
- It looked expensive and intentional
How to make it work:
Find an old tin can, mason jar, or any container you’re not emotionally attached to.
Fill it halfway with wet sand, dirt, or even rice (anything to hold branches upright).
Stick in your branches and pine cones until it looks full.
Wrap some burlap ribbon around the container if you’re feeling fancy.
The wet sand trick is brilliant because it keeps real branches fresh for weeks and weighs everything down so it doesn’t tip over.
Nobody needs to know your centerpiece is held together by playground sand.
")
Mixing High and Low (The Designer Secret)
Here’s what fancy decorators do that they don’t want you to know: they mix expensive-looking stuff with dollar store finds.
The magic formula:
- One nice element (real greenery, quality candles, heirloom ornaments)
- Mixed with inexpensive fillers (dollar store picks, paper trees, basic ornaments)
- Arranged at different heights
The different heights thing is crucial.
Everything at the same level looks flat and boring, like you just plunked items down without thinking.
Easy ways to add height:
- Stack books under items
- Use cake stands or pedestals
- Prop things up on upside-down bowls (hide them under a runner)
- Use candlesticks of varying heights
I have a tiny three-tier stand that I use for cupcakes exactly once a year.
The other 364 days? It’s creating height in my table arrangements, holding ornaments, or displaying mini trees.
Best $15 I ever spent.
")
What About Table Runners and Place Settings?
You don’t need them.
There, I said it.
A bare table with a good centerpiece beats a cluttered table every time.
But if you want something under your centerpiece, use what you have:
- A long scarf
- A piece of burlap or linen fabric
- Brown kraft paper (which doubles as a place for kids to draw


[…] I hosted Christmas dinner with actual effort put into the table, and the reaction from my family was genuinely […]