
This post may contain affiliate links. Please see my disclosure policy for details.
Hey there, garden enthusiasts!
Contents
Let’s talk about garden borders – those magical lines that transform messy yard spaces into gorgeous, intentional landscapes. I’ve spent years experimenting with garden designs, and I’m about to share my favorite foolproof border tricks that work for everyone from total newbies to seasoned green thumbs.

✎ Steal This Look
- Paint Color: Sherwin-Williams Garden Spot SW 6432
- Furniture: weathered teak potting bench with galvanized steel top
- Lighting: solar-powered copper path lights with warm 2700K LED
- Materials: natural cedar edging, crushed limestone gravel, untreated pine mulch, galvanized steel landscape staples
There’s something deeply satisfying about the first spring morning when you walk your garden border and see everything waking up in its proper place—it’s the moment all that edging work pays off in pure visual calm.
Why Garden Borders Matter
Garden borders aren’t just decorative – they’re your landscape’s secret weapon. They:
- Define garden spaces
- Prevent soil and mulch from spreading
- Create visual structure
- Make maintenance way easier
3 Incredible Border Styles Anyone Can Create
1. Natural Plant Borders: Living Magic
Imagine borders that grow, change, and look stunning with zero effort. Dream? Nope. Reality.
Top Plant Border Options:
- Boxwood shrubs (neat and evergreen)
- Groundcover herbs like thyme
- Ornamental grasses
- Flowering perennials
Pro Tip: Mix heights and textures for a jaw-dropping look. Short in front, tall in back.

2. DIY Hardscape Borders: Budget-Friendly Brilliance
Cheap and Awesome Materials:
- Reclaimed bricks
- Wooden logs
- Willow fencing
- Weathering steel strips
Budget Breakdown:
- Reclaimed materials: FREE
- Basic brick border: Around $125
- Steel edging: $50-$150

3. No-Dig Quick Install Borders
For those who want instant results with minimal sweat.
Fastest Options:
- Rubber edging
- Plastic landscape strips
- Pre-formed concrete borders
Installation Pro Tips
- Measure twice, install once
- Create a shallow trench
- Use a level for straight lines
- Compact soil around edges

💡 Steal This Look
- Paint Color: Farrow & Ball Green Smoke 47
- Furniture: weathered teak garden bench with curved backrest positioned as a focal point at border terminus
- Lighting: solar-powered bollard lights with warm 2700K output spaced every 6 feet along border edge
- Materials: aged terracotta, untreated cedar, crushed limestone gravel, Corten steel patina
There’s something deeply satisfying about walking a border you’ve built yourself, watching it evolve through seasons—it’s the one home project that literally grows more beautiful while you sleep.
Money-Saving Strategies
- Use what you have
- Buy during end-of-season sales
- Mix materials creatively
- Consider perennial plants that spread
Common Beginner Mistakes to Avoid
- Forgetting about drainage
- Overcrowding plants
- Ignoring local climate
- Skipping soil preparation

🌟 Steal This Look
- Paint Color: use Valspar brand. Match the ACTUAL wall color in the image. Format: Valspar Garden Gate 6004-4C
- Furniture: weathered teak potting bench with galvanized steel top and lower slatted shelf for tool storage
- Lighting: solar-powered LED path lights with hammered bronze finish and warm 2700K output
- Materials: permeable pea gravel, untreated cedar edging, compost-amended native topsoil, breathable landscape fabric
Every gardener has killed plants through overenthusiasm; the difference between frustration and success is simply slowing down to understand your specific patch of ground before the first trowel breaks soil.
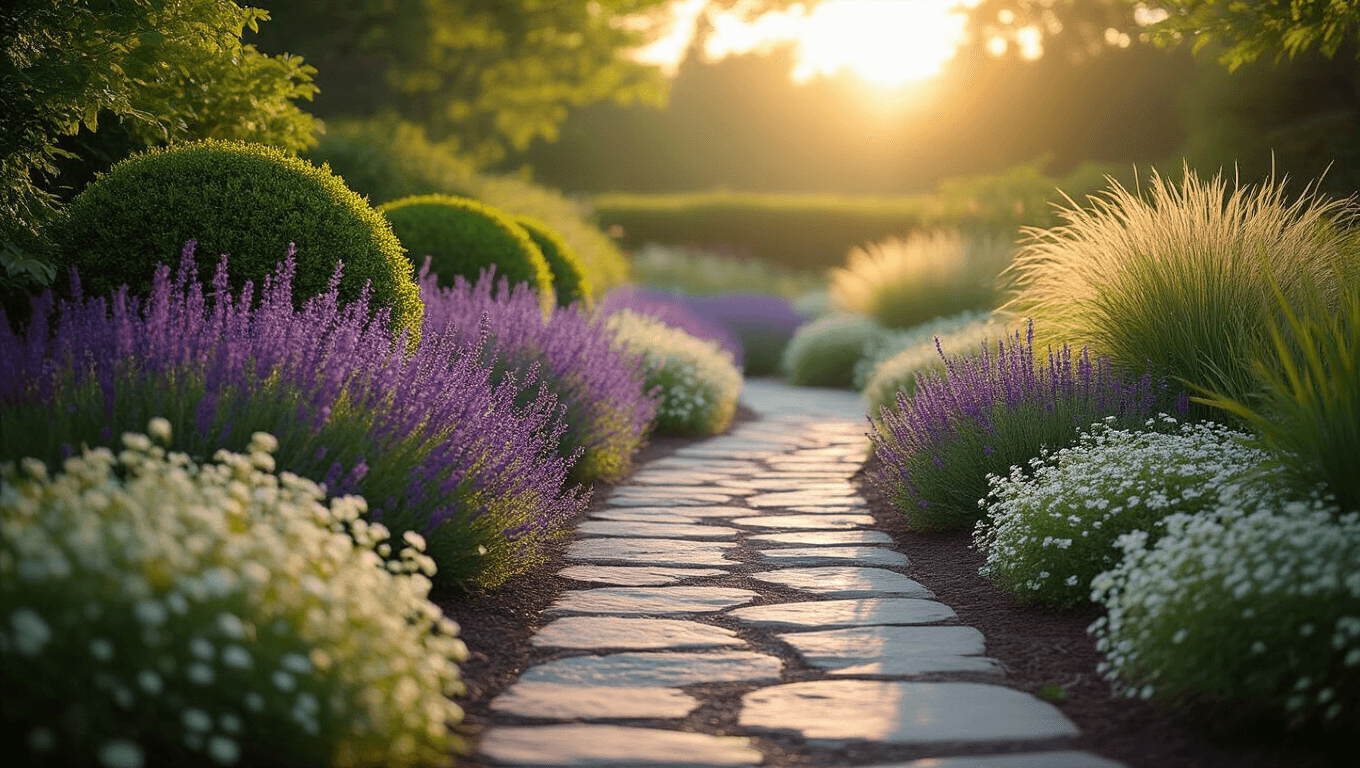
My Personal Favorite Technique
I love combining a row of lavender with rustic wooden logs. It’s low-maintenance, smells amazing, and looks like a million bucks.

✎ Steal This Look
- Paint Color: PPG Olive Sprig PPG1125-5
- Furniture: weathered cedar garden bench
- Lighting: solar-powered copper path lights
- Materials: rough-hewn cedar logs, English lavender hedges, crushed limestone gravel
This combination hits that sweet spot between polished and effortless—guests always think I spent a fortune on professional landscaping when really I just embraced what grows naturally in my climate.
🎁 Get The Look
Weekend Warrior Project Time
Most border projects take just 1-2 days. Seriously. With basic tools and this guide, you’ll have a magazine-worthy garden in no time.
Tools You’ll Need
- Tape measure
- Shovel
- Mallet
- Gardening gloves
- String or garden twine
- Level

💡 Steal This Look
- Paint Color: use Clare Paint brand. Match the ACTUAL wall color in the image. Format: Clare Paint ColorName CODE
- Furniture: specific furniture for this room
- Lighting: specific lighting fixture
- Materials: key textures and materials
There’s something deeply satisfying about laying out your first garden border with nothing but twine and stakes, feeling the promise of structure emerging from raw earth before a single plant goes in.
Final Thoughts
Garden borders aren’t about perfection. They’re about expressing your style, making your outdoor space work for you, and having fun in the process.
Ready to transform your garden? Let’s do this! 🌿🌞


—Here's How You Can Too")
")
[…] DIY tie-backs can transform basic panels […]