This post may contain affiliate links. Please see my disclosure policy for details.
How a Beautiful Bouquet of Flowers Transformed My Entire Approach to Home Styling
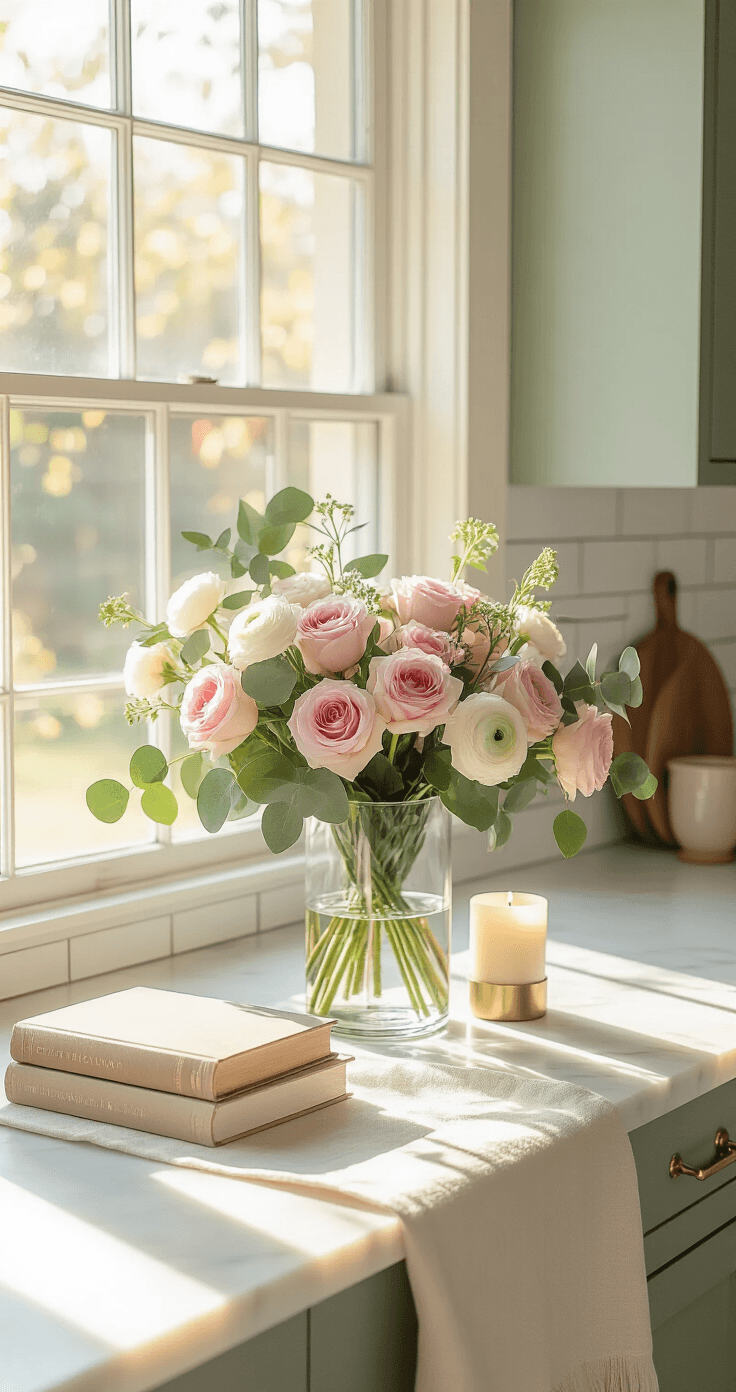
A beautiful bouquet of flowers sitting on my kitchen counter changed everything I thought I knew about decorating.
I used to walk past the floral section at the grocery store thinking flowers were just another expense. Something that would wilt in three days and leave me with buyer’s remorse.
Then I actually brought home a simple mixed bouquet one random Tuesday.
The difference it made was ridiculous.
My kitchen went from “place where I reheat leftovers” to “space I actually wanted to photograph and show people.”
Why Flowers Might Be the Easiest Decor Win You’re Missing
Look, I’ve wasted money on throw pillows that didn’t match anything. I’ve bought wall art that stayed leaning against the wall for six months. I’ve collected candles I never burned because they were “too pretty.”
But flowers?
They demand nothing except fresh water and a decent spot.
You don’t need design training. You don’t need expensive furniture. You honestly don’t even need a perfect vase—I’ve used everything from clear glass cylinders to old pasta sauce jars.
The transformation happens immediately.
- Make a boring corner suddenly interesting
- Give guests something to compliment within 30 seconds of arriving
- Create that “styled home” vibe without hiring anyone
- Provide content for weeks if you photograph it right
My Real Budget Breakdown (Because Everyone Lies About This)
When I started photographing bouquets for my own content, I tracked every dollar.
Starter setup: $45
- Mixed bouquet from Trader Joe’s: $12
- Simple ceramic vase from Target: $18
- Pack of floral scissors: $15
Mid-range setup: $85
- Nicer grocery store arrangement with roses and lilies: $35
- Better quality glass vase: $28
- Stack of coffee table books I already owned: $0
- Two taper candles: $12
- Linen table runner: $10
Splurge setup: $120
- Premium bouquet from a local florist with peonies: $75
- Vintage brass vase from a thrift store: $8
- Assorted props I collected over time: $37
The middle option gave me the best results for content creation.
Premium flowers photograph beautifully, but grocery store bouquets work completely fine if you style them right.
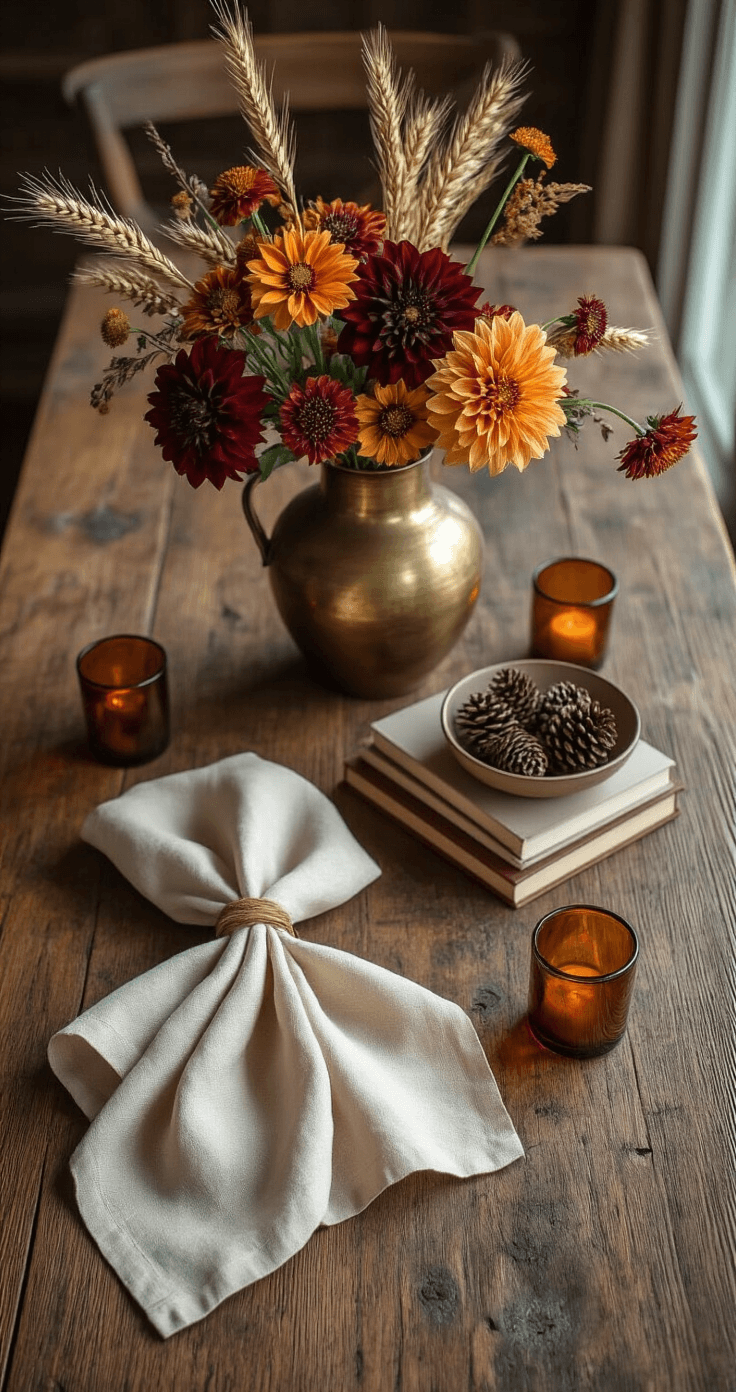
The Lighting Situation That Almost Ruined Everything
My first twenty photos looked terrible.
The flowers were gorgeous in person but appeared muddy and weirdly yellow in pictures.
I tried everything backwards:
- Shot at noon with harsh sunlight blasting through the window
- Used overhead kitchen lights mixed with natural light
- Edited the living daylights out of them until the colors looked fake
Then I moved everything six feet to the left.
That’s it.
I positioned my bouquet near a north-facing window mid-morning, and suddenly the petals had dimension. The colors looked accurate. The whole composition had this soft, editorial quality I’d been chasing.
Here’s what actually works for lighting:
Save this article
Enter your email and we'll send it straight to your inbox.
Best natural light approach:
- Shoot within three feet of a window
- Morning light (8-10 AM) or late afternoon (3-5 PM)
- Slightly diffused—not direct sun hitting the flowers
- Use a white piece of foam core board opposite the window to bounce light back
When natural light fails you:
- Overcast days are actually perfect—naturally diffused
- LED panels work but keep them on daylight setting (5500K)
- Avoid mixing warm lamps with cool window light
- Never use direct overhead lighting—it flattens everything
I keep a simple white poster board in my laundry room specifically for this. Cost me three dollars. Improved my photos more than any expensive equipment.
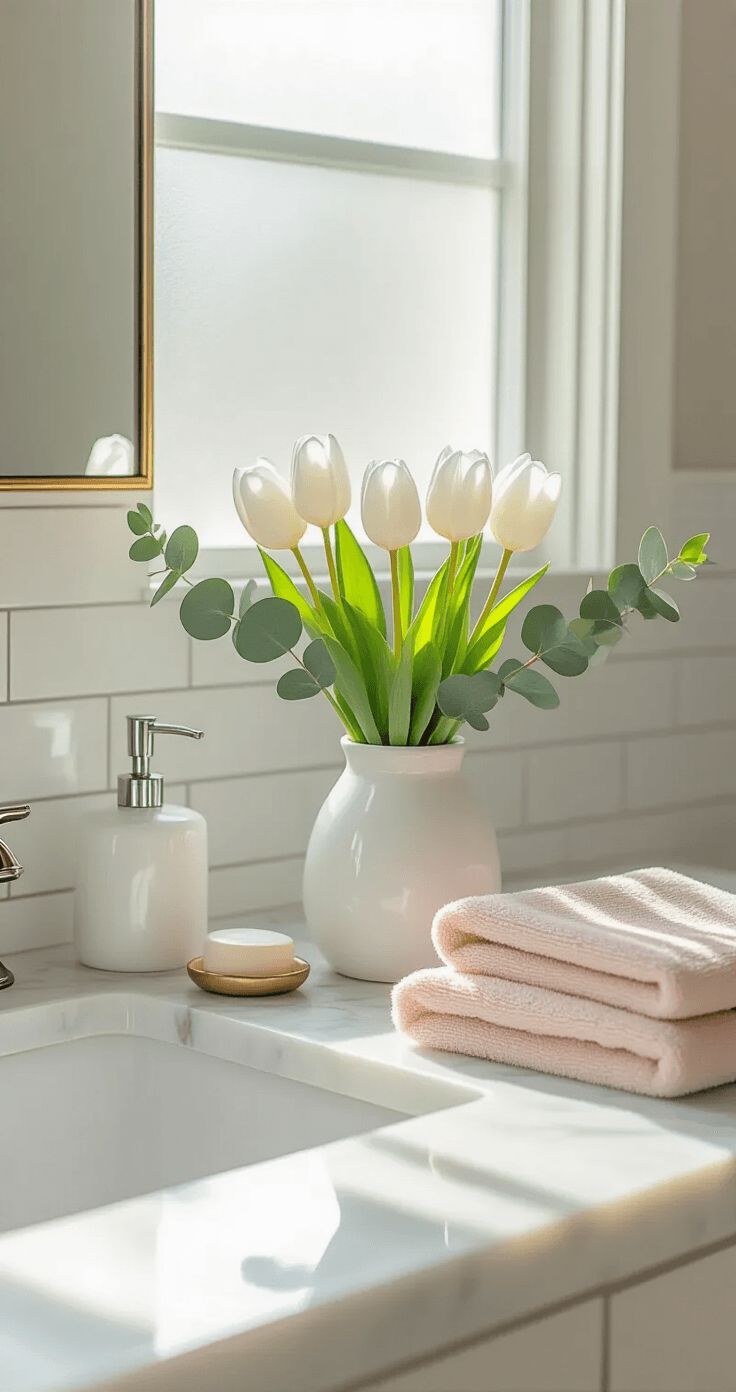
How I Actually Style the Scene (Not the Pinterest Fantasy Version)
Every tutorial told me to “artfully arrange your items.”
Cool, thanks, very helpful.
Here’s what I actually do, step by step, with the mistakes I made so you don’t have to.
Step one: Clear everything
I mean everything. The mail, the random Amazon package, the coffee mug from this morning, those keys.
Visual clutter murders flower photography.
I learned this after spending an hour editing out a bottle of dish soap that kept appearing in the background of every shot.
Step two: Choose your surface texture
The surface under your vase matters more than you think.
I rotate between:
- A cream linen runner for soft, romantic vibes
- Bare wood dining table for modern farmhouse
- White marble kitchen counter for clean minimalism
- A vintage brass tray for contained elegance
The texture adds a second layer of interest without competing with the flowers.
Step three: Prep the actual flowers
This part takes 15-20 minutes and makes the difference between “I tried” and “this looks intentional.”
Flower prep checklist:
- Fill vase with room-temperature water first
- Trim each stem at a 45-degree angle (increases water absorption)
- Remove any leaves that would sit below the waterline (they rot and smell horrible)
- Start with greenery or filler to create structure
- Add your biggest focal flowers next (roses, peonies, lilies)
- Fill gaps with smaller blooms and textural bits
- Turn the vase as you work to ensure it looks good from your shooting angle
I arrange in odd numbers because it looks more natural. Three roses, five tulips, seven mixed stems—the rule of thirds applies to flowers too.
Step four: Add supporting props (but make it minimal)
This is where everyone goes overboard.
I used to pile on books, candles, small frames, random objects, thinking “more is more.”
The photos looked chaotic.
Now I stick to a maximum of three additional items:
<ul
Keep this one for later
We'll email you the link so you can come back to it.